Easy Crochet Summer Bag Pattern You’ll Carry Everywhere
Enhance your style with the Free Crochet Summer Bag Pattern, perfect for beginners and ideal for adding a handmade touch to your wardrobe.
Bring your flair for style and sustainability to life with a lightweight summer bag that’s perfect for any occasion. Versatile and chic, this pattern strikes the perfect balance between practicality and creativity, letting you carry your essentials in a way that stands out. Whether it’s a day at the beach, a stroll through the farmers’ market, or an everyday tote for errands, this pattern serves as a functional accessory with a personal touch.
Learn This Stylish Crochet Summer Bag Pattern for Everyday Use
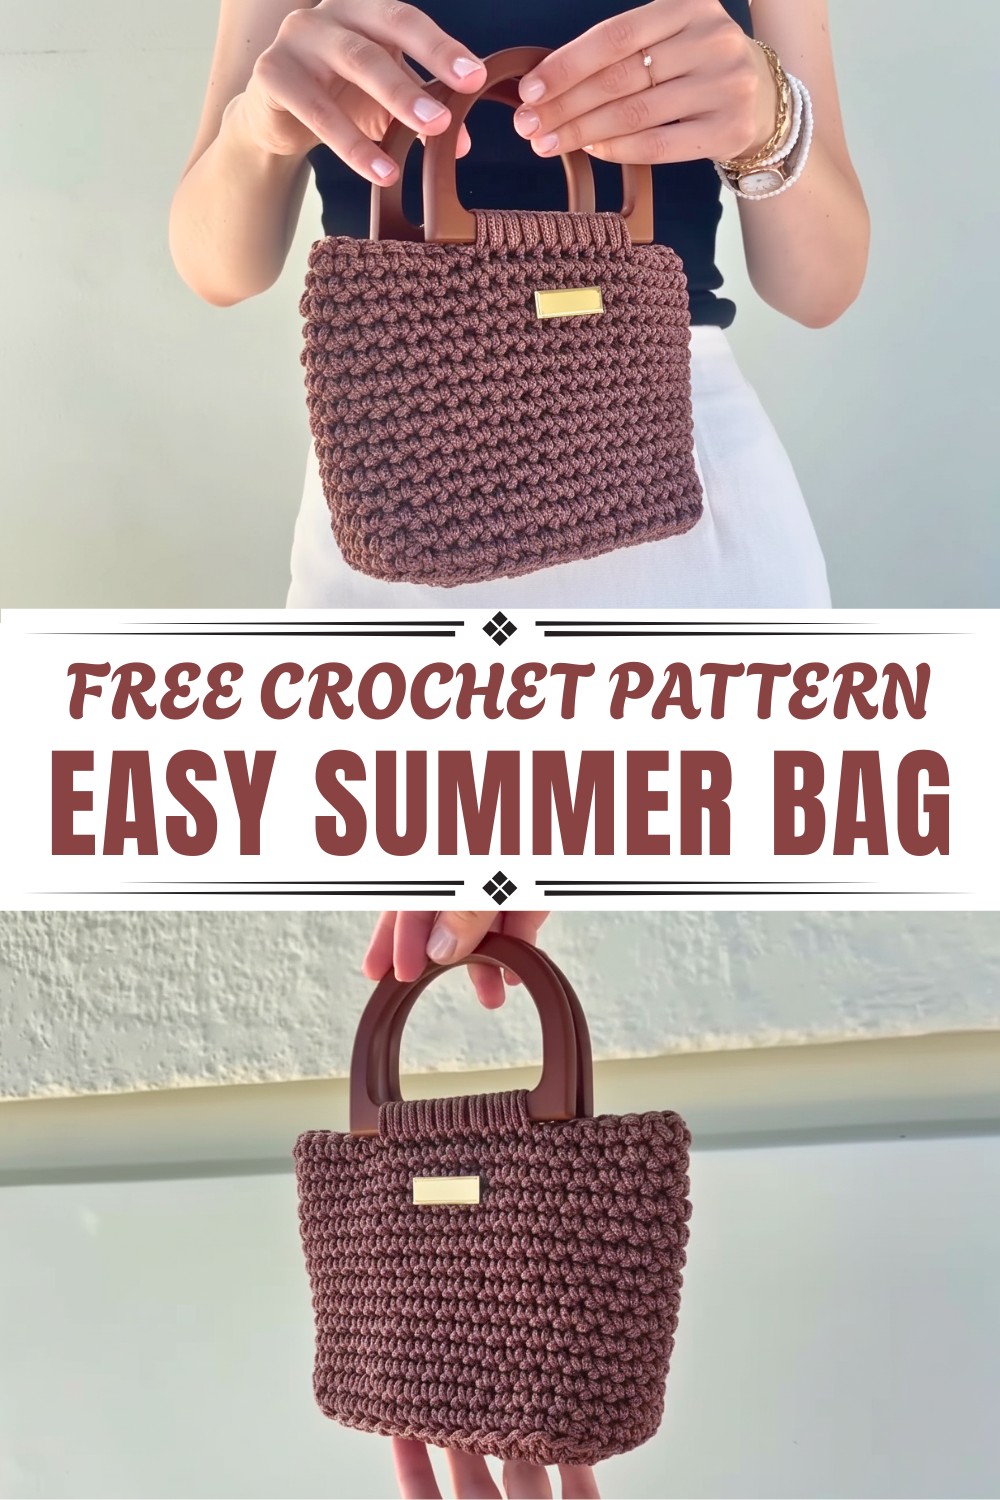
What makes it even better is the flexibility to choose your own yarn type and size, tailoring the bag to your preferences and needs. The easy-to-follow pattern is beginner-friendly yet engaging enough for experienced crocheters looking for a relaxing project. With simple stitches and minimal materials, this project is quick to make while leaving room for customization, such as adding colorful handles or reinforcing the base for durability.
Not only does crocheting this bag bring a sense of accomplishment, but it’s also a sustainable alternative to disposable shopping bags. Handmade with care, its charm lies in its simplicity, making it a thoughtful gift or a stylish addition to your wardrobe.
Special Features
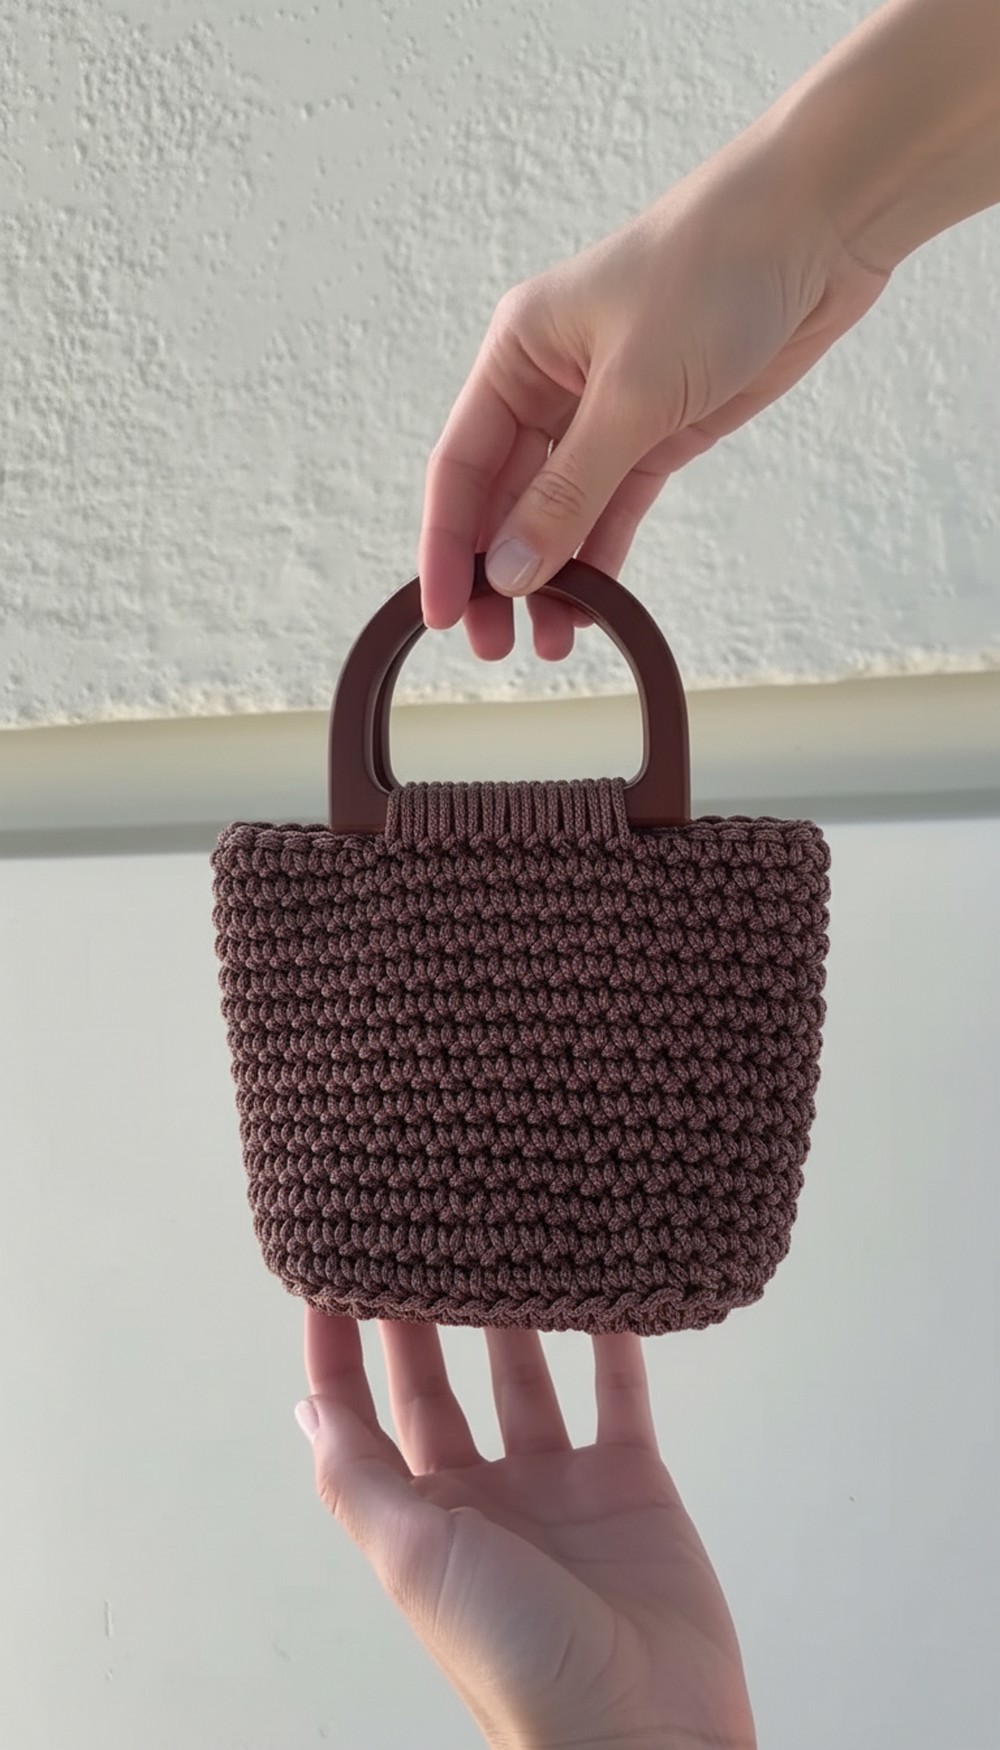
- Skill Level: Beginner-friendly.
- Customizable Dimensions: The width, length, and row count can be adjusted to your preference.
- Durable Handles: Adds functionality and a polished look.
- Optional Border: Creates a neat base that naturally curves upward.
- Uses: Ideal for carrying small items, as a unique handmade gift, or as an everyday purse.
Materials Needed
- Yarn: Any yarn type; the tutorial demonstrates with macra yarn.
- Hook: Size 5.5 mm.
- Scissors.
- Yarn Needle.
- Stitch Markers.
- Handles (optional).
Step-by-Step Instructions
Introduction Chain and First Row:
- Make a Slip Knot:
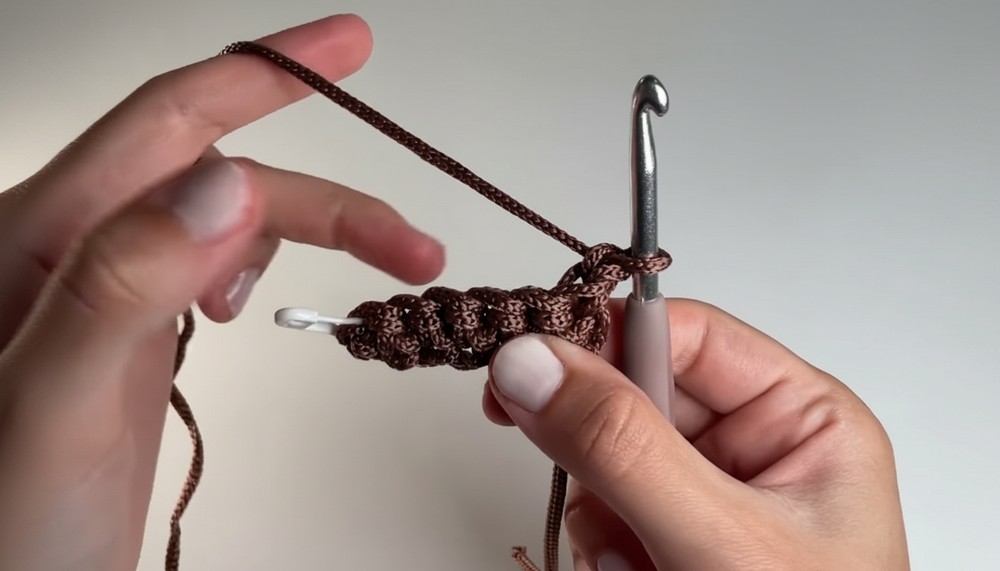
- Hold your yarn, create a loop, and pull the long yarn through it. Insert the hook and tighten the knot around it.
- Chain:
- Chain the desired width of your bag. There’s no fixed number of chains. For the example bag, the tutor chained 7 stitches.
- Tip: Your last chain acts as the turning chain.
- Start Single Crochets (Second Row):
- Skip the turning chain (last stitch) and insert your hook into the second chain from the hook.
- Pull up a loop, yarn over, and pull through both loops on the hook (single crochet).
- Repeat single crochets down the row. In the example, 6 single crochets are made from a starting chain of 7 stitches.

Continue Rows Until Desired Length:
- Chain 1, Turn Your Work: At the end of each row, chain 1 and flip your work.
- Make single crochets into each stitch, excluding the turning chain. Mark the first stitch of each row with a stitch marker for accurate joining.
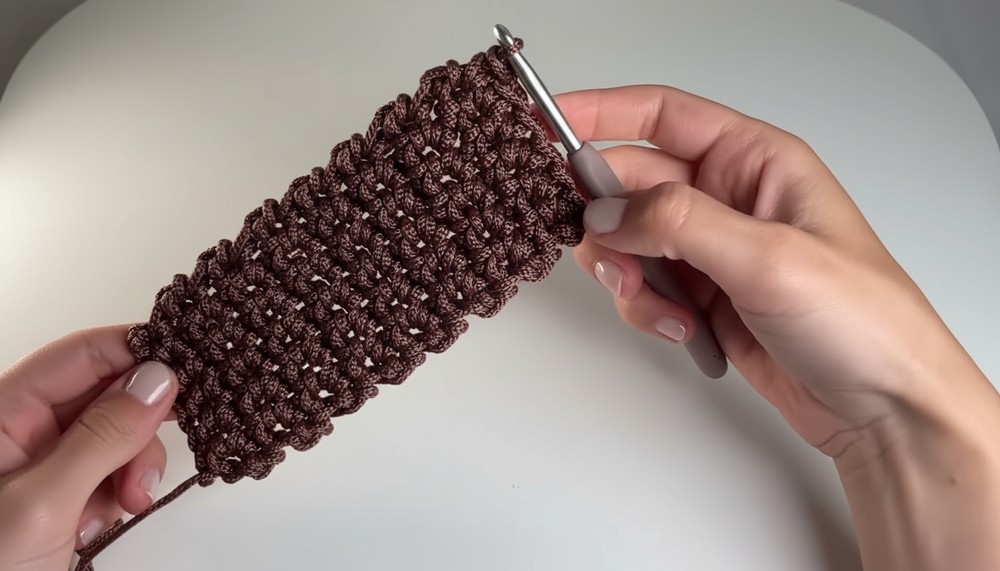
- Repeat the process until your bag reaches the desired length. For the tutorial example, 16 rows were made, measuring 15 cm x 7 cm.
Adding the Border Around the Base
- Single Crochet Along the Edges:
- Work single crochets into the edges of your rows (16 stitches per side in the example) and the original foundation chain (6 stitches).
- Remember to place 1 stitch per row along the sides.
- Join back to the first stitch using the Invisible Join:
- Remove the stitch marker, pull the loop loose, and insert your hook into the marked stitch from the outside in.
- Pull the loose loop through, insert the hook into the created loop, and tighten it. Yarn over and pull through all loops. Chain 1 (not a stitch).
Building the Main Body
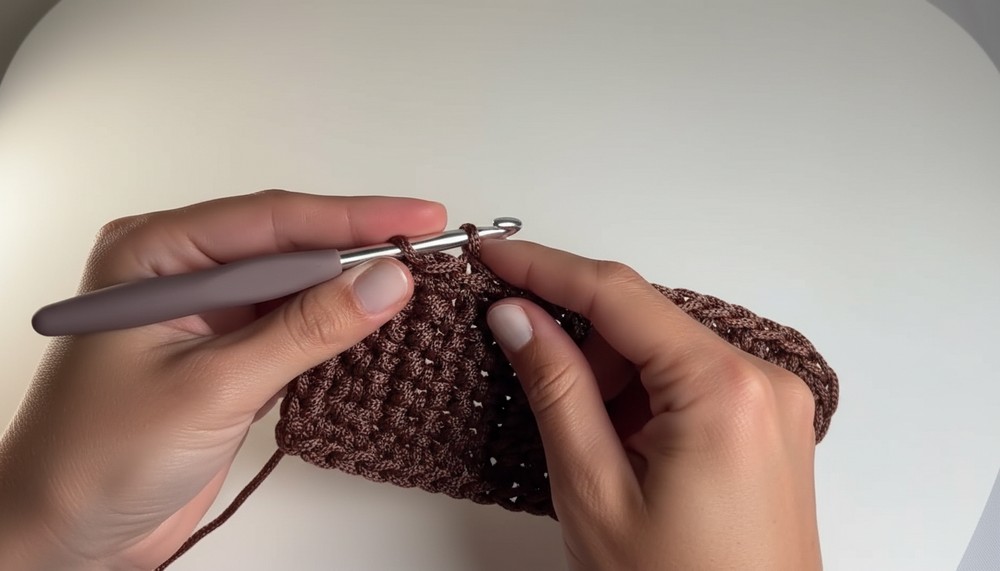
- Crochet into the Back Loops Only for the next row:
- This step creates a neat base that curves upward. Make single crochets into the back loops of every stitch.
- All subsequent rows are worked through the Entire Stitch (Full V):
- Begin each row with an invisible join, chain 1 (not a stitch), and start single crocheting into complete stitches.
- Repeat rows to achieve the desired height. Keep a consistent stitch count (44 stitches per row in the example).

Attaching Handles
- Position the Stitch Markers:
- Count how many stitches the handle takes. In the example, each handle covers 9 stitches.
- Leave even side margins (13 stitches per side) so the handles align properly. Mark the handle placement with stitch markers.
- Crochet the Handles:
- Crochet normally until you reach the stitch marker at the handle placement.
- Insert your hook into the stitch and hold the handle on top. Yarn over and complete a normal single crochet with the handle secured between the stitch.
- Continue attaching the handle by crocheting into the next 9 stitches.
- Repeat for the second handle. Make sure both handles are evenly positioned on opposite sides of the bag.

Finishing the Bag
- Weave in Ends:
- Cut the yarn tail, pull through, and use a needle to weave it into the back stitches of the bag.
- For slippery yarn (e.g., macra yarn), leave a small tail and carefully burn the end with a lighter to secure it.
- Optional Lining:
- Add a liner to your bag for extra stability and functionality.
Conclusion
This stylish summer bag pattern is a versatile accessory that can be customized to your taste. With simple stitches and thoughtful details like the invisible join and handle positioning, it’s a rewarding beginner project that holds functional value. Whether you keep it for yourself or gift it, this bag is sure to impress!
Tutor’s Suggestions
- Count stitches regularly to avoid mistakes and keep rows consistent.
- Use stitch markers to identify critical points such as the first stitch and handle placement.
- Always check your project dimensions to ensure it meets your needs.
Pro Tip
To make the bag extra durable, consider double-threading your yarn for the handles or attaching sturdier handles with glue after completing the crochet work.