Free Crochet Eggshell Chicks Pattern for Handmade Spring Bliss
owAdd adorable charm to your space using this Free Crochet Eggshell Chicks Pattern, ideal for playful gifts and festive decorations.
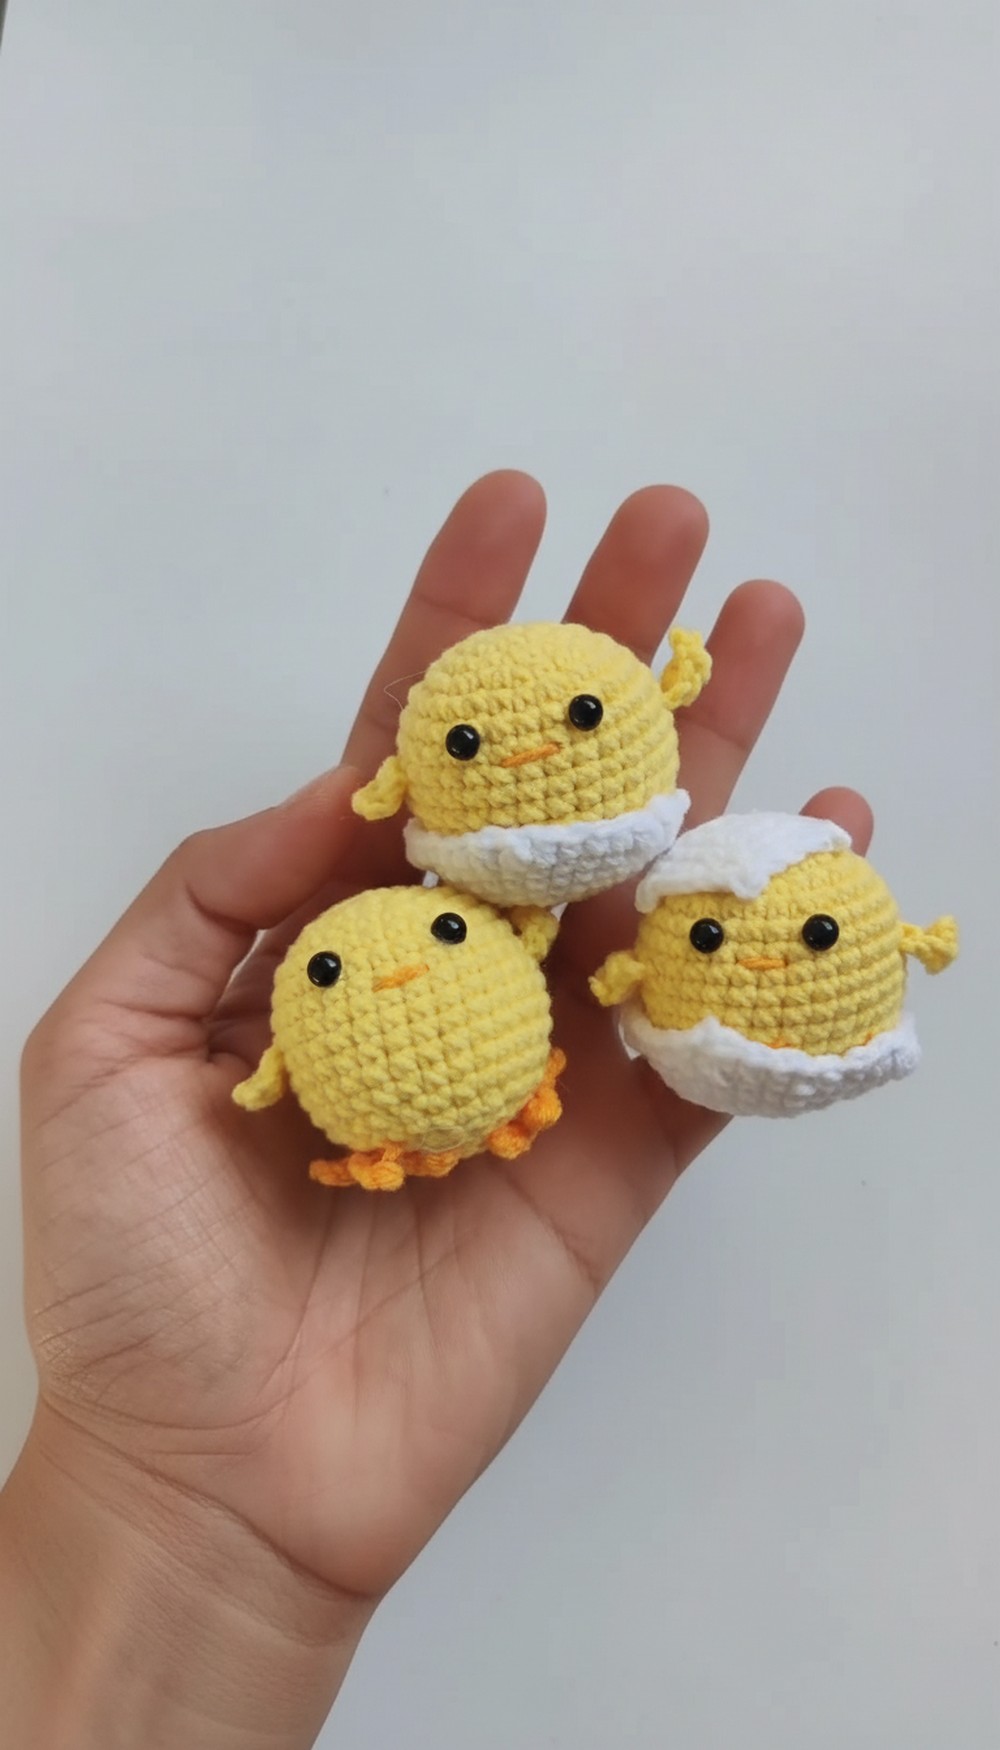
Who could resist the charm of a tiny chick peeking out from its eggshell? This delightful crochet project is a heartwarming way to celebrate the joy and renewal of spring or add a playful touch to your Easter décor. With its simple yet captivating design, the Eggshell Chicks pattern is perfect as a centerpiece, a small gift, or even a whimsical addition to your workspace.
Crochet Eggshell Chicks Pattern for Whimsical & Fun Creations
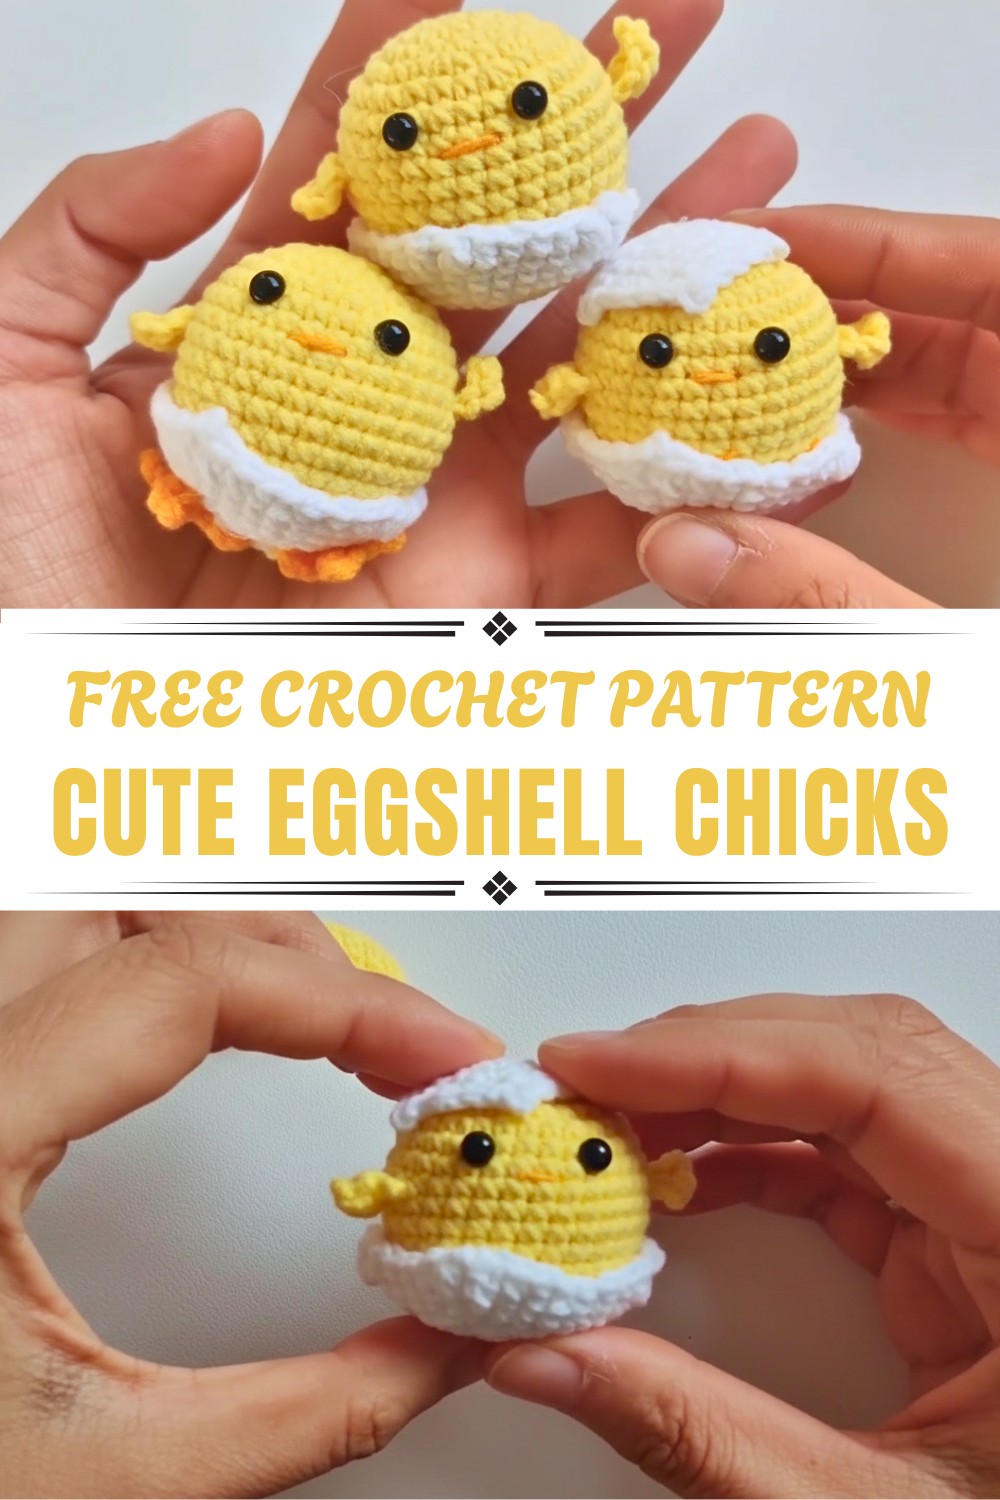
This pattern combines ease and creativity, making it a satisfying option for beginners looking to practice essential stitches or for experienced crocheters who want a quick and adorable project. The ability to personalize the chick with different yarn colors and accents ensures every piece is one-of-a-kind.
Its compact size makes it ideal for portable crocheting, allowing you to work on it in spare moments during busy days. Each stitch contributes to a charming keepsake that radiates warmth and care. Whether perched on a shelf, nestled in an Easter basket, or gifted to a loved one, this little chick brings a smile wherever it goes.
Materials Needed:
- Yarn: Yellow (for the chick), Orange (for the feet and mouth), White (for the shell)
- Crochet hook (size recommend in your yarn label)
- Stitch marker
- Scissors
- Stuffing
- Plastic safety eyes
- Craft glue
Pattern Instructions:
Chick Body:
Row 1:
- Begin with a magic ring.
- Work 6 single crochet (SC) into the ring.
- Place a stitch marker in the first stitch to mark the beginning of the row.
(Difficulty: Beginner-friendly)
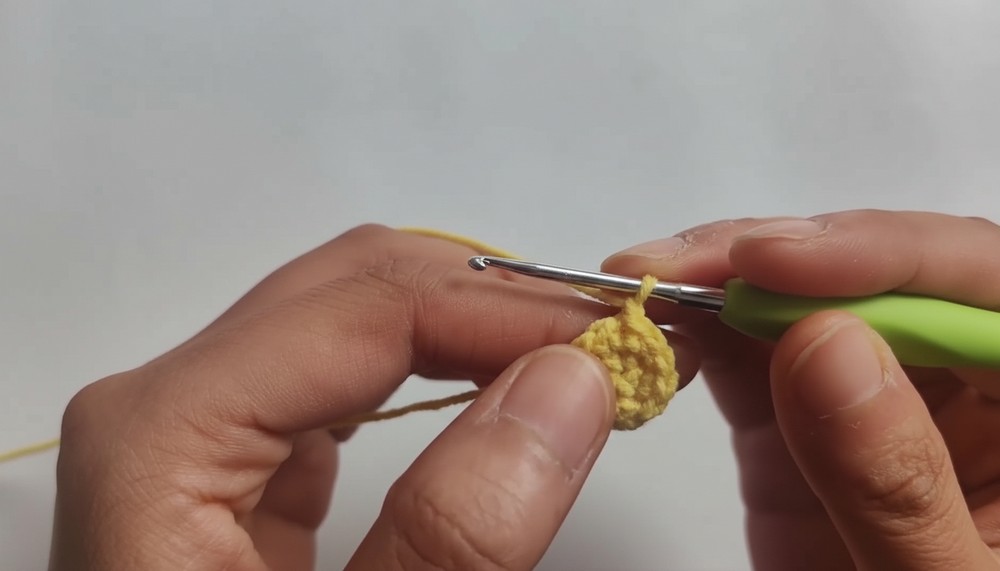
R- 2:
- Work 6 increases (INC) (2 SC into each stitch). You’ll have 12 stitches.
Row 3:
- Alternate 1 SC, 1 INC, and repeat 6 times.
- Total stitches: 18 stitches.
4 Row:
- Alternate 1 SC, 1 INC, 1 SC, and repeat 6 times.
- Total stitches: 24 stitches.
5 Row:
- 3 SC, 1 INC, and repeat 6 times.
- Total stitches: 30 stitches.
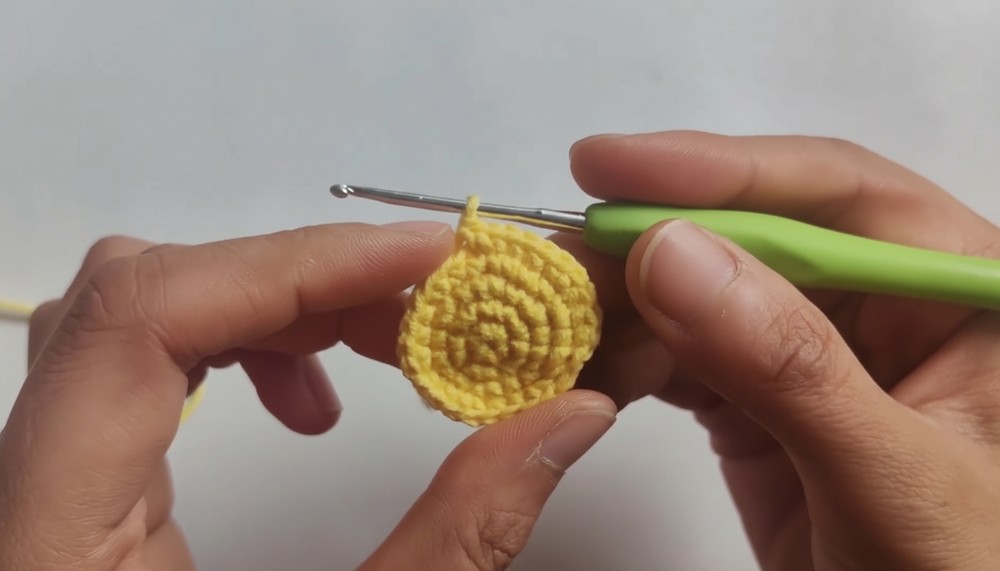
Rows 6-12:
- Work 30 SC (no increases, keeping the body even).
R- 13:
- Alternate 4 SC, 1 decrease (DEC), and repeat 3 times.
- Total stitches: 27 stitches.
R- 14:
- Alternate 7 SC, 1 DEC, and repeat 3 times.
- Total stitches: 24 stitches.
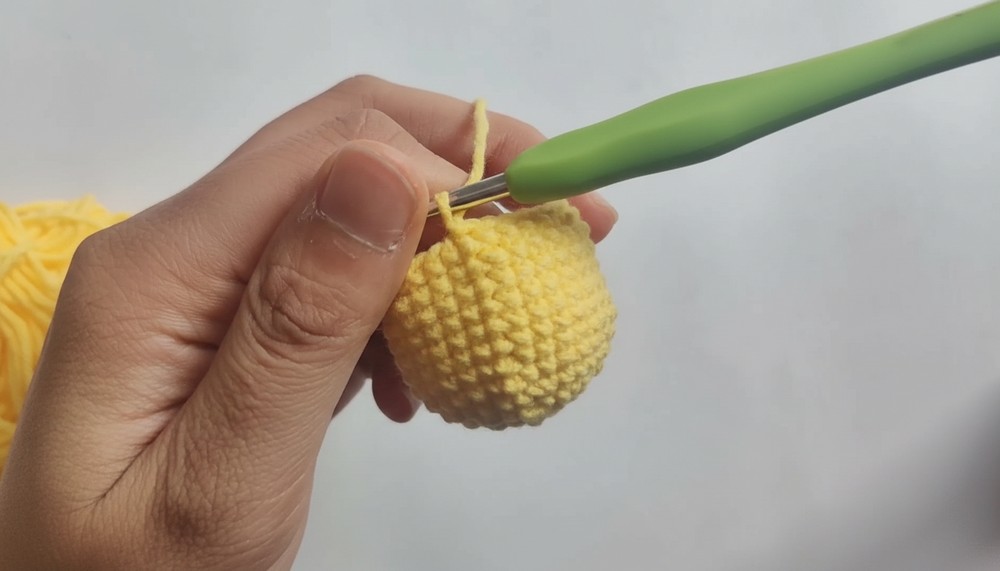
Row 15:
- Alternate 1 SC, 1 DEC, and repeat 6 times.
- Stuff the chick body firmly.
- Total stitches: 18 stitches.
R- 16:
- Alternate 1 SC, 1 DEC, and repeat until closure.
- Total stitches: 12 stitches.
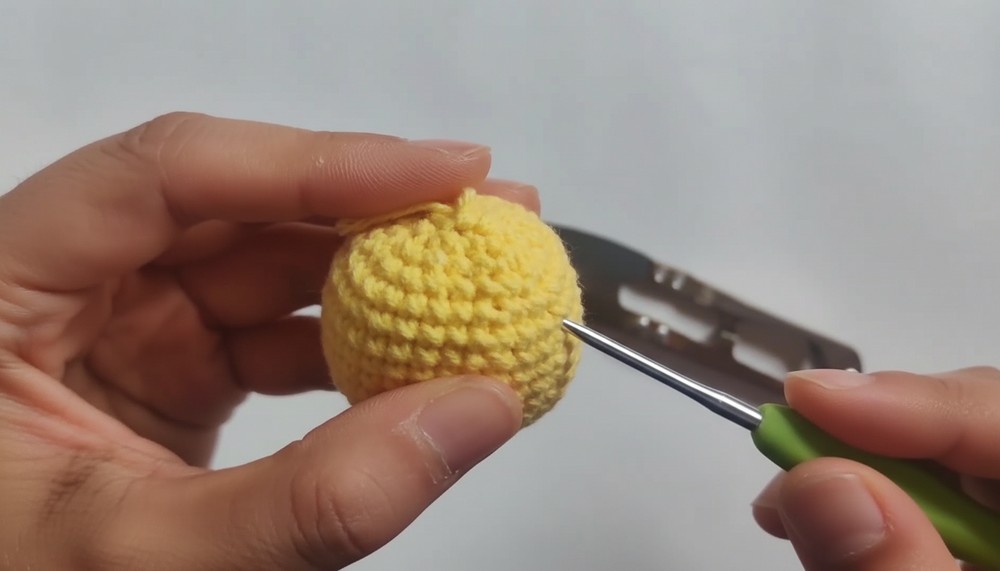
Row 17:
- Work 6 decreases.
- Finish with 1 single crochet and a slip stitch.
- Fasten off and weave in the yarn end.
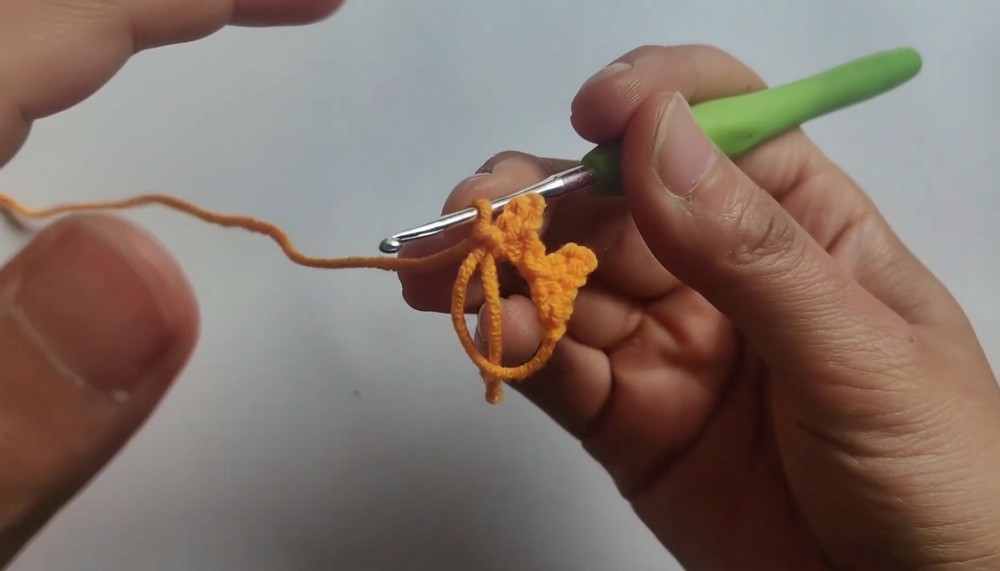
Chick Feet:
Step 1:
- Using orange yarn, start with a magic ring.
2:
- Work 1 SC into the ring, then chain 3.
3:
- Turn and make 2 slip stitches (SLST) along the 3 chains.
- Slip stitch back into the ring.
4:
- Repeat this process 3 times to create the toes.
5:
- Finish off and pull the yarn tight.
Chick Arms:
Step 1:
- Chain 4. Turn.
2:
- Make 1 SC followed by 2 double crochets (DC) in the same row.
3:
- Repeat this for the second arm.
4:
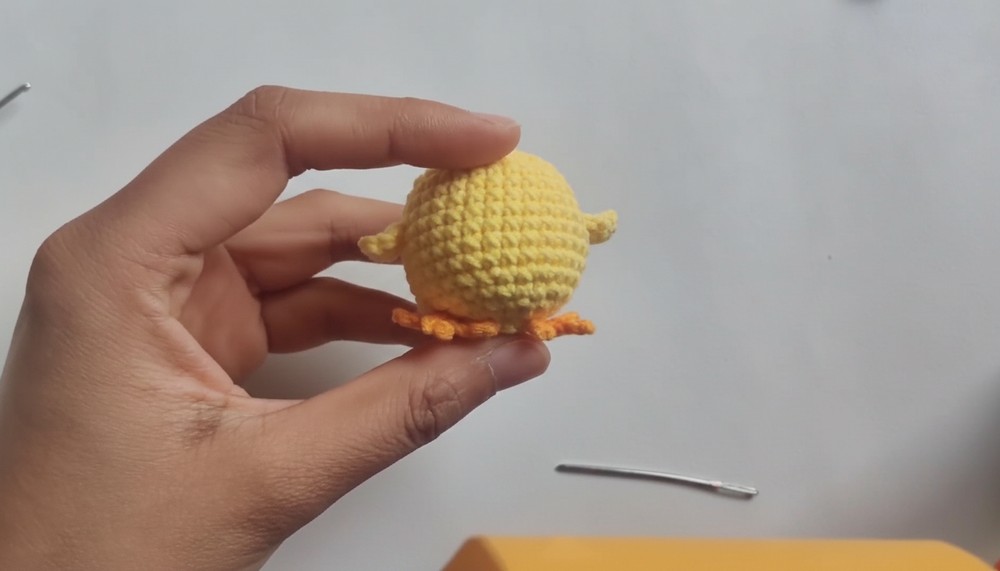
- Attach the arms to the chick’s body near rows 8 and 9 using crochet glue or sewing.
Adding Eyes and Mouth:
- Attach plastic safety eyes between rows 5 and 6, evenly spaced.
- Using orange yarn, embroider a small triangular mouth.
Eggshell (Large Shell):
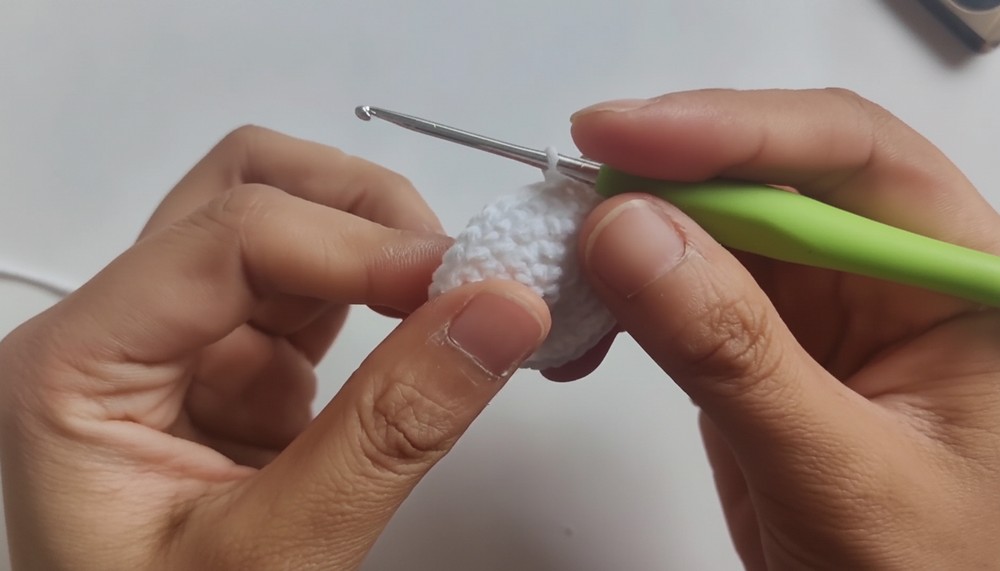
Row 1:
- Start with a magic ring and work 6 SC into it.
R- 2:
- Work 6 INC (2 SC in each stitch). Total: 12 stitches.
3 R:
- Alternate 1 SC, 1 INC, and repeat 6 times. Total: 18 stitches.
Row 4:
- Alternate 1 SC, 1 INC, 1 SC, and repeat 6 times. Total: 24 stitches.
R- 5:
- Alternate 3 SC, 1 INC, and repeat 6 times. Total: 30 stitches.
6-7 Row:
- Work 30 SC (no increases, keeping the shell even).
Row 8 (Decorative Edging):
- Work the following sequence:
- 1 SC, 1 half double crochet (HDC), 1 double crochet (DC).
- Chain 1, make a picot stitch (SLST into the chain).
- Then work 1 DC, 1 HDC, 1 SC.
- Repeat this sequence around the edge to create the shell’s scalloped border.
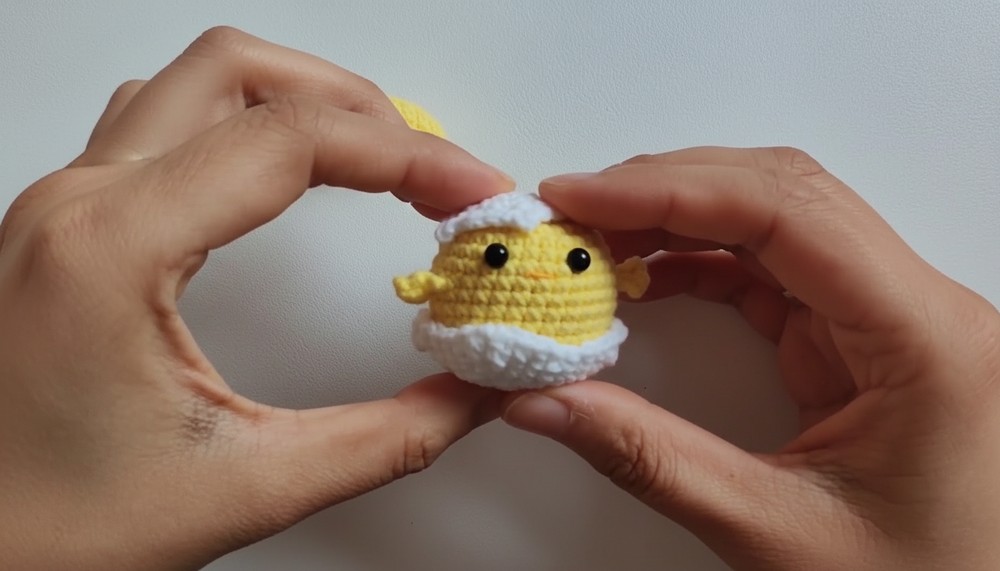
Eggshell (Small Shell):
Repeat the large shell instructions but stop earlier for a smaller size. Attach the smaller shell above the chick’s body.
Special Features:
- Adorable and Festive: Great for Easter setups or spring-themed décor!
- Customizable: Use various colors for a more personalized look.
- Beginner-Friendly Edits: While parts require intermediate skills, the pattern can be adjusted for simpler alternatives.
Tutor’s Suggestions:
- Use stitch markers to keep track of rows.
- Ensure even stuffing to maintain a smooth finish for the chick’s body.
- Craft glue is helpful for securely attaching small decorative parts.
Uses:
- Seasonal decoration (Easter or springtime).
- Unique handmade gift for friends and family.
- A cute addition to crochet displays or collections.
Tip:
For extra flair, add a small bow or ribbon around the chick’s neck. Using glitter yarn in the shell’s border can enhance its decorative appeal!
Conclusion:
This crochet eggshell chick pattern is a delightful project that’s both fun and functional. The charming pattern captures the spirit of spring and embodies the joy of handmade crochets. With patience and attention to detail, you’ll crochet a stunning keepsake that’s sure to impress!