Easy Crochet Strawberry Coin Purse Pattern You’ll Absolutely Love
Freshen your crochet fun with this Free Crochet Strawberry Coin Purse Pattern, a quick, charming project for colorful coin storage.
Cnverting simple yarn into functional art, this strawberry-themed coin purse stands out as both charming and practical. Designed with the playful strawberry stitch, its textured finish gives it a unique personality while providing a secure space for your coins and small essentials. Lightweight yet durable, this pattern perfectly complements everyday use or serves as a thoughtful, handmade gift for loved ones.
Learn This Fun Crochet Strawberry Coin Purse Pattern in Just a Few Steps
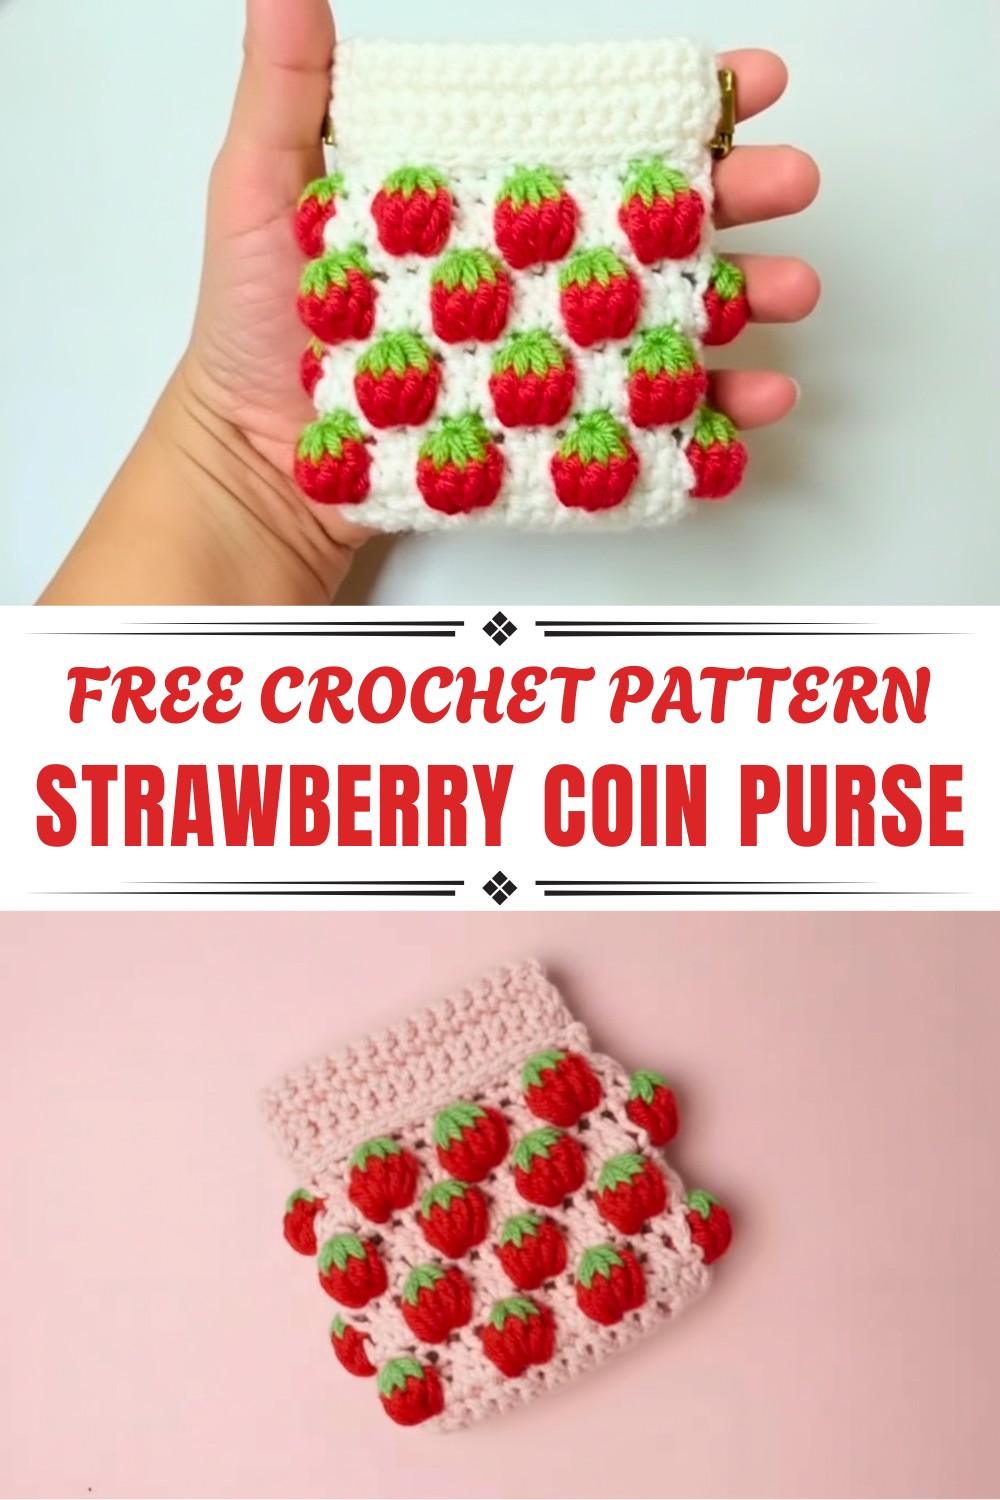
What sets this pattern apart is its beginner-friendly approach that balances simplicity with charm, ideal for those eager to crochet something useful without feeling overwhelmed by complexity. The inclusion of a sturdy flex frame ensures added durability and functionality, making it perfect for carrying on the go. You also have the freedom to personalize it, whether by adjusting the size, using different color combinations, or pairing it with matching accessories such as pouches and holders.
Not only does this pattern add a burst of creativity to your collection, but it’s also an eco-friendly alternative for carrying loose change or tiny trinkets. It’s more than a purse; it’s a statement of thoughtfulness and individuality. Perfect for you or someone special.
Special Features
- Skill Level: Beginner-friendly.
- Uses: A versatile coin purse for personal use, gifting, or selling.
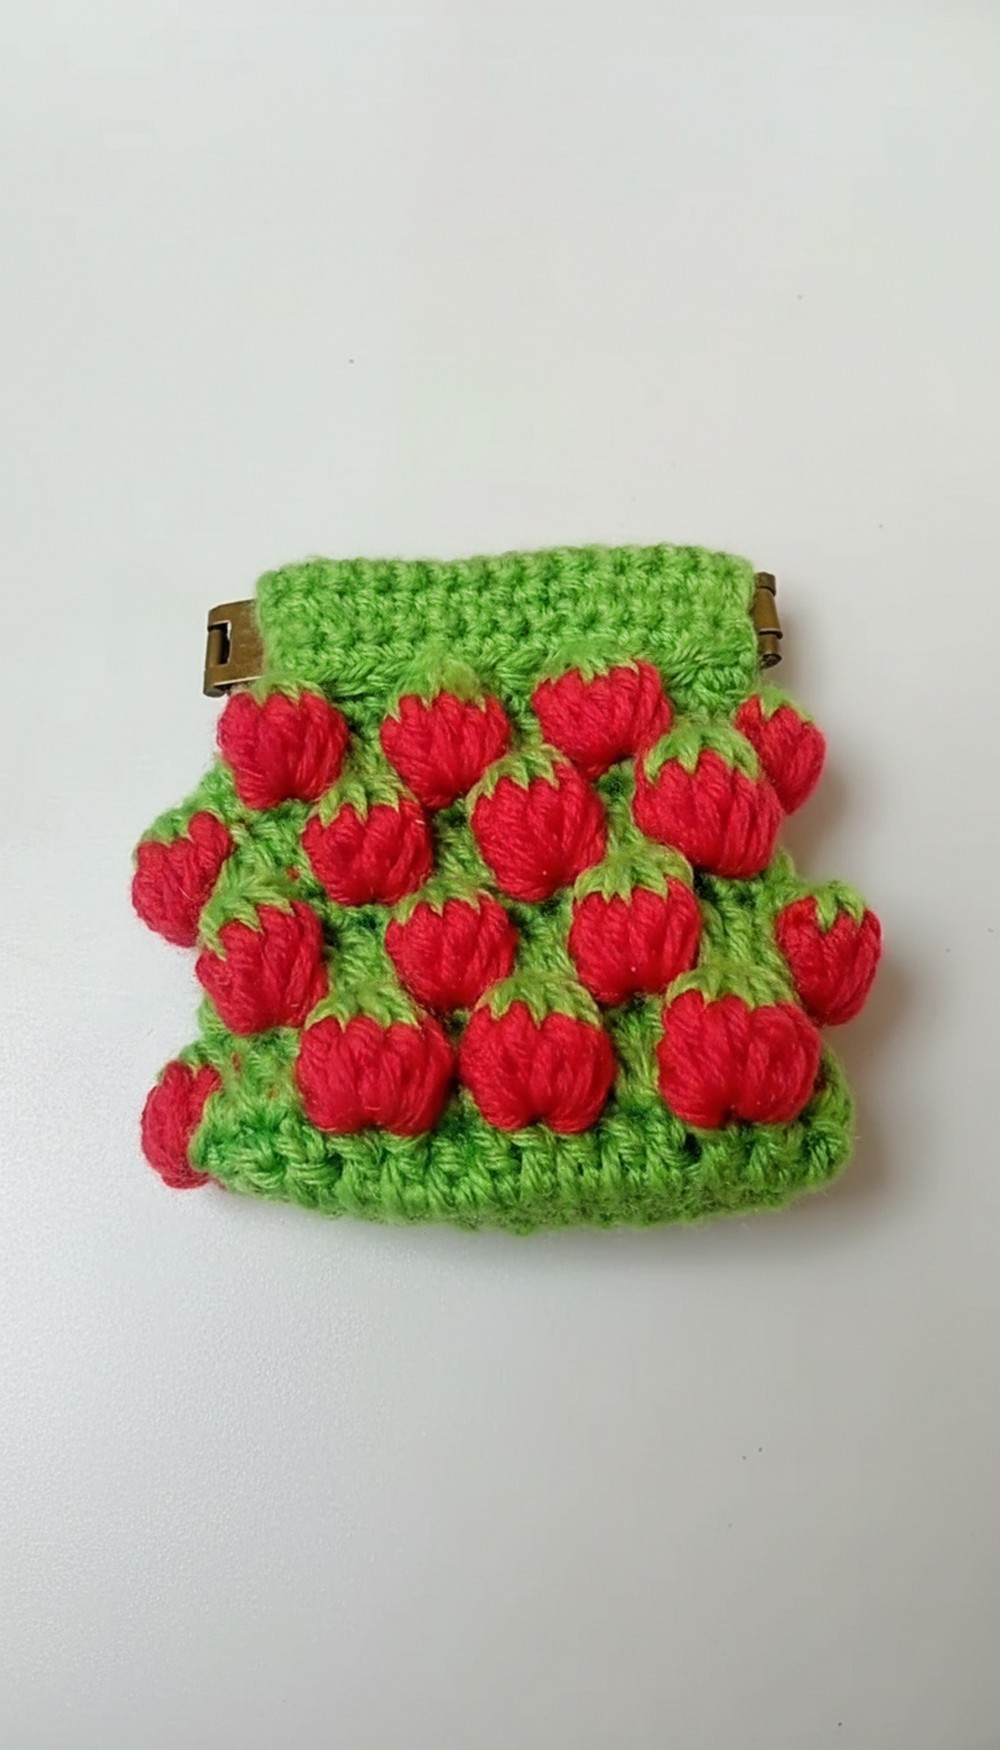
- Unique Design: Features the strawberry stitch, giving the purse a playful and creative touch.
- Materials: Uses medium-weight yarn and a small flex frame for durability.
- Customization: Easily adjustable in size by working in multiples of 4 stitches.
Materials Needed
- Medium-weight Yarn – Red (for strawberries) and Green (for leaves).
- Example: Yarn purchased from Baguio Hanger Market.
- Hook Size:
- Recommended: 4 mm.
- Tutor’s Hook Size (due to loose tension): 3.75 mm.
- Small Flex Frame.
- Scissors.
- Yarn Needle.
- Pliers (for securing the flex frame).
Step-by-Step Pattern
Foundation Chain:
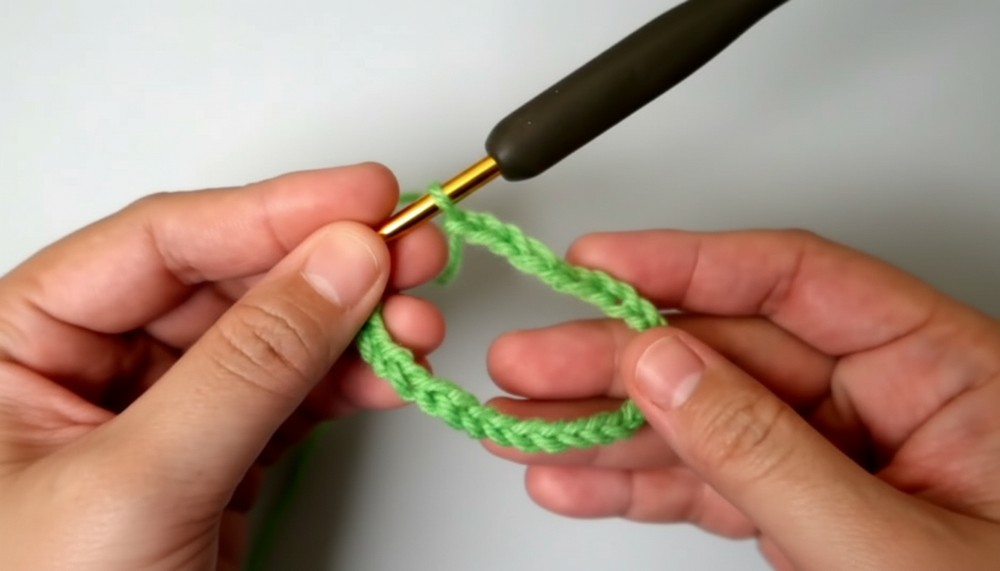
- Start with Multiples of 4 Chains:
- For the tutorial, chain 28 stitches.
- Form a Ring:
- Slip stitch to the first chain to join and create a circle.
Round 1: Foundation Double Crochet Row
- Chain 3: Acts as the first double crochet.
- Work 1 Double Crochet into Each Chain:
- Total: 28 double crochets.
- End the Round:
- Slip stitch into the top of the chain-3.

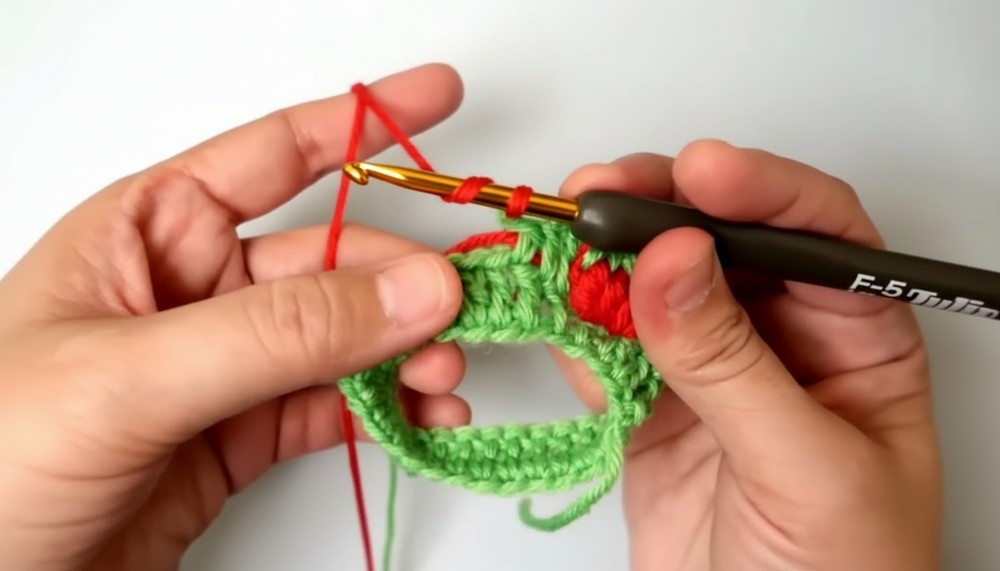
Rnd 2: Adding Strawberry Stitches
- Chain 3:
- Counts as the first double crochet.
- Work 1 Double Crochet into Each of the Next 2 Stitches.
- Color Change to Red Yarn: Start the Strawberry Stitch
- In the next stitch, work 7 double crochets into the same stitch.
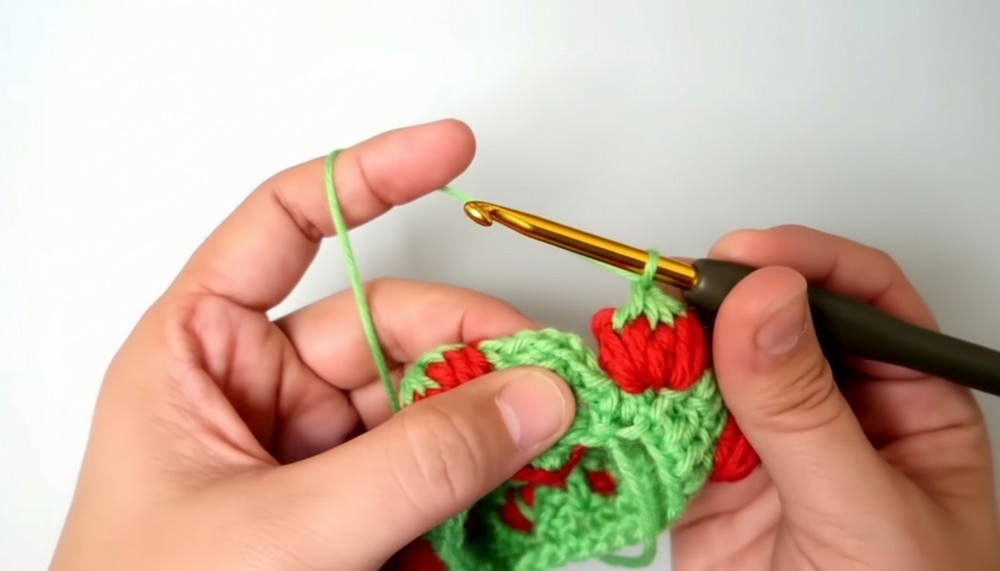
- Remove your hook from the last red stitch, insert it into the first double crochet of the group, and slip stitch using the green yarn.
- Form the Strawberry Leaf Top:
- Create 7 loops by working into the spaces between the red double crochets.
- Yarn over and pull through all loops.
- Chain 1 to secure.
- Continue the Pattern:
- Work 1 double crochet into each of the next 3 stitches.
- Begin a new strawberry stitch in the next stitch.
- Make sure to always switch to red yarn for the strawberries and back to green yarn for the leaves.
- End the Round:
- Slip stitch into the top of the chain-3.
Rnd 3: Single Crochet Base
- Chain 1:
- Work 1 single crochet into the same stitch.
- Work Single Crochets Around:
- Ensure you include the tops of all completed strawberry stitches.
- Total: 28 single crochets.
- End the Round:
- Slip stitch into the first single crochet.
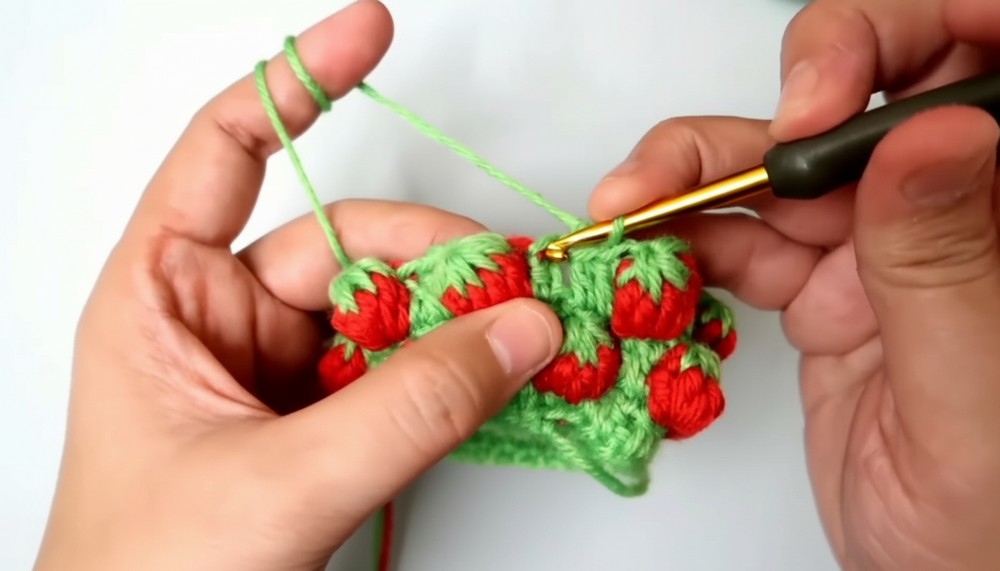
Round 4 Onwards: Staggered Strawberry Design
- Ensure Staggered Placement:
- Work strawberry stitches between the ones from the previous round for a staggered effect.
- Start the strawberries in the 4th stitch and ensure they alternate correctly.
- Repeat Pattern for Desired Height:
- Repeat Round 2 (Strawberry Stitches) and Round 3 (Single Crochets) alternately.
- Do Not Cut Red Yarn While Working Consecutive Rounds.
Final Rounds and Flex Frame Attachment
Stop at Desired Height:
- Example: Stopped at 10 rounds for a small purse.
Divide for Flex Frame Rows:
- Divide Total Stitches by 2:
- Example: 28 stitches ÷ 2 = 14 stitches per side.
- Work Single Crochets in Rows (Not Rounds):
- Chain 1 and work 14 single crochet stitches back and forth for 8 rows on one side.
- Repeat on the opposite side.
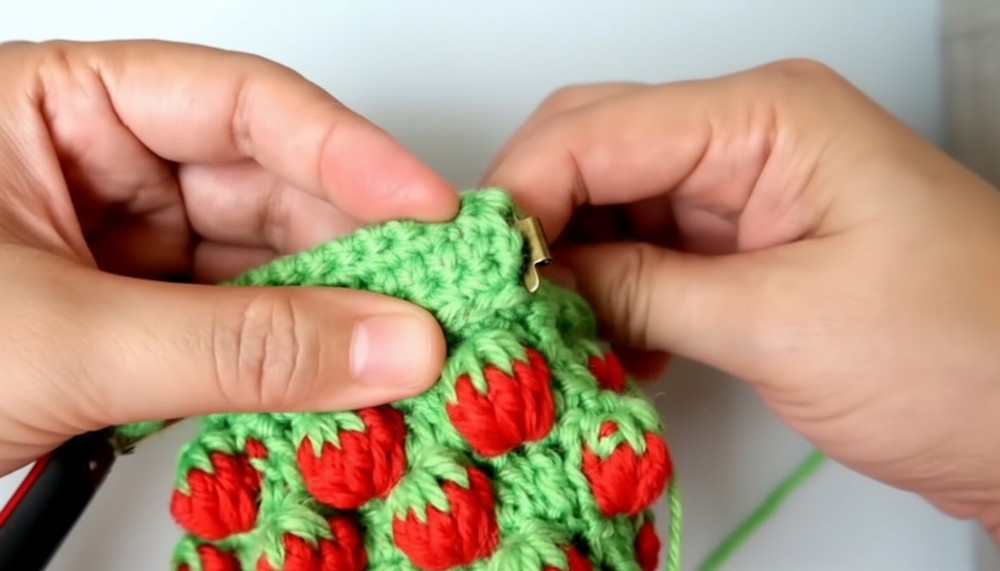
Attach the Flex Frame:
- Cut Red Yarn and Secure Ends.
- Use Yarn Needle to Sew the Flex Frame to the Top Edge:
- Make small, neat stitches to ensure the flex frame stays in place without being visibly bulky.
- Secure the flex frame on both sides.
- Lock the Flex Frame:
- Use pliers to secure the metal locks on the frame for extra stability.
Finishing Touches
- Close the Bottom Edge:
- With green yarn, single crochet across the bottom loops of the purse to close the base.
- Chain 1, cut the yarn, and weave in all ends.
- Turn the Purse Inside Out:
- Smooth out the bottom seam, and the coin purse is complete!
Conclusion
Your strawberry coin purse is now ready! With its sturdy construction and adorable design, it makes the perfect gift, an accessory for personal use, or a sellable item for small business ventures. Follow these instructions closely to ensure a neat finish and a durable outcome.
Tip for Beginners
Accuracy is key for consistency. Align your stitches carefully, count your rounds, and ensure your color changes are tight to avoid gaps. This technique works perfectly for creating matching accessories like phone pouches or tumbler holders.