How to Crochet Mini Duck Keychain Pattern for Fun Projects
Learn the perfect Free Crochet Mini Duck Keychain Pattern to crochet creative, adorable, and trendy keychain projects, ideal for gifts.
A small project can bring the biggest joy, and nothing defines that better than an adorable mini duck keychain. Whether you’re looking for a quick weekend project or a heartfelt handmade gift, this charming pattern fits the bill perfectly. This tiny duck keychain pattern adds a touch of whimsy to any bag, keyring, or backpack while showcasing simple crochet skills. Its compact pattern makes it beginner-friendly while still fun for experienced crocheters.
Crochet Mini Duck Keychain Pattern to Perfect Your Handmade Décor Skills
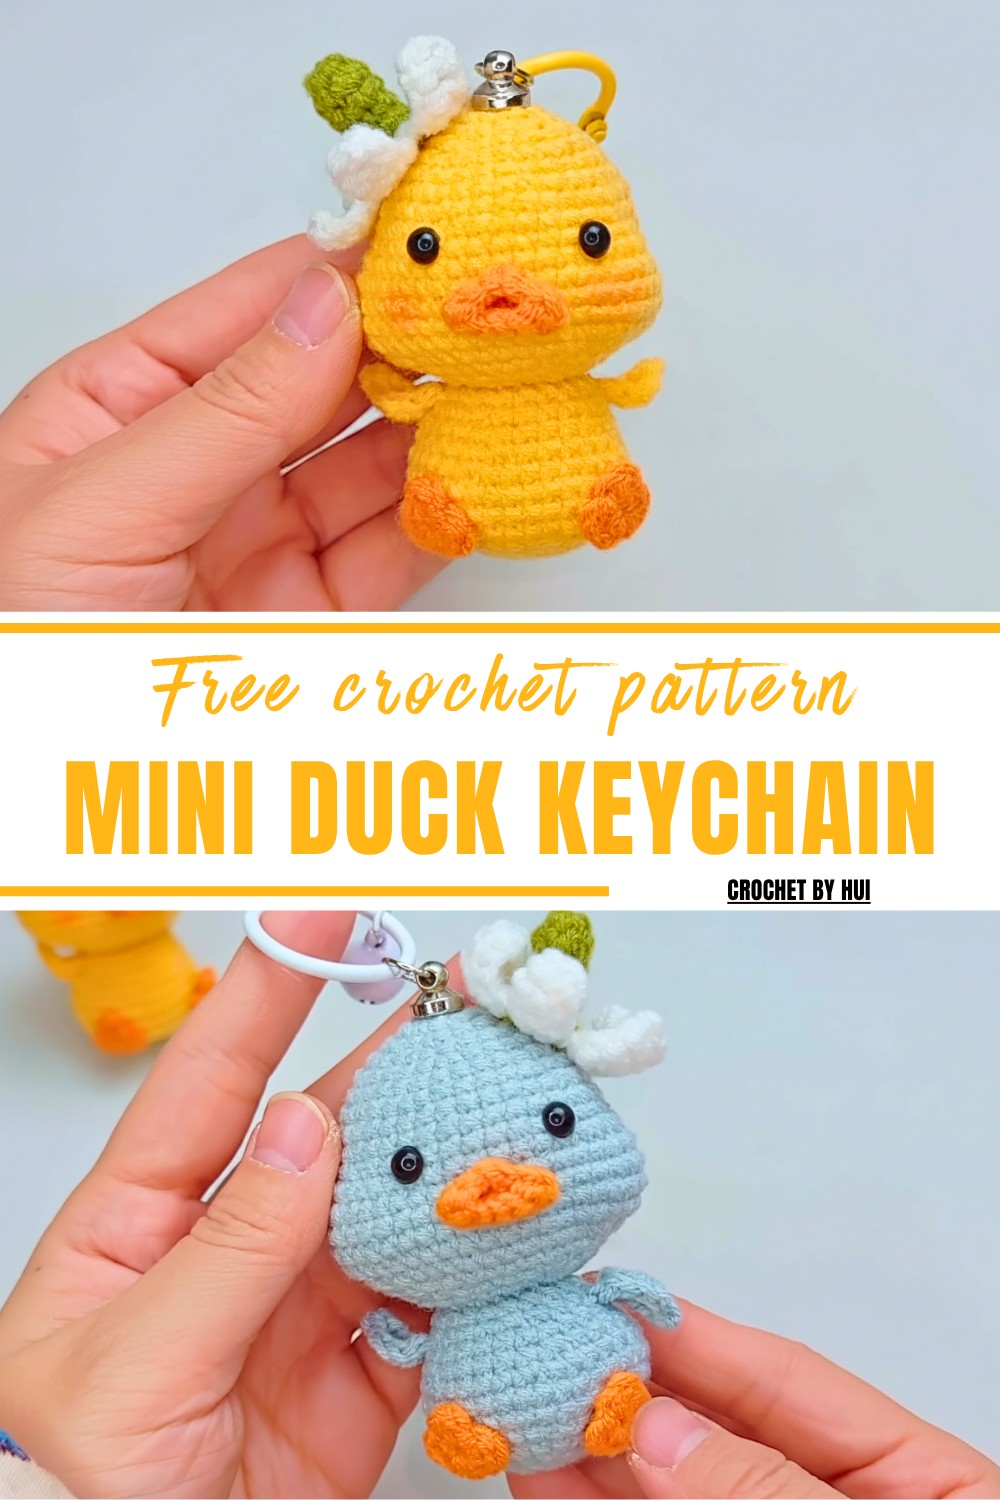
It’s a stress-free accessory pattern that can be completed quickly, making it ideal for those with limited time or craving instant creative satisfaction. Adding simple details like a flower or bow can further enhance its uniqueness and personality.
Even better, crocheting this keychain pattern is a relaxing way to unwind, while producing something charming and functional at the same time. Perfect for personal use or as a thoughtful gesture, this trendy accessory allows creativity to flow, offering endless options for personalization. It is practical, cute, and a beautiful reminder of how small projects can create big smiles.
Materials Needed:
- 4 strands of milk cotton (color of your choice for the duck)
- 2.0 mm crochet hook
- 6 mm safety eyes
- Stuffing for filling
- Keychain
- Scissors
- Yarn needle
- Glue for assembly
Skill Level:
Beginner to Intermediate
Special Features:
- The pattern offers a compact and lightweight design, making it easy to carry.
- Includes adding intricate details like daisies, giving the keychain a lively, unique charm.
- A step-by-step guide for constructing all parts and assembling the mini duck.
Tips Before You Start:
- Work in a continuous spiral unless stated otherwise.
- Use a stitch marker to track your rounds.
- Maintain consistent tension for an even stitch size.
Step-By-Step Pattern:
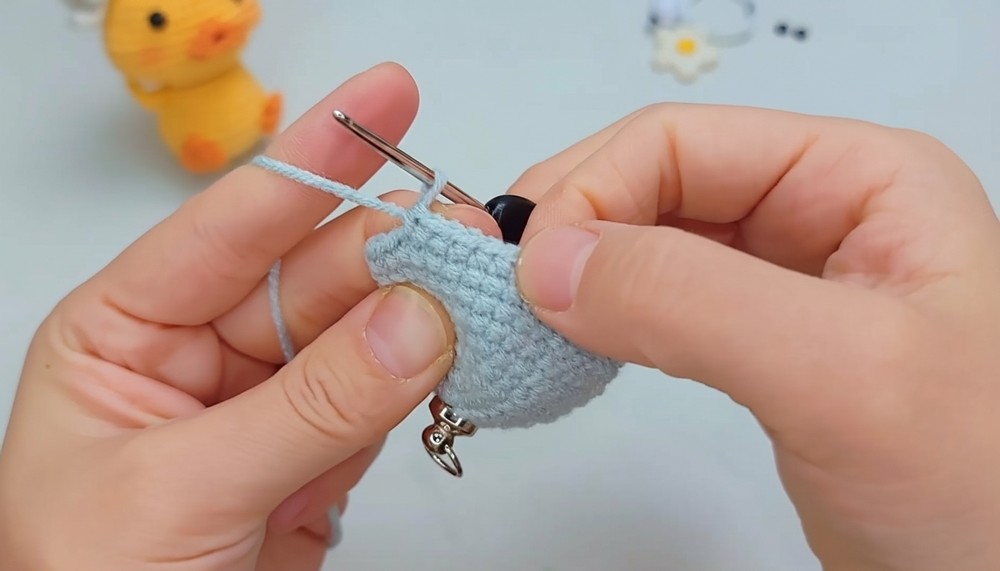
Step 1: Crochet the Head
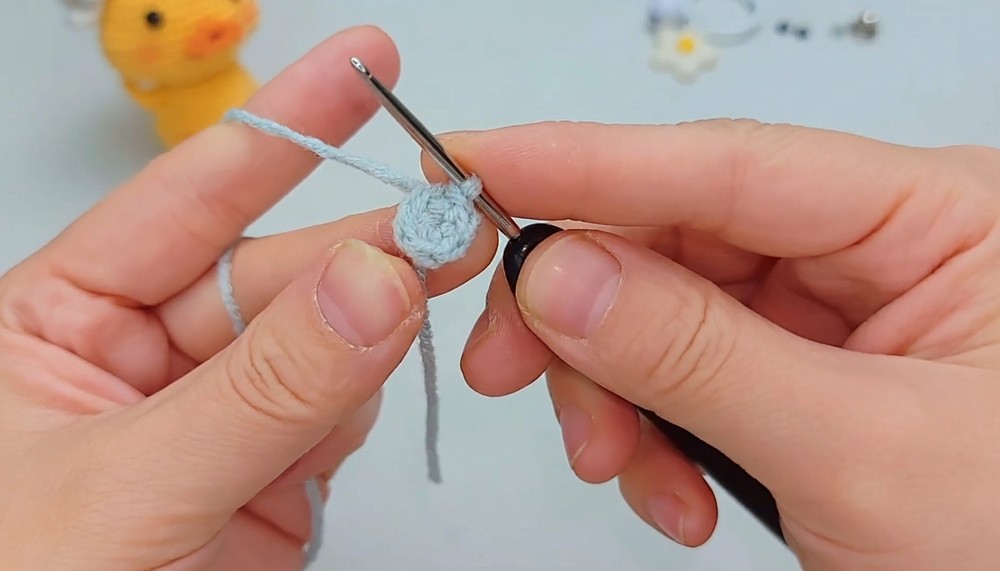
- Round 1: Start with a magic ring. Make 6 single crochet (sc) stitches into the ring. Tighten the loop and join with a slip stitch (6 sts).
- Round 2: Make 6 increases (2 sc in each stitch) around (12 sts).
- Round 3: Make 1 sc, then 1 increase—repeat 6 times (18 sts).
- Round 4: Make 1 sc, 1 sc, then 1 increase—repeat 6 times (24 sts).
- Round 5: Make 3 sc, 1 increase—repeat 6 times (30 sts).
- Rounds 6-10: Make 1 sc in each stitch around (30 sts per round).
- Round 11: Make 9 sc, 1 increase—repeat 4 times, then finish with 10 sc (44 sts).
- Rounds 12-15: Make 44 sc in each round (44 sts).
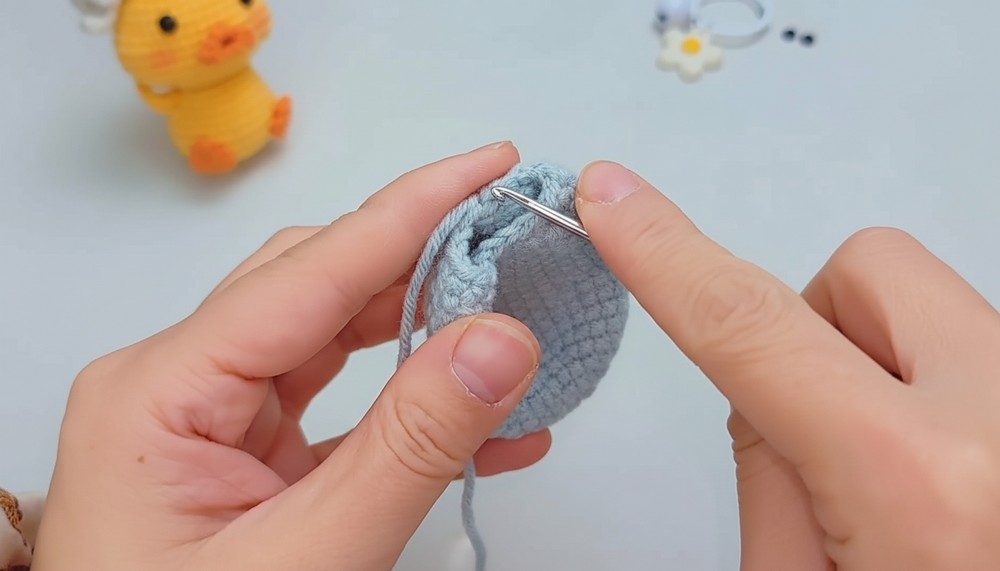
- Add stuffing to the head. Once filled, weave in the ends and sew the opening shut.
2: Crochet the Body
- Round 1: Make 6 sc in a magic ring (6 sts).
- Round 2: Increase in each stitch (12 sts).
- Round 3: Make 1 sc, 1 increase—repeat 6 times (18 sts).
- Round 4: Make 1 sc, 1 sc, 1 increase—repeat 6 times (24 sts).
- Round 5: Make 3 sc, 1 increase—repeat 6 times (30 sts).
- Round 6: Make 2 sc, 1 increase, 2 sc—repeat 6 times (36 sts).
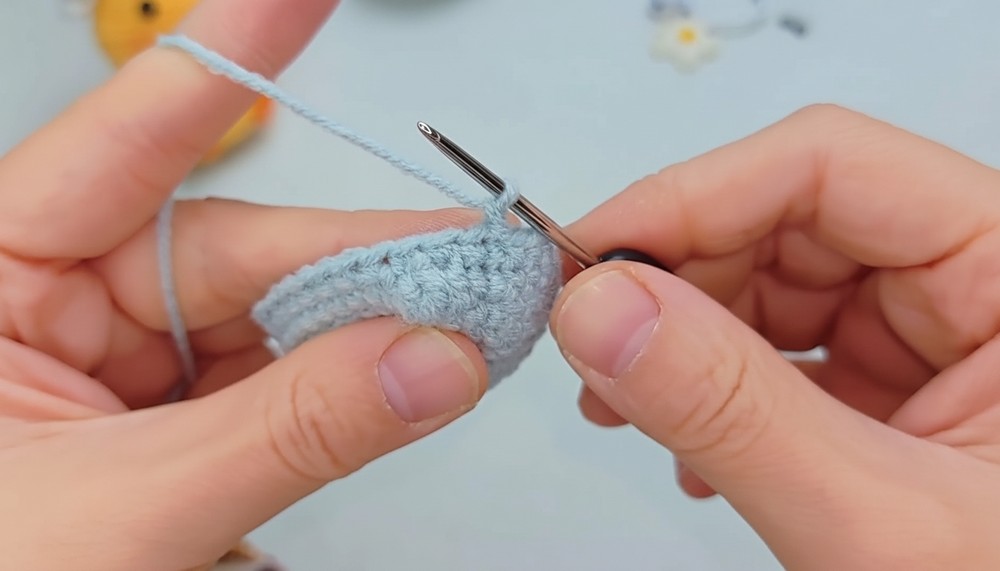
- Round 7: Make 1 sc in each stitch around (36 sts).
- Round 8: Add texture—do 1 sc, 1 half double crochet (hdc), 1 double crochet (dc) plus 1 dc in the same stitch, 1 hdc, repeat sequence. Fill remaining circle with sc to total 36 sts.
- Add stuffing to the body. Sew shut and set aside.
3: Crochet the Hands (Make 2)
- Make 5 chain stitches (ch), then turn back and work into the back loops.
- Skip the first chain:
- Slip stitch (sl st) into the second chain.
- Sc in the next.
- Hdc in the next.
- Sc in the last stitch.
- Finish with a sl st to close. Leave a long tail for sewing.
4: Crochet the Mouth
- Create a magic ring. Chain 5. Work in back loops only:
- Make 3 sc, 3 sc in one stitch, turn and work along the opposite side of the chain.
- 2 sc along the other side. Slip stitch to join. (10 sts)
- For Round 2, make 10 sc and attach the mouth.

5: Crochet the Feet
- Create a magic ring. Work the following stitches inside the ring:
- 3 sc, 1 hdc, 1 ch, sl st, 1 ch, sl st, 1 ch, 1 hdc.
- Tighten the ring and close. Leave a long tail.
- Repeat to make 2 feet.
6: Crochet the Daisy
- Create a magic ring with white yarn. Make 6 sc. Close the ring.
- For petal shapes: Chain 7, turn, and work the following:
- 4 dc back into chain, 1 hdc.
- Slip stitch into the next base stitch. Repeat for 6 petals.
- Switch to yellow yarn, draw through the center, and create a defined flower center.

Assembly:
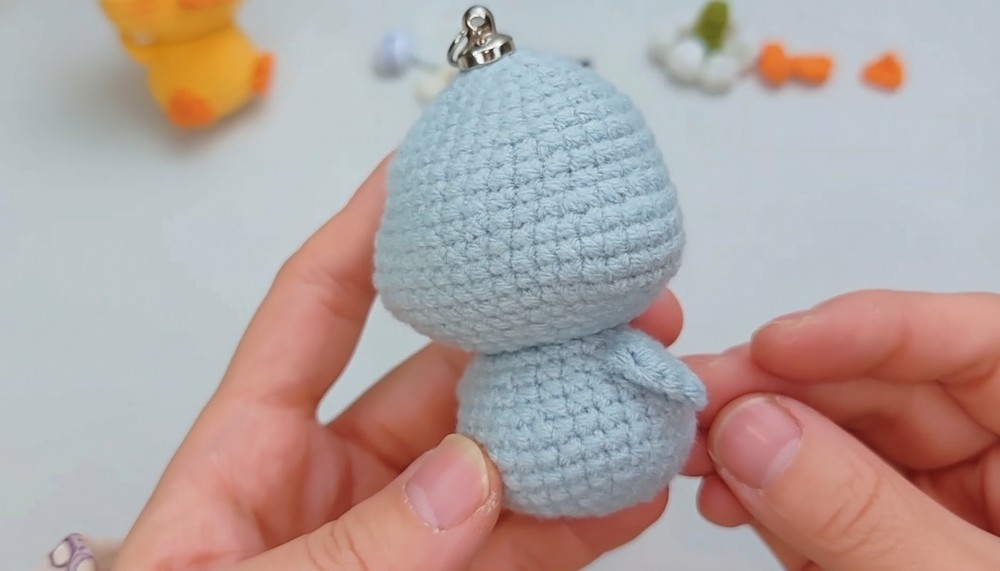
- Sew the head to the body securely.
- Attach arms to the sides of the body.
- Sew the feet to the bottom of the body.
- Glue the eyes onto the head. Position and secure the mouth below the eyes.
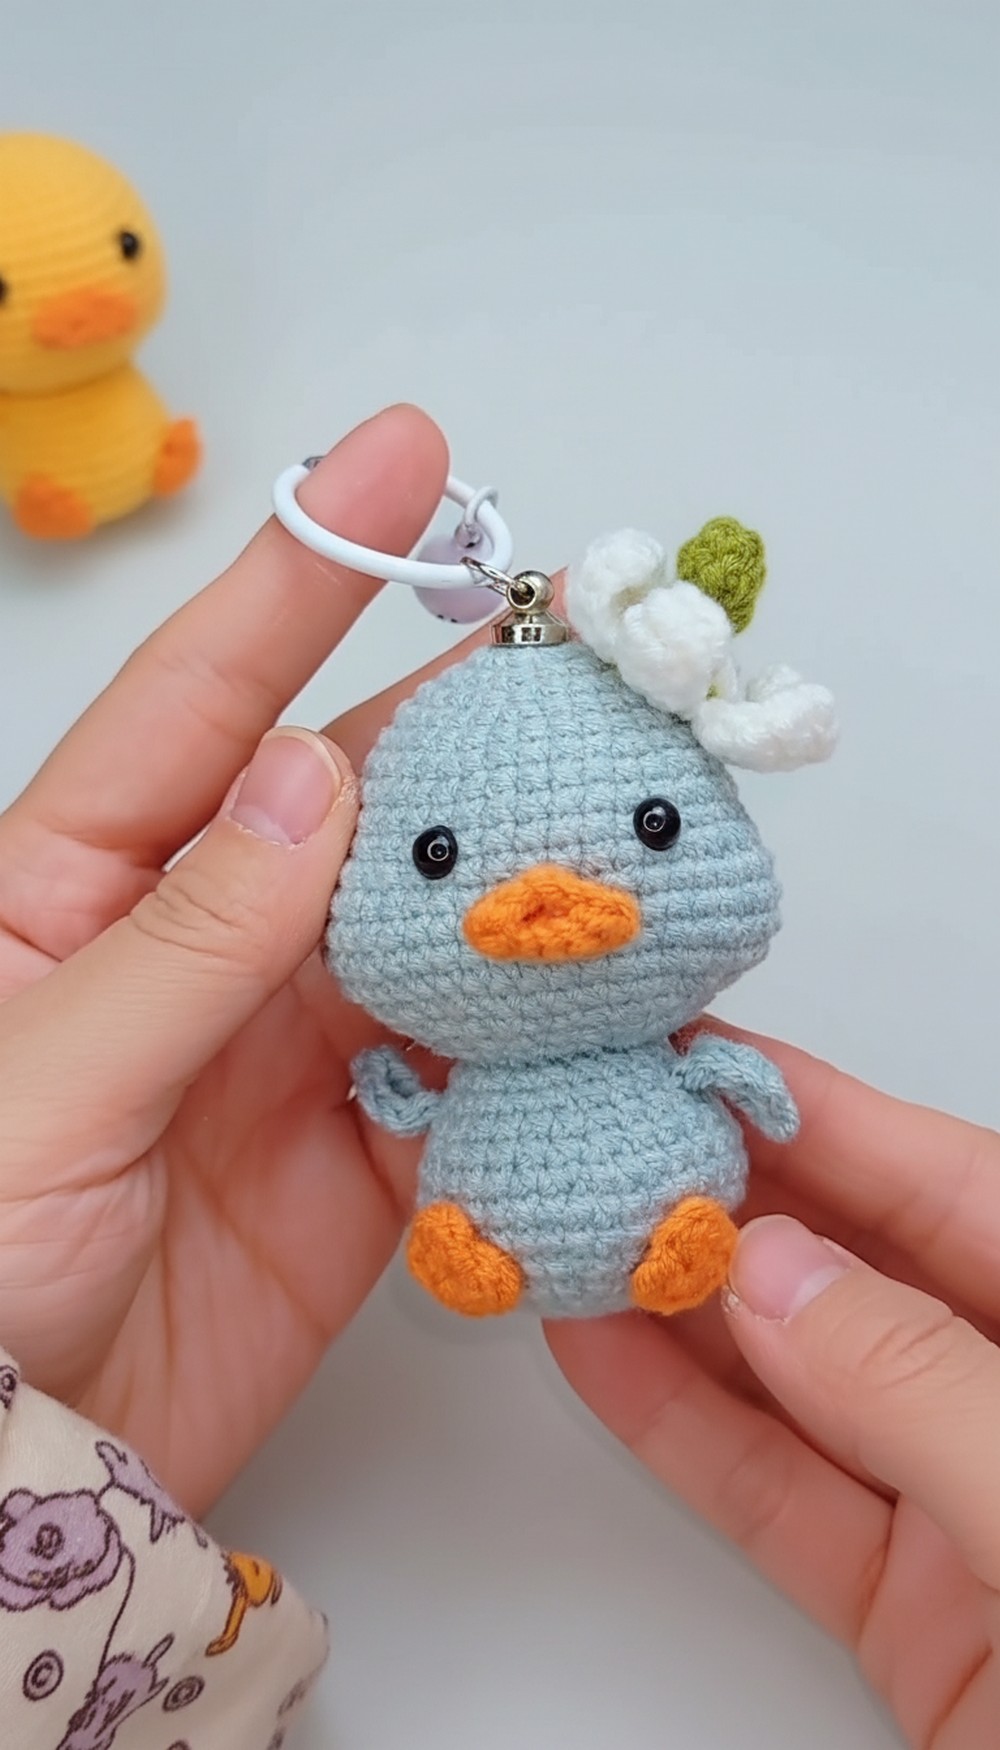
- Attach the optional daisy to the top or side of the duck for added cuteness.
- Finally, attach the keychain to complete the duck.
Conclusion:
Your crochet mini duck keychain is now ready! This handmade treasure is perfect for personal use or as a thoughtful gift. Small, compact, and full of charm, it is sure to bring a smile wherever it goes.
Pro Tip:
Use contrasting yarn colors for the mouth and daisy to make your keychain stand out, and experiment with different emotional facial features!