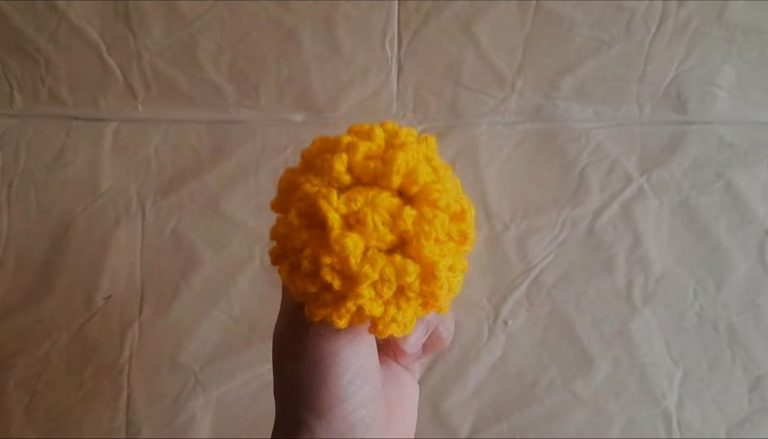
How to Crochet 3D Butterfly Pattern to Inspire Your Creativity
Wonderful Crochet 3D Butterfly Pattern Perfect for Any Skill Level
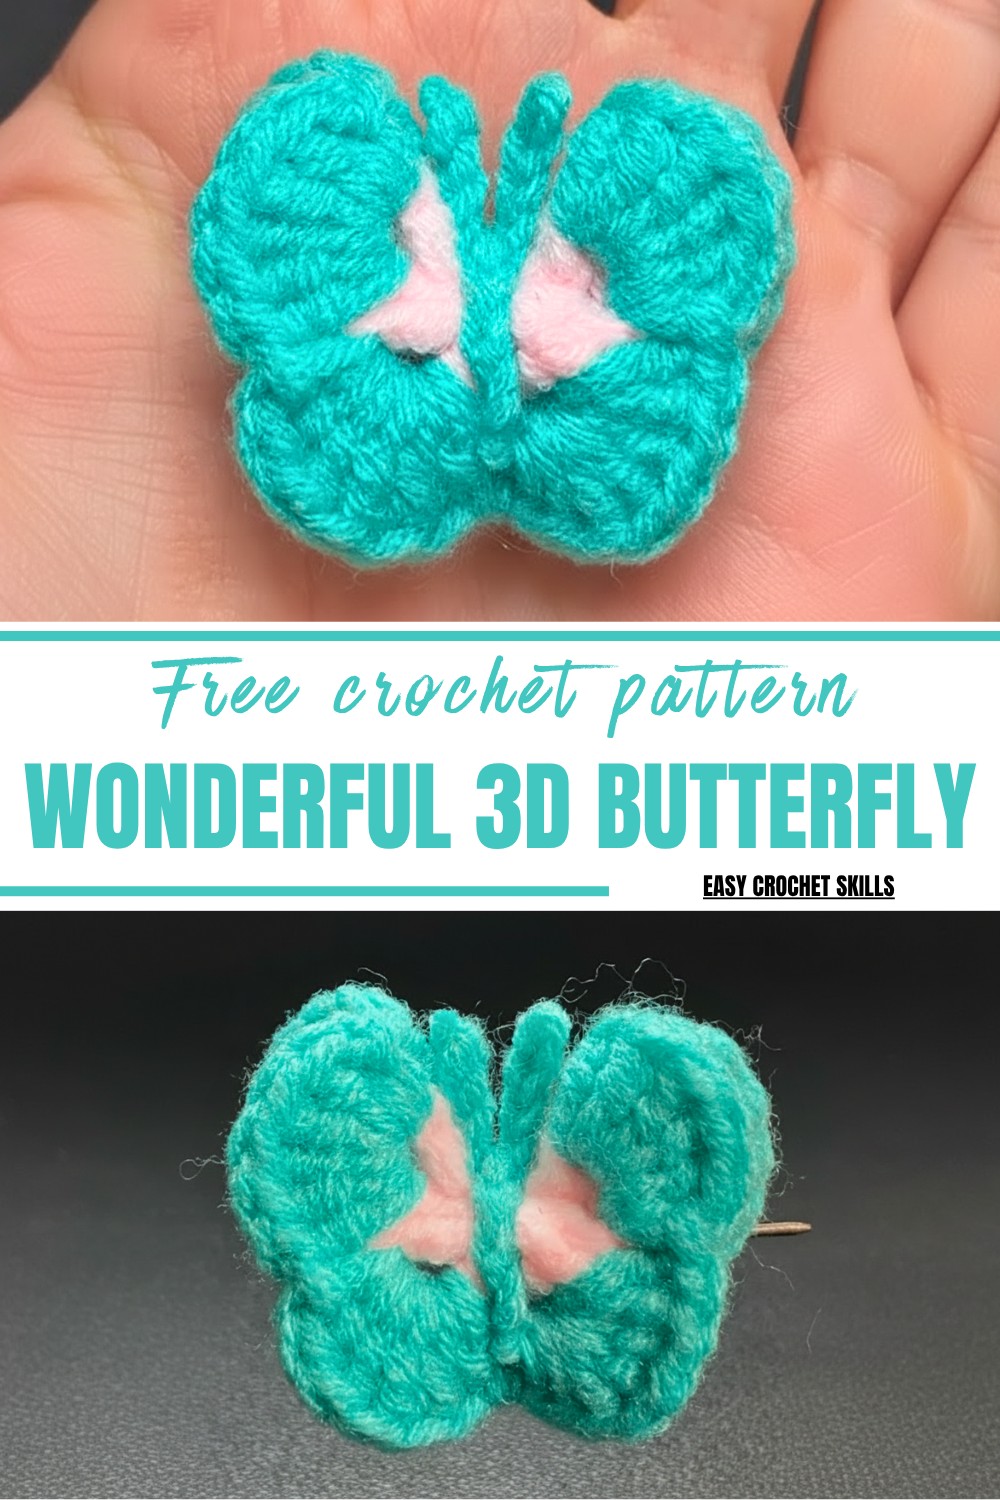
Beyond aesthetics, this project is a wonderful way to practice techniques like creating layers and shaping intricate forms. Using basic stitches like chains, double crochets, and slip stitches, you can experiment with colors and yarn textures to produce butterflies that are uniquely yours. Perfect for decorations, garments, or as standalone pieces for gifts, this pattern is both practical and beautiful.
It’s lightweight, quick to complete, and doesn’t require heavy materials, making it a budget-friendly option for creative minds. Whether you’re crocheting for fun, gifting, or selling, this pattern is a surefire way to impress. Add these vibrant pieces to your talent portfolio, and watch them bring joy to anyone who sees them!

Special Features
- Materials Needed:
- 4 strands of cotton yarn (any color of your choice).
- 2.5 mm crochet hook.
- Skill Level: Beginner to Intermediate.
- Versatility: The butterfly can be used for accessories, decorations, or even to embellish other crochet projects.
Step-by-Step Instructions
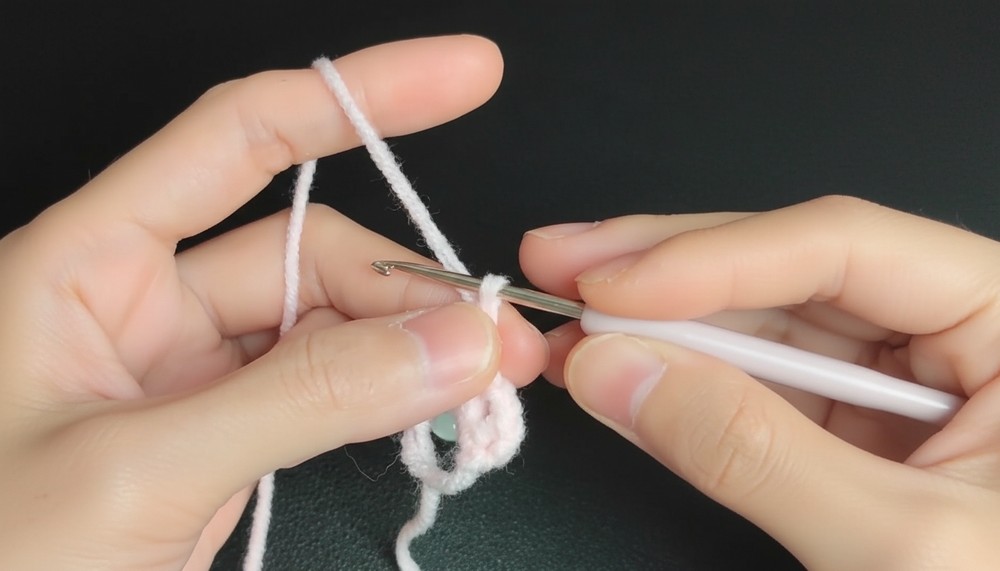
Step 1: Chain the First Foundation
- Start with 3 chains (CH) using your 2.5 mm crochet hook.
- Begin your first group:
- Work 1 double crochet (DC).
- Add 2 chains (CH) and then 2 double crochets (DC).

2: Create the First Groups
- Repeat the following steps to make a total of 6 groups:
- 2 double crochets (DC).
- 2 chains (CH) between groups.
- After completing all 6 groups:
- Join them into a circle by making a slip stitch (SL ST) at the third chain of the starting round.

3: Round Two – Build the Wings
- Start the next round by working into the 2-chain spaces of each group:
- Make 1 chain (CH).
- Add 1 single crochet (SC) to anchor.
- Work 6 double crochets (DC) into the same 2-chain space.
- Close the group with a slip stitch (SL ST) in the next 2-chain space.
- Repeat this process for each of the 2-chain spaces across the round. You should complete 8 groups of wing shapes.
- Once finished, join with a slip stitch (SL ST) to the first single crochet of this round.

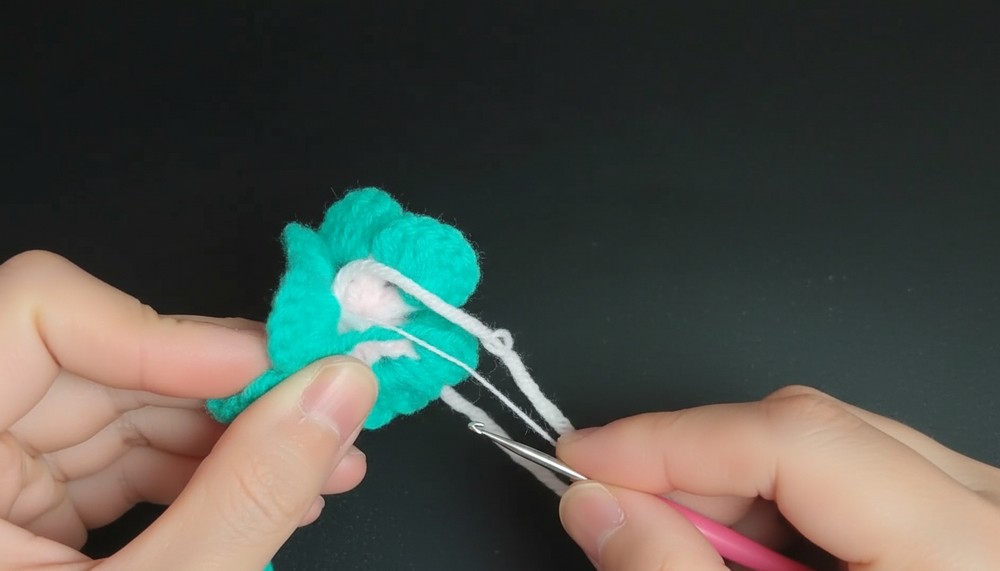
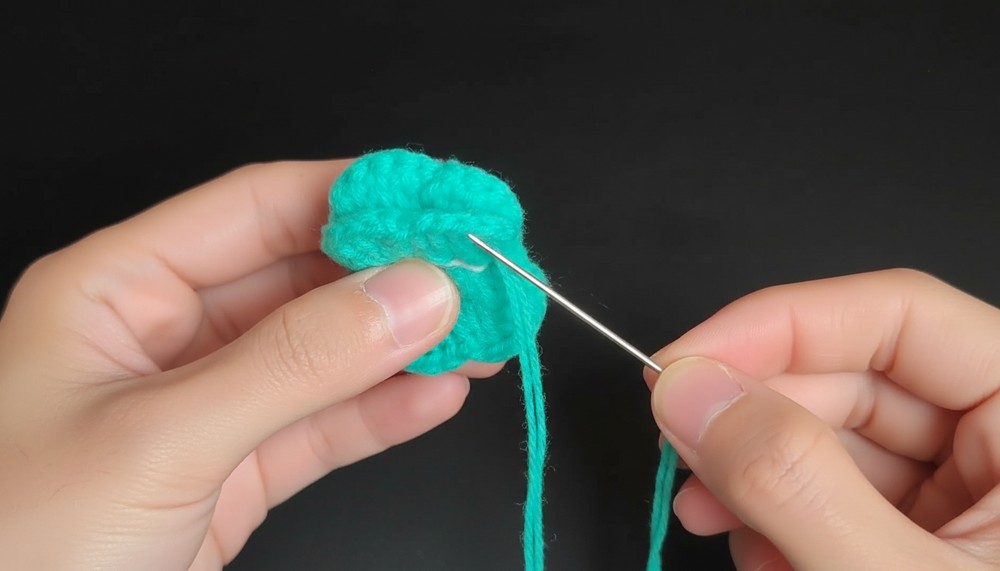
4: Forming the Body
- To create the body of the butterfly:
- Chain 9 chains (CH) from where you left off.
- Leave a longer yarn tail at the end and cut off to secure the thread.
Step 5: Antennae Formation
- For the antennas:
- Chain 28 chains (CH). Pull tight and cut off the yarn, leaving a short tail to adjust as needed.
Uses
- Brooches: Attach a small safety pin to the back for a delicate brooch.
- Hair Accessories: Fix it to a hairpin or barrette for a playful look.
- Pendants: Add a necklace chain for a unique pendant.
- Decorations: Sew it onto bags, clothes, or hats for a vibrant touch.
Tutor’s Suggestions
- Use multicolored yarn or metallic threads for a more eye-catching effect.
- For firmer wings, starch the butterfly slightly after finishing.
- Experiment with larger hook sizes and thicker yarn to make oversized butterflies for wall décor.
Difficulty Level
This project is rated Beginner to Intermediate. With its simple repetition of double crochets and slip stitches, it’s a great project for beginners. The dimensional design might require attention to detail, but it’s manageable with patience and practice.
Bonus Tip
To add extra detail, you can embroider designs onto the butterfly’s wings or add beads along the edges to make them sparkle.
Conclusion
This 3D butterfly crochet pattern is a delightful project that brings beauty and versatility to your creations. From accessories to home décor, the end result is both functional and decorative. With just a little effort, you can crochet a stunning design that truly showcases your crochet skills.