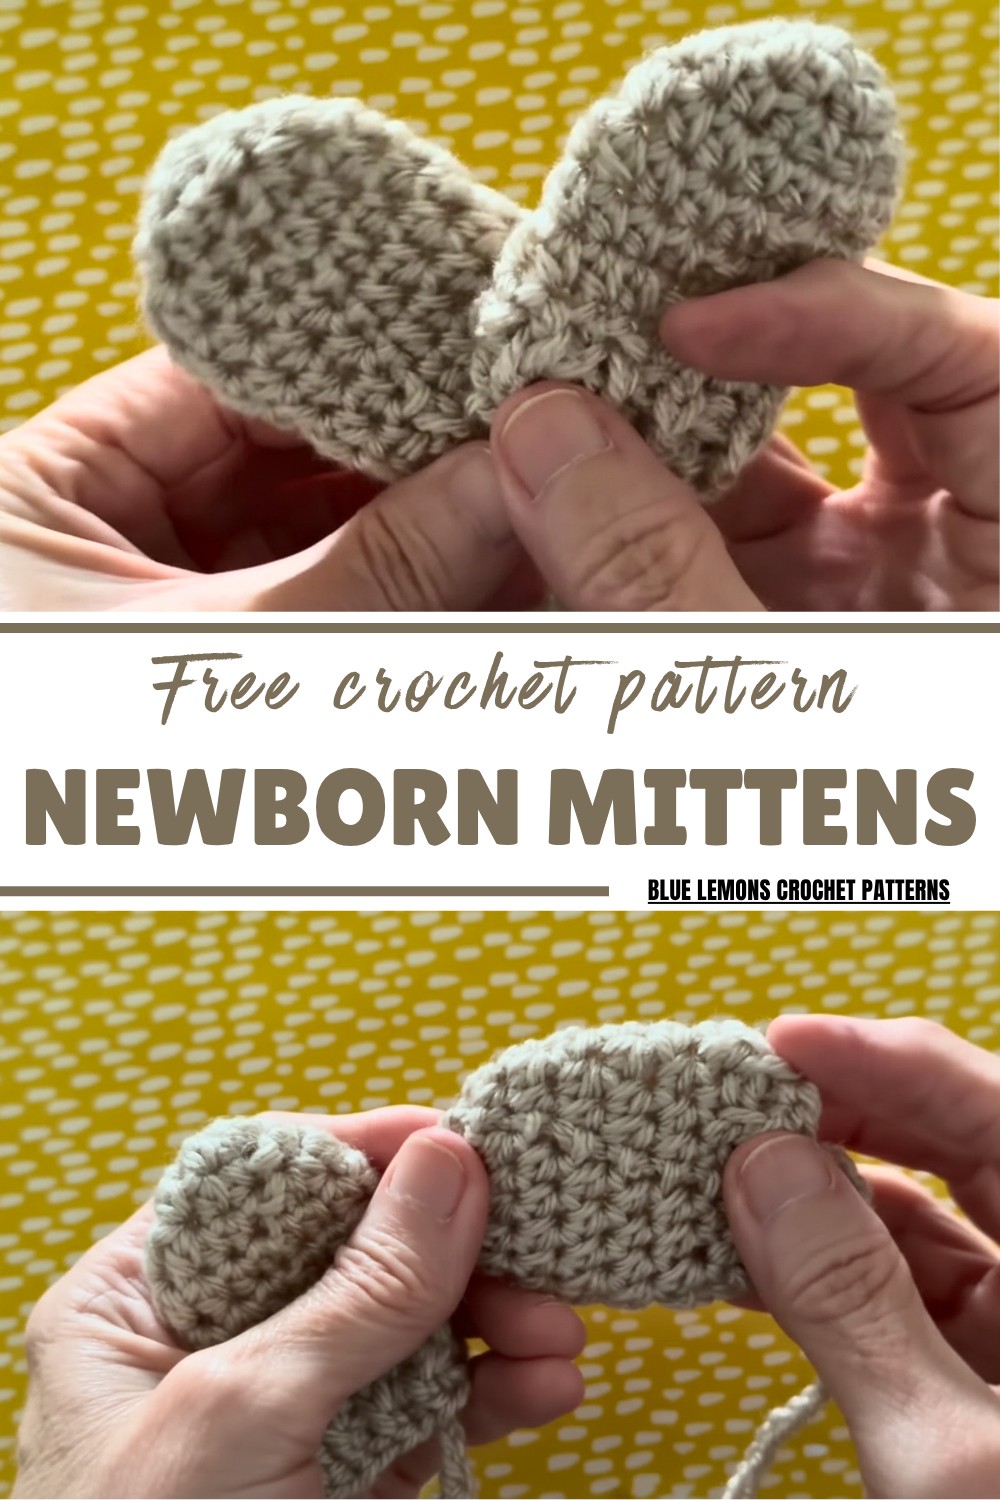
Quick Crochet Newborn Mittens Pattern for Cute Baby Accessories
Keep tiny hands warm effortlessly with this trendy and free crochet newborn mittens pattern, perfect for beginners and thoughtful gifts.
Nothing feels more comforting than tiny hands wrapped in something soft and snug. This adorable pattern is designed to keep newborn fingers warm while ensuring comfort and practicality. With a minimal stitch pattern, it works up quickly and suits crocheters of all skill levels. The result is perfect for protecting babies from scratching their delicate skin or keeping their hands cozy during chilly outings.
Perfect Crochet Newborn Mittens Pattern for Little Hands
What sets this pattern apart is its thoughtful details, like the option to add a connecting cord to prevent the mittens from getting lost during outdoor use. The flexibility in yarn choices and colors allows for easy customization, making it a fantastic baby shower gift or an essential piece for your little one’s wardrobe. You can even add decorative touches, such as ribbons, for an extra charm.
The pattern’s beginner-friendly approach ensures that even novices can confidently crochet something special in no time. With functionality and style combined, this newborn mittens pattern is as delightful to make as it is practical to use. Whether you’re a parent searching for a practical solution or a crochet lover seeking a meaningful project, this pattern is a must-try for keeping little hands warm with love and care.
Special Features:
- Skill Level: Beginner.
- Time-Friendly: Takes minimal time to complete (9 rows).
- Connected Mittens: Includes a chain cord to prevent losing the mittens.
- Customizable: Adjust the sizing if needed or add decorative touches like ribbons.
- Practical Design: Keeps tiny hands warm during autumn and winter outings.
Materials Needed
- Yarn: Double-knit weight (3) yarn.
- Hook: 3mm crochet hook.
- Tapestry needle (Preferably with a sharp point).
- Scissors for trimming yarn.
- Optional: Ribbon if you’d like to embellish or fasten the mittens.
Pattern Instructions
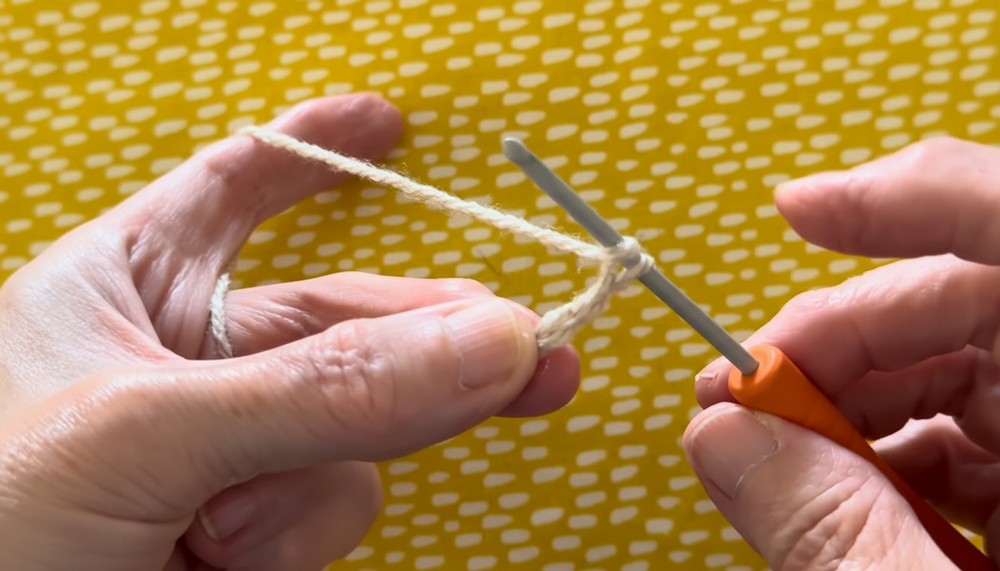
Step 1: Magic Ring and Foundation Round
- Make a Slip Knot: Create a slip knot, ensuring the tail end tightens the loop on the hook, and the working yarn loosens it.
- Chain 2: Start with two chains.
- Round 1:
- Work 5 half double crochets (hdc) into the second chain from the hook:
- Yarn over, insert the hook into the chain, yarn over and pull up a loop (3 loops on hook), yarn over and pull through all three loops.
- Pull the tail of the magic ring to close tightly.
- Slip stitch into the first stitch to join the round (ignore the starting chain).
- Total stitches: 5.
- Work 5 half double crochets (hdc) into the second chain from the hook:
2: Increase Round
- Round 2: Chain 1.
- Work 2 hdc into each stitch around, starting at the base of the chain.
- At the end of this round, you will have 10 stitches.
- Join with a slip stitch into the first stitch.
3: Final Increase Round
- Round 3: Chain 1.
- In the first stitch, work 2 hdc.
- In the next stitch, work 1 hdc.
- Repeat the sequence (2 hdc, 1 hdc) around.
- At the end of this round, you will have 15 stitches.
- Join with a slip stitch into the first stitch.
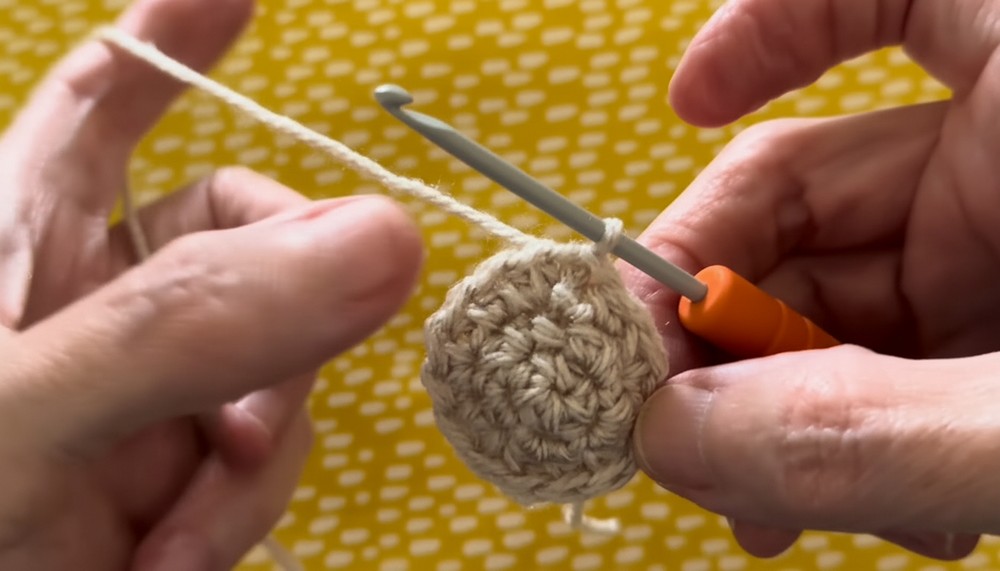
4: Build Size Without Increasing
- Rounds 4–8: Chain 1 at the start of each round.
- Work 1 hdc into each stitch (15 stitches in total per round).
- End each round with a slip stitch into the first stitch.
- This creates the body of the mitten.
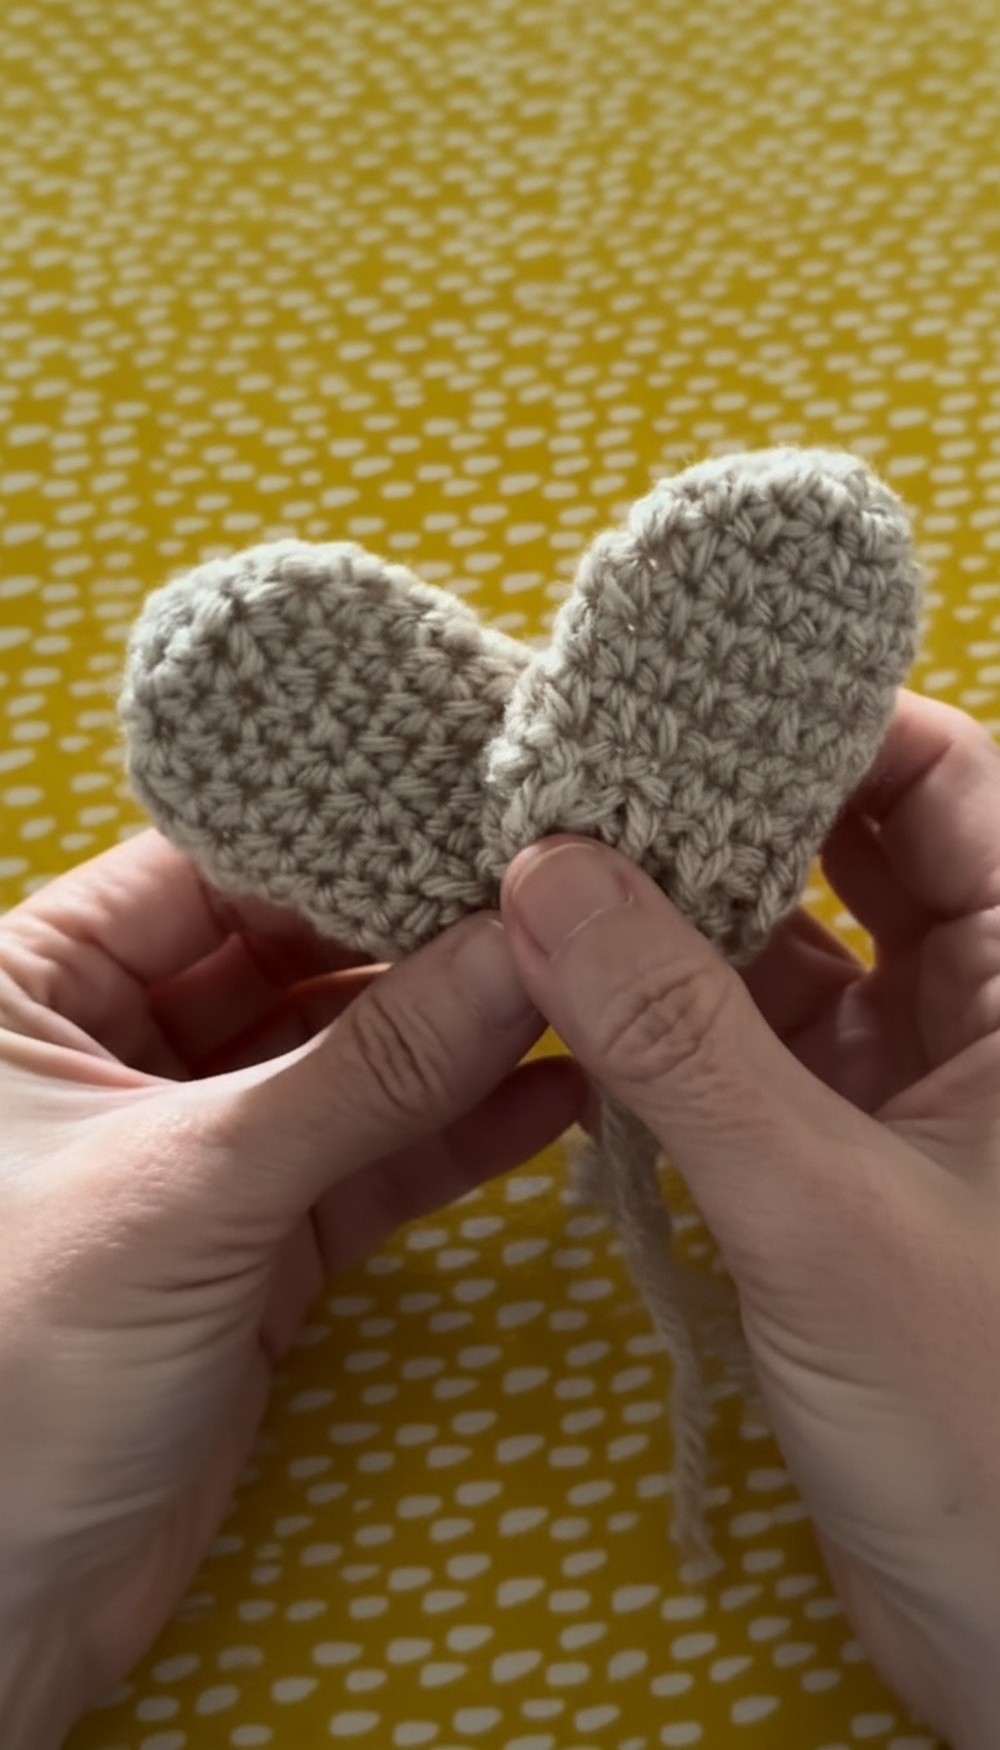
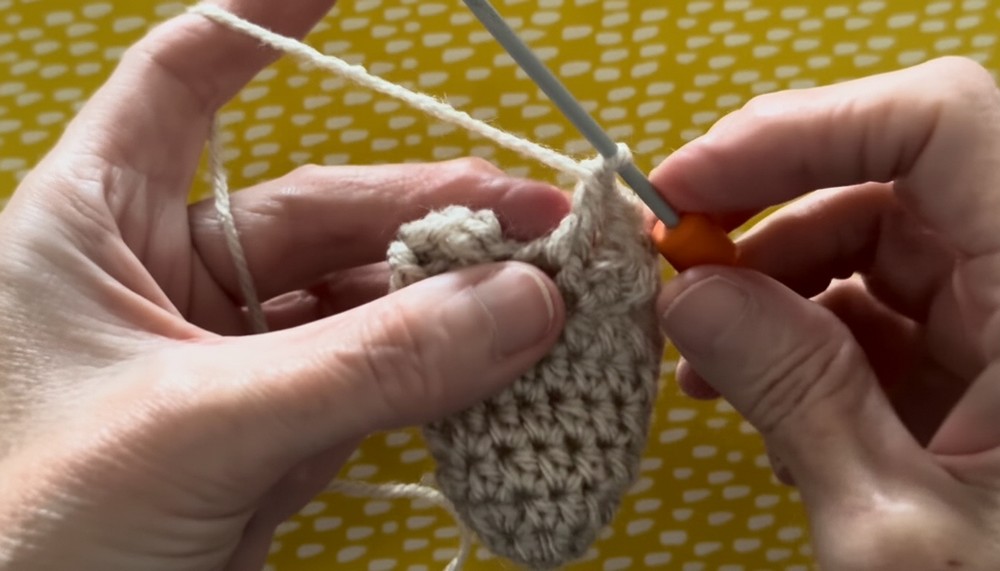
5: Decorative Edge (Final Round)
- Round 9: Add texture with front and back post double crochets.
- Chain 2 (counts as the first stitch).
- Alternate between front post double crochet (fpdc) and back post double crochet (bpdc) around:
- Fpdc: Yarn over, insert the hook from front to back to front around the post of the stitch, yarn over and pull through, yarn over and pull through two, yarn over and pull through the remaining two loops.
- Bpdc: Yarn over, insert the hook from back to front to back around the post of the stitch, yarn over and pull through, yarn over and pull through two, yarn over and pull through the remaining two loops.
- Continue alternating until the end of the round.
- Slip stitch into the top of the first stitch to finish.
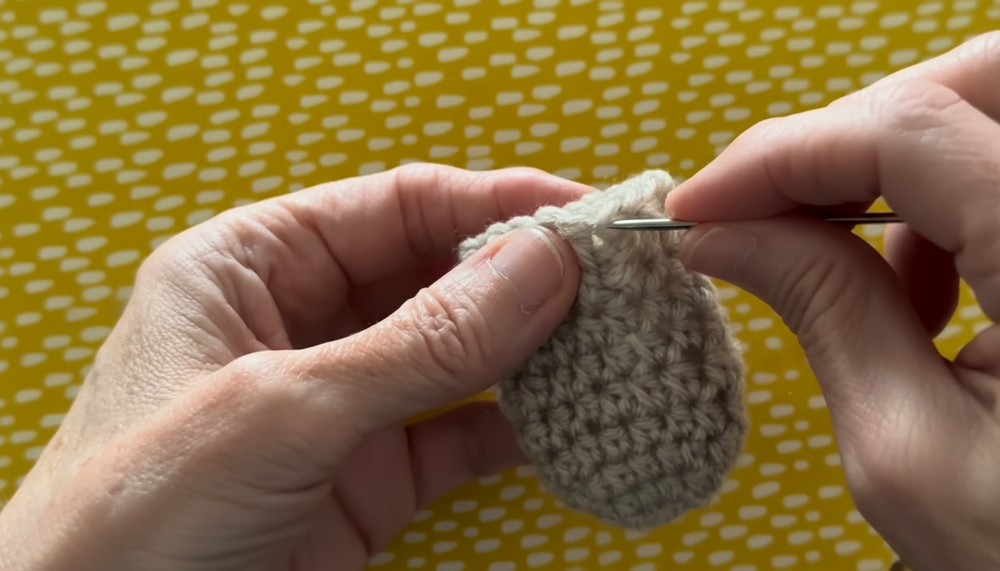
Final Touches
- Fasten Off: After Round 9, fasten off and use a tapestry needle to weave in any loose ends.
Optional: Connecting Cord
- Using the same yarn, chain a long cord measuring from one mitten, across the baby’s shoulders, and to the other mitten (this keeps the mittens from getting lost).
- Attach the cord securely to each mitten using a tapestry needle, sewing neatly for durability.
Optional: Ribbon Decoration
- A ribbon can be woven through the wrists of the mittens to tighten them softly if desired.
- Make sure not to tie them too tightly.
Tutor’s Suggestions
- Keep your stitches loose and relaxed to create a comfortable fit for the baby.
- If you’re a beginner, use markers to keep track of rounds.
- Always double-check stitch counts at the end of rounds for accuracy.
Tip
For added durability, split the yarn as you weave in ends. This ensures the yarn stays in place and the mittens remain intact, even with frequent wear.
Conclusion
This quick and simple newborn mittens pattern is the perfect project for crocheters of all skill levels. With just nine rows, you can crochet a cozy and practical accessory to keep tiny hands warm. Whether you’re preparing it for your little one or as a heartfelt gift, this pattern is functional, adorable, and easy to customize.