Easy Crochet Chick Amigurumi Pattern Perfect for Toys & Décor
Find the Free Crochet Chick Amigurumi Pattern that simplifies cute handmade gifts while unlocking endless creative possibilities.
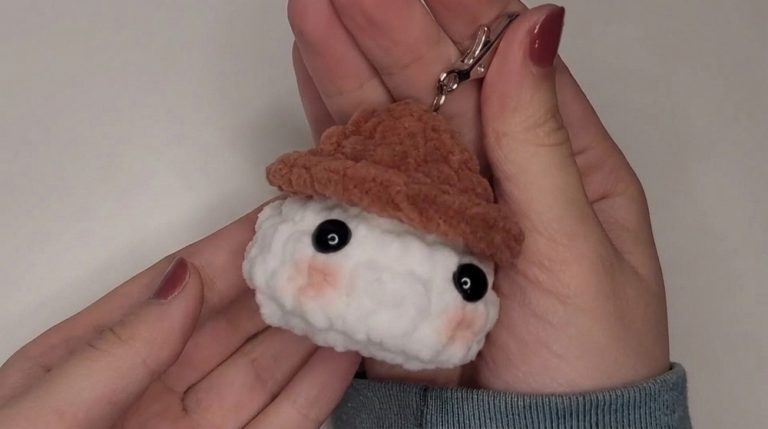
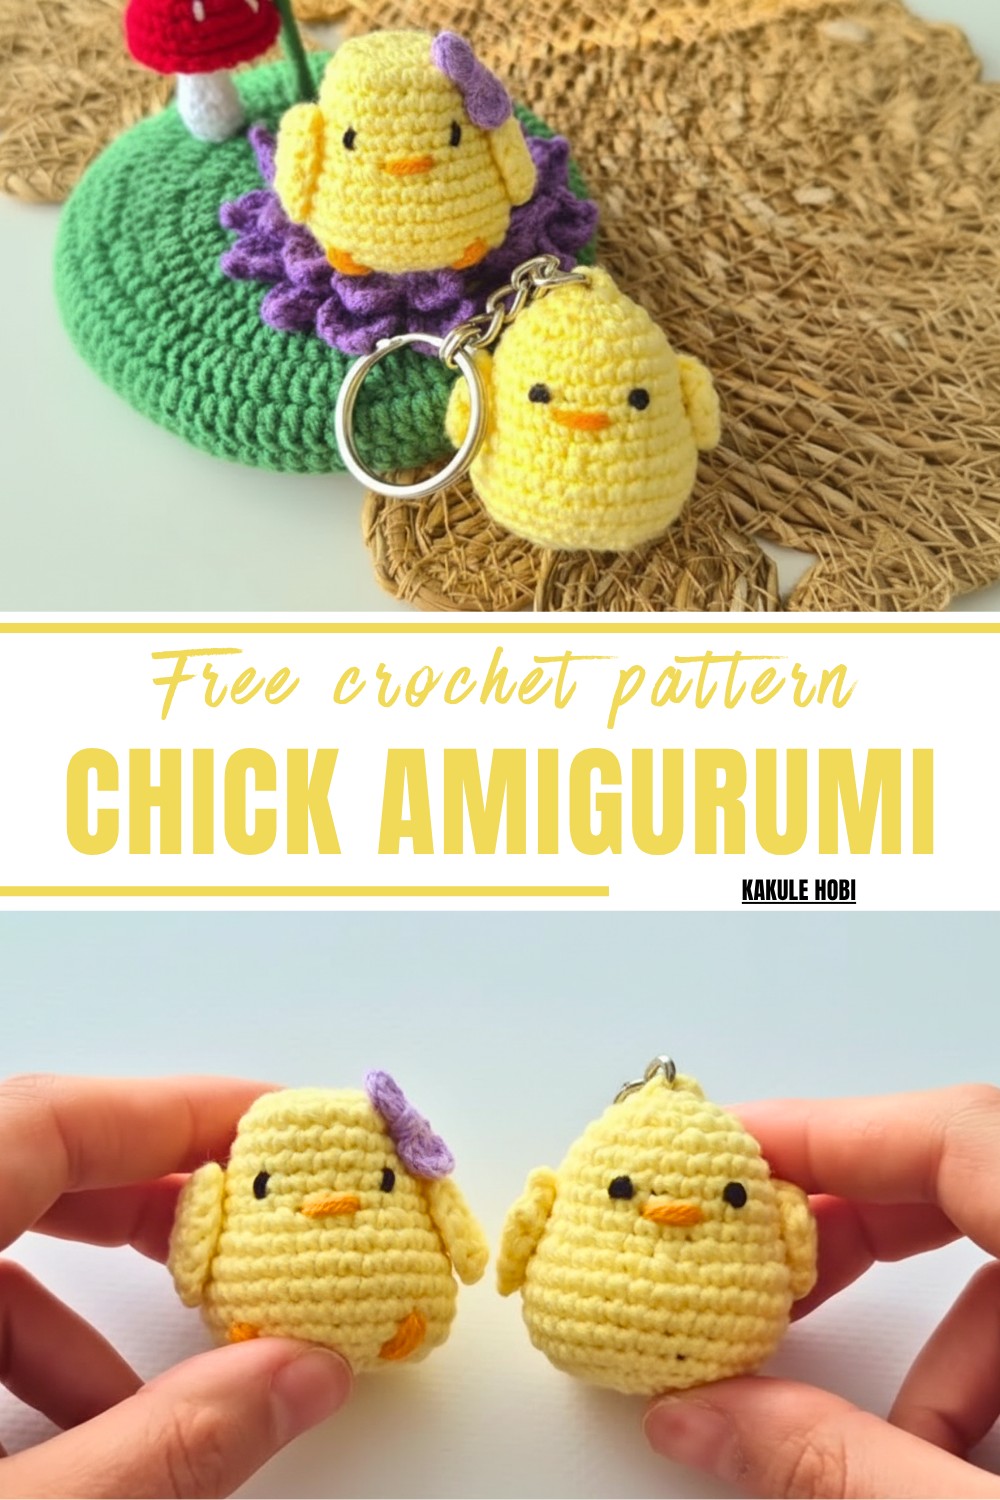
Searching for a cozy weekend project that’s equal parts fun and functional? This adorable crochet chick amigurumi pattern fits the bill perfectly! Designed to bring joy to both crocheters and recipients, this tiny treasure offers endless versatility. Use it as a playful keychain, a cheerful addition to your bag, or even as a decorative element in a spring-inspired bouquet. Its compact size makes it a charming accessory, while its soft, stuffed pattern ensures it doubles as a comforting keepsake.
Learn Free Crochet Chick Amigurumi Pattern for Cute Creations
Not just a cute addition to your crochet collection, this pattern is also a fantastic way to practice basics like single crochets, increases, and decreases. It’s the kind of handmade project that feels satisfying to finish and even more rewarding to gift.
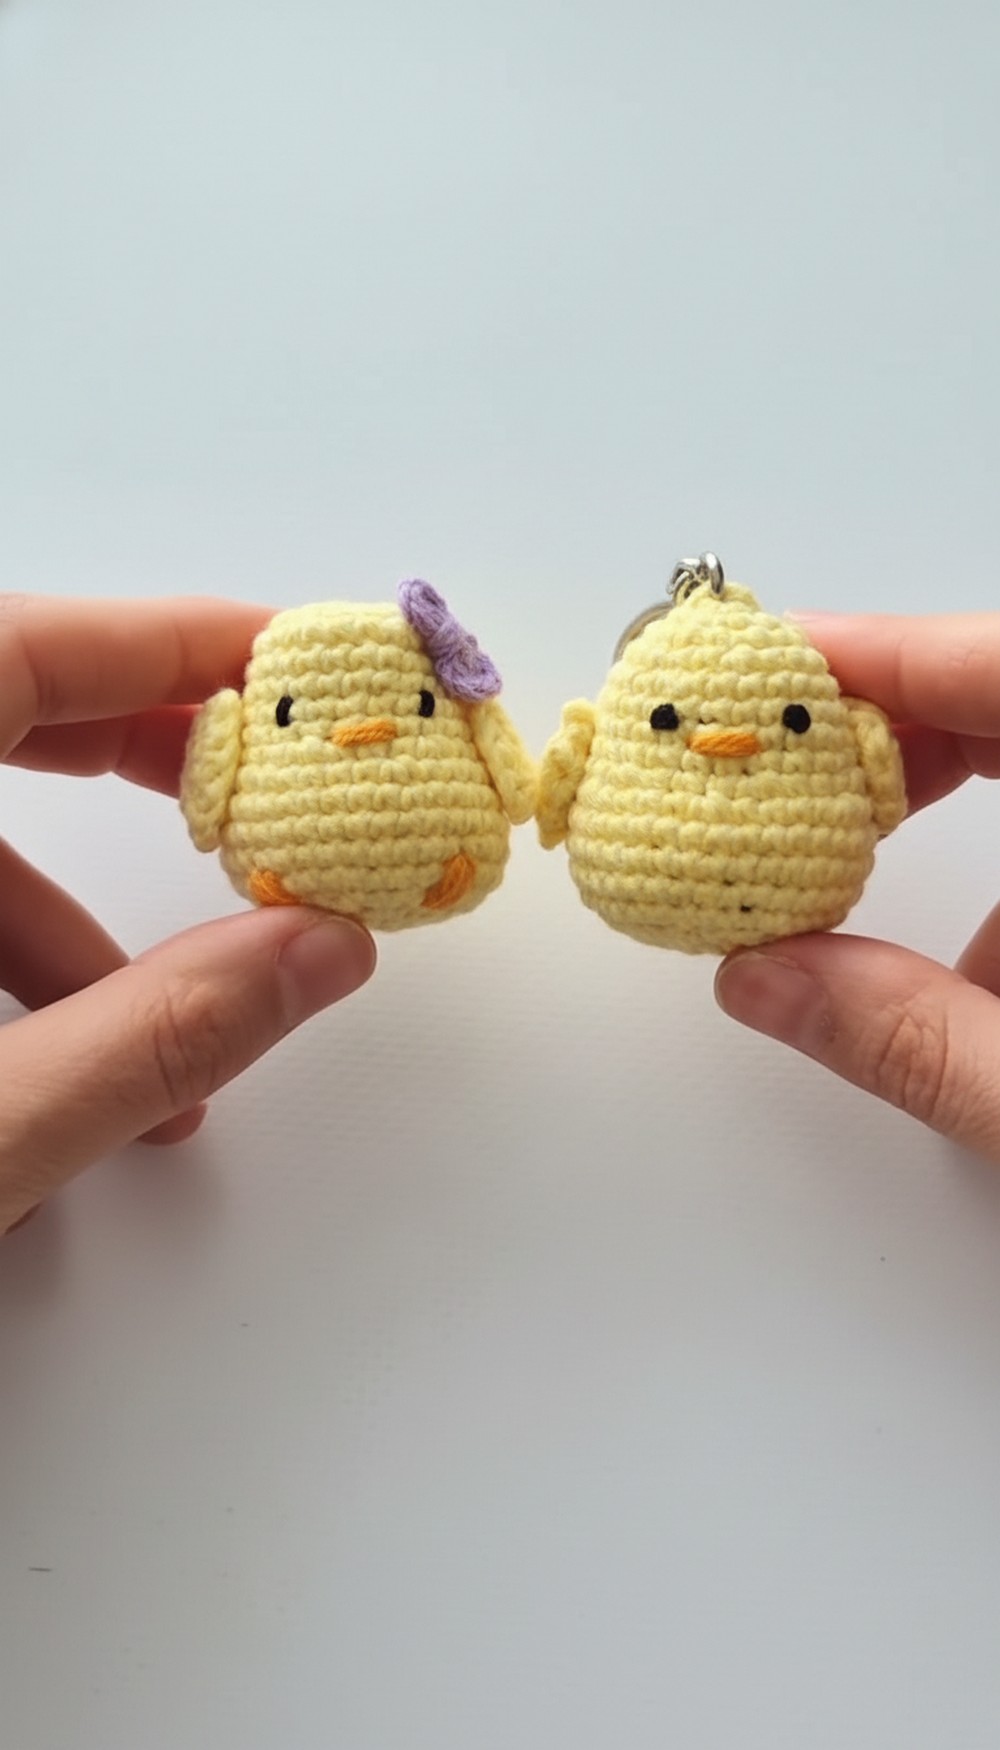
Whether you’re new to crochet or a seasoned pro, this chick amigurumi pattern balances simplicity with style, making it suitable for everyone. Customizable in colors and details, each chick you crochet will have its own unique charm, ready to bring a smile to anyone lucky enough to receive it.
Skill Level:
Beginner-friendly – Includes basic crochet techniques like magic ring, single crochet, increases, decreases, and more.
Materials Needed
- Yarn: Cotton yarn in yellow (body), orange (beak and feet), and black (eyes). Lilac yarn for bow (optional).
- Crochet Hook: 2 mm size.
- Fiberfill Stuffing: To fill the chick.
- Magnets (optional): For the flying chick version (3 small magnets recommended).
- Stitch Marker: You can use yarn or a regular stitch marker.
- Needle: For sewing parts and embroidering details.
- Glue: Cold silicone glue or any strong adhesive (for keychain/badge option).
Abbreviations (US Terms):
- MR: Magic Ring
- sc: Single Crochet
- inc: Increase (2 single crochet in the same stitch)
- dec: Decrease (sc2tog / single crochet 2 together)
- sl st: Slip Stitch
- ch: Chain
Step-by-Step Pattern
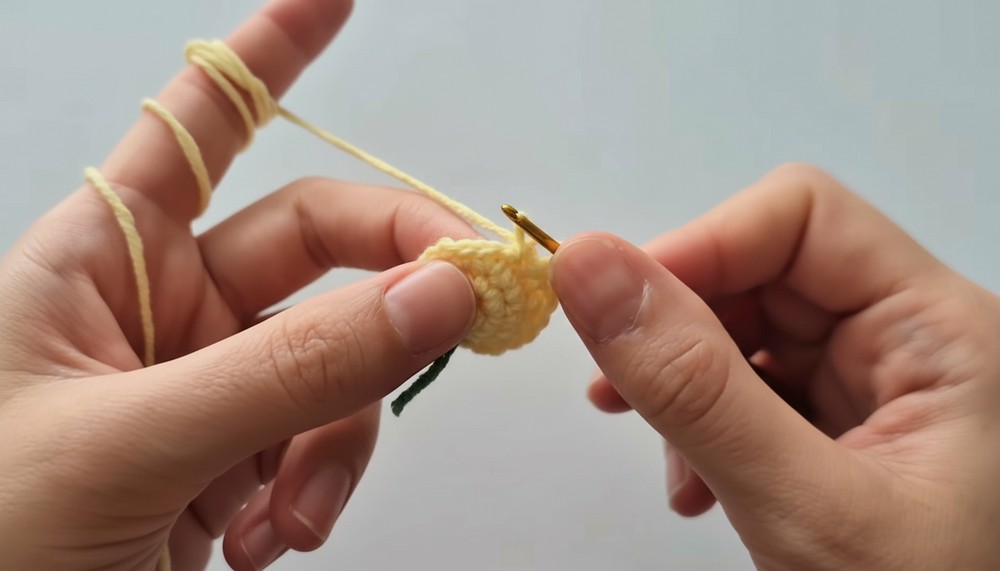
Chick Body
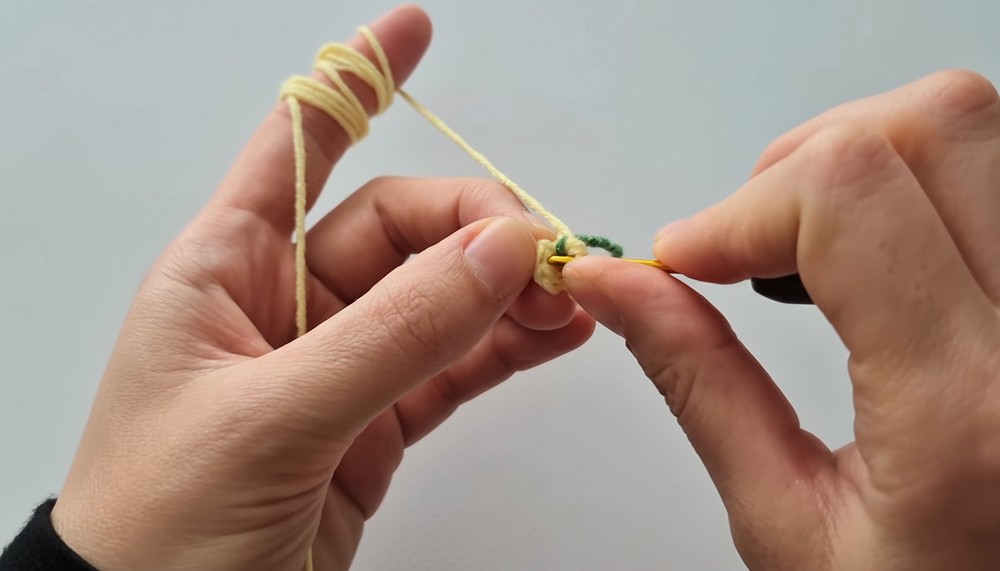
- Row 1: Start with a Magic Ring (MR). Make 6 sc into the ring. Pull the ring tight to close the center. Mark the first stitch with a stitch marker. (6 sts total)
- Row 2: Make 2 sc in each st around (inc in every stitch). (12 sts total)
- Row 3: Alternate 1 sc, 1 inc till the end of the round. (18 sts total)
- Row 4: Alternate 2 sc, 1 inc till the end of the round. (24 sts total)
- Row 5–8: 1 sc in each st around (plain stitch). Keep your tension even to maintain the round shape. (24 sts per row)
- Row 9: Alternate 3 sc, 1 inc till the end of the round. (30 sts total)
- Row 10: Alternate 4 sc, 1 inc till the end of the round. (36 sts total)
- Row 11-14: 1 sc in each st around. Maintain even tension to ensure a neat shape. (36 sts per row)
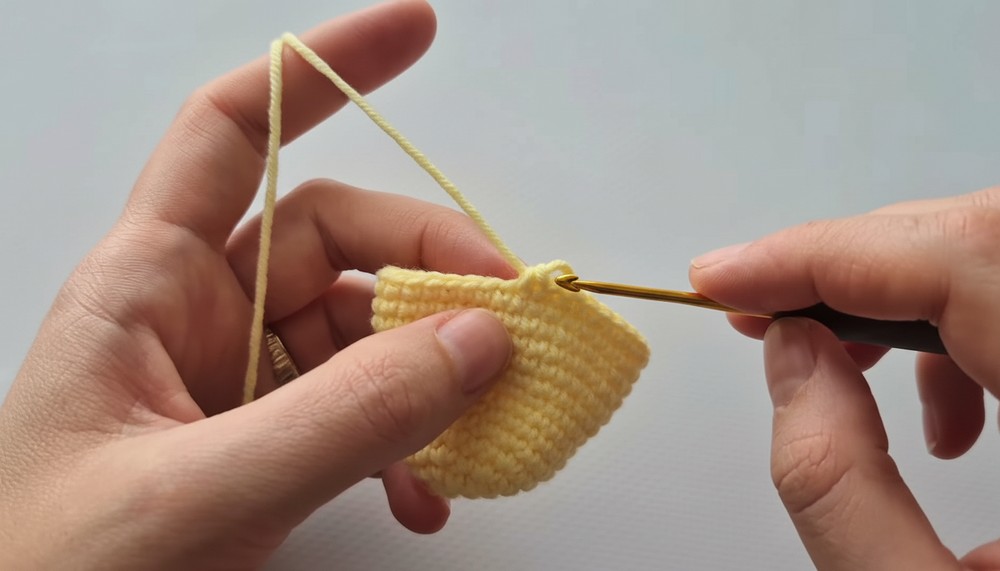
Decreasing Rounds
- Row 15: Alternate 2 sc, 1 dec till the end of the round. (27 sts total)
- Row 16: Alternate 1 sc, 1 dec till the end of the round. (18 sts total)
- Row 17: Dec in each stitch (Make 9 decreases across the round). (9 sts total)
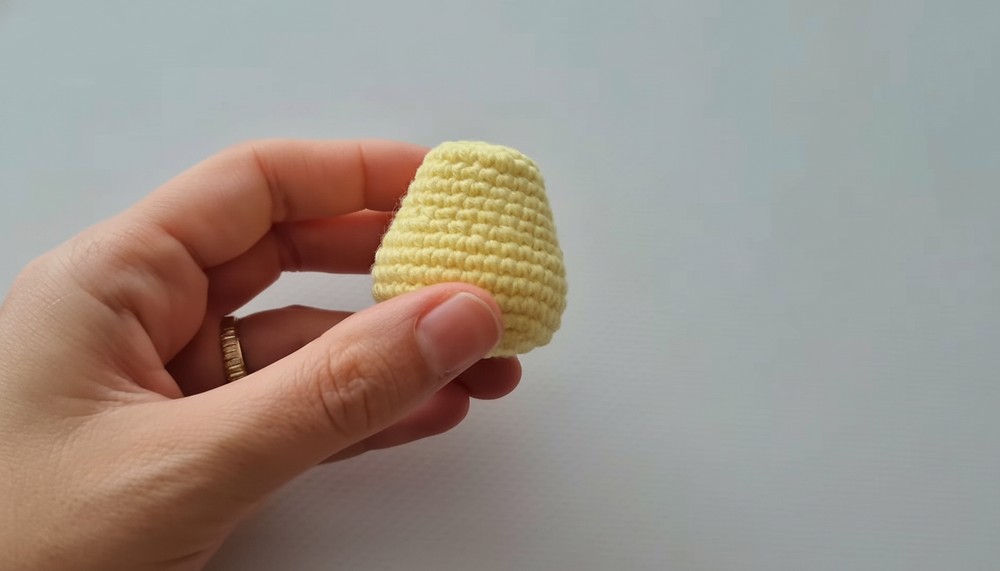
Stuffing the Chick
- Stop at this point and stuff the chick evenly with fiberfill. If you’re creating a flying magnet chick, insert 3 small magnets into the fiberfill in the head area. Adjust to ensure the chick holds its shape firmly.
- Tip: If you want to use it as a keychain, skip adding the magnets.
Finishing the Body
- Cut the yarn with a long tail. Thread a needle and weave it through the front loops of the last 9 stitches. Pull tight to close the opening securely.
- Insert the needle into the chick and pull it out through the opposite side to hide the tail. Trim any excess yarn.
Wings
- Row 1: Start by making a Magic Ring (MR) with 6 sc. Pull tight to close. (6 sts total)
- Row 2: 2 sc in each st around (inc in every stitch). (12 sts total)
- Fold Piece in Half: Fold the circle in half. Crochet through both layers to close the wing as follows: Work 5 sc evenly across the edge, stitching through corresponding stitches on both sides.
- Finish off and leave a long tail for sewing.
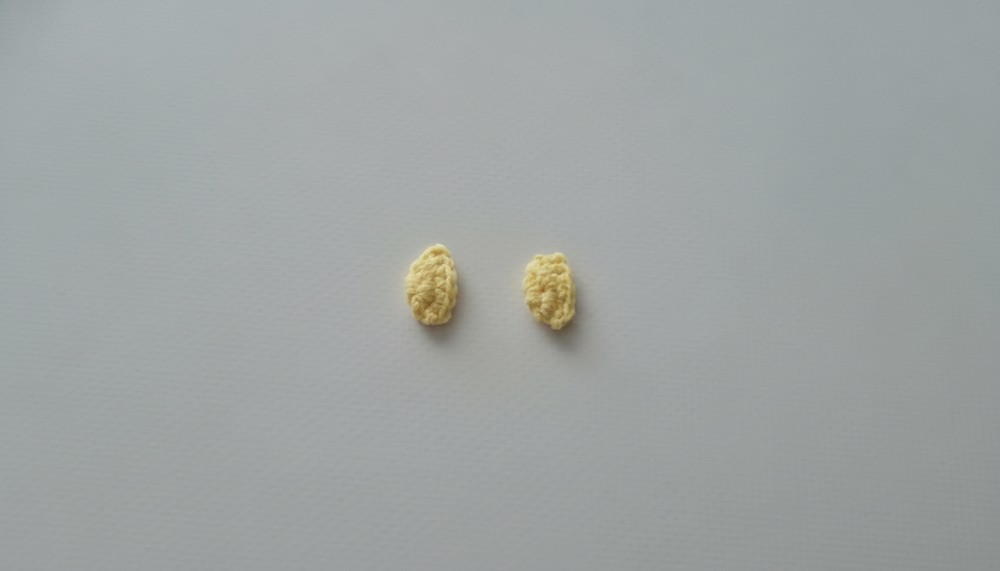
- Make 2 wings following the same process.
Beak
- Count down 8 rows from the top of the chick. Place the needle in the middle of rows 8-9. Secure orange yarn and embroider the beak over 2 stitches in a triangle shape. Pass the yarn through multiple times to create a fuller look.
Feet
- Count down 5 rows below the beak for the feet location. Use orange yarn, and embroider feet over 2 rows for each leg. Stitch several times for a bold and prominent look.
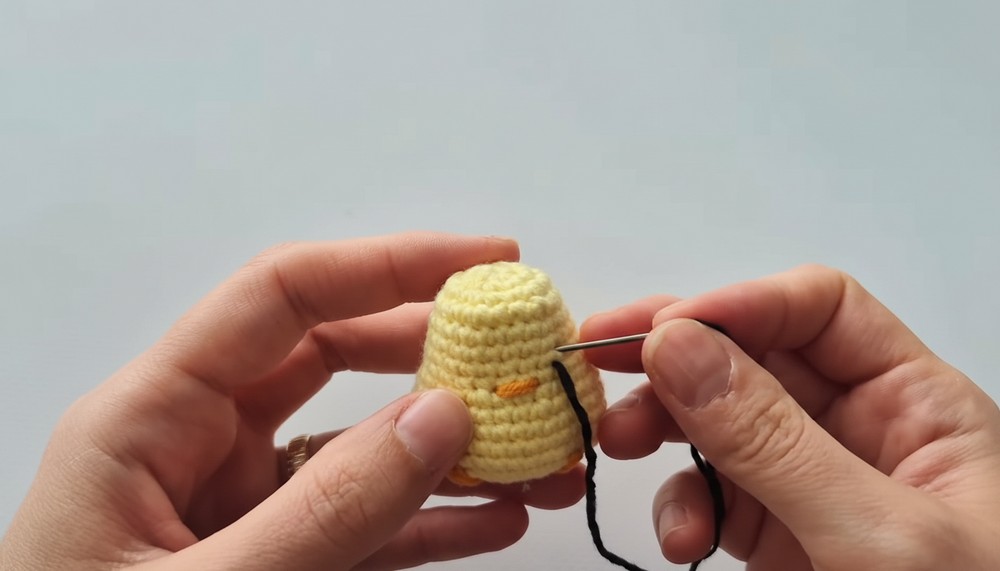
Eyes
- Place the eyes directly on the row above the beak. Use black yarn to embroider oval-shaped eyes. Create a tidy loop at each spot to ensure consistency.
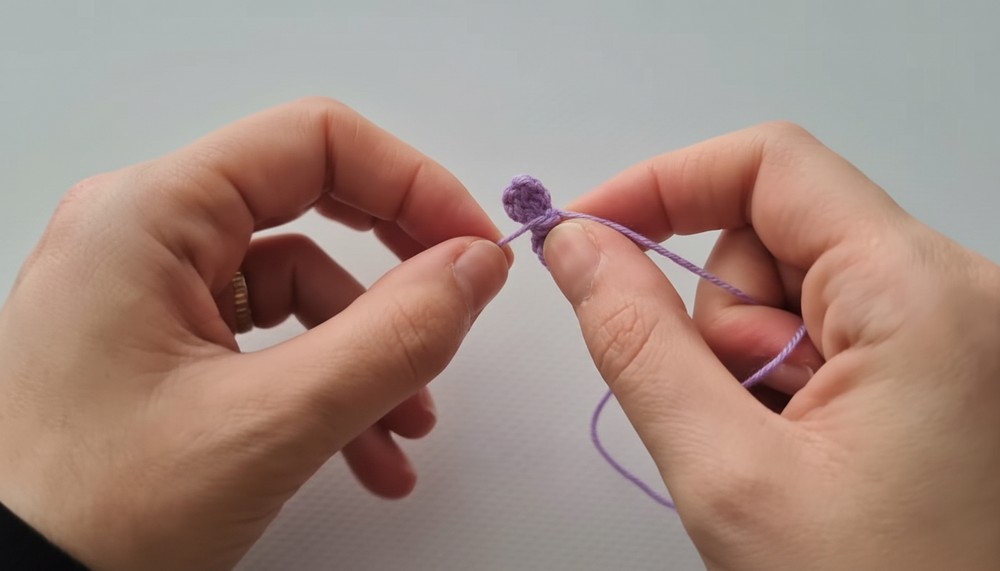
Bow (Optional)
- Step 1: Create a Magic Ring (MR).
- Step 2: Work 2 ch, 2 dc, 2 ch, and a sl st into the ring. This completes one side of the bow.
- Step 3: Repeat the same process to create the second side of the bow. Pull the MR tight to close.
- Step 4: Wrap the yarn tail around the center of the bow several times to form the middle knot. Tie and trim excess yarn.
Assembly
- Attach Wings: Using glue or sewing, attach the wings to the sides of the body. Ensure they are symmetrical.
- Attach Bow (Optional): Glue or sew the bow on the top or near the neck area for added charm.
- Add Keychain Ring (Optional): Glue the keychain loop securely to the back of the chick.
Special Features
- The compact design makes it perfect for various uses—flying toy, keychain, or decorative element in bouquets and gifts.
- Beginner-friendly with easily customizable colors for personalization.
Tutor’s Suggestions
- Use cold silicone glue for strong and secure adhesion when attaching accessories or keychain rings.
- If making a flying chick, use multiple magnets to ensure a strong hold.
Tip
For a neater appearance when decreasing, crochet tighter or switch to a slightly smaller hook size during the final rounds. This prevents holes from forming.
Conclusion
Your crochet little chick amigurumi is now complete! With its charming details and versatile functionality, this cute creation is bound to bring smiles wherever it goes. Whether as a thoughtful handmade gift, a cute keychain, or a playful decor piece, this pattern is a joy to crochet and share.