
Beginner-Friendly Crochet Balls Amigurumi Pattern You’ll Love
How to Crochet Balls Amigurumi Pattern That Look Amazing Every Time
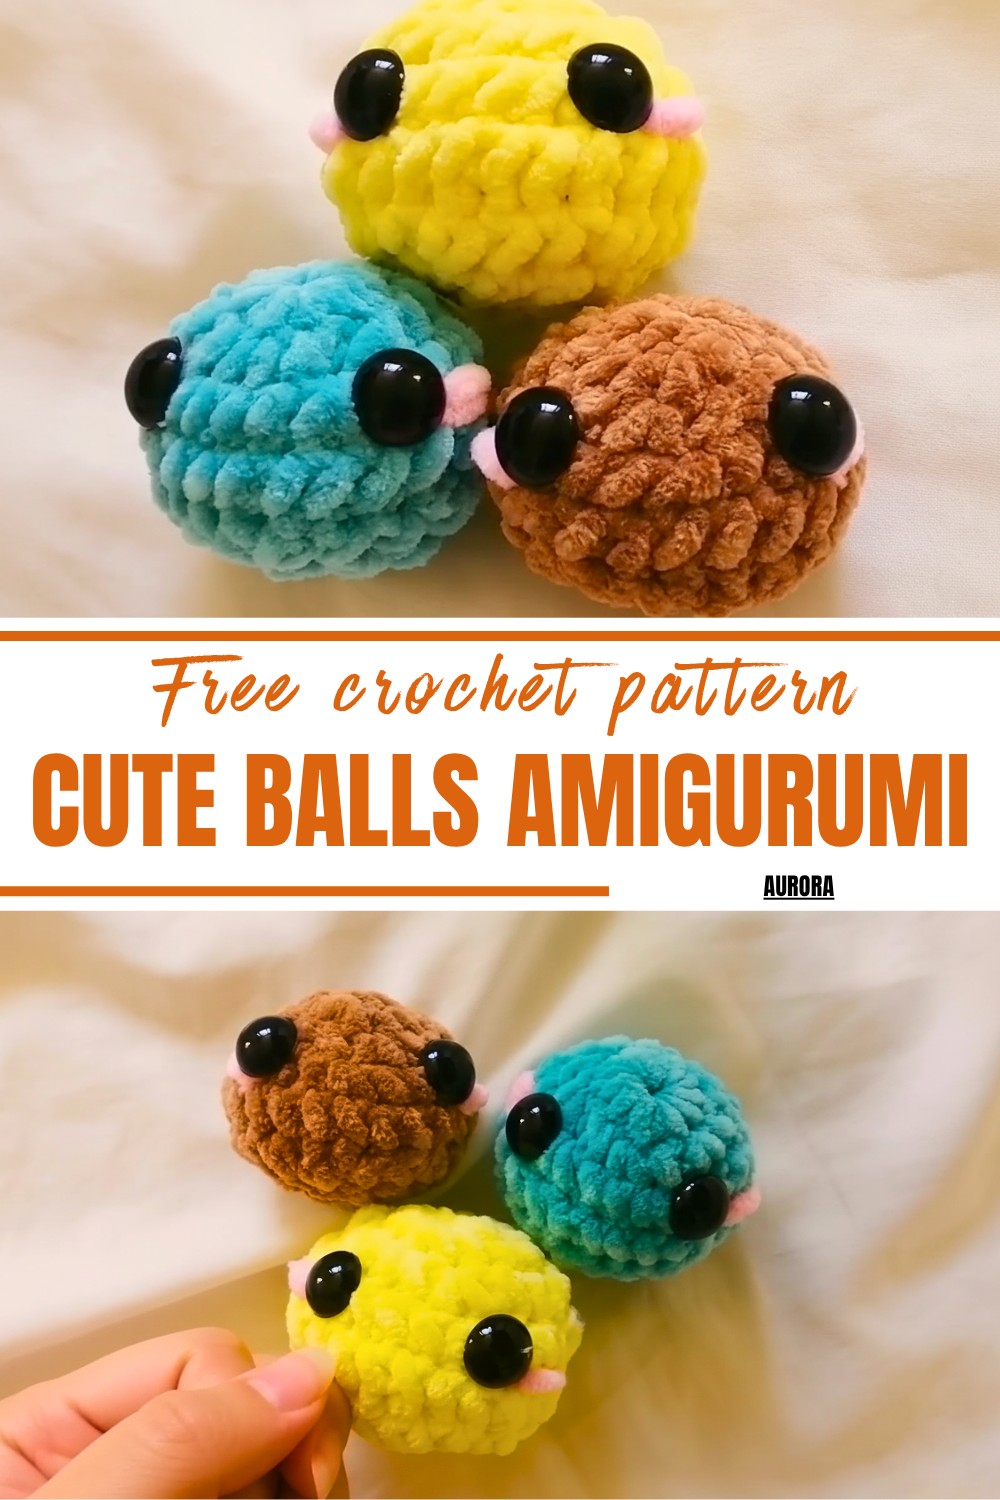
One of the best things about this adorable crochet pattern is how they help build foundational skills for crochet enthusiasts. Working with techniques like the magic ring and single crochet stitches, beginners can take valuable steps toward mastering amigurumi design. Plus, they’re lightweight and portable, allowing you to crochet on the go.
Fall into the soothing rhythm of stitching, and within just a short time, you’ll end up with a delightful creation that serves both practical and decorative purposes. It’s a small project with big possibilities!
Crochet Amigurumi Ball Pattern: A Step-by-Step Guide
Difficulty Level: Beginner-Friendly
Special Features:
- Uses simple stitches (single crochet and increases/decreases).
- Perfect for beginners or as a calming crochet project.
- Adorable and versatile pattern — can be used for toys, decor, or gifts!
Materials Required:
- Yarn: Any color of your choice (pink is used in the tutorial).
- Hook: 3.5 mm crochet hook.
- Scissors: For cutting the yarn.
- Stuffing: Fiberfill for shaping the ball.
- Safety Eyes: Size and placement explained in detail.
Step-by-Step Pattern:
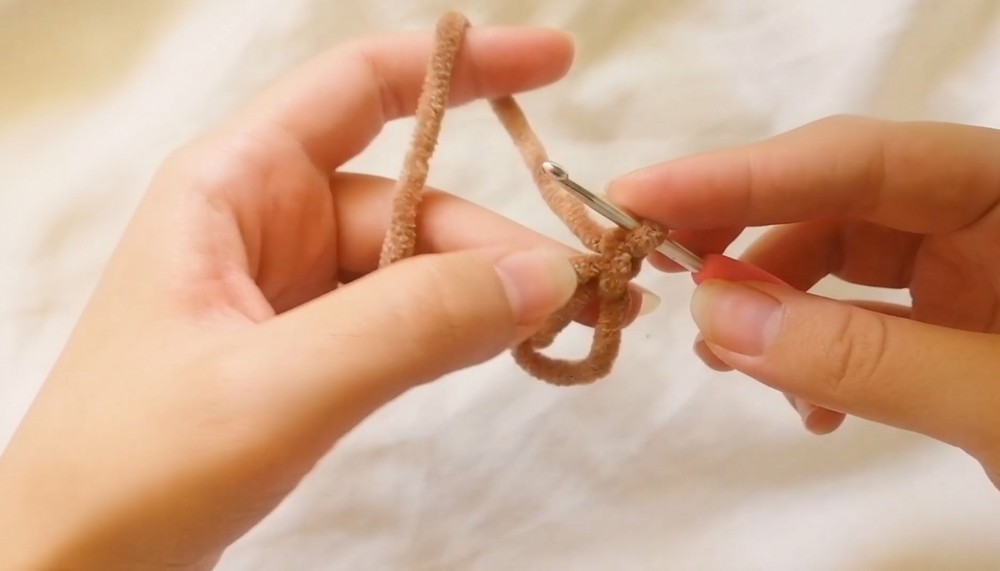
Step 1: Create a Magic Ring
Magic Ring Instructions:
- Place the yarn between your fingers. Hold the loose end with your thumb.
- Wrap the yarn around your two fingers to form two loops.
- Insert the hook into the first loop and pull the second loop through.
- Twist the hook slightly and yarn over.
- Pull through the single loop, forming a magic ring.
Step 2: Crochet 12 Single Crochets into the Magic Ring
Single Crochet Instructions:
- Insert your hook into the magic ring.
- Yarn over and pull up a loop (you’ll now have 2 loops on your hook).
- Yarn over again and pull through both loops.
- Repeat this process 11 more times (a total of 12 single crochets).
Tip: Count your stitches by looking at the “V” shapes they create. Adjust tension if needed for uniform stitches.
Step 3: Tug the Tail to Close the Magic Ring
Pull the tail of the magic ring gently to tighten it, creating a small circle.
4: Round 2 – Increase Stitches
- First Stitch: Make one single crochet. Use a stitch marker (or a small piece of yarn in a contrasting color) to mark the starting stitch.
- Next Stitch: Work two single crochets into the same stitch (this is called an increase).
- Repeat the pattern of 1 single crochet + 1 increase six times. You’ll now have 18 stitches.
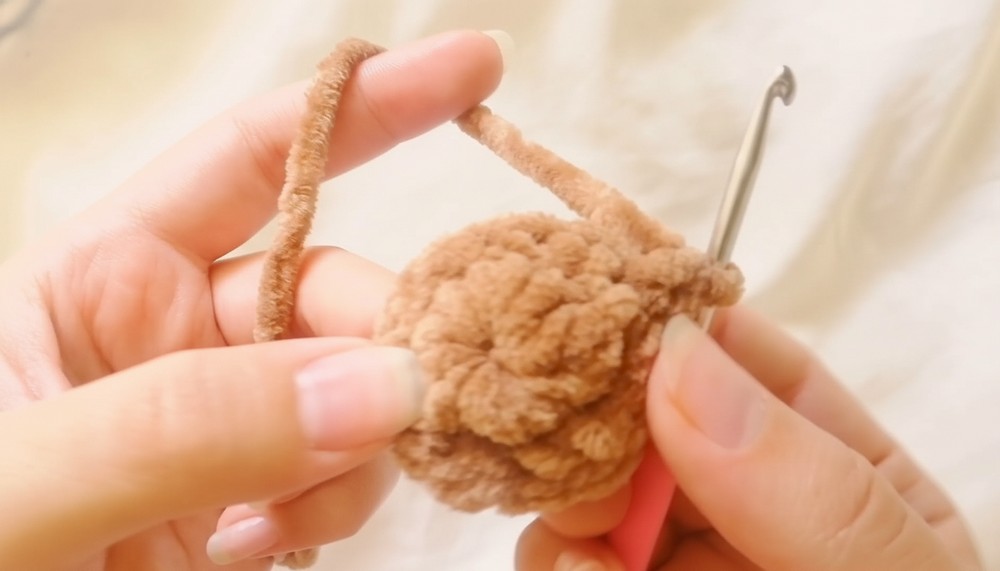
5: Round 3 – Two Single Crochets and an Increase
- Crochet 2 single crochets, followed by an increase in the next stitch.
- Repeat this pattern 6 times, creating 24 stitches.
6: Round 4 – Single Crochets Only
Crochet 24 single crochets around. This round is simple and helps shape your project.
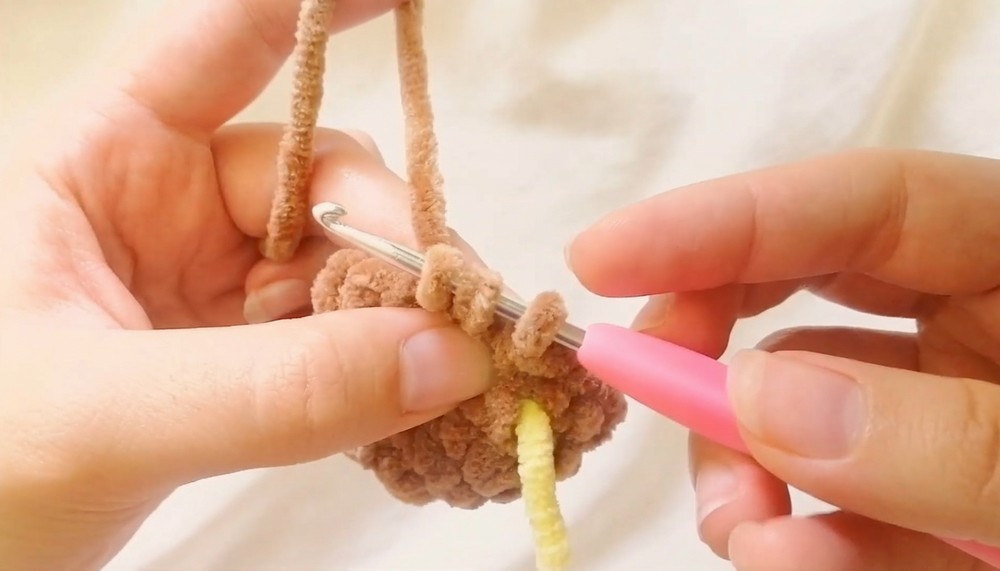
7: Round 5 – Two Single Crochets and a Decrease
- Crochet 2 single crochets.
- Decreasing (Tutor Suggested Method):
- Insert hook into the front loop of the first stitch.
- Yarn over and pull up a loop.
- Insert hook into front loop of the next stitch.
- Yarn over and pull up a loop (you now have 3 loops).
- Yarn over and pull through all three loops.
- Repeat the pattern 2 single crochets + 1 decrease six times to reduce the stitch count.
8: Attach the Safety Eyes
- Identify the location for the eyes on Row 3, evenly spaced with 5 stitches apart.
- Place or glue eyes on the chosen side of the ball.
- Add blush detail to make the face adorable. You can tie knots or use a bit of pink yarn/thread for the blush.
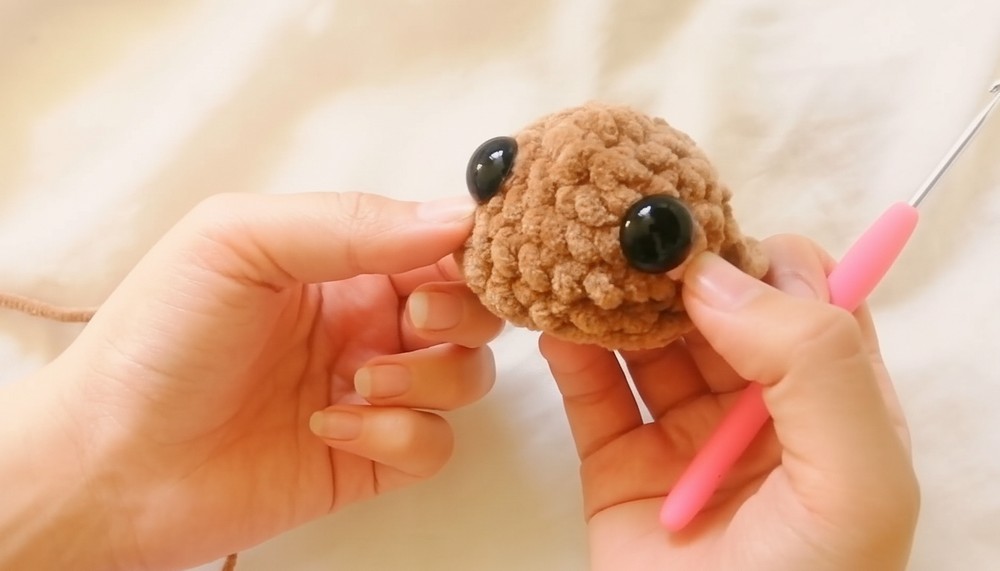
9: Round 6 – Single Crochets and Decreases
Repeat a pattern of 1 single crochet + 1 decrease six times.
10: Add Stuffing
Before closing the ball completely, add fiberfill stuffing to maintain its firm shape. Adjust to desired puffiness.
11: Final Round – Six Decreases
- Work decreases only around this row, reducing the stitches to close the ball completely.
- Insert the hook into front loops, yarn over, pull up loops, and complete decreases until the opening becomes very small.
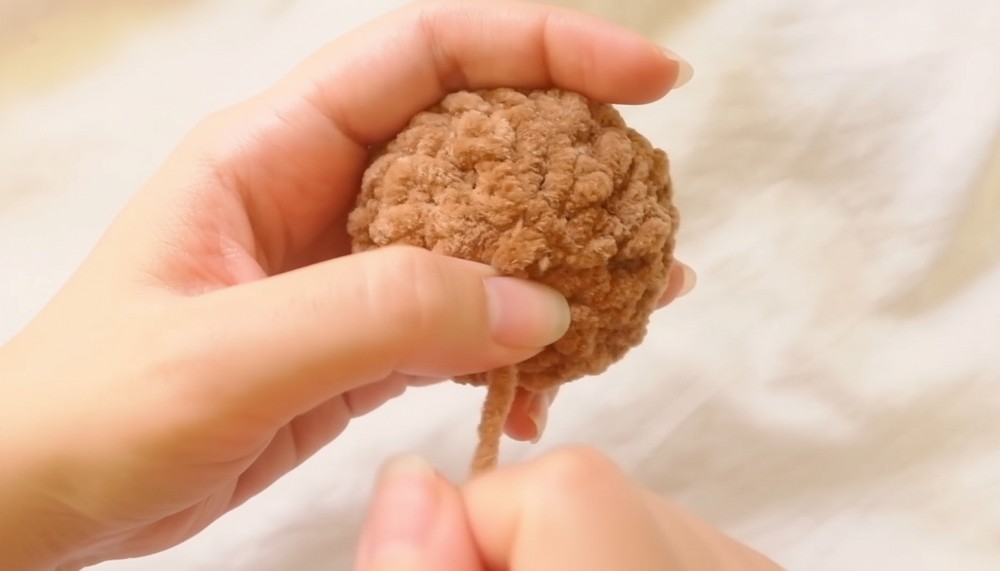
12: Closing the Ball
- Finish by pulling the yarn tight after completing the last decrease.
- Use the tail thread and weave it around the remaining small hole to close it completely.
Conclusion:
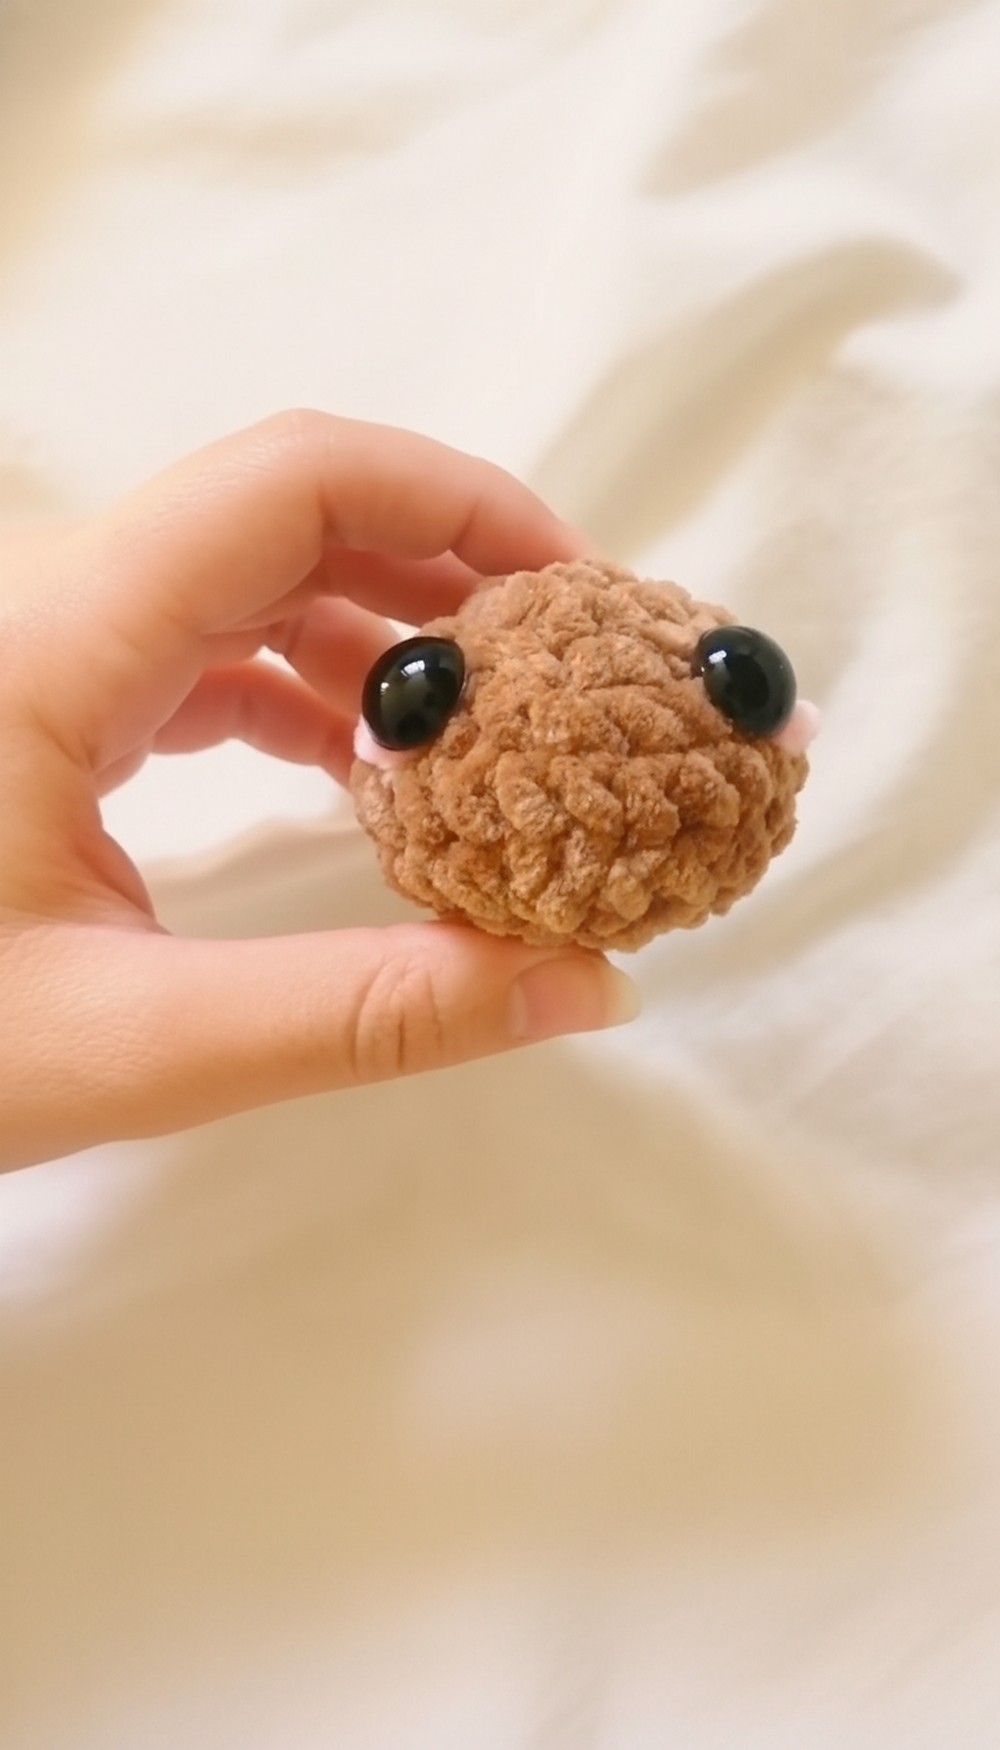
Congratulations! You’ve completed crocheting your Amigurumi ball. This project is perfect for beginners and can be used as toy parts, keychains, or even gifts for loved ones.
Tutor’s Suggestions:
- Use contrasting yarn for marking stitches for easier tracking.
- Adjust stuffing to make your ball firmer or softer based on its intended use.
- Experiment with different yarn colors or safety eye designs to personalize your project.
Bonus Tip:
When closing the ball, use a tapestry needle to weave the remaining yarn tail completely for a neat finish. This prevents unraveling and ensures durability.


