Easy Crochet Keychain Bow Pattern That’s Quick and Modern
Learn How to Crochet Keychain Bow Pattern Step-by-Step
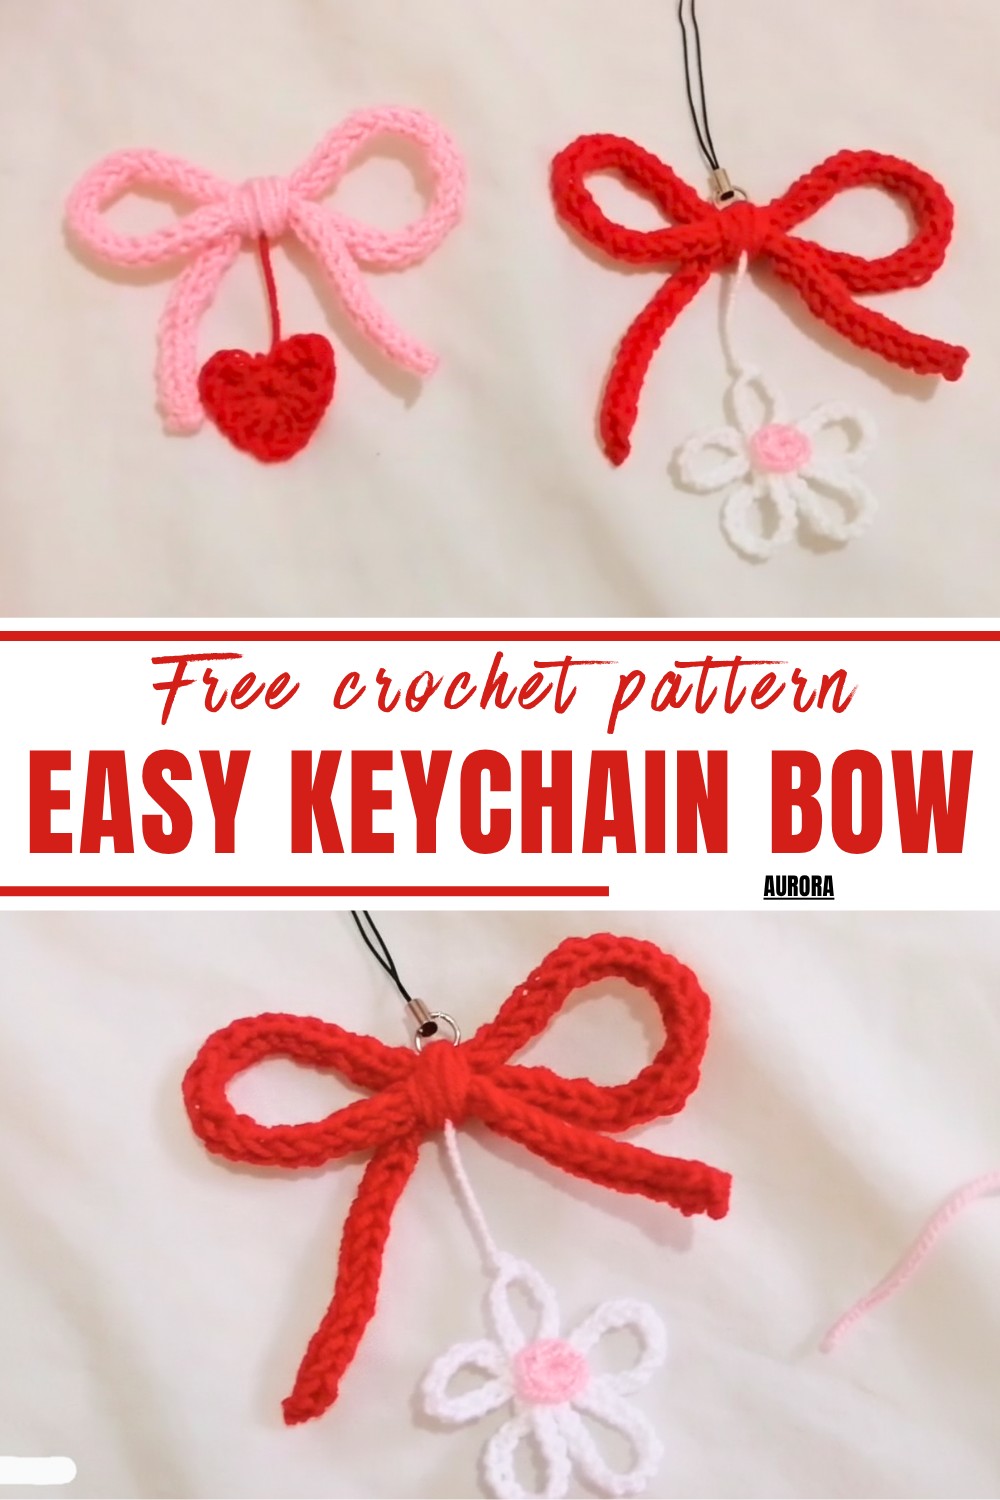
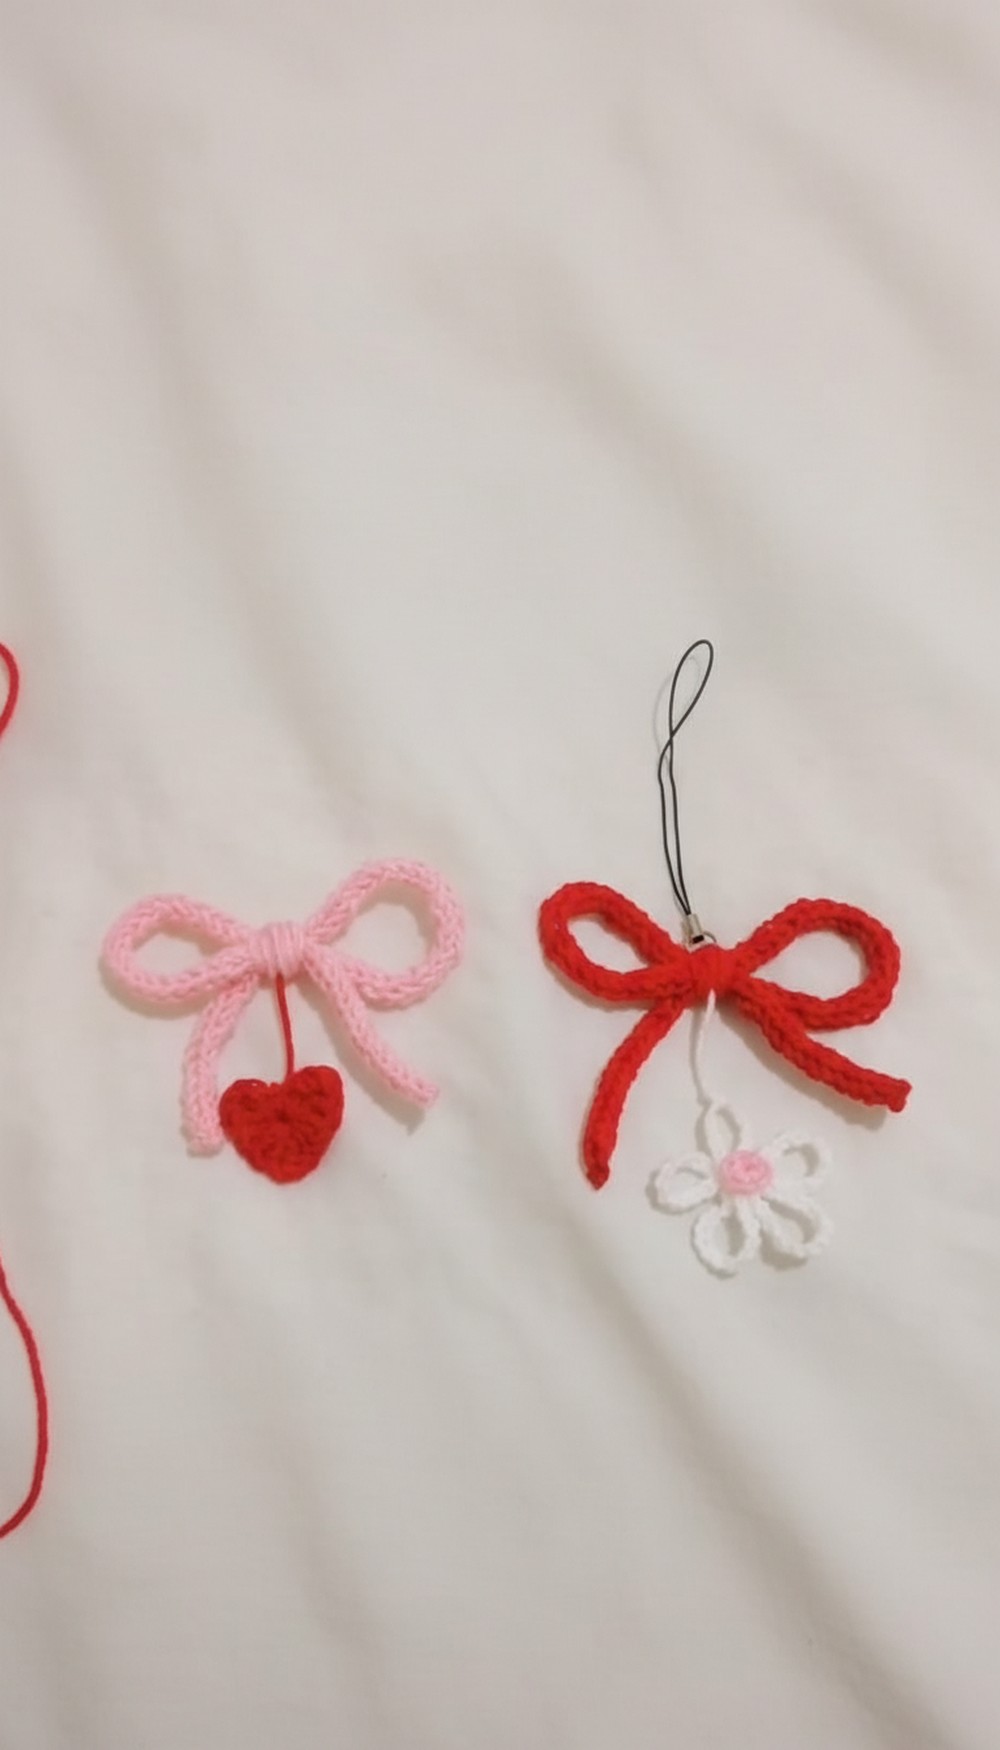
Its understated elegance makes it more than just a keychain—it’s a versatile creation. You can use it to dress up purses, gift it as a thoughtful gesture, or apply it in festive décor during holidays. Small, lightweight, and easy to assemble, it’s the kind of project that fits seamlessly into your handmade goals without demanding excessive time or effort.
What makes this pattern especially appealing is the opportunity to mix form and function in one compact, delightful piece. Whether crocheting for fun or gifting, the crochet bow keychain pattern offers a personal and memorable touch that recipients are sure to adore. With endless customization options, it’s the perfect blend of convenience and personality—all tied together in the shape of a beautiful bow.
Materials Needed
- Yarn: Lightweight yarn in multiple colors for bow, heart, and flower components.
- Crochet hook: Match the yarn size (usually 2.5mm–4mm).
- Scissors
- Glue gun: For securely placing flower center or additional embellishments.
- Stuffing: (If required for tight finishes; optional)
Step-by-Step Pattern
Section 1: Bow
Step 1: Starting the Bow
- Make a slipknot and then chain 3.
- Yarn over and pull the yarn through the loop to form chains. Count the “V” shapes as chains.
2: Building Loops
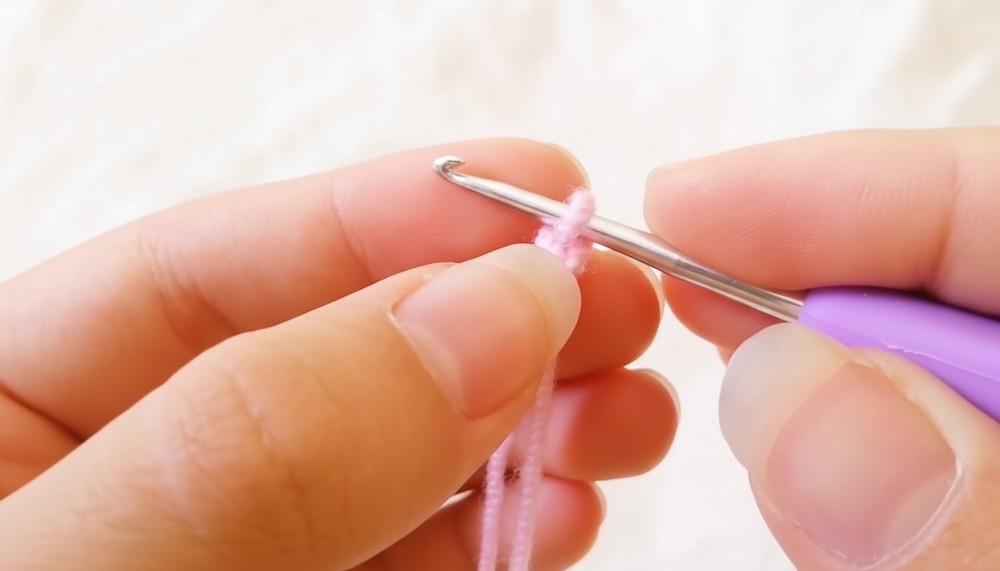
- Insert the hook into the second chain, yarn over, and pull up a loop (now 2 loops on hook).
- Insert the hook into the next chain, yarn over, and pull up another loop (making 3 loops on hook).
- Carefully pull the hook out of the first two loops to leave the last loop on the hook.
3: Securing Loops
- Hold the two loose loops with your fingers to prevent them from disappearing.
- Yarn over, pull through the single loop on the hook, and let go.
4: Repeat These Steps
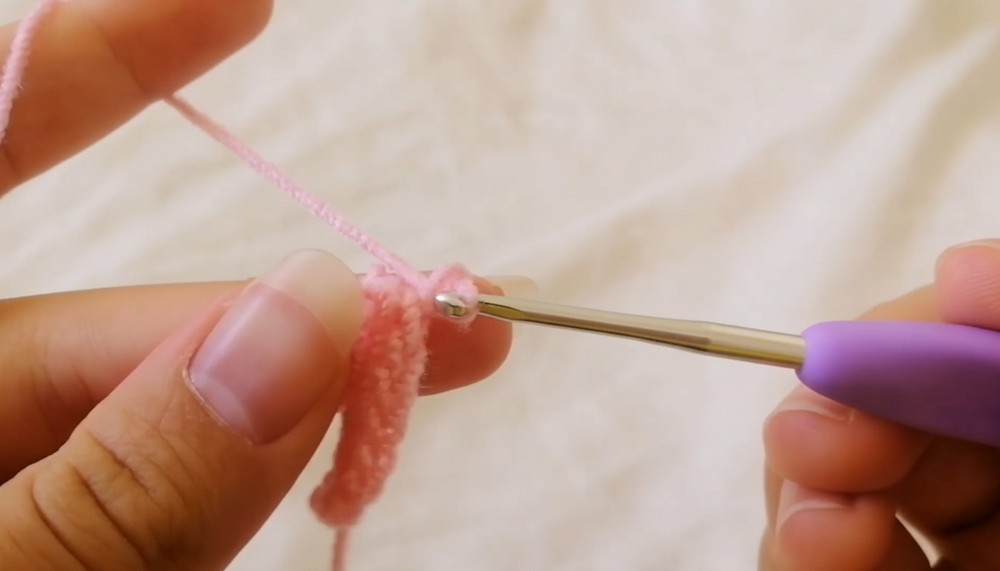
- Insert the hook back into each loop individually, yarn over, and pull through one loop at a time.
- Repeat these steps until the bow reaches your desired size.
5: Finishing the Bow
- To finish, yarn over and pull it through all remaining loops on the hook in one motion.
- Cut the yarn, leaving a tail, and pull the yarn through the loops to secure it.
Section 2: Heart
Step 1: Magic Ring
- Wrap the yarn around your two fingers, creating a magic ring.
- Insert the hook under the first loop and grab the second loop. Twist the hook upwards and create one chain to secure the ring.
2: Building the Heart Shape
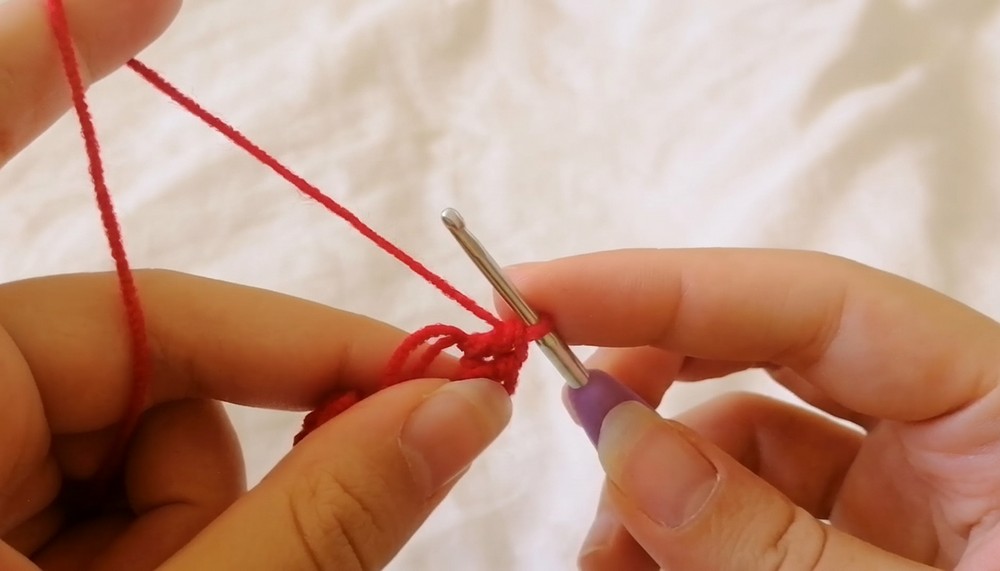
- Chain 3, then work 2 triple crochets (TC) into the ring.
- For each triple crochet: Yarn over twice, insert the hook into the ring, yarn over and pull up a loop. Then yarn over and pull through the first two loops, the next two loops, and the final two loops.
- Work 3 double crochets (DC) into the ring: Yarn over once, insert the hook, yarn over and pull through the first two loops, then the final two loops.
- Chain 1, then work 1 triple crochet (TC). Follow up with 3 double crochets and 2 triple crochets in the ring.
3: Tightening and Finishing
- Pull the tail to tighten the ring and close it securely.
- Chain 3, then insert your hook into the “hole” of the ring. Yarn over and pull through the loop to secure it.
- Cut the yarn and pull it through the remaining loops.
Section 3: Flower
Step 1: Base Chain
- Begin with a slipknot and make 75 chains.
- Yarn over and pull through each loop to form long chains.
2: Shaping the Flower Loops
- Cut the yarn and pull it through.
- Form small loops by folding sections of the chain to create petals. Secure each petal by wrapping the same yarn color around the folded loops and tying knots.
3: Middle Circle
- Create a slipknot and chain 2.
- Work 5 single crochets (SC) into the first chain to create a small circle. Yarn over and pull through to complete each stitch.
- Cut the yarn, pull it through the loops, and glue the circle to the center of the flower to finish it off.
Section 4: Assembling the Keychain
Step 1: Attaching the Heart
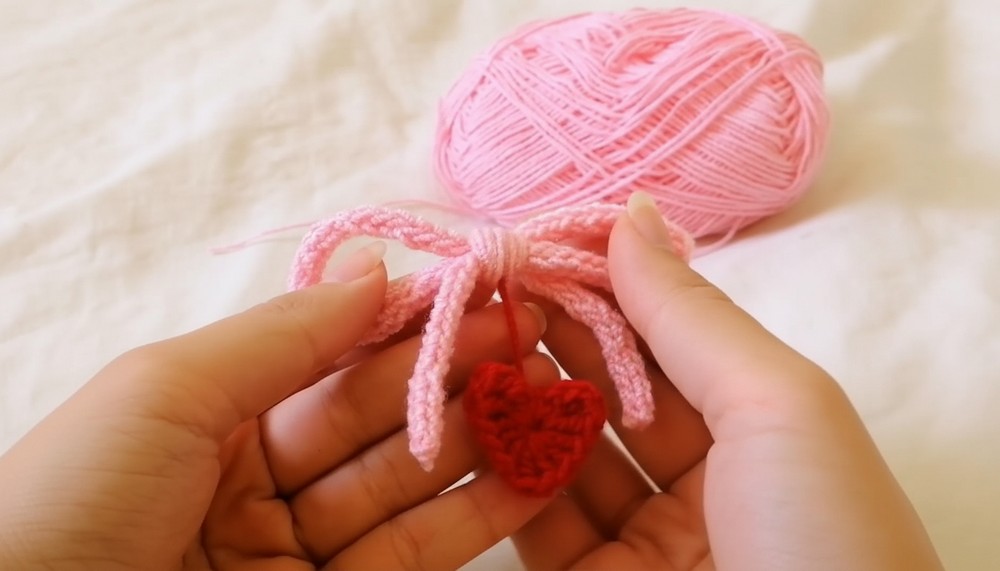
Use the yarn tail from the heart to attach it to the bow. Wrap the tail around the middle of the bow tightly to create a layered effect. Tie knots to secure it.
2: Adding the Flower
Attach the flower to the bow following the same wrapping method. Use additional yarn in matching or contrasting colors to hide loose ends and secure each attachment.
3: Final Touches
Carefully trim excess yarn tails and adjust any loose wrapping for a neat finish. Use glue if desired to tidy up smaller components, such as the flower center.
Special Features
- Beginner-Friendly: Simple techniques make this project approachable for all skill levels.
- Creative Freedom: Choose your favorite yarn combinations for personalized color themes.
- Versatile Design: Use the finished bow keychain as a charming accessory, gift, or decorative accent.
Level of Difficulty
Easy – Minimal techniques are involved, making it suitable for newbies or those looking for a quick and rewarding crochet project.
Tutor’s Suggestions
- Maintain Consistent Tension: Keep your loops loose yet firm for a professional finish.
- Experiment with Yarn Types: Try shiny or textured yarns to create unique looks for your bow.
- Glue as Needed: Use hot glue for added security while attaching smaller pieces.
Uses
- Personal accessories: Hang it on backpacks, purses, or keys.
- Gifts: Perfect for birthdays, baby showers, or holidays.
- Decoration: Use as festive ornaments or home accents.
Pro Tip
To maintain the bow’s shape, avoid over-tightening the yarn during assembly. For added durability, choose a sturdy yarn that withstands wear and tear.
Conclusion
This crochet keychain bow pattern is the perfect blend of creativity and practicality, allowing you to crochet a charming, handmade piece that can brighten your everyday items. The step-by-step instructions make it easy to follow, ensuring an enjoyable experience. Whether it’s for gifts or ornaments, this project guarantees smiles and appreciation.