Easy Crochet Bunch Of Lychees Pattern for Unique Home Accents
Learn to Crochet a Bunch of Lychees Pattern That Looks Good Enough to Pick
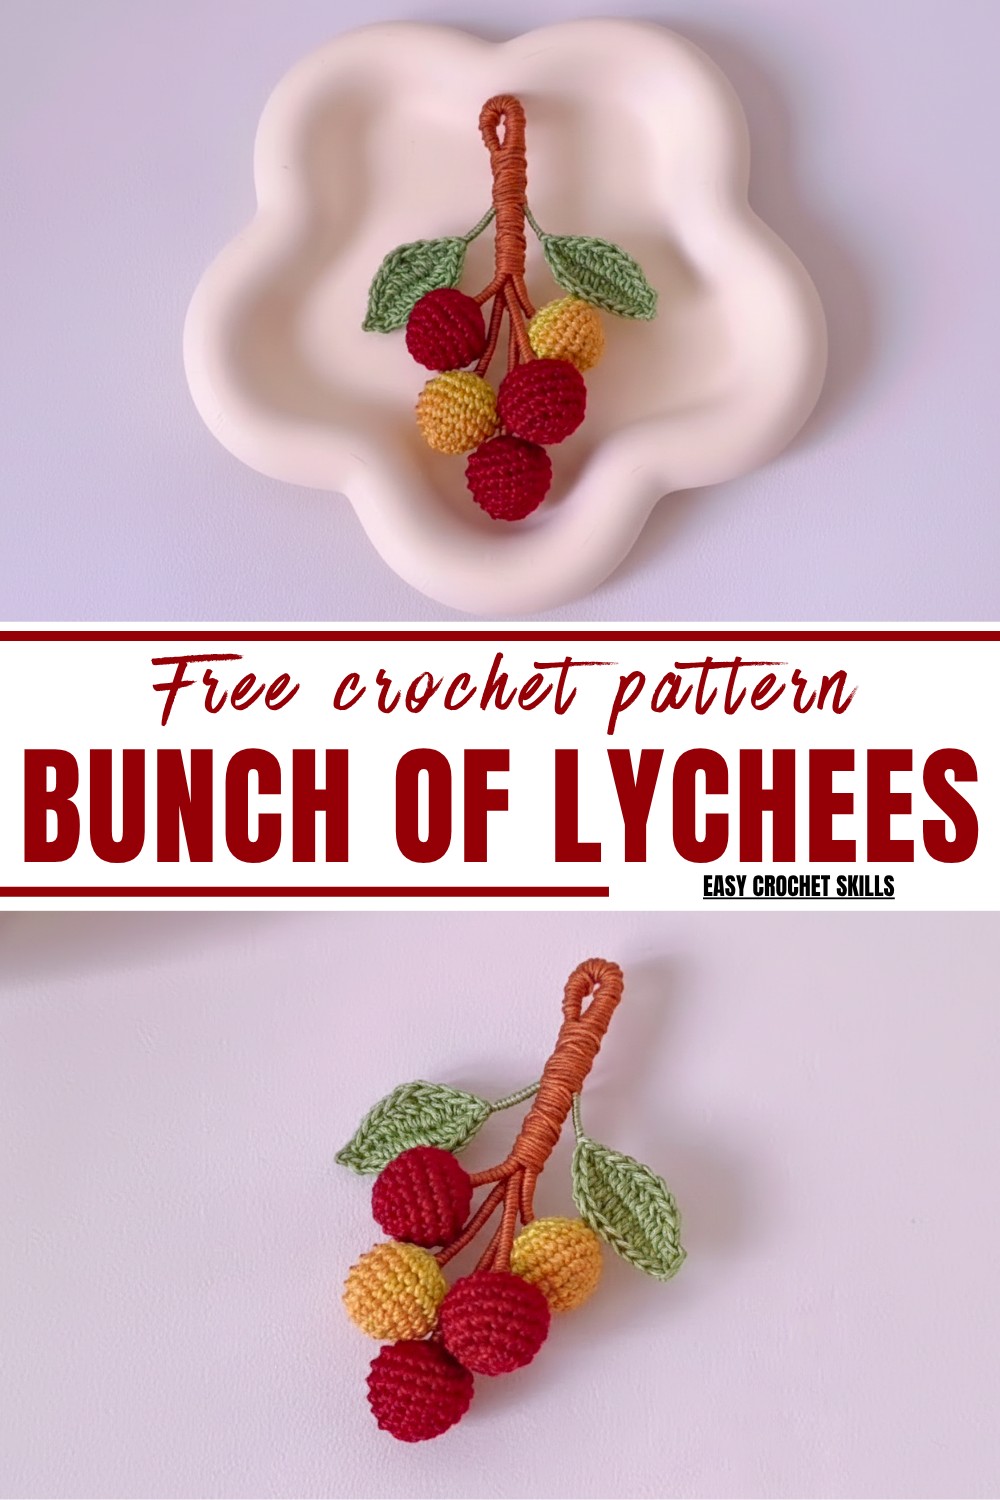
The pattern is simple yet detailed, perfect for beginners or seasoned crocheters seeking a relaxing project. It’s easy to customize the colors, size, and style to match your preferences, providing endless creative opportunities. The focus on lightweight pattern ensures durability while maintaining its delightful charm.
This crochet pattern combines functionality and beauty, proving to be versatile for both home and personal use. Its unique appearance makes it a lovely gift for friends or family, showcasing thoughtful artistry in handmade creations. Whether as a fun decor addition or an accessory to carry, this small touch of crochet brings vibrant simplicity to your everyday moments.
Materials Needed
- No. 3 lace yarn (red, green, and brown or customized colors).
- 2.0mm crochet hook.
- Aluminum wire for structure.
- Blush or fabric paint for enhancing realism.
- Scissors.
- Sewing needle (optional for finishing details).
Pattern Instructions
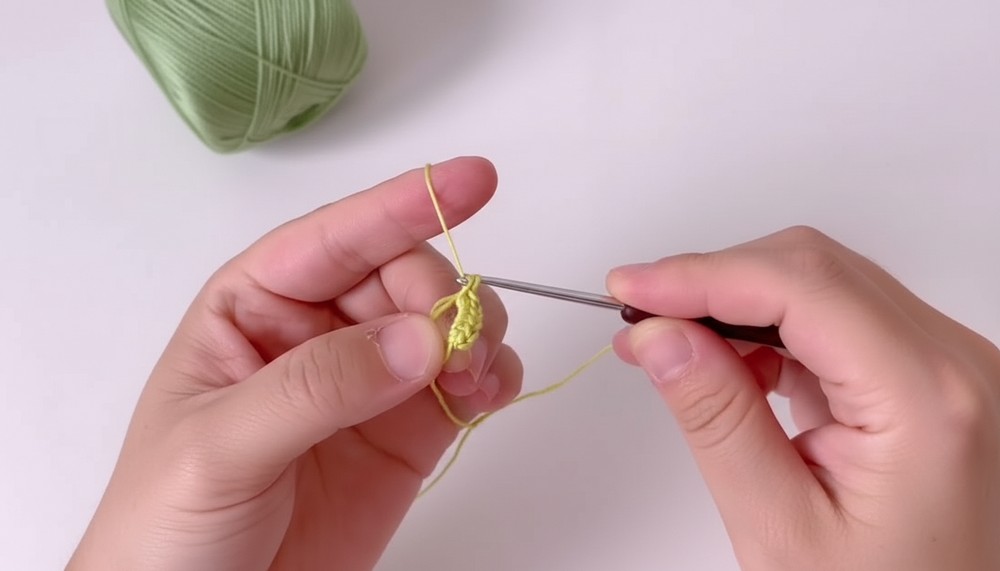
Step 1: Crochet the Lychee Body
- Start with a Magic Ring: Wrap the yarn around your finger and insert the hook. Pull the yarn through and make a slip knot to form the ring.
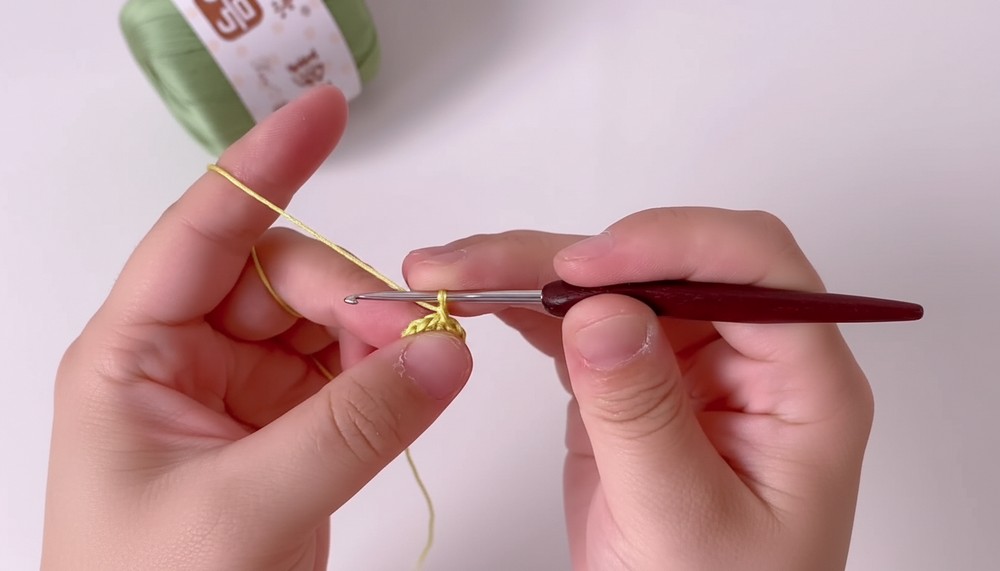
- Round 1: Crochet 8 single crochets (SC) into the magic ring. Tighten the ring and join with a slip stitch (SL ST) into the first SC.
- Round 2:
- Chain one stitch to begin.
- Crochet 1 SC in the first stitch and then 1 SC increase in the next stitch (2 SC in the same stitch).
- Repeat the pattern of 1 SC + 1 SC increase until there are two stitches left. Crochet 1 SC and 1 SC increase.
- Join with a SL ST.
- Round 3:
- Chain one stitch. Crochet 3 groups of single crochets: starting with 1 SC + 1 SC increase repeated as a group.
- For the last two stitches, crochet 1 SC + 1 SC increase.
- Finish with a SL ST.
- Round 4:
- Chain one stitch. Crochet 5 groups of single crochet increases: start with 1 SC + 1 SC increase, repeating the group pattern throughout the round.
- Join with SL ST.
2: Shaping the Lychee Body and Adding Wire
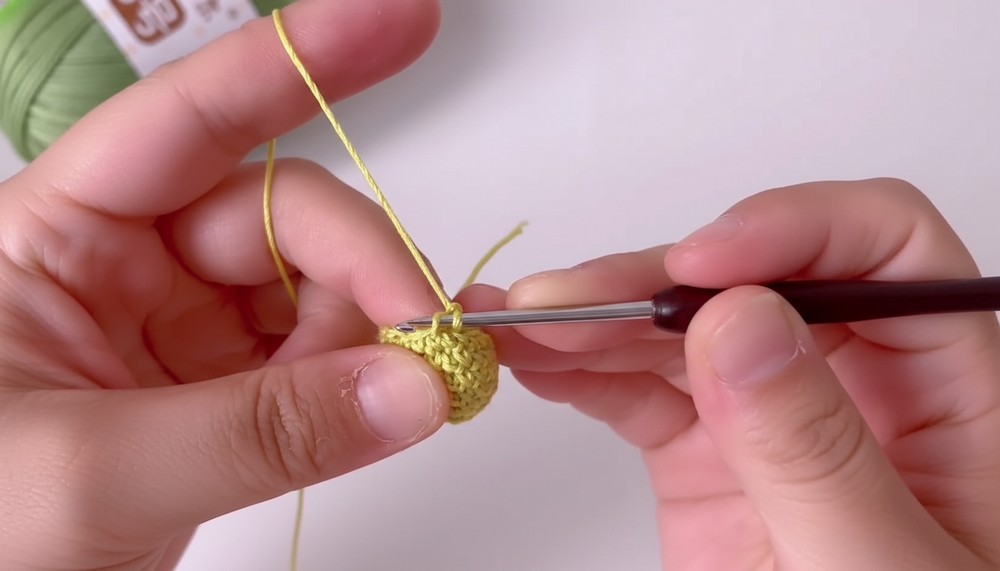
- From Rounds 5 to 7: Crochet 20 SC per round (no increases).
- Final Round:
- Chain one stitch and crochet 10 single crochet decreases (SC dec) by working into the front loops of two consecutive stitches.
- Be meticulous to avoid missing or overstitching.
- Insert the aluminum wire into the core. Pinch the wire head to shape it securely, then insert it inside the lychee body. Tighten the decreases to safely encase the rod.
3: Changing Yarn and Crocheting the Leaves
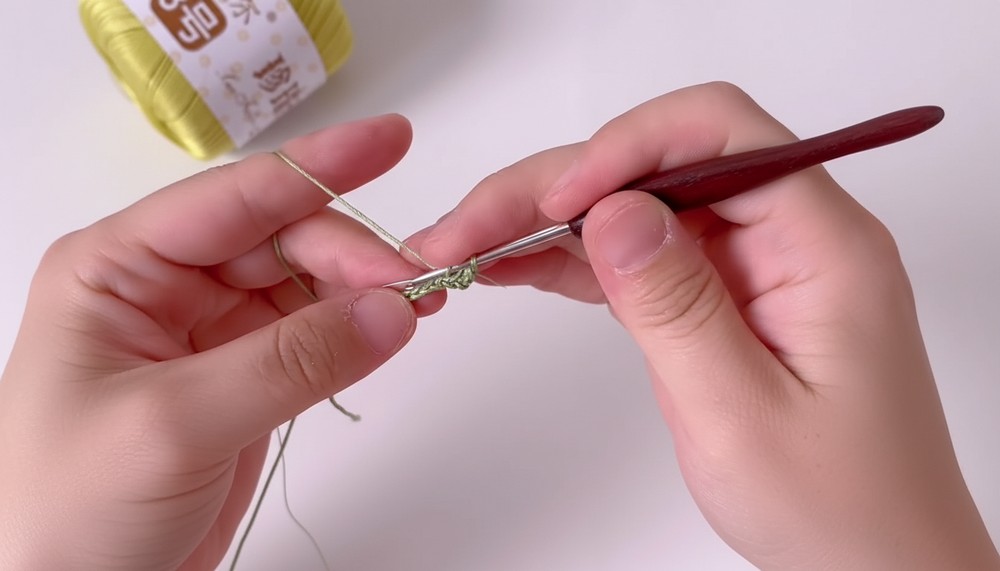
- Attach new yarn to start the leaf section.
- Begin with 11 chain stitches.
- Insert the aluminum wire into the center before continuing.
- In the second-to-last stitch, crochet 1 SC.
- In the next stitch, crochet 1 half double crochet (HDC).
- In the following stitch, crochet 1 double crochet (DC).
- Repeat this sequence until reaching the last stitch.
- In the last stitch: Crochet 1 SC, chain one, and 1 picot (to form the leaf’s tip).
- Crochet another SC into the same stitch.
4: Completing the Leaf and Attaching
- Work symmetrically on the opposite side of the chain:
- Crochet HDC, DC x 2, HDC, followed by an SC.
- Join with a slip stitch at the end. Cut the yarn.
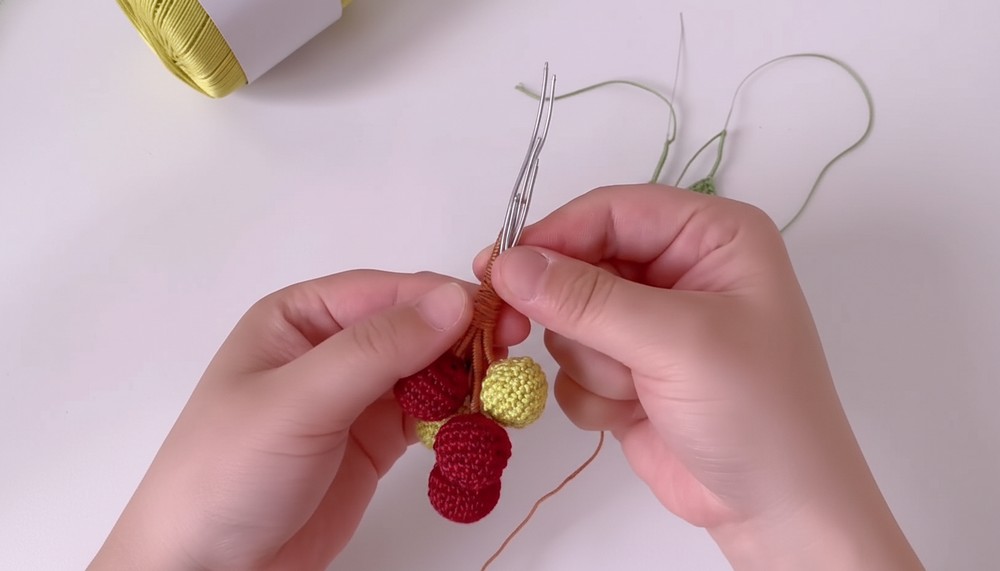
- Wrap the leaf stem (not too long, approximately 2cm). Use additional yarn to assemble the leaf onto the aluminum wire extending from the lychee body.
5: Assembly and Decorative Touches
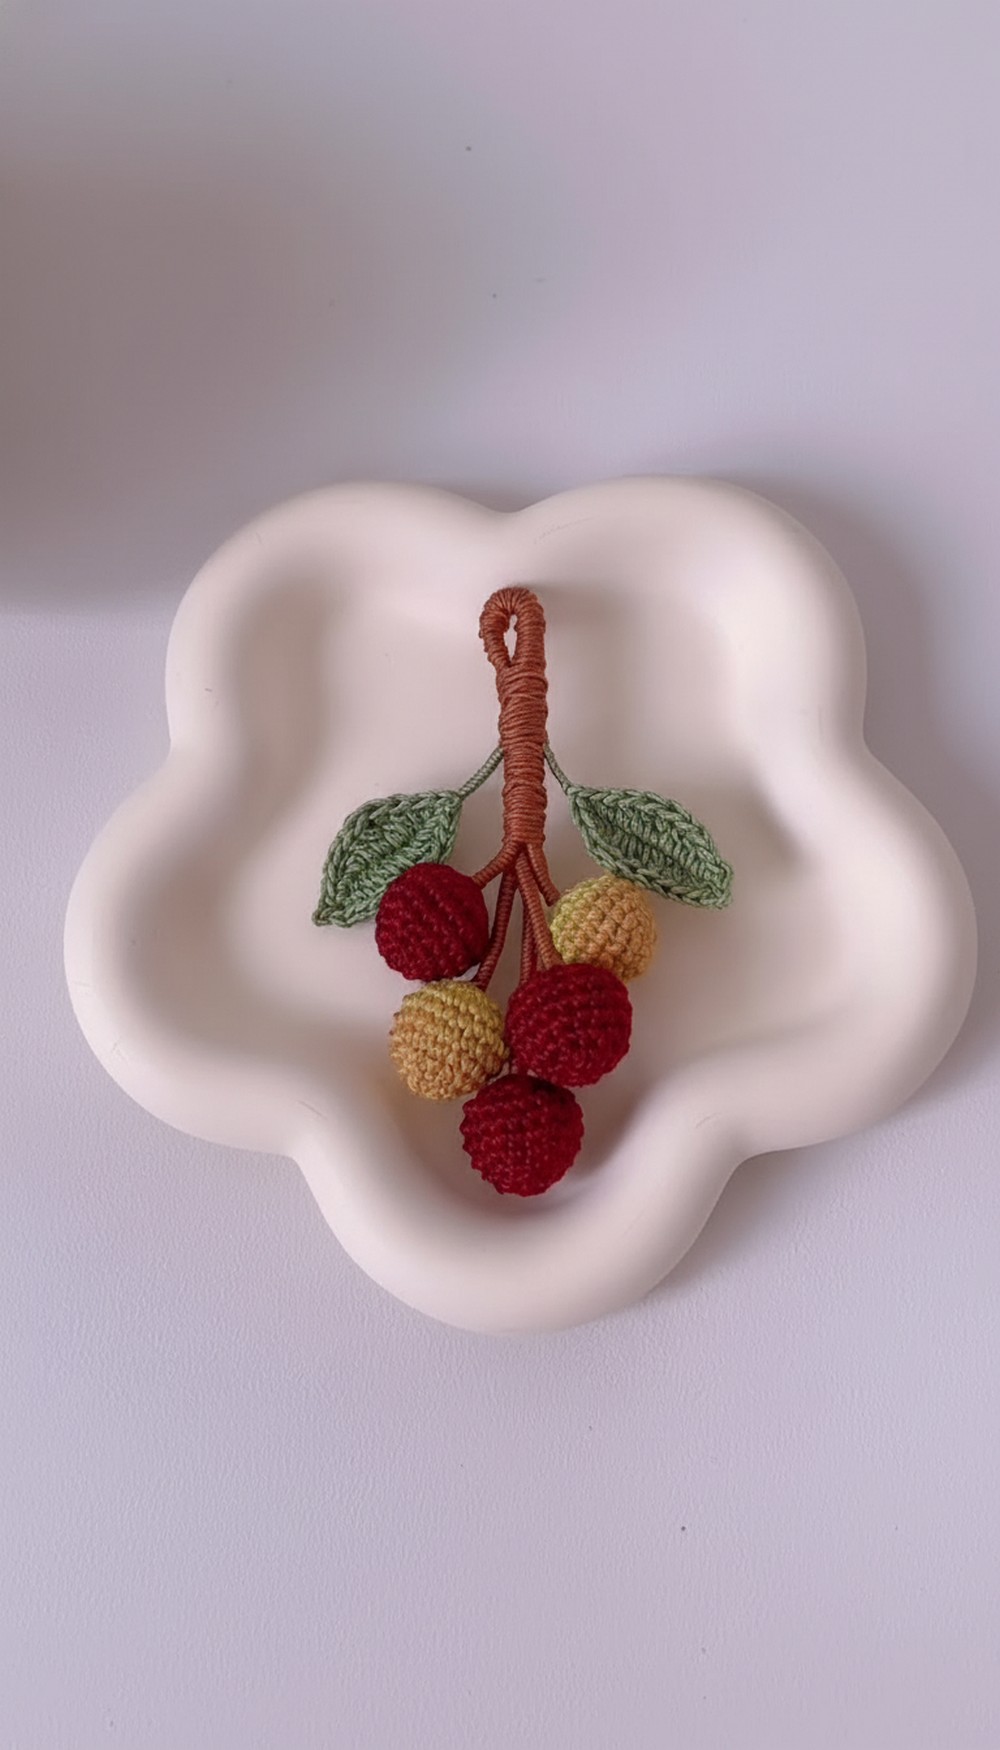
- Make multiple pieces of lychee bodies (e.g., 4 pieces).
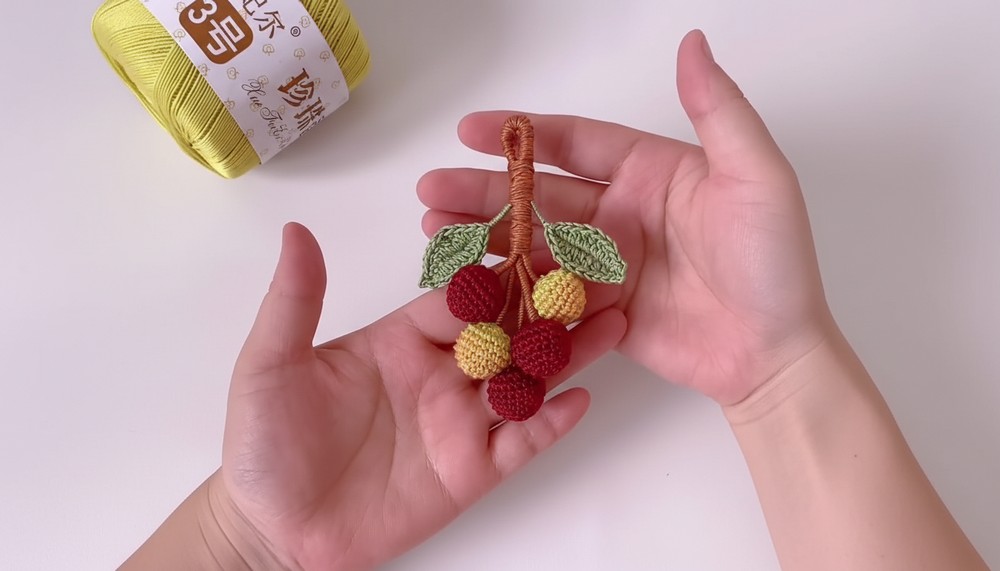
- Lay out the pieces and assemble them together by wrapping their stems with yarn until forming your desired length and look.
- Attach the crocheted leaves near the top, winding them around the rod securely.
- Fold and wrap the rod to create a loop suitable for hanging. Hide and cut the yarn ends.
- For added realism, apply blush or fabric paint to the lychee shells for a ripe effect.
Special Features
- Customization: Choose red or green shells, adjust the sizes, or use different shades of yarn for variety.
- Realistic Build: Includes structural aluminum wire and painted blush for lifelike detail.
- Multiple Applications: Use as bag charms, pendants, keychains, or decorative accents.
Difficulty Level
This pattern is beginner-friendly with basic stitches, but attention to detail is required during assembly and shaping. Perfect for any skill level looking to practice single crochet techniques creatively.
Tutor’s Suggestions
- Ensure the aluminum wire is firmly pinched to avoid loose or unstable elements.
- Practice proper tension to prevent oversized gaps or uneven stitches.
Tip
For durability and aesthetic appeal, add a thin coating of varnish or fabric stiffener to the leaves and body after assembly. This enhances their structure while preserving the style.
Conclusion
The Crochet Lychee Pendant is a charming project that blends playful design with practicality. Whether you give it as a thoughtful, handmade gift or use it to add flair to your accessories, this pattern stands out with its vibrant personality and realistic touches. Beginner-friendly yet detailed, it’s a satisfying pattern that brings the summer vibe to life with every stitch.