Step-by-Step Free Crochet Bow Pattern for Beginners
Easy & Quick Crochet Bow Pattern that Adds Flair to Any Project

This pattern can be a decorative highlight for home decor or a thoughtful touch to handmade gifts. Their versatility allows for endless customization, whether you prefer bold and bright tones or subtle, muted shades. Lightweight and easy to attach, a single crochet bow can turn ordinary items into something extraordinary.
This pattern is a simple yet thoughtful way to add personality to your creations in a matter of minutes. Whether used as embellishments for larger projects or individual standalone designs, the pattern is an ideal addition for those seeking an uncomplicated, stylish option.

Materials Needed
- Yarn: Four strands of yarn in your desired color.
- Crochet Hook: 2.0mm.
- Scissors
- Sewing Needle: For assembly and final touches.
Step-by-Step Pattern
Step 1: Create the Base of the Bow
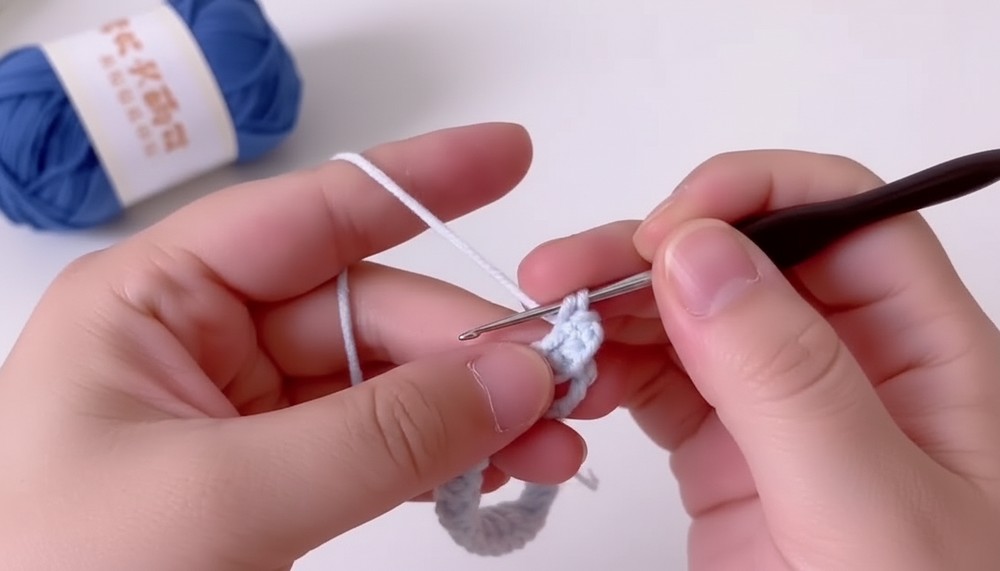
- Start with chain stitches: Make 23 chain stitches (CH).
- From the second chain (CH) from the hook:
- Crochet 1 half double crochet (HDC).
- Crochet 7 double crochets (DC) in the following chains.
- After the 7 double crochets, crochet 1 half double crochet (HDC).
- Crochet 2 slip stitches (SL ST) to secure.
- Continue the sequence on the next section:
- Crochet another half double crochet (HDC) in the next chain.
- Crochet 7 more double crochets (DC). This creates the rounded sections of the bow.
- End this row with 1 half double crochet (HDC).
- Secure with a slip stitch (SL ST).
- Move to the opposite edge:
- Turn to the other side of the foundation chain and crochet into the same stitches.
- Crochet 1 half double crochet (HDC) in the first stitch.
- Follow it with 7 double crochets (DC) along the center.
- Crochet 1 half double crochet (HDC) at the end.
- To finish this section of the bow:
- Secure the base with a final slip stitch (SL ST).
- Fold the base of the bow in half and start to shape it. This will define the rounded edges.


2: Create the Center Band
- Start a new chain: Make 11 chain stitches (CH).
- Follow a similar technique to crochet this smaller piece:
- From the second chain from the hook, crochet 1 slip stitch (SL ST).
- Refer to a diagram (if using one) for detailed structure, but the key difference here is working into the smaller chain structure to make a tight, compact center band.
- Once finished, align the small center band with the larger bow structure.
3: Assemble the Bow
- Place the smaller band in the middle of the larger bow.
- Wrap the center band tightly around the bow several times to secure and shape it.
- Adjust the tightness to ensure the bow folds symmetrically.
- Using a sewing needle, insert the yarn tail through the winding to secure it with a knot. Trim any excess yarn.

Special Features
- Quick Project: The entire bow can be crocheted and assembled in under 10 minutes.
- Beginner-Friendly: Basic stitches (chain, half double crochet, double crochet, and slip stitch) make it accessible for all skill levels.
- Versatile Design: The bow works perfectly for hair accessories, gift wraps, or as embellishments for other crochet projects.
- Compact Size: Its small size makes it ideal for quick projects or adding small details to your work.
Difficulty Level
This pattern is perfect for beginners, as it requires only a few basic stitches and a simple structure. However, advanced crocheters will enjoy the quick satisfaction this pattern offers.
Tutor’s Suggestions
Keep your tension consistent while working with such small stitches to maintain uniformity. For a more detailed bow, try using glittery or textured yarns. Although this pattern uses four strands of yarn, you can adjust the thickness based on your preference for larger or smaller bows.
Pro Tip
If the yarn slips while wrapping the center band, use a small amount of fabric glue to keep the wraps in place before sewing. This tip works especially well if you’re creating multiple bows quickly.
Conclusion
This mini crochet bow is the ultimate versatile accent for any project. Its quick construction, beginner-friendly design, and endless possibilities make this a favorite for both new and seasoned crocheters. Whether you’re decorating a gift, adding a cute accent to your outfit, or looking for a small, satisfying crochet project, this bow is a must-try.