Charming Crochet Little Bird Amigurumi Pattern for Home Décor
Unlock new creativity using the Free Crochet Little Bird Amigurumi Pattern to crochet adorable & versatile accessories effortlessly.
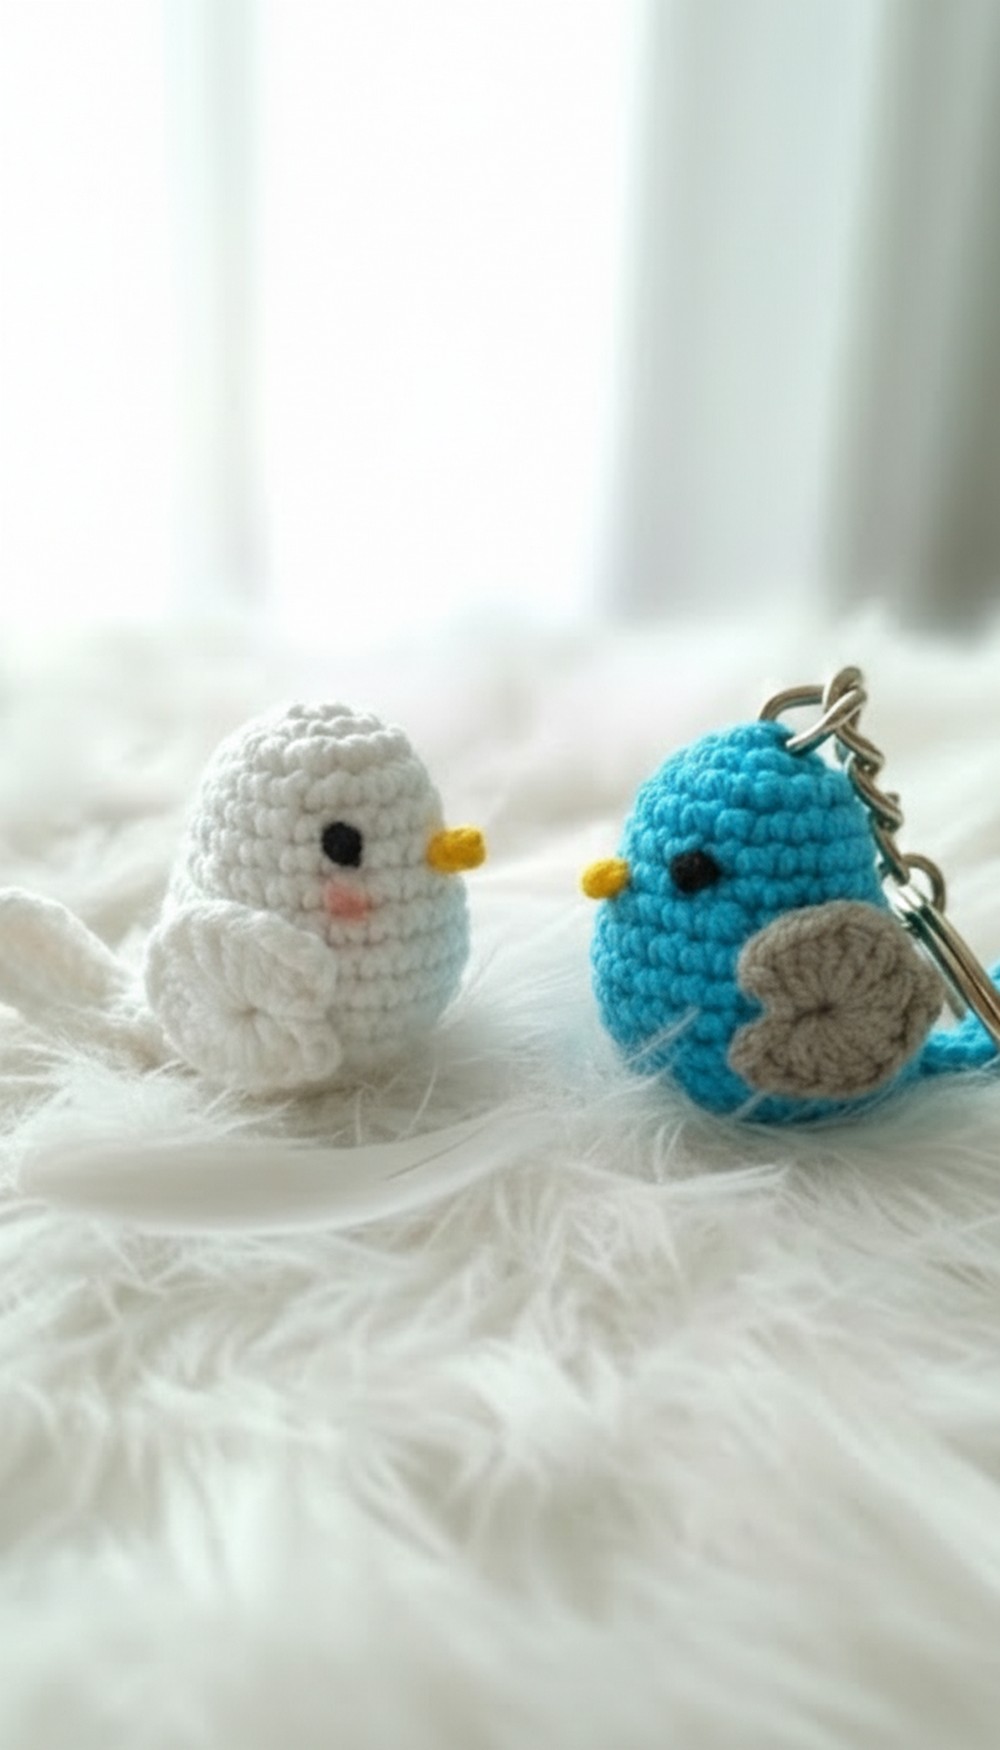
Add charm to your space with an adorable crochet project that’s both fun to follow and highly versatile. This little bird amigurumi pattern is perfect for brightening up your day and your accessories. Whether you add it to your keyring, use it as a bag charm, or turn it into a magnet for your fridge, it’s a delightful way to showcase your love for handmade creations. It’s lightweight and fits perfectly in your pocket or as a playful embellishment wherever you place it.
Quick Crochet Little Bird Amigurumi Pattern in Easy Steps

Perfect for all skill levels, the step-by-step pattern allows beginners to enjoy a simple and rewarding experience, while experienced crocheters can take the opportunity to experiment with different color combinations. All you need are some basic materials and a little time, and you’ll have a delightful keepsake or a thoughtful handmade gift for someone special.
This little bird is the ideal project for relaxing and bringing creativity to life. Plus, it’s a great way to use up yarn scraps while making something meaningful. Bring warmth and joy into your daily routine with a project that combines practicality and a touch of whimsy all in one adorable package!
Materials
- Cotton yarn (assorted colors)
- Size 2 mm crochet hook
- Sewing needle
- Fiberfill for stuffing
- Liquid glue, cold silicone, or hot glue
- Stitch marker
Skill Level
Beginner-friendly
Pattern Instructions
Body
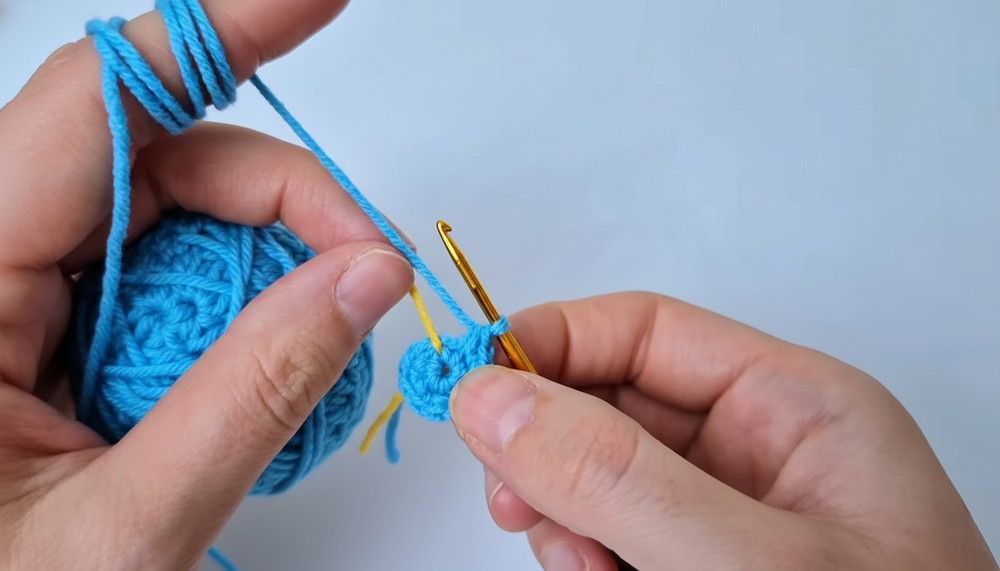
- Magic Ring and Single Crochets:
- Start with a magic ring.
- Make 6 single crochets (sc) inside the ring. Pull the yarn to tighten the ring and place a stitch marker.
- Increase Rounds:
- Round 2: Make 2 sc in each stitch around (12 sc).
- Round 3: 1 sc, 2 sc in the next stitch, repeat around (18 sc).
- Rounds 4-6: 1 sc in each stitch (18 sc).
- Further Increases and Straight Rounds:
- Round 7: 2 sc, 2 sc in the next stitch, repeat around (24 sc).
- Rounds 8-9: 1 sc in each stitch (24 sc).
- Round 10: Make 3 sc on each side of the chain for the tail, total 30 sc.
- Decreasing Rounds:
- Round 11: 1 sc in each stitch (30 sc).
- Round 12: 3 sc, 1 decrease, repeat around (24 sc).
- Round 13: 2 sc, 1 decrease, repeat around (18 sc).
- Fill with fiberfill at this point.
- Round 14: 1 sc, 1 decrease, repeat around (12 sc).
- Round 15: Decrease around (6 sc). Fasten off and sew the top closed.


Tail
- Chain and Sc along:
- Chain 9, sc back along the chain skipping the last sc (8 sc). Sc back to the beginning.
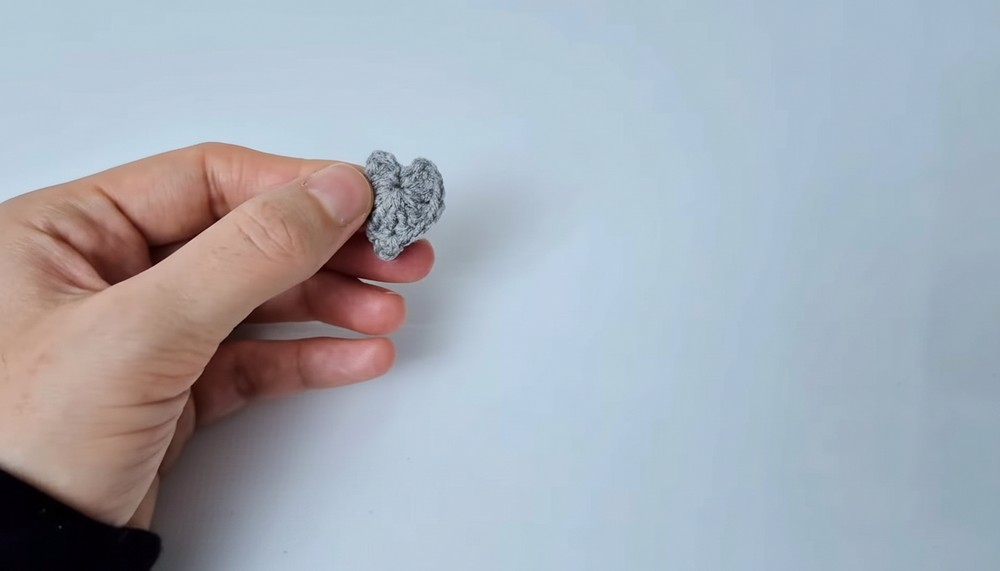
Wings
- Magic Ring and Crochet Stitches:
- Create a magic ring, chain 2.
- Work 3 half-double crochets (hdc), 2 double crochets (dc), 1 treble crochet (tr) into the ring.
- Chain 2, slip stitch, and repeat for another wing.
- Glue wings to the sides of the body.
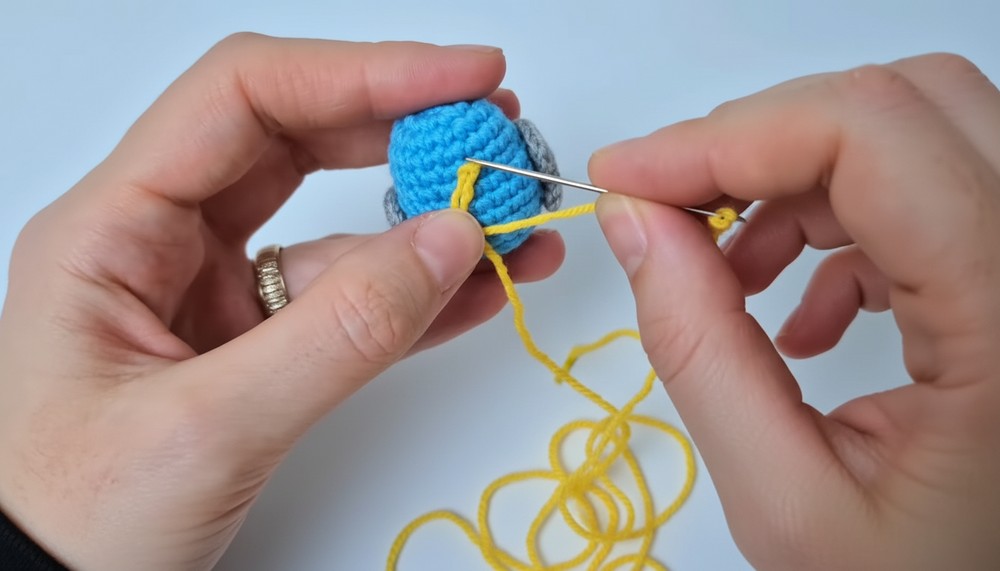
Beak
- Simple Chain and Stitch:
- Chain 3 with yellow yarn, then fasten off leaving long tails.
- Attach centered between the 6th and 7th rows with a needle and secure.
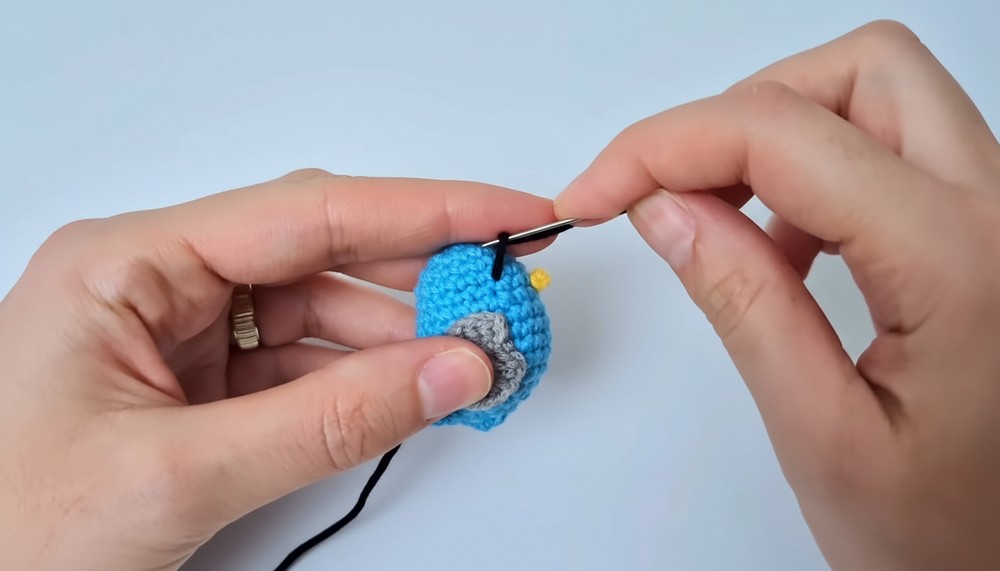
Eyes
- Black Thread Embroidery:
- Insert thread 2 stitches from the top of the beak.
- Loop the thread and secure with a knot. Consider using small safety eyes as an alternative.
Special Features & Suggestions
- The key feature of this project is its versatility and beginner-friendly design.
- Consider using your favorite color combinations for personalized charm.
- Uses: Besides a keychain, use as a décor piece or plush magnet.
Conclusion
Congratulations on crocheting your Little Bird Amigurumi! This pattern is not only a quick and enjoyable crochet project but also perfect for gifts and home decorations.
Tip
To maintain shape and durability, use quality cotton yarn. Mixing colors can add a unique flair to each bird, making each creation truly one-of-a-kind.