Free & Easy Crochet Net Bag Pattern You’ll Want to Use Every Day
Minimal and Modern Crochet Net Bag Pattern That Fits All Your Needs
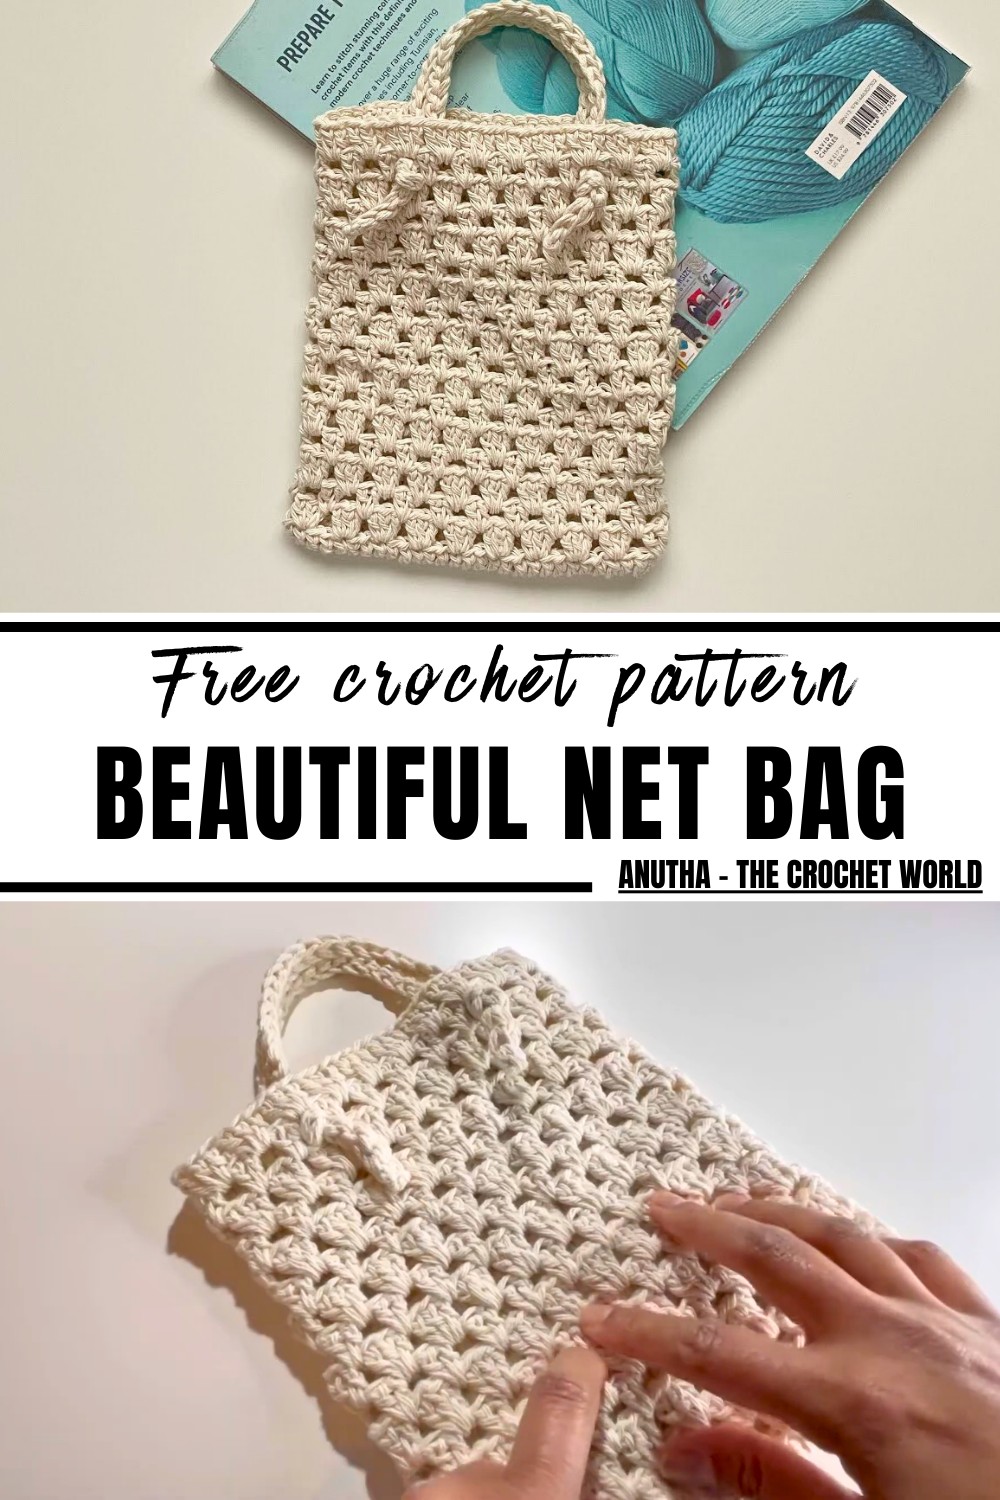
What truly makes this bag pattern special is how adaptable it is—whether you prefer bold, vibrant colors or neutral, understated tones, there’s room for endless customization. Despite its functional aesthetics, this pattern remains surprisingly easy to make, ideal for those with intermediate crochet skills looking for a practical yet artistic project.
By switching to handmade reusable bags, you actively reduce your dependency on single-use plastics—making both an environmental and fashionable statement. It’s more than just a bag; it’s a conscious choice to combine sustainability with creativity in a tangible way.
Materials Needed
- 100% Cotton Yarn (2 skeins if desired for the handle)
- 4mm Crochet Hook (for the bag body)
- 6mm Crochet Hook (for the handle)
- Scissors and Tapestry Needle
Special Features
- Lightweight yet Sturdy: The cotton yarn and double stitch patterns make this bag functional and strong.
- Two Hook Sizes: The use of different hooks for the bag body (4mm) and handle (6mm) ensures flexibility and strength in the right areas.
- Eco-Friendly Design: A reusable alternative to plastic bags, perfect for reducing your environmental footprint.
- Compact Size: Measurements are approximately 21 cm (8.5”) long and 18 cm (7”) wide, making it easy to carry and store.
Level of Difficulty
- Intermediate: Suitable for crocheters who have experience with basic stitches, working in rounds, and switching hooks. Picot-based detailing is not required, making it simpler than other advanced bag patterns.
Step-by-Step Pattern
Bag Body
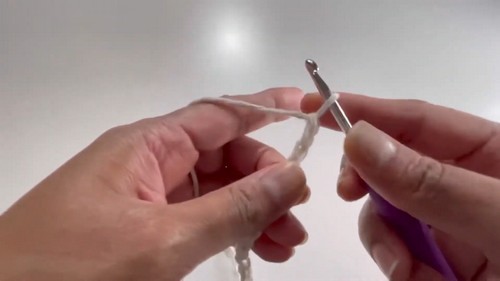
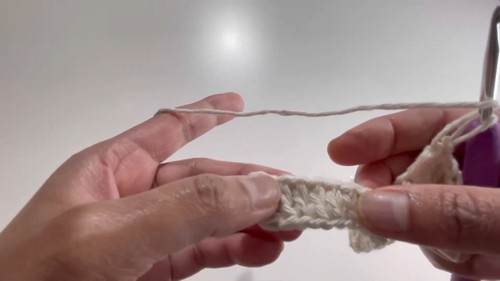
Foundation Chain
- Make a Slip Knot and attach it to the 4mm hook.
- Chain 30 (i.e., 3-0).
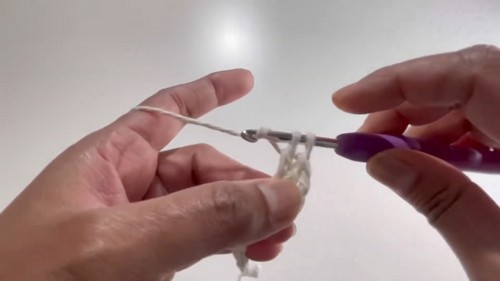
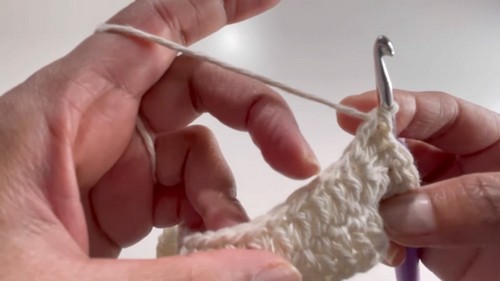
Round 1: Work Double Crochets
- Turn the chain to work on the back loop.
- Skip 3 chains from the hook.
- Into the 4th chain, work your first double crochet (dc):
- Yarn over, insert the hook into the 4th chain, pull through, yarn over, pull through 2 loops, then yarn over and pull through the remaining 2 loops.
- Work 3 double crochets (dc) into the next chain.
- Work 1 double crochet into every chain for the rest of the row. You should have 29 double crochets total.
- Into the last chain, work an additional 3 double crochets to form the round’s turning edge (total = 32 double crochets).
Round 2: Continue the Round
- Turn your work and begin working along the other side of the chain.
- Insert your hook into each stitch along the newly visible edge and double crochet into each chain.
- At the end of this round, you should have 58 stitches in total.
- Into the last chain, work 2 more double crochets for the turning edge (total = 60 stitches).
Finish Round 1
- Slip stitch (sl st) into the third chain of the starting chain from this round to close the round.
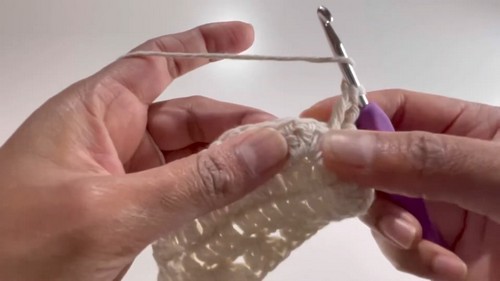
Round 2: Form the Net Pattern
- Chain 3 (counts as the first double crochet).
- Into the same stitch as the slip stitch, work 2 more double crochets (dc) (3 dc in total).
- Skip 2 stitches.
- Into the third stitch, work 3 double crochets into the same stitch.
- Continue this pattern around:
- Skip 2 stitches, then 3 dc into the next stitch.
- At the end of the round, slip stitch into the third chain of the starting chain.
Round 3
- Slip stitch into the next stitch and into the following stitch to prepare for the next set of double crochets.
- Chain 3.
- Into the same space, work 2 more double crochets (3 dc total) into the chain space.
- Skip over the cluster of 3 double crochets from the previous round and work directly into the spaces between clusters.
- Continue this pattern around.
- Complete the round by slip stitching into the third chain of the starting chain from the beginning of this round.

Repeating Rounds
- Alternate Round 2 and 3 until your bag body reaches 18 rounds in total.
- At the end of Round 18, you should have 60 stitches and visible, evenly spaced net holes throughout the bag body.
Finishing the Bag Body
- Cut the yarn, pull through the loop, and secure the last stitch with a knot.
- Use the tapestry needle to weave in all loose ends for a clean finish.

Bag Handle
Preparing Yarn
- For a thicker and stronger handle, double up your yarn strands. If using a single skein, pull from both the center and outside of the ball; if using two skeins, pair the strands together.
Handle Pattern
- Make a slip knot with the 6mm hook and the doubled yarn.
- Attach the yarn at one end of the bag.
- Chain 45 for the handle.
- Attach the other end of the chain to the opposite side of the bag.
Securing the Handle
- Pull the loose yarn through the handle ends and knot securely on both sides.
- Weave in the loose ends to ensure durability.


Conclusion
At the end of the project, your crochet net bag is ready to use! This eco-friendly, lightweight accessory is perfect for markets, trips, or as a stylish everyday bag. With its minimalist yet functional design, this project will add both convenience and charm to your daily routine.
Tutor’s Suggestions
- Choose Cotton Yarn: It ensures stretchability, durability, and an eco-friendly finish.
- Practice Slip Stitching: For smooth transitions between rounds, focus on keeping slip stitches even.
- Customize Handle Length: Based on preference, increase or decrease the chain length for handles.
Tip:
When carrying heavier items, double-check the handle knot and secure it tightly to prevent stretching over time.