Free Crochet Lychee Storage Basket Pattern for Home or Gifts
Learn a Practical Crochet Lychee Storage Basket Pattern to Tidy Up Your Space
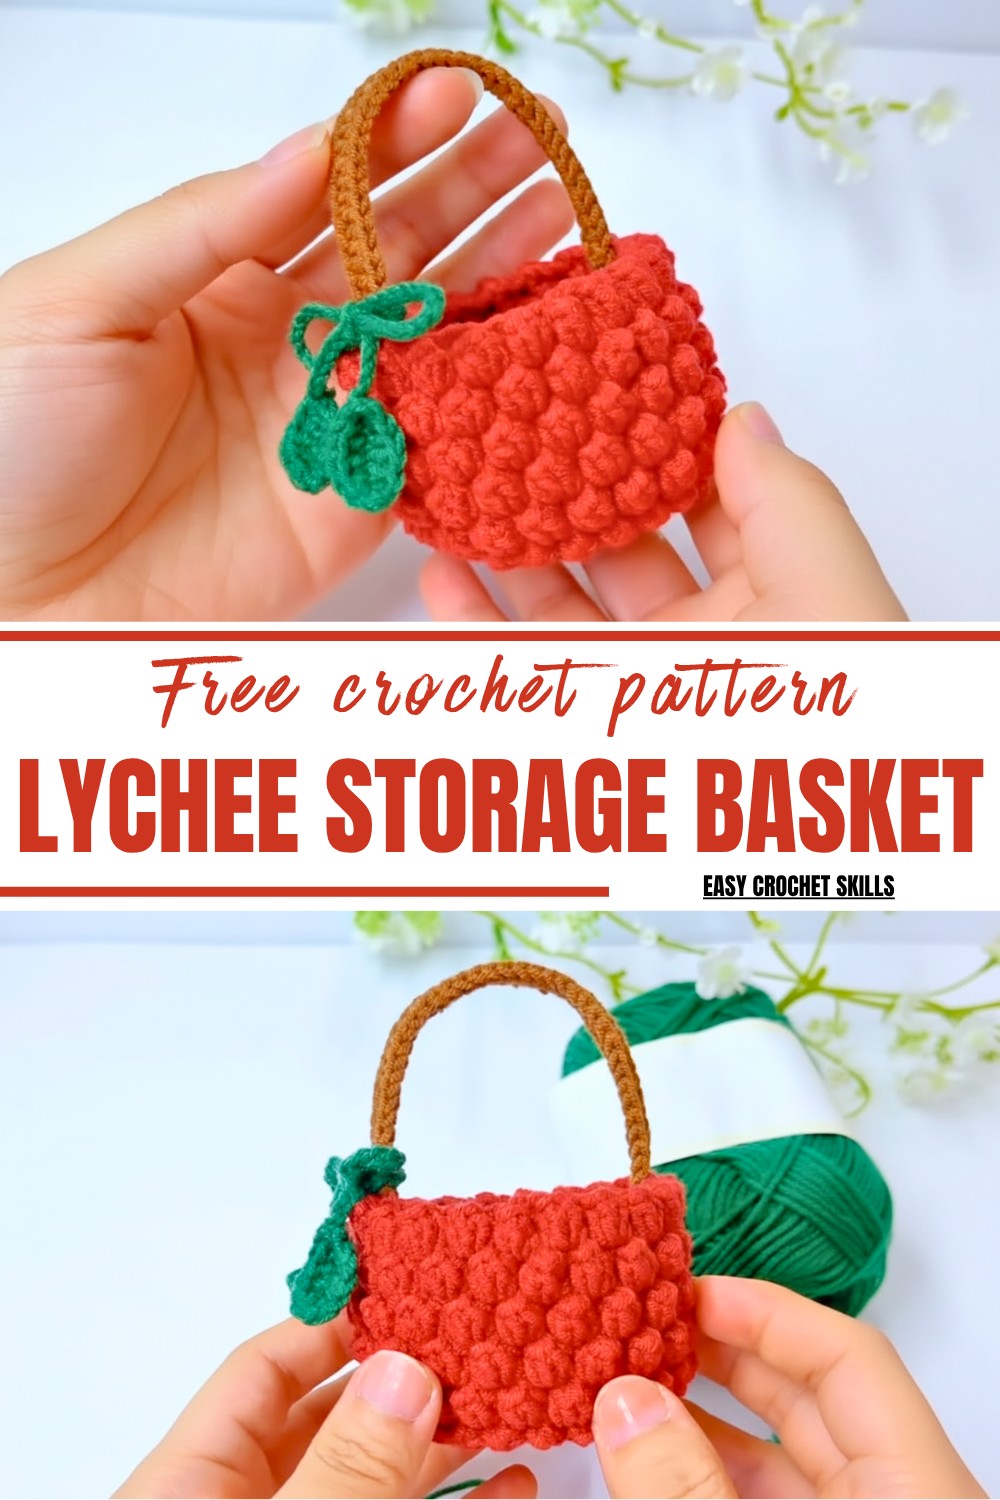
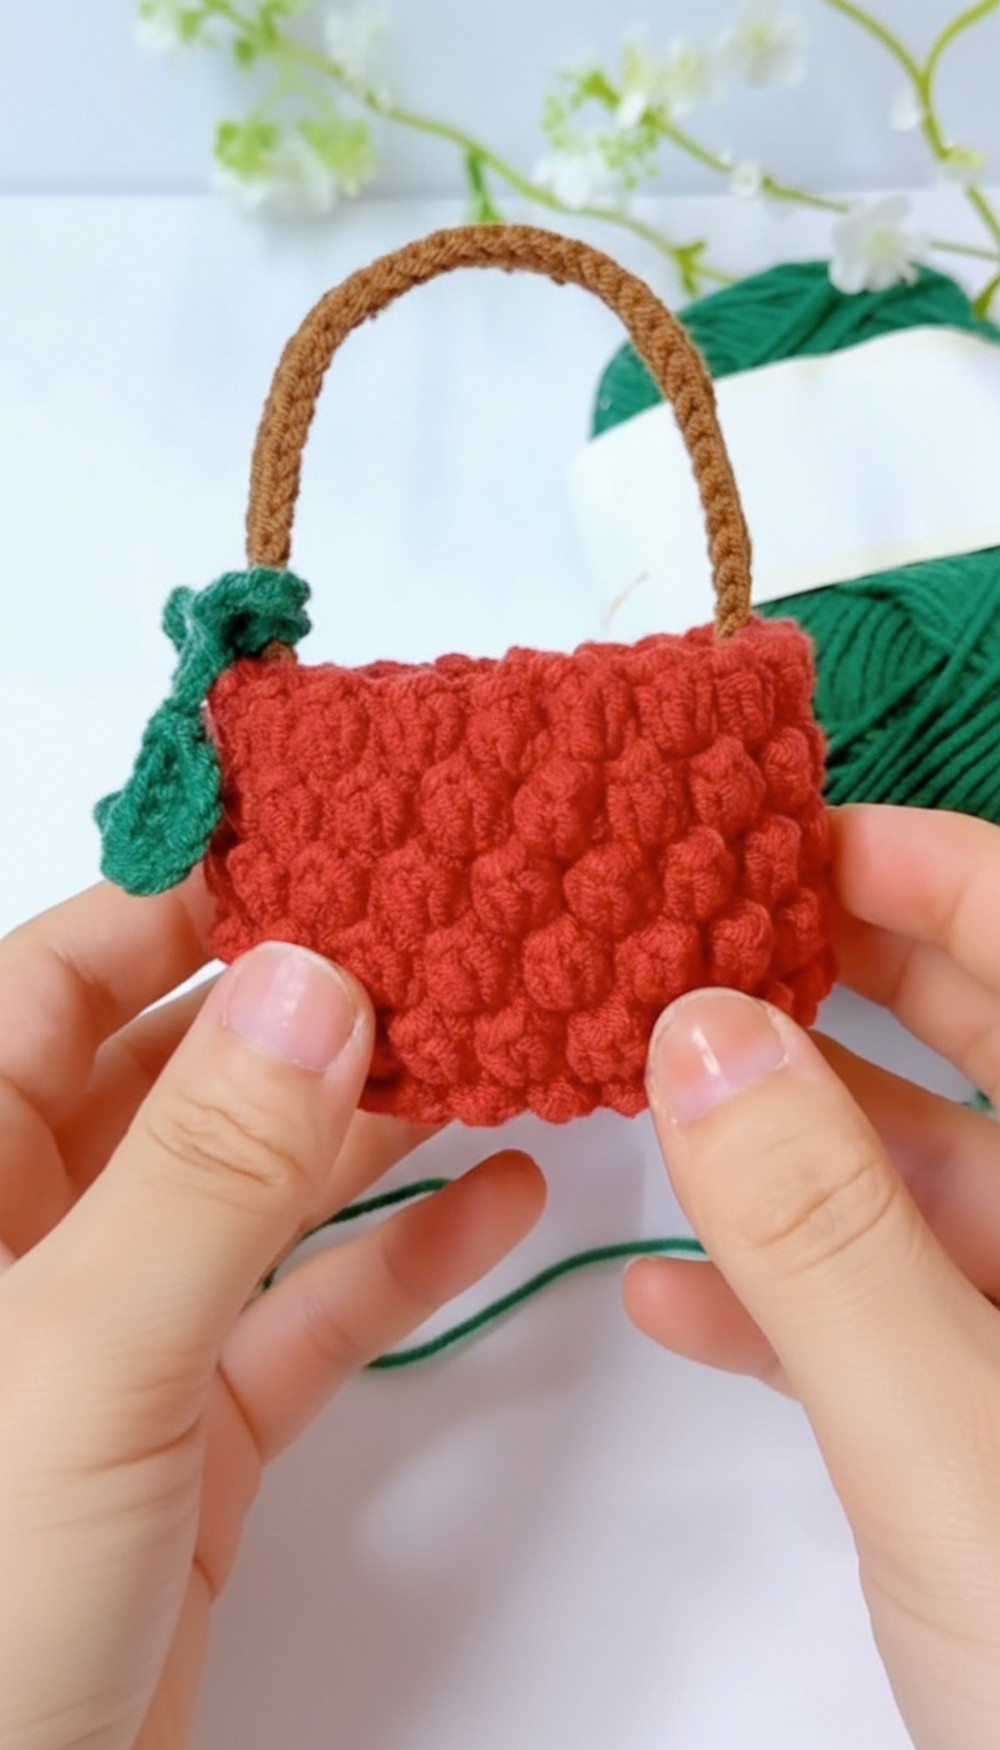
This basket pattern is beginner-friendly, featuring repetitive techniques that allow crocheters to develop their skills with ease while still crocheting something unique. With thoughtful additions like a sturdy handle and playful leaf embellishments, the pattern allows for customization so you can personalize it to perfectly match your style.
Whether used for tidying up shelves, gifting to a friend, or adding flair to your crochet collection, this pattern delivers convenience and aesthetic appeal in equal measure. Its lightweight yet strong pattern ensures long-lasting use, while its vibrant design adds a cheerful touch to everyday organization.
Materials Needed
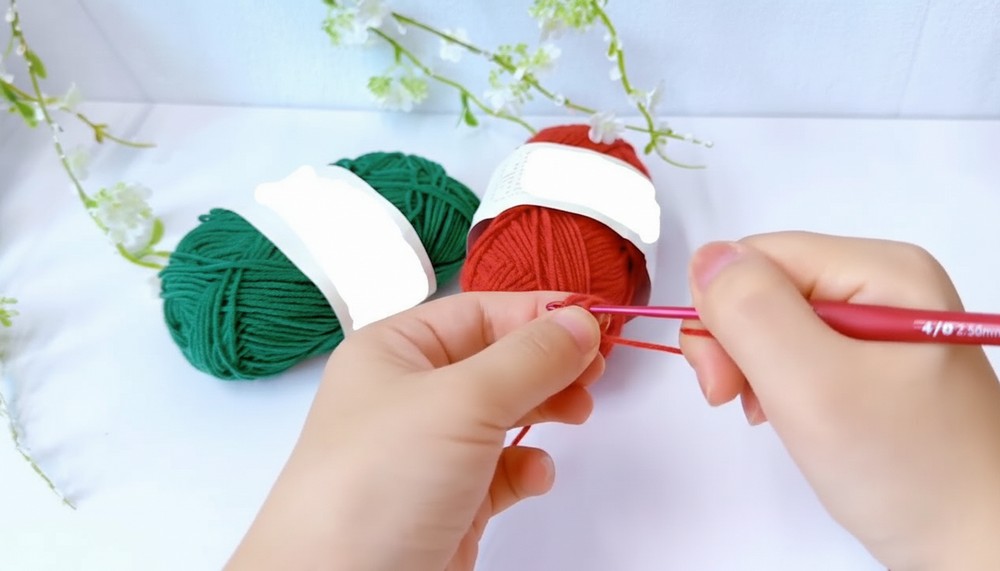
- 4-strand cotton yarn (main body, handle, and decorations).
- 2.5mm crochet hook.
- Scissors.
- Sewing needle for finishing.
Pattern Instructions
Step 1: Foundation — Base of the Basket
- Wrap the yarn around your finger and insert the hook to begin.
- Make a standing stitch to start.
- Round 1: Crochet 8 single crochets (SC) into the magic ring. Tighten the ring and join with a slip stitch (SL ST) into the first SC.
- Round 2: Chain one stitch. Crochet 8 increases (2 SC into each stitch), resulting in 16 stitches. Join with a slip stitch.
- Round 3: Chain one. Use the pattern of 1 SC, 1 SC increase (repeat as a group) until the round is complete. Finish with a slip stitch.
- Round 4: Chain one stitch. Work 1 SC, 1 SC increase followed by 2 SC, 1 SC increase for the round. Complete and join with a slip stitch.
- Round 5: Chain one. Crochet 3 SC, 1 SC increase for the round. Complete this round and close with a slip stitch. The bottom of the basket is now complete.
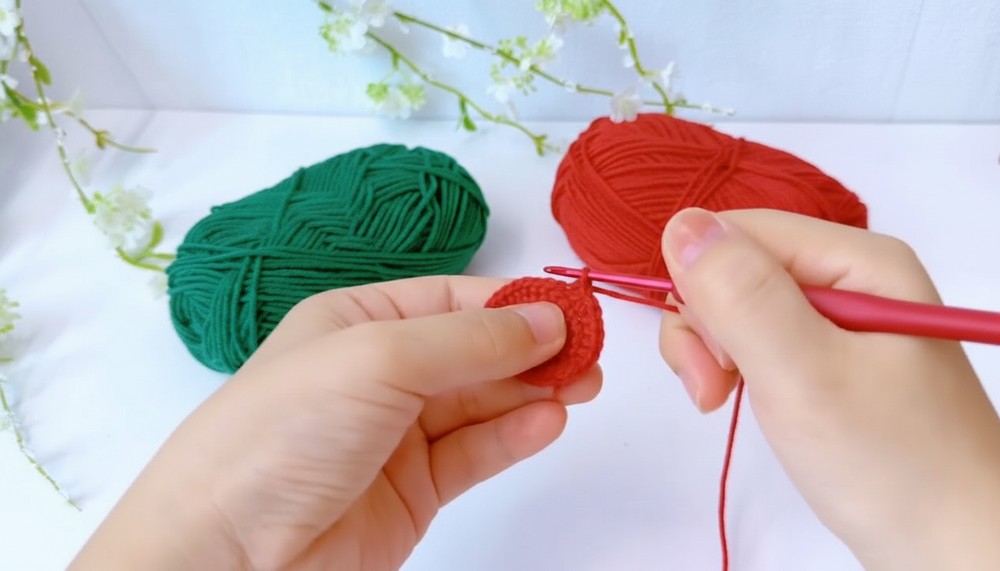
2: Building the Popcorn Stitch Design
- Start with two chain stitches to set the round.
- In the first stitch, crochet five double crochets (DC), then pull your loop longer.
- Insert the hook into the first double crochet, pull the yarn through, and complete the popcorn stitch.
- Add two chain stitches and skip one SC. In the next stitch, create another popcorn stitch using the same method.
- Repeat the popcorn stitch process for the entire round. Join with a slip stitch.
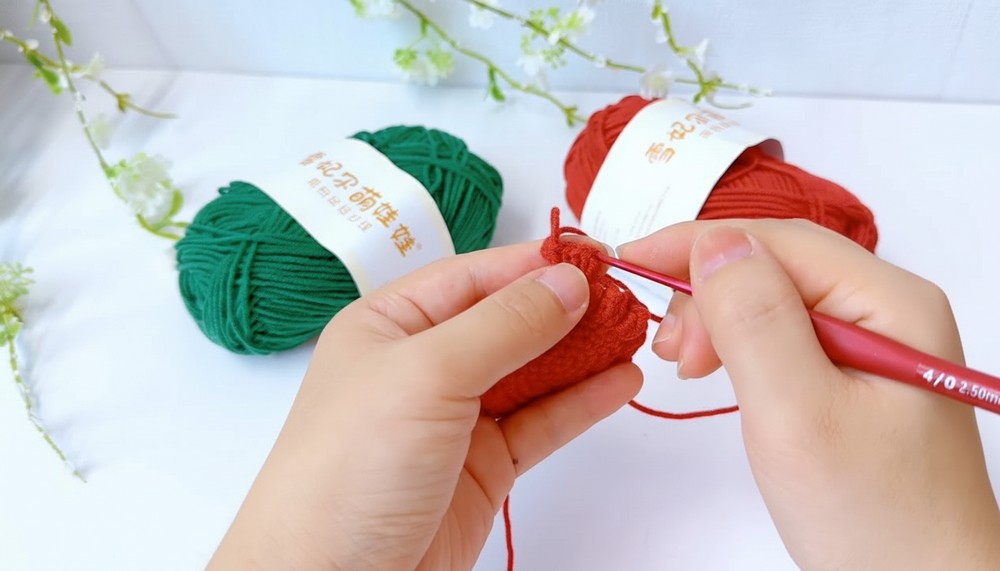
3: Jujube Stitch Round
- Chain three stitches as a standing stitch.
- Yarn over and crochet 4 DC in the current stitch. Pull the loop longer, insert the hook into the third chain stitch, and pull the yarn to complete the jujube stitch.
- Crochet 2 chain stitches and move to the next gap. Begin with a popcorn stitch.
- Repeat this pattern, alternating stitches for the entire round.
4: Building the Basket’s Height
- Follow the popcorn and jujube stitch pattern repeatedly for six rounds or until reaching your desired height.
- Once the final round is complete, cut the yarn and leave a long tail.
- Use a sewing needle to hide the yarn ends neatly into the fabric.
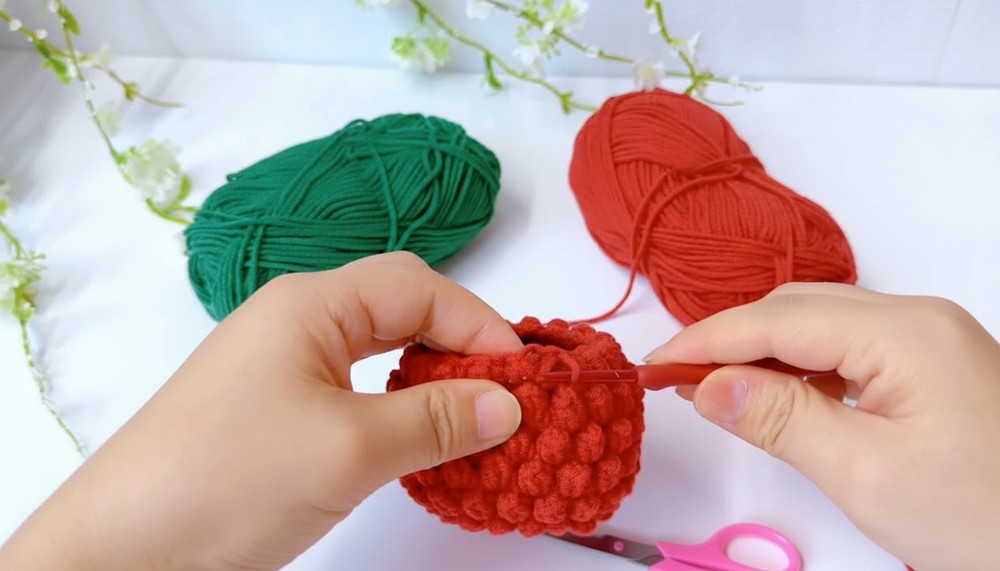
5: Adding the Handle
- Create the handle by starting with 25 chain stitches or adjusting the length to your desired specification.
- Keep the chain stitches slightly loose for flexibility.
- Crochet half double crochets (HDC) along the ridge of the second-to-last stitch.
- Introduce a second yarn strand for added strength, crocheting it along with the handle.
- Complete the row, chain one, and cut the yarn, leaving the tail longer for sewing.
- Fold the loose wire ends into the fabric and sew them in securely.
- Attach the handle to the basket by sewing its ends onto opposite sides of the main body.
6: Crocheting Decorative Leaves
- Begin with 7 chain stitches.
- In the second-to-last stitch, crochet a single crochet (SC), followed by:
- 1 half double crochet (HDC),
- 2 double crochets (DC),
- 1 half double crochet (HDC), and
- 1 single crochet (SC) plus one chain to form the tip of the leaf.
- Crochet symmetrically on the other side: HDC, DC x 2, HDC, ending with an SC.
- Join with a slip stitch. Cut the yarn and hide the ends.
- Optionally, crochet a 50-chain vine and attach the leaves at intervals.
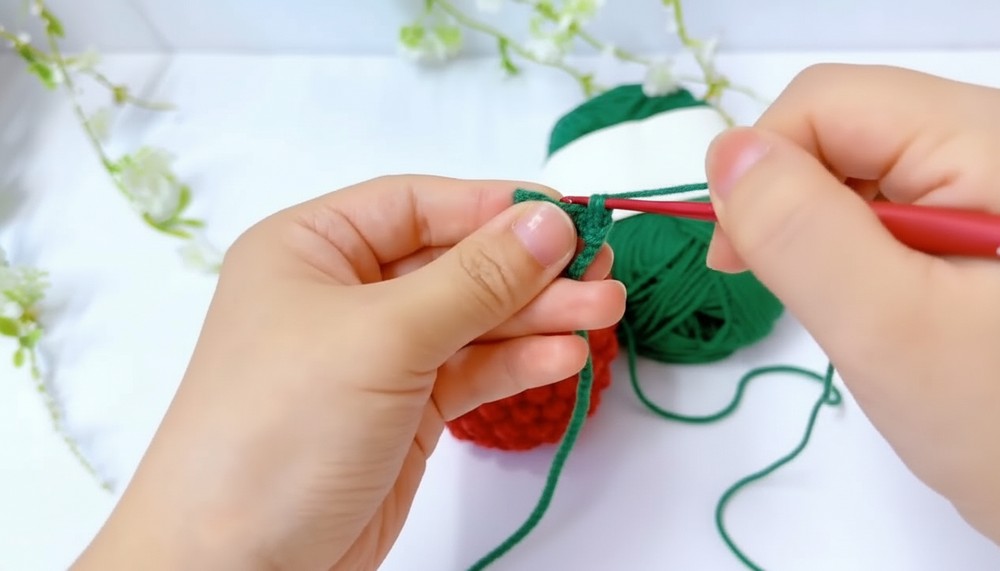
7: Attaching Decorations
- Use the leaves as decorative attachments for the handle or wrap them around the basket securely.
- You can tie the vine into a bow or let it drape decoratively.
Special Features
- Stylish and Functional: Decorative yet practical for organizing household items or gifting purposes.
- Personalizable Design: Easily adjust height, diameter, colors, and decorations for a unique look.
- Beginner-Friendly: Repetitive stitches simplify learning, ideal for those new to crochet.
Difficulty Level
This project is beginner-friendly but requires knowledge of stitches like single crochet, double crochet, half double crochet, popcorn, and jujube stitches.
Tutor’s Suggestions
- Use contrasting yarn colors for handles and decorations to make the design pop.
- Keep stitches reasonably tight to ensure a sturdy basket structure.
- To enhance durability, reinforce the handle with additional yarn strands.
Tip
If crocheting for storage, use thicker, yarn for the basket’s body to create a more rigid and durable structure.
Conclusion
The Lychee Storage Basket is a practical yet visually appealing crochet project, blending functionality and style perfectly. Whether you use it to organize items in your home or gift it as a thoughtful, handmade present, this basket pattern is sure to bring charm and utility to its surroundings.