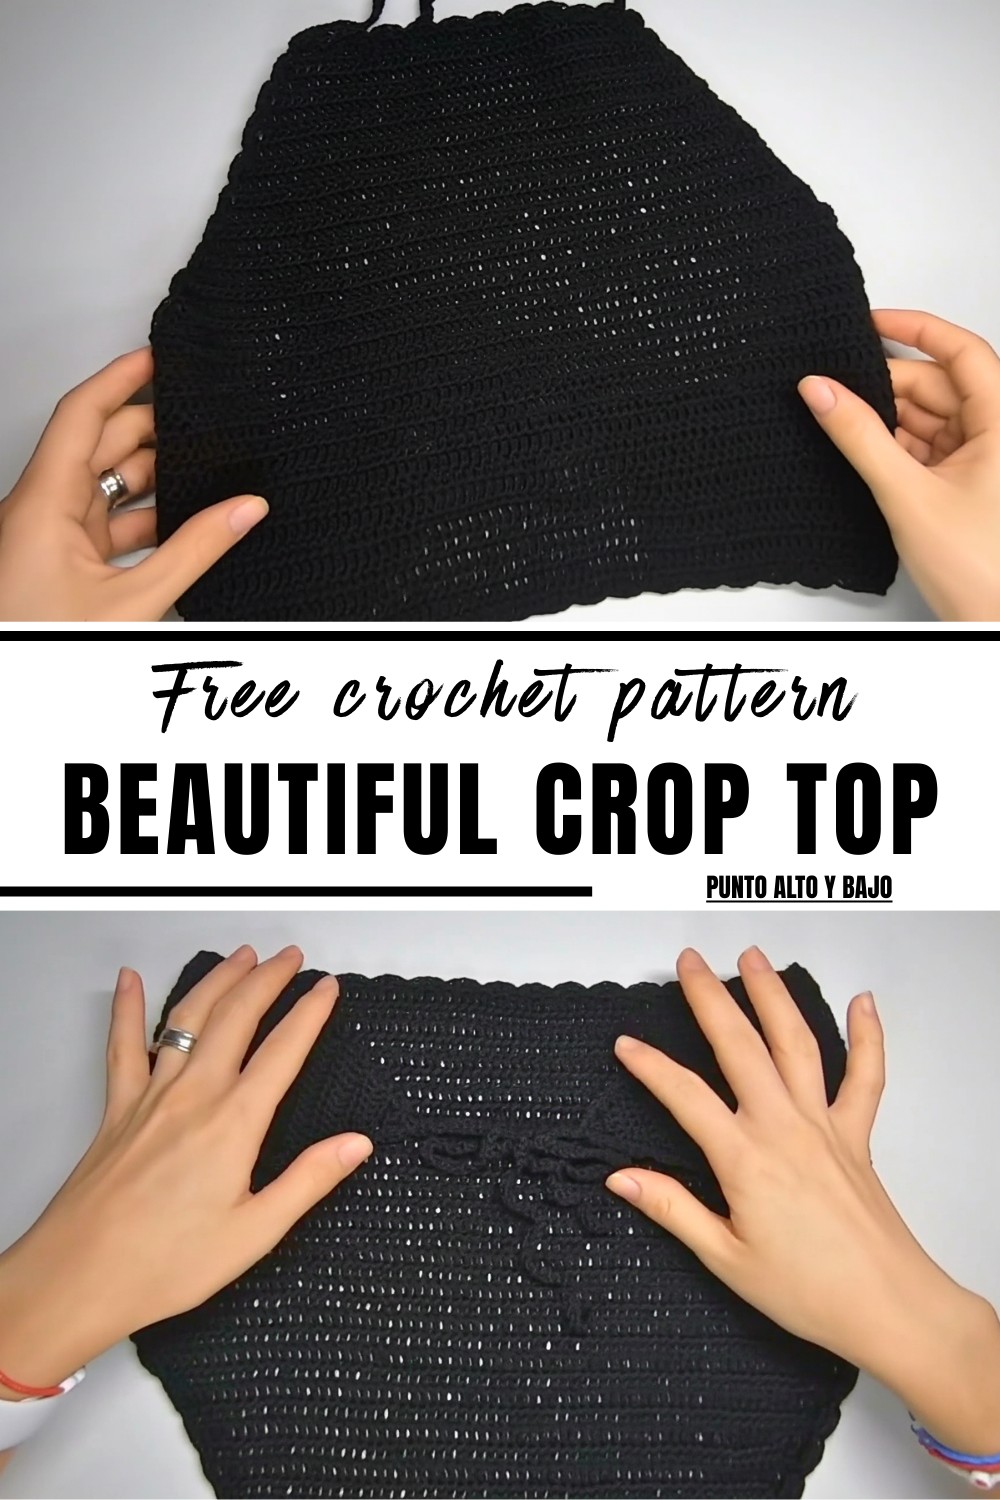
Easy Crochet Crop Top Pattern for a Perfect Summer Look
Simple Yet Stylish Crop Top Pattern in Just a Few Steps
Materials Needed
- Yarn: Thin acrylic yarn (approximately 1mm thickness).
- Crochet hook: 3mm.
- Tapestry needle.
- Measuring tape (optional).
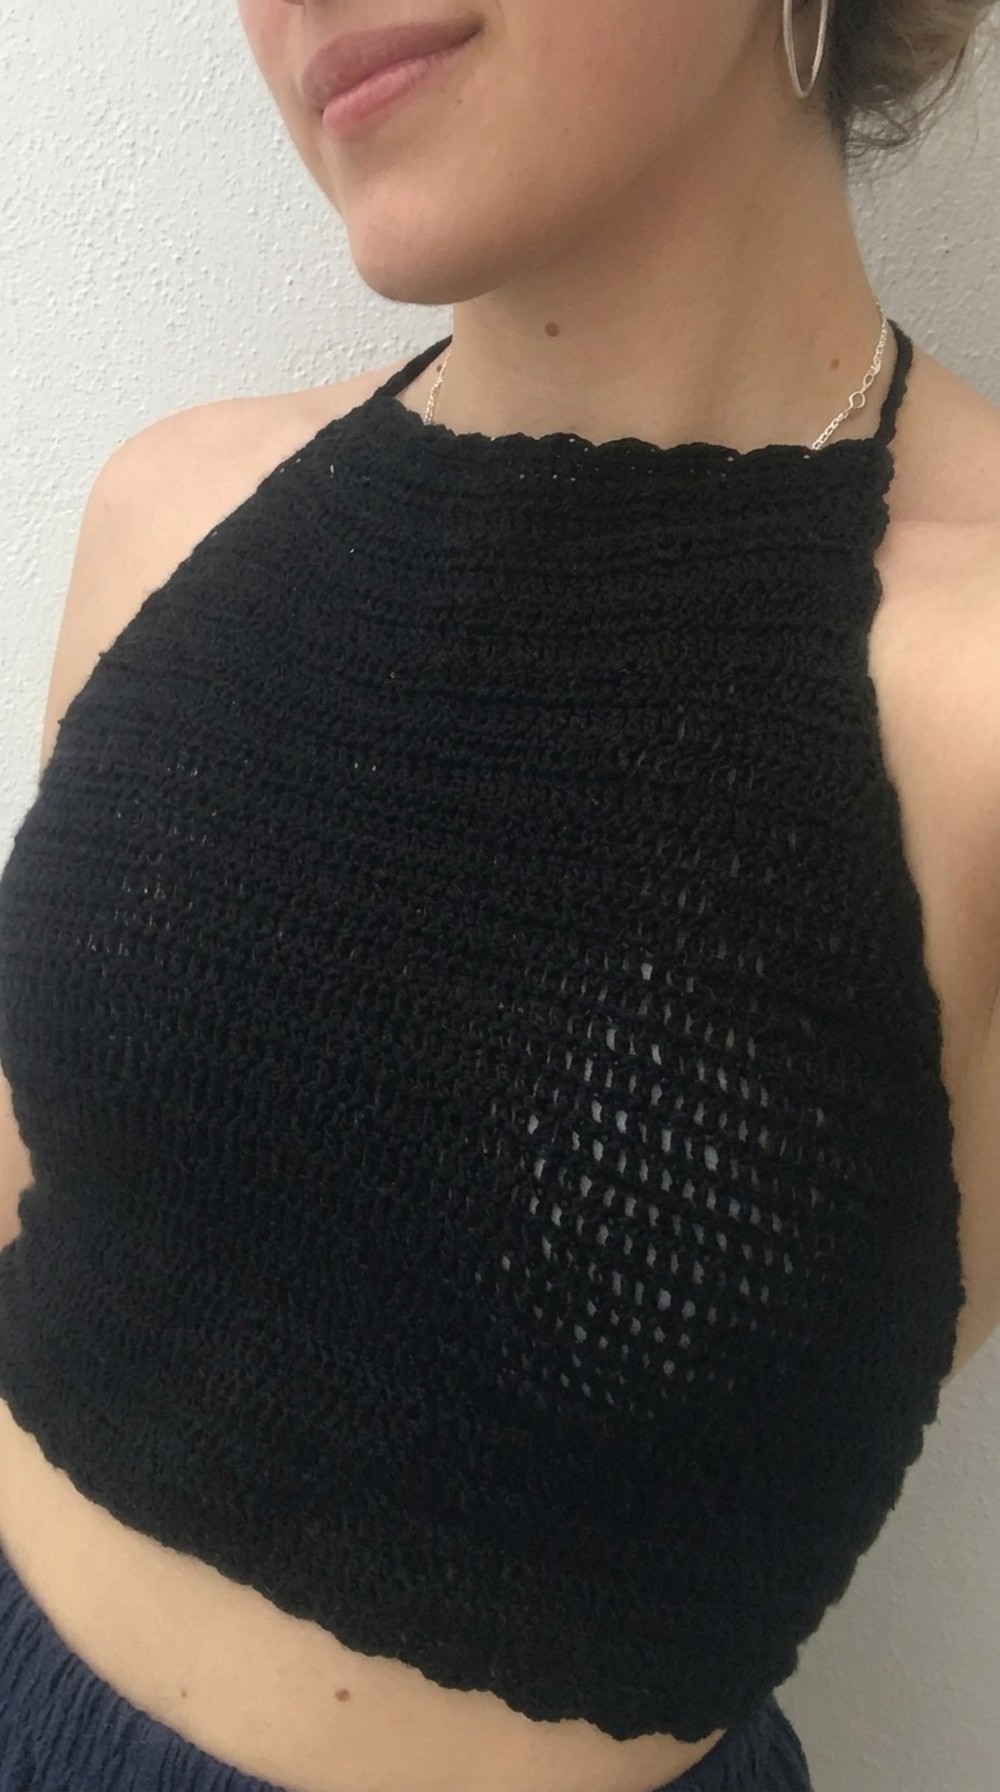
Level of Difficulty
Beginner to Intermediate
- Easy-to-follow pattern suitable for beginners.
- Includes informative adjustments to suit different sizes.
- Intermediate crocheters will enjoy the final detailing options like borders and straps.
Special Features
- Completely customizable to your size.
- Simple yet elegant design that allows creative modifications.
- Features straps for adjustable fitting.
- Optional borders for refined detailing.
Step-by-Step Pattern
1. Starting the Foundation Chains
- Create a slip knot and chain the number of stitches that fits your body.
- Example: For the tutorial, 100 chains were used, measuring 39cm.
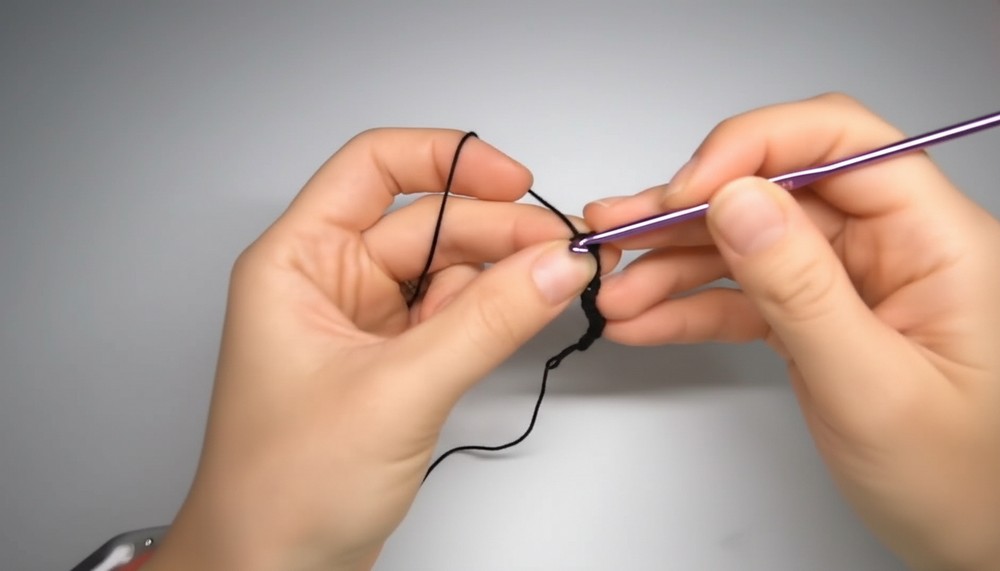
Note: Measure the chain against the front of your torso from under your bust, just covering the front (straps will cover the back). Adjust length accordingly.
2. First Row: Double Crochet (DC)
- Chain 2 at the end of the foundation row to begin your first row.
- Starting on the marked chain, crochet 1 double crochet (DC) in each chain.
- Example: For 100 chains, 100 DC stitches + the 2 chains = 101 stitches total.
- At the end of the row, ensure your stitches align evenly.
3. Additional Rows of DC
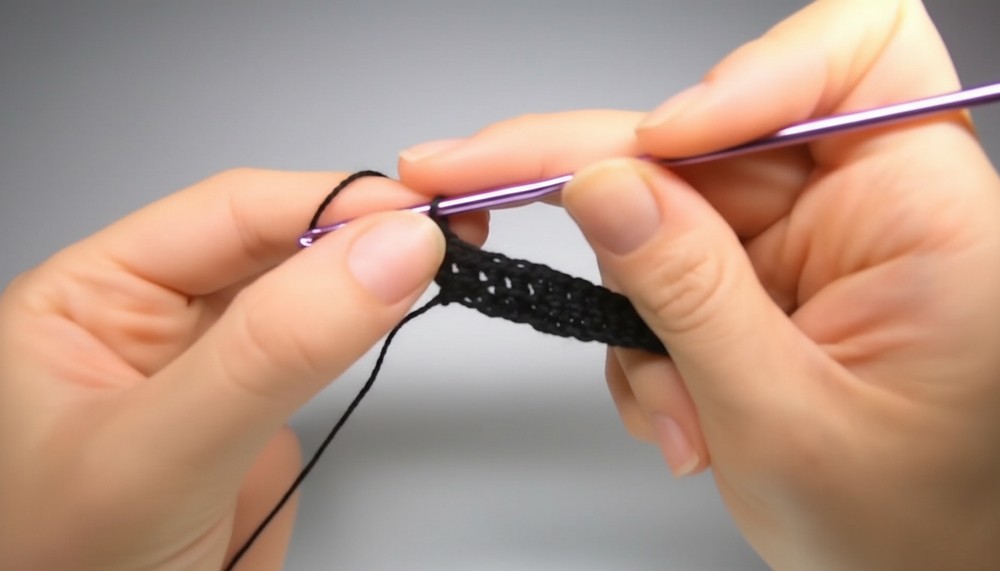
- Begin each new row with 2 chains, representing the first DC.
- Turn your work after chaining.
- Crochet 1 DC in each stitch across the row, ensuring the stitch count remains consistent.
- Repeat this process for as many rows as necessary.
- Example: In the tutorial, 8 rows of DC were made (7cm of work), stopping slightly below the bust.
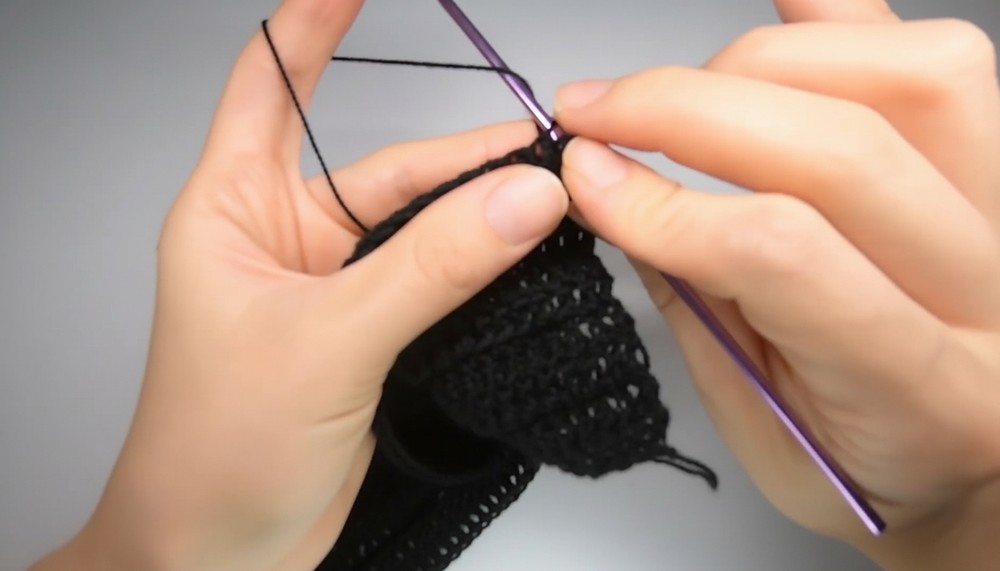
4. Starting Decrease Rows
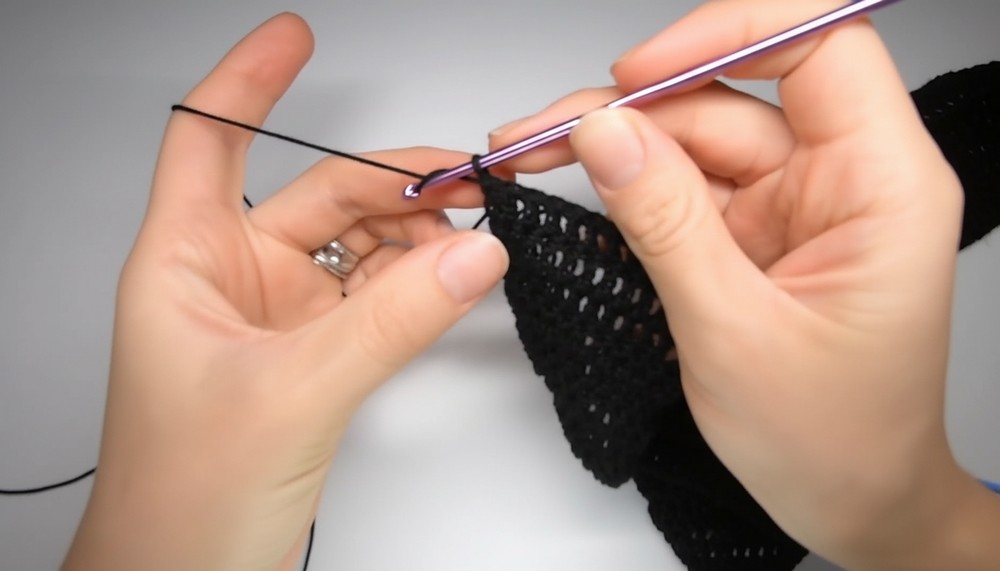
- Decrease at the Beginning of Each Row:
- Skip the first DC and start the row by crocheting into the second stitch.
- Crochet 1 DC in each stitch until the end of the row.
- Decrease at the End of Each Row:
- Skip the penultimate stitch and crochet into the final 2 chains from the previous row.
- Repeat this process for 30 rows or until the desired length is achieved. The decreases create a triangular shape at the top of the crop top, ensuring a snug fit under the neck.
5. Adding Straps
- Once the crop top body is complete:
- Chain 80 (or the desired strap length).
- On each chain, crochet single crochets (SC) for added thickness.
- Attach the completed strap to one side of the crop top.
- Repeat the process on the other side to create the second strap.
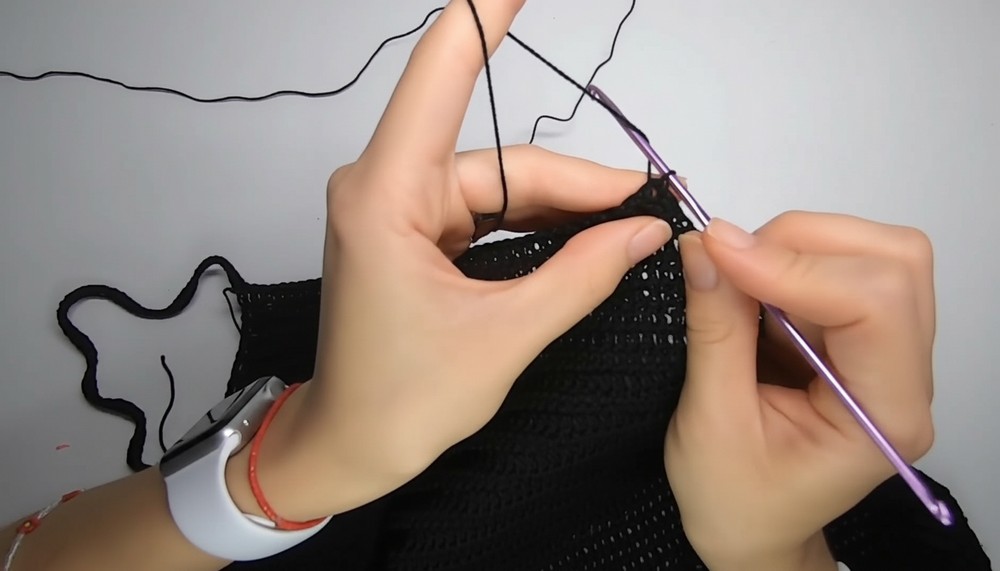
Tip: If you prefer a decorative finish, add a border to the strap by skipping a chain and working 3 DC into one stitch, followed by a slip stitch in the next.
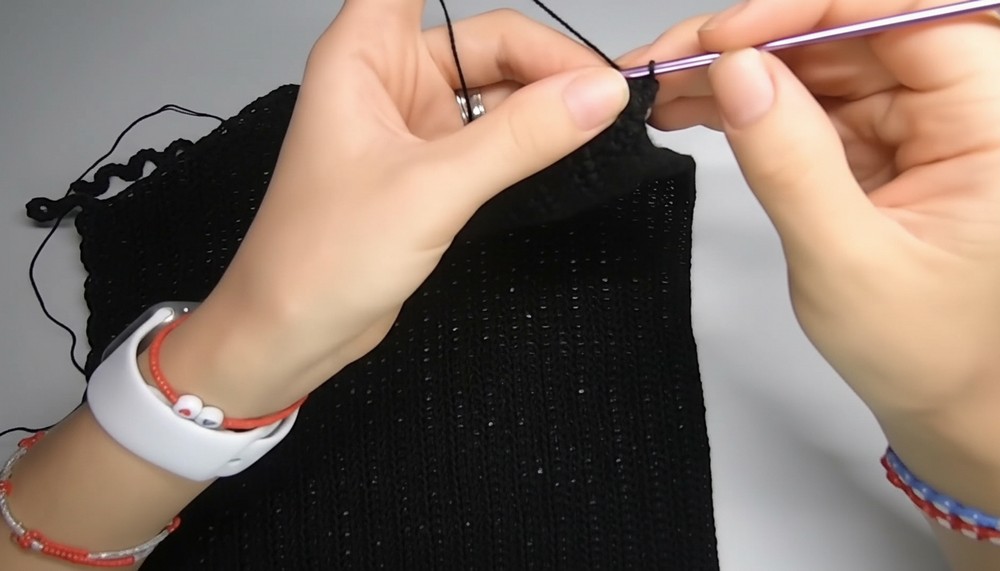
6. Side Straps for the Back
- Insert the hook into the corner of the crop top’s side.
- Chain 80 stitches for the strap length.
- Crochet SC in each chain, ensuring all straps match in length and thickness.
- Repeat this step on the other side of the top to create straps that tie securely at the back.
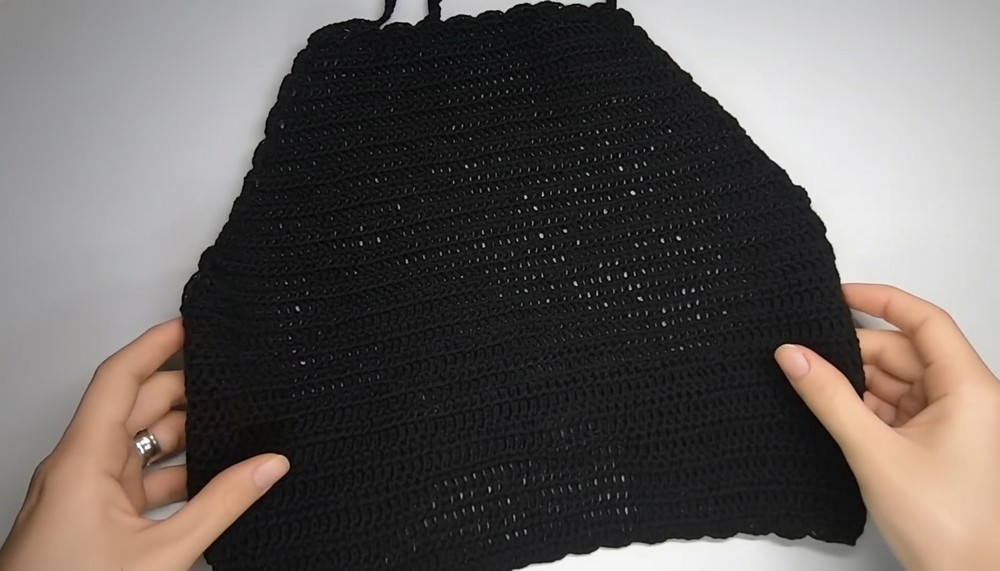
7. Optional Decorative Edging
- Crochet a decorative border along the crop top edge (optional):
- Skip one stitch.
- Crochet 3 DC in the next stitch.
- Slip stitch into the following stitch.
- Repeat this process around the crop top for a polished finish.
Measurements
- Width (adjustable): 60cm covering both sides of the back when tied.
- Height: 31cm from under the bust to top edge.
- Strap length: 80 chains plus SC rows = 33cm.
Tutor’s Suggestions
- Use a measuring tape for accurate chain length and strap size. If unavailable, measure directly on your body using the crochet piece as your guide.
- For larger sizes, increase the number of foundation chains and adjust rows accordingly.
Uses
- Beachwear: Great for sunny outings or layering over swimwear.
- Casual Looks: Pair with high-waisted shorts, skirts, or jeans.
- Custom Fit: Perfect for all sizes due to its adjustable straps.
- Gift Option: Make a thoughtful, handmade gift for friends and family.
Pro Tip
To avoid transparent stitches, consider lining the inside with fabric or adding cups for extra coverage and comfort.
Conclusion
This customizable crochet crop top is perfect for beginners and experienced crocheters looking for a quick yet stylish project. Its adjustable nature makes it suitable for all sizes, and the optional decorative elements allow for creative personalization. Practical, fashionable, and easy to make, this crop top pattern is sure to become a staple in your handmade wardrobe.