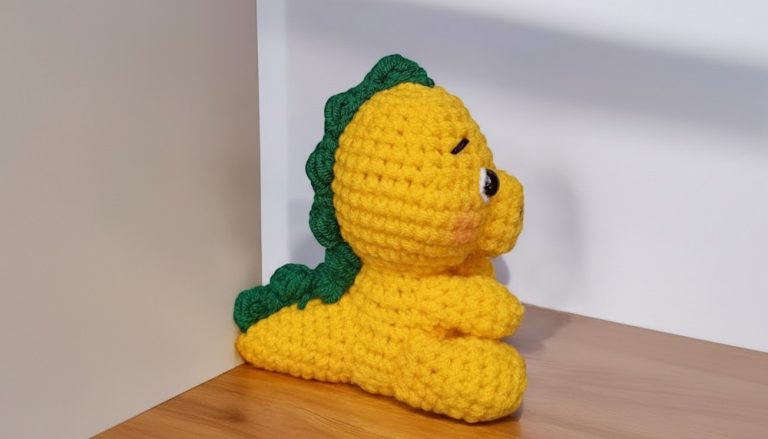
Easy & Free Crochet Star Amigurumi Pattern Everyone Will Adore
How Can You Cute Crochet Star Amigurumi Pattern? Find Out Here

The pattern itself highlights simple yet effective techniques like single, double, and triple crochet stitches, offering a wonderful opportunity to polish your skills while producing something charming. Because it’s customizable, you can play with colors, embellishments, or even add blush details to make each star truly unique.
Beyond its decorative appeal, handmade stars carry a heartfelt touch, making them perfect as thoughtful gifts or personal keepsakes. Plus, with minimal supplies and straightforward instructions, this pattern is accessible for everyone.
Materials Needed
- Yarn: Use your preferred color (ideal weight: DK or medium).
- Crochet hook: Size suitable for your yarn (common: 3.5mm–4mm).
- Stuffing: Polyfill or fiberfill.
- Yarn needle: For sewing.
- Stitch marker (optional): To track your rounds.
- Scissors.
Level of Difficulty
Beginner to intermediate. While the star involves basic stitches and increases, assembling the star and maintaining proper stitch counts requires attention.
Special Features
- Easy pattern repeats make it beginner-friendly.
- Works up quickly for decor, gifts, or fun projects.
- Customizable for different sizes and colors.
Step-by-Step Crochet Star Pattern
Step 1: Begin with the Base
- Slip knot: Create a slip knot to start. Alternatively, you may use the magic ring technique for a seamless center.
- Chain 2: Start by chaining 2 stitches.
- Round 1: Work 5 single crochets into the very first chain. You’ll now have 5 stitches.

2: Increase in Each Stitch
4. Round 2: Work 5 increases (an increase means working 2 single crochets into the same stitch). By the end of this round, you should have 10 stitches.

- Suggestion: Use a stitch marker to mark the start of the round.
3: Follow the Pattern to Expand the Circle
5. Round 3: Work 1 single crochet followed by an increase. Repeat this pattern for the entire round (5 times). At the end, you’ll have 15 stitches.
- Round 4: Work 2 single crochets followed by an increase. Repeat the pattern 5 times, resulting in 20 stitches.
- Round 5: Work 3 single crochets followed by an increase. Repeat this pattern 5 times to reach 25 stitches.

4: Shaping the Star
(Each point of the star will repeat the following sequence):
- Slip stitch: Work 1 slip stitch in the next stitch.
- Half double crochet: In the following stitch, work 1 half double crochet.
- Double crochet: Work 1 double crochet into the next stitch.
- Triple crochet: Into the same stitch, work 2 triple crochets.
- Double crochet: Work 1 double crochet in the same stitch after completing the triple crochets.
- Half double crochet: Work 1 half double crochet in the next stitch.
- Slip stitch: Work a slip stitch into the next stitch to finish the point.
- Repeat: Repeat the above star pattern 5 times to create all the points.

Assembly (Joining Two Stars)
- Make Two Stars: Follow the instructions above to make two identical stars. When completing the second star, ensure you leave a long tail of yarn for sewing.
- Align Stars: Place both stars together, ensuring the points line up properly.
- Sew: Use a yarn needle and sew the edges together using only the front loops of both stars to create a clean seam.
- Stuffing: Before closing off the last section, fill the star with stuffing. Do not overstuff—keep it soft and plush.
- Finish: Once stuffed, sew the remaining open stitches and weave in the tail using random stitches. Pull the yarn inward with a hook for a neat look.

Optional Feature: Adding Blush
- Use light pink yarn and a needle to embroider two small blush spots on the star’s cheeks.
- Thread the yarn through small sections multiple times to make the blush visible.
- Keep the blush balanced and symmetrical for a cute and polished look.

Conclusion
Congratulations! Your crochet star is complete, and its adorable pattern is perfect for brightening up any space. Whether it’s hung on a tree, used as a keychain, or gifted to someone special, this project offers handmade charm and creativity.
Tip for Best Results
Ensure your stitches are even, especially while joining the stars. Uneven sewing can affect the overall shape of the star. Take your time while stuffing to avoid overfilling—it should feel snug without stretching the stitches.