Crochet Angel Heart Egg Keychain Pattern for Unique Decoration
Bring colours to your crocheting with the Free Crochet Angel Heart Egg Keychain Pattern, a perfect blend of functionality and creativity.
Unlock the beauty of handmade artistry with this captivating crochet project! Inspired by delicate design and functionality, the Angel Heart Egg Keychain pattern combines beauty with everyday purpose. Perfect for gifting or adding charm to your daily accessories, this pattern allows you to crochet a small treasure that’s equally stylish and meaningful. Whether used as a thoughtful present, a bag desire, or a lovely decor piece, its versatility shines in countless ways.
Free Crochet Angel Heart Egg Keychain Pattern to Level Up Your Handmade Collection

Designed for intermediate crocheters, it strikes the right balance between challenge and comfort, helping you to improve your skills while creating something truly special. The heart accents add a touch of love, while the angel-themed egg symbolizes care and protection. This pattern provides endless customization opportunities.
Beyond being a creative outlet, it serves as a mindful activity that promotes relaxation and focus. Crochet enthusiasts will appreciate how this mini project lets them use leftover yarn effectively. Small in size but full of charm, the Angel Heart Egg Keychain pattern is sure to brighten your day, one stitch at a time. Whether cherished personally or shared as a gift, its thoughtful pattern makes it a standout addition to any collection.
Special Features
- The pattern incorporates three main parts: the Egg body, Wings, and Heart accents.
- Lightweight and portable, it’s perfect as a keychain, hanging ornament, or thoughtful handmade gift.
- Includes instructions for smooth color transitions and assembly techniques.
Level of Difficulty: Intermediate (Beginner-friendly if you’re open to learning!)
Materials Needed
- Yarn: 4 strands of milk cotton
- Hook: 2.0 mm
- Fiberfill: For stuffing the egg
- Basic crochet tools: scissors, tapestry needle for sewing, and stitch markers
Step-by-Step Pattern
Part 1: Egg Body
- Round 1:
Start with a magic ring:- Chain 1 (locking stitch)
- Make 6 SC (single crochets) into the ring.
- Pull the initial thread to tighten the loop.
- Slip stitch to close the round. (6 SC total)
- Round 2:
- Chain 1.
- Make 6 increases (2 SC in each stitch around).
- Slip stitch to close the round. (12 SC total)
- Round 3:
- Chain 1.
- Work in sequence: SC, increase (2 SC in next stitch). Repeat 6 times.
- Slip stitch to close the round. (18 SC total)
- Round 4:
- Chain 1.
- Work in sequence: 2 SC, increase, repeating 6 times.
- On the last stitch, change the thread color.
- Slip stitch to close the round. (24 SC total)
- Round 5:
- Chain 1.
- Work in sequence: 7 SC, increase, repeating 3 times.
- Slip stitch on the last SC. (27 SC total)
- Round 6:
- Chain 1.
- Work in sequence: 4 SC, increase, 4 SC, repeating 3 times.
- Change thread before the last SC.
- Slip stitch to close. (30 SC total)
- Rounds 7–9:
- Continue increasing as per pattern:
- Round 7: 9 SC, increase. (33 SC total)
- Round 8: 5 SC, increase, 5 SC. (36 SC total)
- Round 9: No increase; just 36 SC around.
- Continue increasing as per pattern:
- Rounds 10–19:
- Add stitches gradually:
- Round 10: 11 SC, increase, repeating 3 times. (39 SC total)
- Rounds 11–19: Maintain 42 SC per round.
- Add stitches gradually:
- Rounds 20–25 (Decrease rounds):
Decrease stitches to shape the top:- Round 20: 5 SC, decrease, repeating. (36 SC total)
- Round 22: 2 SC, decrease, repeating. (30 SC total)
- Round 25: SC, decrease, repeating. (16 SC total)
- Finishing:
Stuff the egg with fiberfill, leaving it firm and evenly shaped. Sew the opening closed securely.


2: Wings
- Row 1:
- Start with 6 chains.
- Turn and work into the back loops: 4 SC, slip stitch to finish the row.
- Row 2:
- Chain 1, turn.
- Work as follows: 2 SC, 1 SC increase, 1 SC. Slip stitch to finish.
- Row 3 and Onward:
- Chain 4. Continue shaping the wings by alternating increases and straight SC rows.
- Form curves following the video’s structure.
- Create 2 identical wings for assembly.

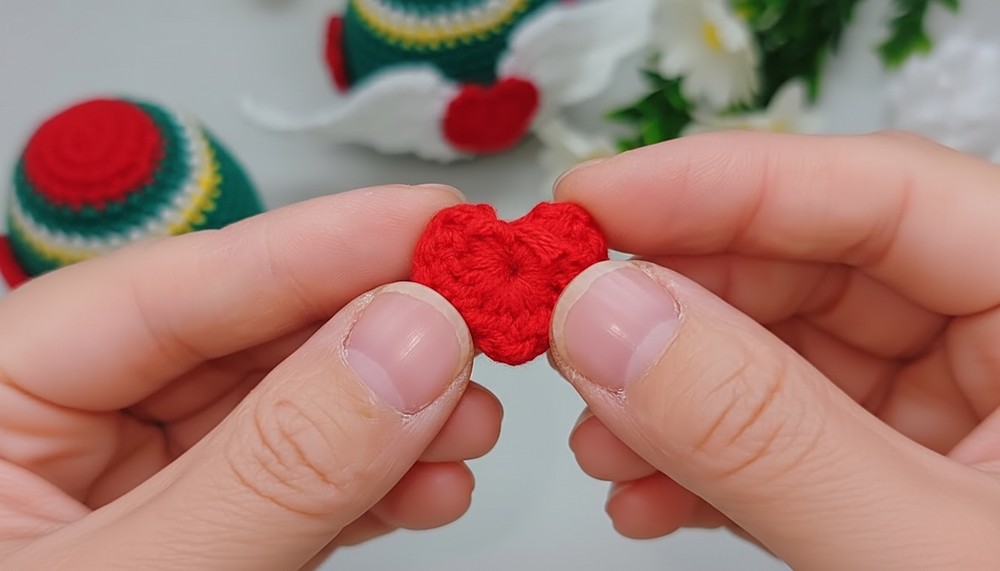
3: Hearts
- Magic Ring: Start with a ring and chain 2.
- Create the heart:
- Make 4 DC (double crochets), 2 HDC (half double crochets), and 1 DC.
- Reverse the process to complete the heart.
- Tighten and stitch the magic ring. Create 4 hearts total.
Assembly
- Attach the hearts to the center of the egg using a tapestry needle.
- Sew the wings symmetrically on the back of the egg.
- Add any decorative details like beads or embroidery if desired.


Conclusion
This cozy Angel Love Egg is a delightful project suited for gifts or a cherished piece for your handmade collection. Its intricate pattern makes it a standout creation that resonates warmth and crochetsmanship.
Tutor’s Suggestions
- Use contrasting pastel shades for a soft, angelic vibe.
- Work patiently with color changes to maintain neatness.
Tip
To secure color-change areas, knot the thread ends tightly and tuck them into the stuffing. This trick ensures long-lasting durability!