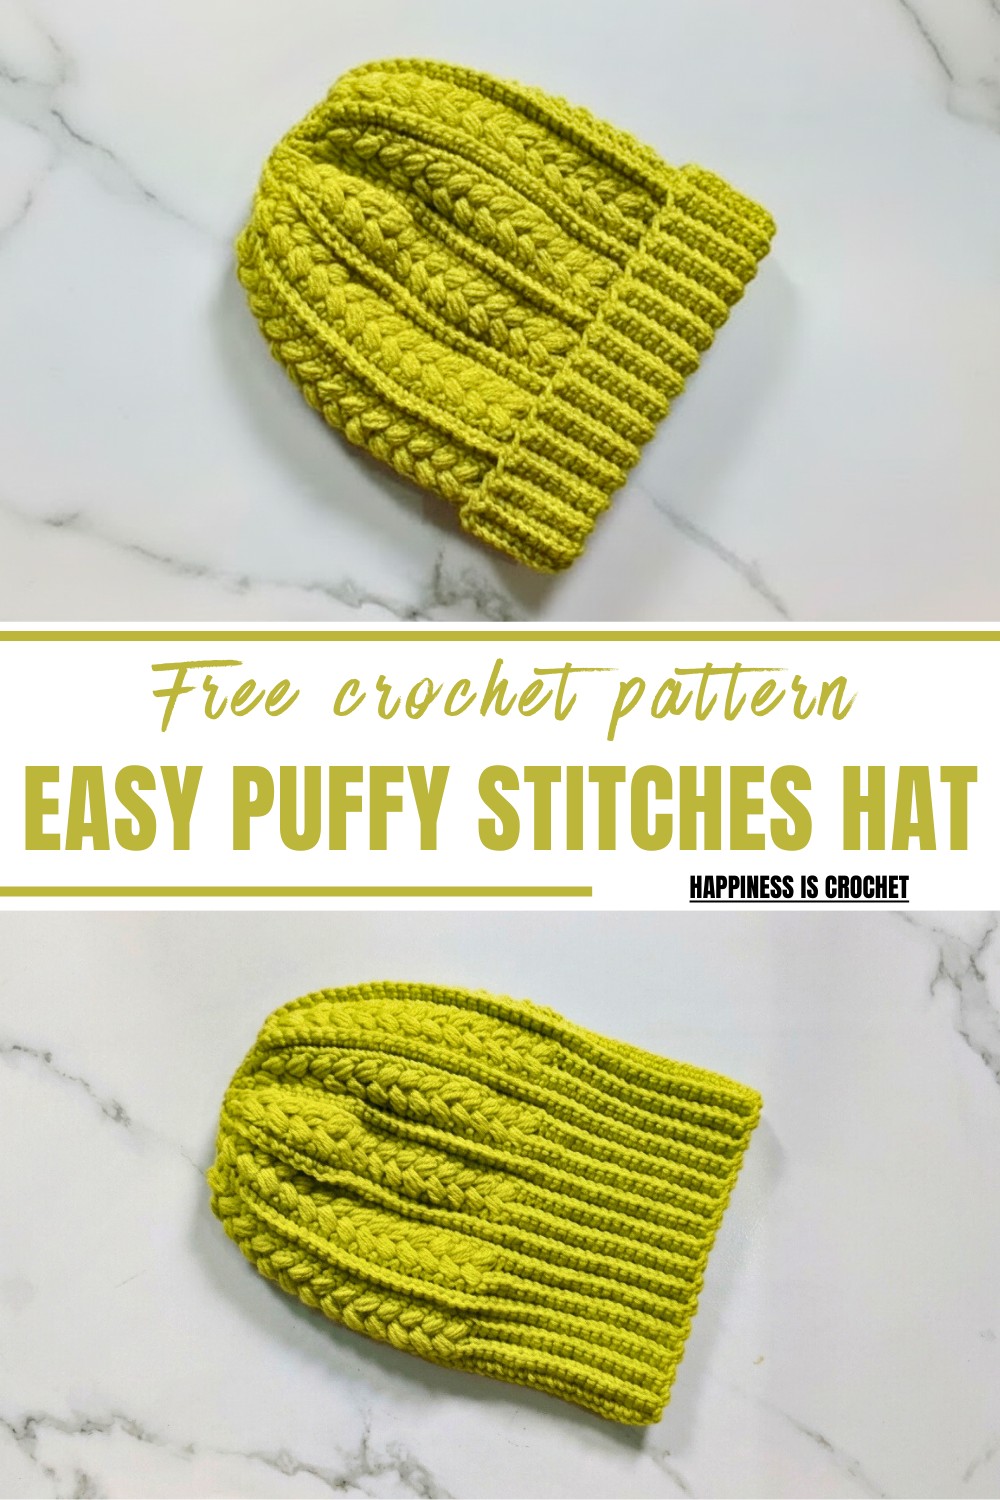
Free Crochet Puffy Stitches Hat Pattern for a Comfy, Modern Look
Stay cozy and chic with the Free Crochet Puffy Stitches Hat Pattern, featuring stress-free steps for personalized handmade beanies.
Bring cozy vibes and textured charm into your winter wardrobe with a stunning puff stitch hat made from soft acrylic yarn. This free crochet pattern offers the perfect combination of style and simplicity, making it achievable for both beginners and seasoned crocheters. Featuring its signature puff stitch design, the pattern boasts a modern look with a hint of handmade authenticity.
Learn Warm Crochet Puffy Stitches Hat Pattern Step-by-Step
Aside from its aesthetic appeal, this hat pattern provides incredible warmth and comfort, perfect for chilly days or crisp winter mornings. Whether you’re making it for yourself, gifting it to a loved one, or creating matching hats for family members, it has a versatility that fits any occasion.
What makes this pattern even better is its straightforward approach. With detailed step-by-step guidance and the use of basic stitches, it’s both relaxing and rewarding to crochet. Crochet enthusiasts of all levels can enjoy this engaging project while enhancing their skills and producing something truly memorable!

Special Features:
- Puff Stitch Design: Adds a textured and elegant look to the simple hat design.
- One Size Suitable for Beginners: The pattern is designed to be easy enough for beginners but enjoyable for experienced crocheters.
- Customizable Size & Design: Extend the length or add extra puff stitch sections for a personalized touch.
- Seamless Finish: Enables a clean and professional appearance with minimal visible seams.
Materials Needed:
- Yarn: 100% acrylic yarn (~100g needed for one hat)
- Crochet Hook: As per yarn recommendation (crochet hook suggested by tutor is suitable)
- Scissors
- Yarn needle
- Measuring Tape
Difficulty Level:
Beginner Friendly. The pattern is based on basic single crochet (sc), chains, slip stitches (sl st), and puff stitch, making it approachable for crocheters of all skill levels.
Step-by-Step Crochet Pattern
1. Starting the Foundation:
- Begin with a slip knot.
- Work 52 chain stitches (ch) for the foundation chain.
- Add 1 extra chain for turning.

2. Row 1: Single Crochet (sc):
- Skip the first chain (turning chain).
- Start single crochet (sc) from the second chain.
- Work 46 sc along the row.
- Turn with 1 chain after completing the row.
3. Row 2: Back Loop Single Crochet (sc):
- Skip the first turning chain.
- Work 1 sc in the back loop only (BLO) for each of the next 46 stitches.
- Continue until the end of the row.
- On the last stitch, work through both loops rather than just the back loop.
- Turn with 1 chain after completing the row.

4. Repeating Rows:
- Repeat the back loop single crochet for the first part of the hat.
- Ensure the puff stitch design matches the puff pattern section within suggestive rotations towards forward curve loops precisely through each direction.

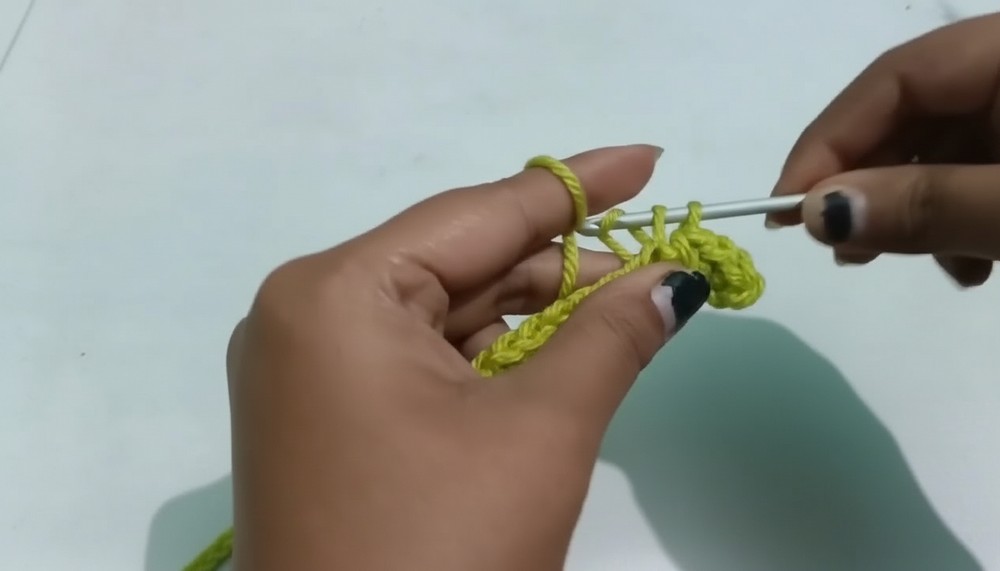
5. Puff Stitch Section:
- After finishing the single crochets, move on to the puff stitches.
- Skip the first stitch, then in the next stitch:
- Yarn over, insert into stitch, yarn over again, and pull through. Repeat this process three times into the same stitch so there will be seven loops on the hook.
- Yarn over and pull through all seven loops, followed by a single chain to secure the puff stitch.

6. Alternating Puff Stitch and Single Crochet:
- Next, skip one stitch and work one single crochet (sc) in the following stitch.
- Follow this by skipping a stitch and making a puff stitch in the next stitch.
- Continue this sequence (skip 1, sc 1, skip 1, puff stitch) until the section is complete.
- End with a chain and turn.
Important Note:
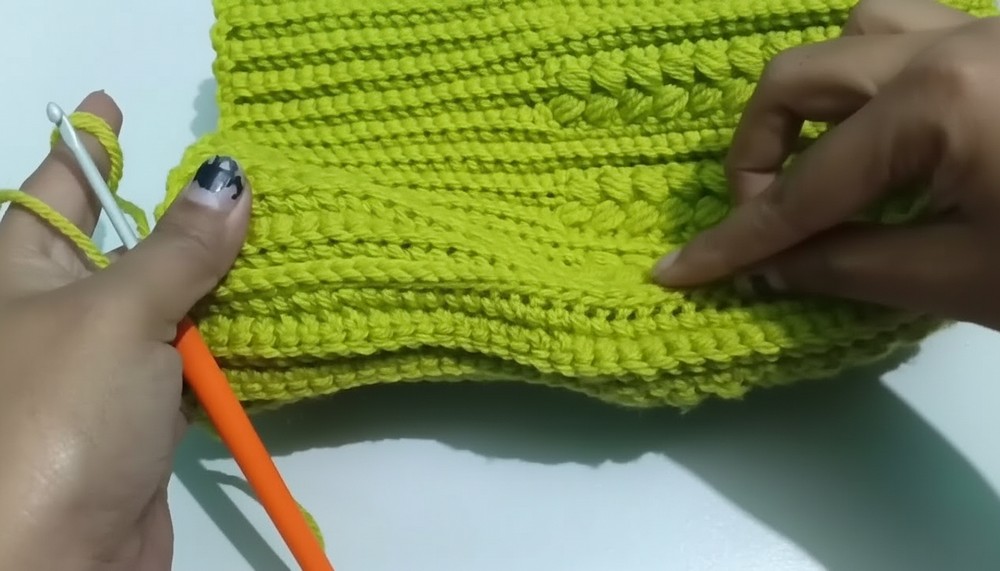
- Always work back loop single crochet (BLO sc) for the stitches that are not puff stitches. This provides texture and continuity to the design.
7. Joining the Hat Edges:
- Once the desired height of the hat is achieved, fold the rectangle in half.
- Use slip stitches (sl st) to join the sides together. Work through the back loops only for an invisible seam.
- Fasten off and weave in the ends neatly with a yarn needle.

8. Closing the Top:
- Thread a yarn needle with a long strand of yarn.
- Weave the needle in and out of the top edge of the hat.
- Pull the yarn tight to gather the top and close the gap securely. Make a few stitches to ensure the top is closed properly, then knot and weave in the ends.

Optional Additions:
- Add a Pom-Pom: Top off your hat with a pom-pom for a playful finish.
- Extra Puff Sections: Customize the hat with additional puff stitch rows for a more detailed design.
Tutor’s Suggestions:
- Always use a yarn that matches the pattern gauge for the best result.
- Beginners can start with a lighter yarn to understand puff stitch mechanics before moving to bulkier threads.
- Ensure consistent tension to maintain the hat’s shape and size.
Uses and Benefits:
- Stylish Accessory: A perfect addition to winter outfits for all ages.
- Handmade Gift: Handmade hats make thoughtful and personal holiday or birthday gifts.
- Relaxing Hobby: Enjoy the meditative process of crocheting while creating something useful and beautiful.
Conclusion:
This crochet puff stitch hat not only showcases your creativity but also keeps you warm and cozy in style. With its simple yet eye-catching design, it’s a project that’s rewarding to make and practical to use. Once you master this pattern, you’ll find it fun to make multiple hats for friends, family, and even yourself.
Special Tip:
When working with puff stitches, keep your loops slightly loose to make it easier to pull the yarn through all loops on the hook.