Cute Crochet Penguin Amigurumi Pattern Perfect for Gifts & Decor
Brighten your crochet projects with this Free Crochet Penguin Amigurumi Pattern, featuring easy steps for adorable handmade gifts and decor.
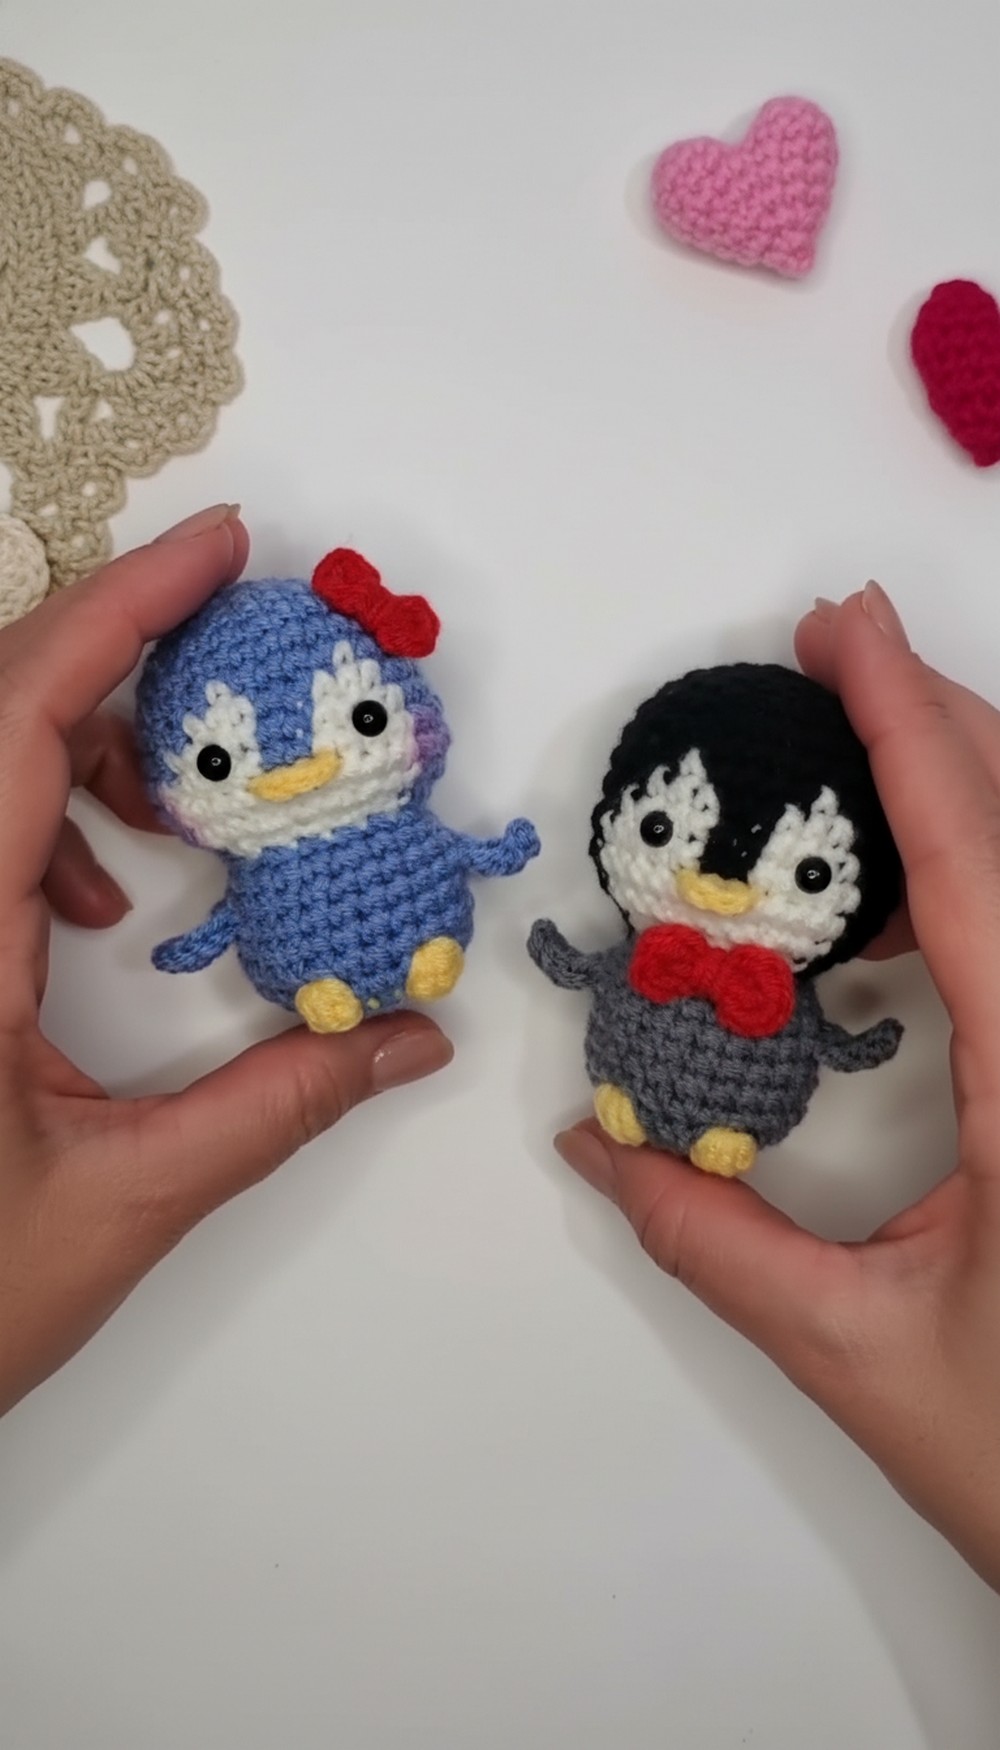
Add a splash of charm to your handmade collection with an adorable penguin amigurumi that’s both fun to make and versatile in use. This easy-to-follow crochet pattern is designed with beginners in mind but still offers enough detail to excite seasoned crocheters. Made in a single piece, this pattern keeps assembly to a minimum while showcasing delightful features like tiny wings, a bright beak, and an optional bowtie for added personality.
Free Crochet Penguin Amigurumi Pattern for a Handmade Winter Wonderland
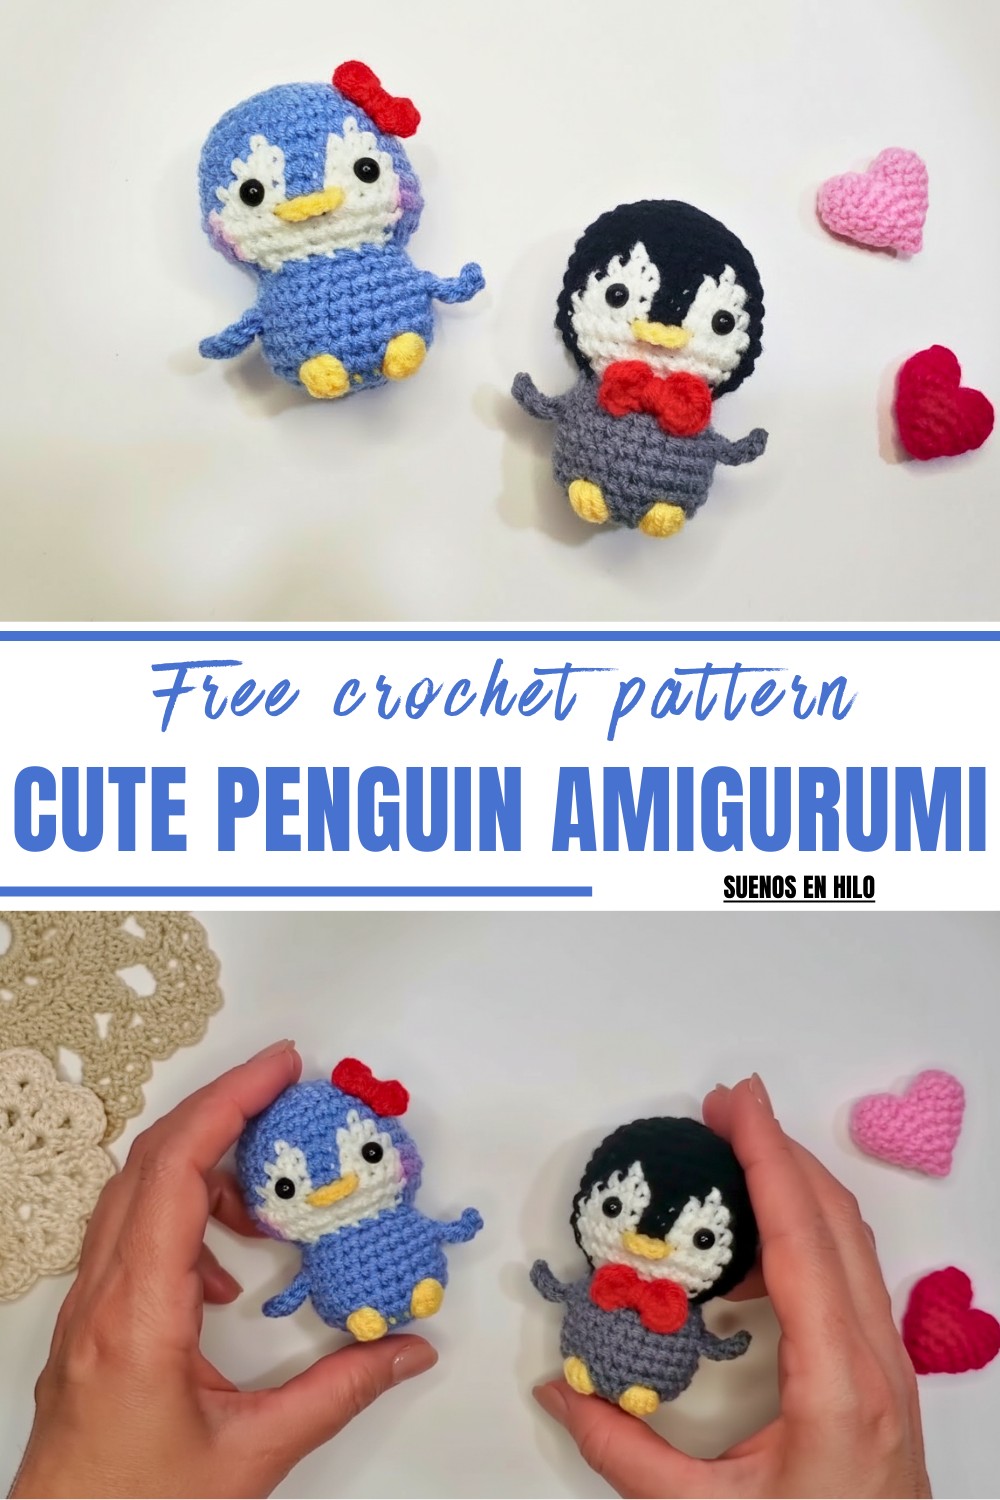
Whether you’re looking to personalize gifts, enhance home decor, or simply unwind with a creative hobby, this penguin pattern is perfect for all occasions. Lightweight and small enough to carry, it works wonderfully as a keychain, desk buddy, or even as an adorable seasonal ornament. The pattern includes straightforward instructions for color changes, which add character to the design without being overwhelming.
This penguin amigurumi is more than just a crochet project; it’s a wholesome way to put your skills into something practical and heartwarming. From honing your crochet techniques to gifting a handmade token of care, it’s a project you’ll love from start to finish!
Materials Needed:
Yarn Colors: White, gray, black, a small amount of red for a bow (optional), and yellow for the beak and feet
- Crochet hook: 2.25 mm or as appropriate for your yarn
- Scissors
- Yarn needle
- 6 mm safety eyes
- Synthetic filling
Pattern Details:
Special Features:
- One-Piece Design: Minimizes sewing to streamline making and enhance durability.
- Color Changes: Although simple in structure, the color changes add detail, making the penguin extra charming.
- Customizable Accessories: Add a personalized bow tie for extra flair.
Level of Difficulty: Beginner-Friendly
It’s straightforward, but attention to color-changing details is necessary for beginners.
Step-by-Step Pattern Instructions
1. Head and Body:
Round 1:
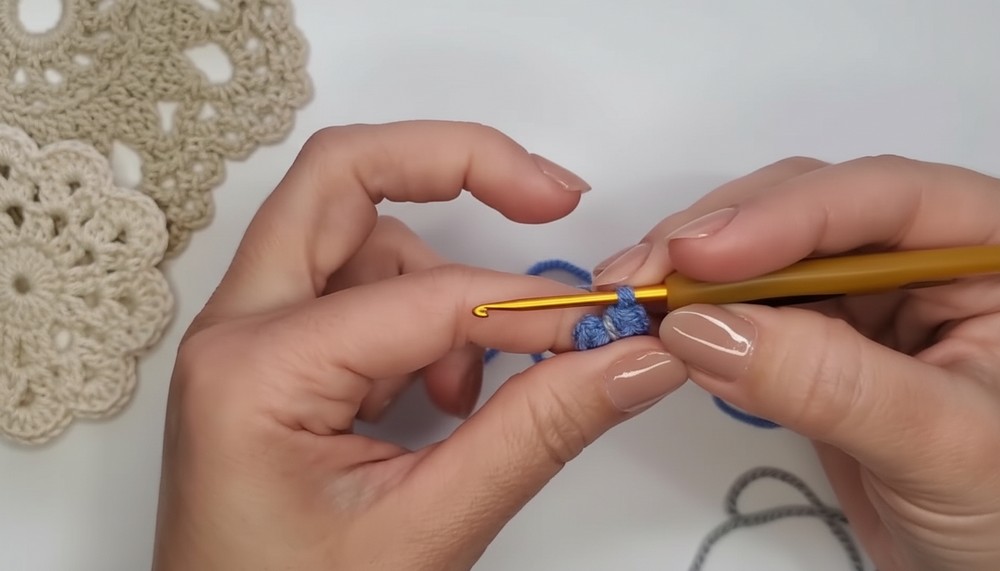
- Create a magic ring and work 6 single crochets (sc) into it.
Round 2:
- Make 6 increases (2 sc per stitch) to finish with 12 sc.
Round 3:
- Alternate 1 sc, 1 increase. End with 18 sc.
Round 4:
- Alternate 2 sc, 1 increase. Complete the round with 24 sc.
Round 5:
- Alternate 3 sc, 1 increase. Finish with 30 sc.
Round 6:
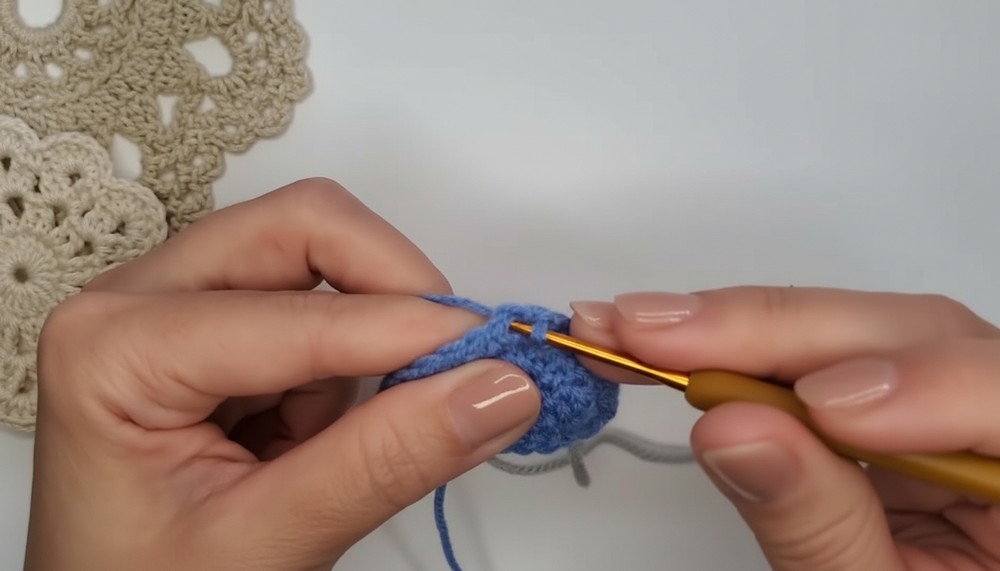
- Work 30 sc without increases for the round. This rounds out the head.
2. Transition to Multi-Color (Face and Belly Sections):
Round 7:
- Start with 12 sc in your primary body color.
- Do not finish the last stitch completely; switch to white yarn, finish the 12th sc with white.
- Work 1 sc in white (again, do not finish it with the same color); change back to the body color.
- Work 4 sc in the body color, then switch to white for 1 sc in white; swap colors as you finish these stitches to maintain color alignment.
- Complete 12 sc in body color to finish the round.
Rnd 8:
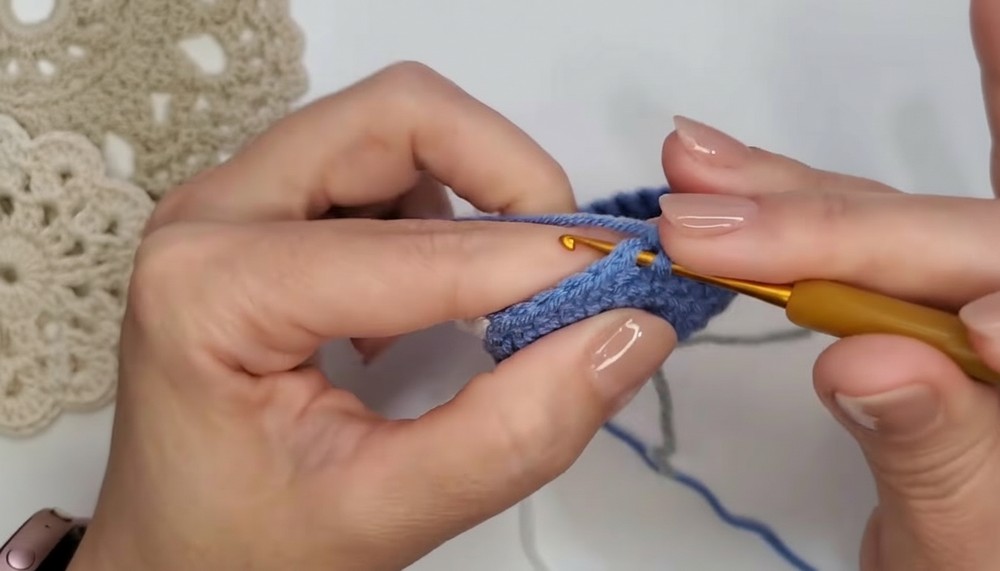
- Crochet 11 sc in the main color first.
- Switch to white, make 3 sc, change back to your main color for 2 sc.
- In white, complete 3 sc; return to your main color for 11 sc to finish the round.
Round 9:
- Crochet 10 sc in the primary color: bring the white yarn and elaborate 4 sc in white.
- Switch back to the main color and continue the sequence with whites in between the main color as followed in previous instructions.
3. Top of Body (Neck Area and Start Decreasing):
Rnd 10:
- Work 7 sc, make 2 increases in a row, then one more increase while changing colors in stages as before.
- Continue with 4 sc in white, followed by 2 in the main color, and return to white for 4 sc.
- Conclude by shifting back to the main color and working increments similarly as previously stated, closing the head preparation with subtil curves.
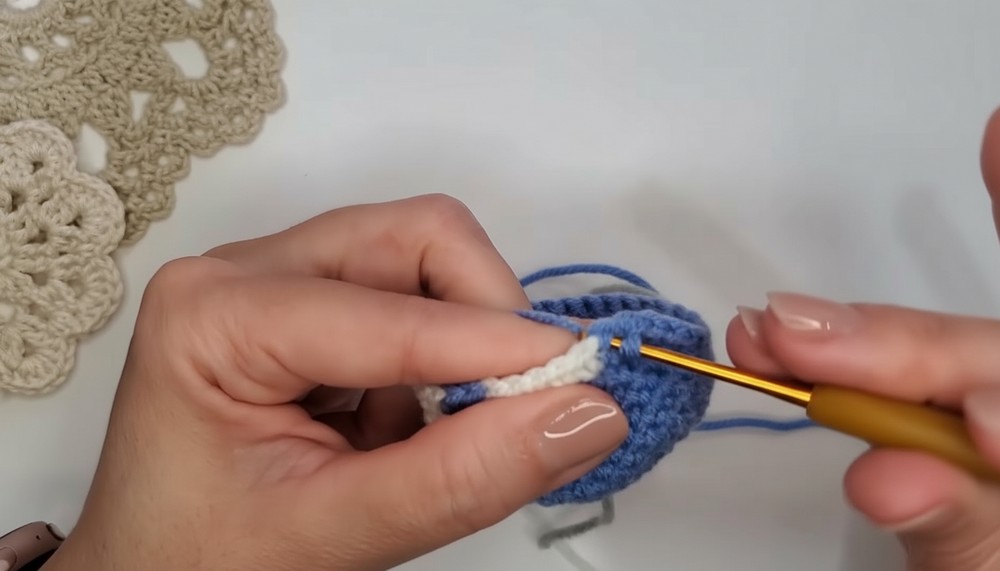
Round 11:
- 12 sc in main color, 12 sc in white, and 12 sc in main color. After these direct rows, ensure to position safety eyes between rounds 9 and 10, spaced evenly for the best visual placement.
4. Closing the Head:
Round 12:
- Combination of 2 sc, 2 times decrease, continue the decrease on white parts and alternate accordingly to ease transitions in shaping.
Round 13:
- The focus should remain with detailed 1 sc and incorporated decreases to persist visibility with end count shaping, making your way to have 16 stitches left.
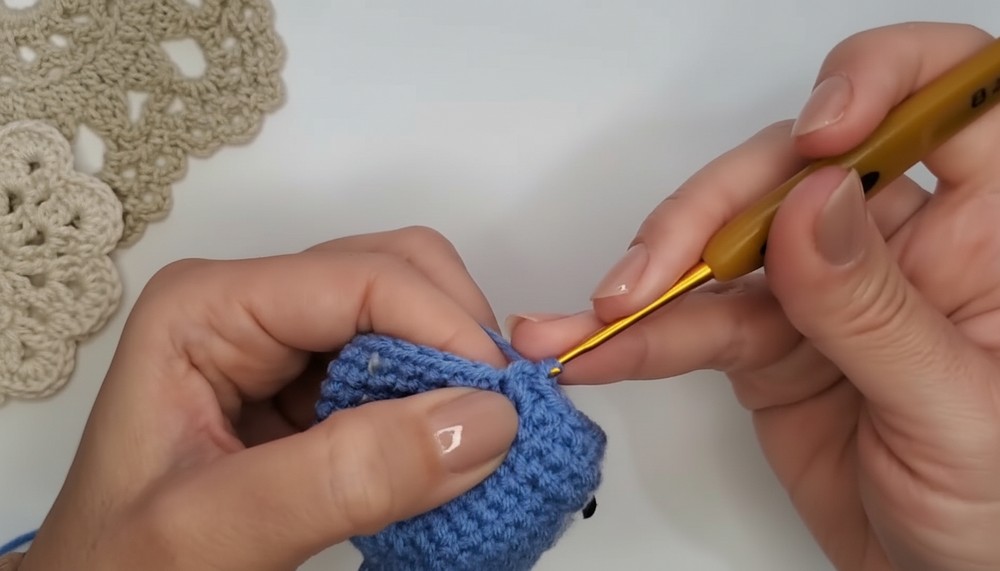
Note: As decrease occurs, place the synthetic filling progressively.
5. Transition to Body and Create Wings:
Round 14:
- Focus on working increases with 3 sc throughout.
Round 15 & 16 – Create Wings:
- Direct and don’t separate as parts; introduce single crochet stitching leading to chains for wings and intricate detailing.
- Working across ensured strings with varying heights and positions to produce the desired wing shapes naturally throughout complementary rounds.
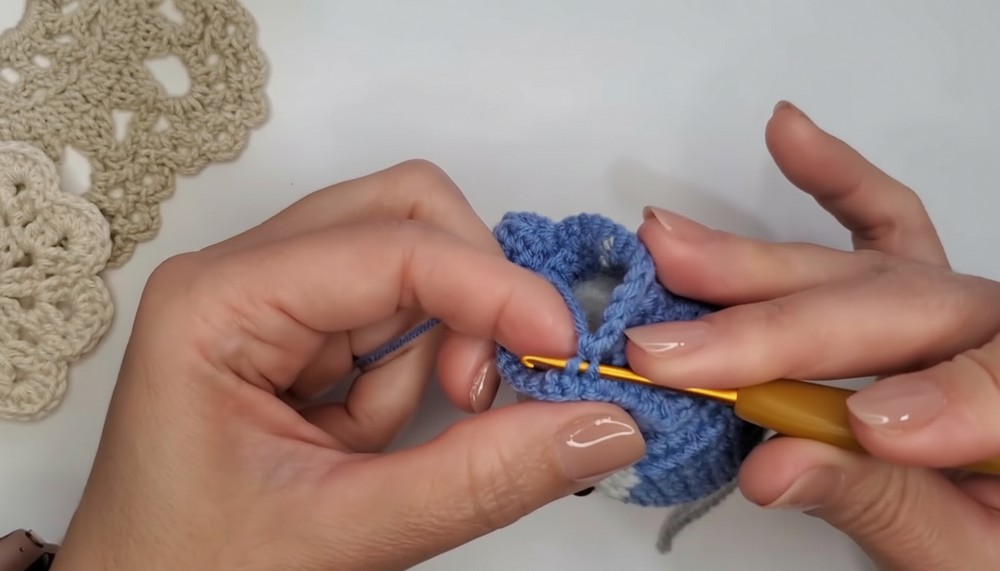
6. Body Details:
Round 17–19:
- Maintain single crochet integrity allowing continuation of appropriate round shaping for smoothened alignment leading.
Round 20 – Feet and Final Detailing:
- Concatenate the steps creating bubble stitches for feet in yellow, chaining between alternating colors suitably through recognized steps for enhanced lower detailing.
7. Attach Beak and Optional Bow:
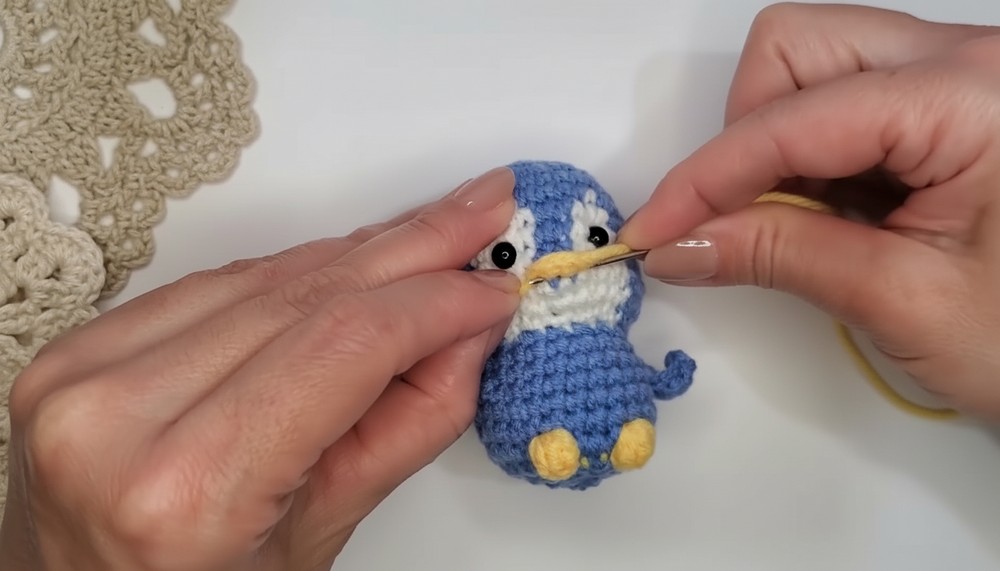
Beak:
- From rounds 10 and 11, attach yarn for concise and recognizable detailing, using partial double crochets adjusted for logo-bearing visualization.
Bow (Optional):
- Construct a magic ring producing a small looped bow by following through dedicated sequences of doubles and chains promising small tied arrangements for final touch.
Conclusion & Remarks:
This penguin is a cute addition to any crochet enthusiast’s repertoire, offering a fun way to show some personal style and gifting options. Engage in easy artistry by optimizing yarn choices. Set personalized boundaries in creative variability and achieve unique crochet goals skillfully.
Tip:
When working with multiple colors, always leave some slack in the yarn when carrying it across to avoid puckering or distorting the fabric.