Free Crochet Octopus Amigurumi Pattern That’s Too Cute to Resist
Cute Crochet Octopus Amigurumi Pattern for Creative Gifting
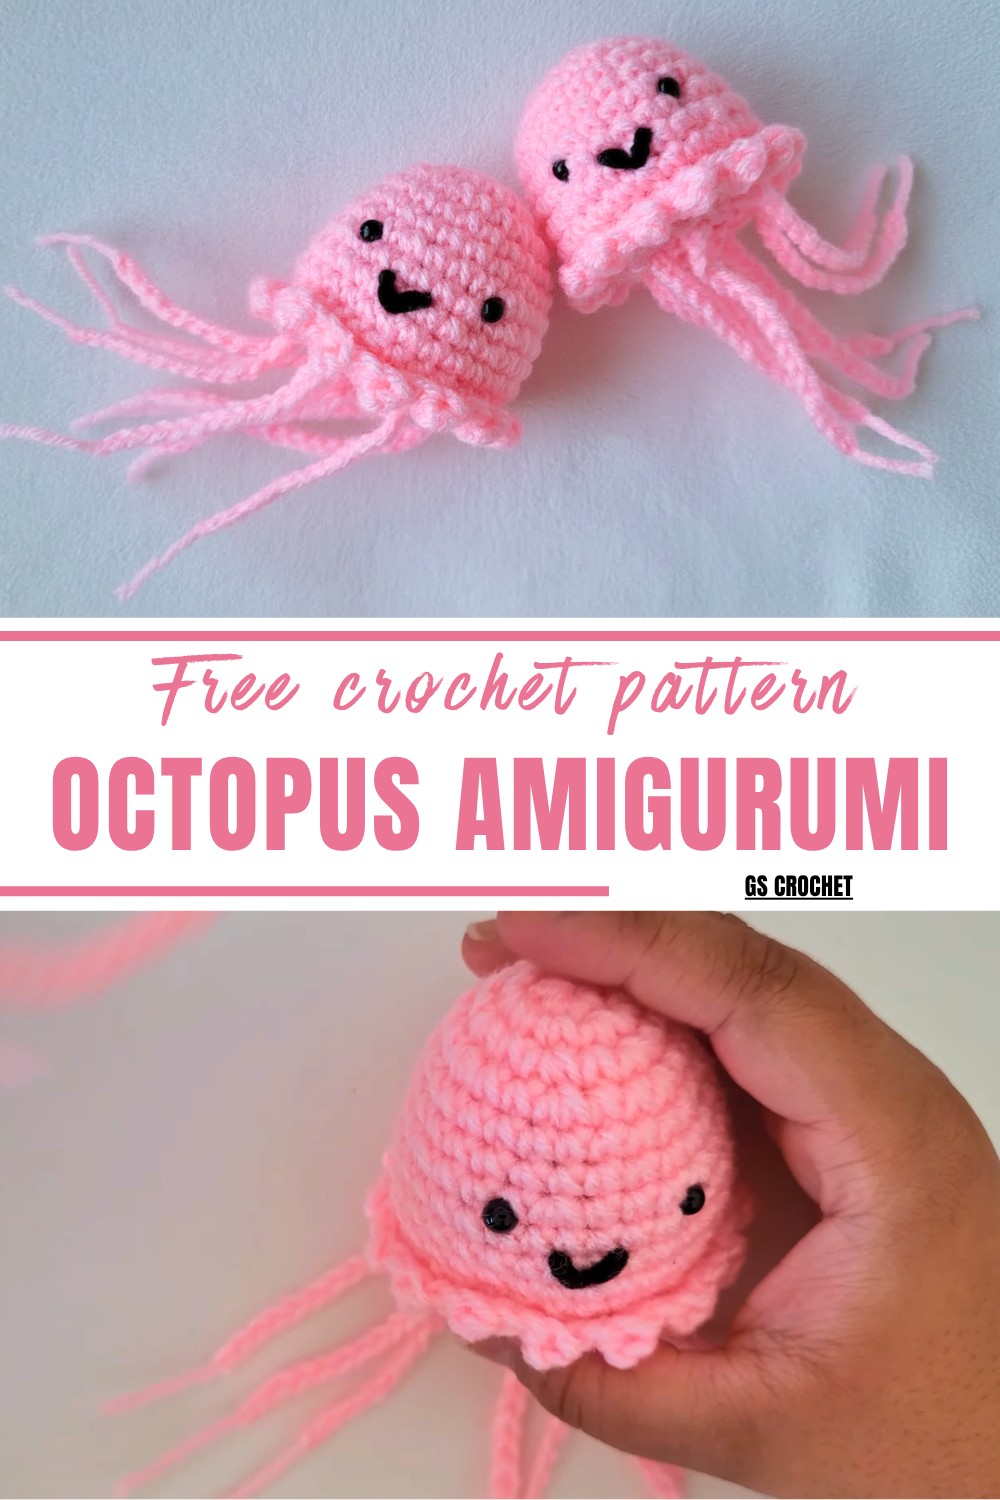
Beyond its charm, this project helps you practice foundational techniques such as working in rounds, increases, decreases, and making decorative attachments like tentacles. Because it uses small amounts of yarn, it’s also perfect for using up scraps from earlier crochet projects. Lightweight and compact, this amigurumi pattern is ideal for crocheters who enjoy portability and quick wins.
Whether you’re crocheting a single octopus or an entire ocean-themed collection, its playful and cheerful pattern can bring smiles to both kids and adults. Fall into this project and let your crochet hook deliver a splash of handmade warmth and creativity!
Special Features
- User-Friendly: Designed for beginners and intermediates with clear, repetitive steps.
- Customizable: You can choose colors, modify the tentacle length, and experiment with placements to suit your design.
- Multi-use: Great as a handmade gift, keychain, stuffed toy, or cute desk decoration.
- Minimal Supplies: Made with a small amount of yarn, safety eyes, and minimal tools, it’s an affordable craft.
Materials You Need
- Yarn: Medium-weight (category 4) yarn – a color for the body and optional secondary color for details.
- Hook Size: 3.75 mm crochet hook.
- Eyes: 2 black safety eyes (or black yarn for embroidery if safety eyes aren’t available).
- Polyfill stuffing or alternative stuffing materials (e.g., fabric scraps).
- Darning needle for weaving and sewing.
- Scissors.
Skill Level
Advanced Beginner: This pattern utilizes basic stitches (single crochet, increases, decreases), with some back loop-only work and tentacle chaining.
Step-by-Step Instructions
Part 1: The Head
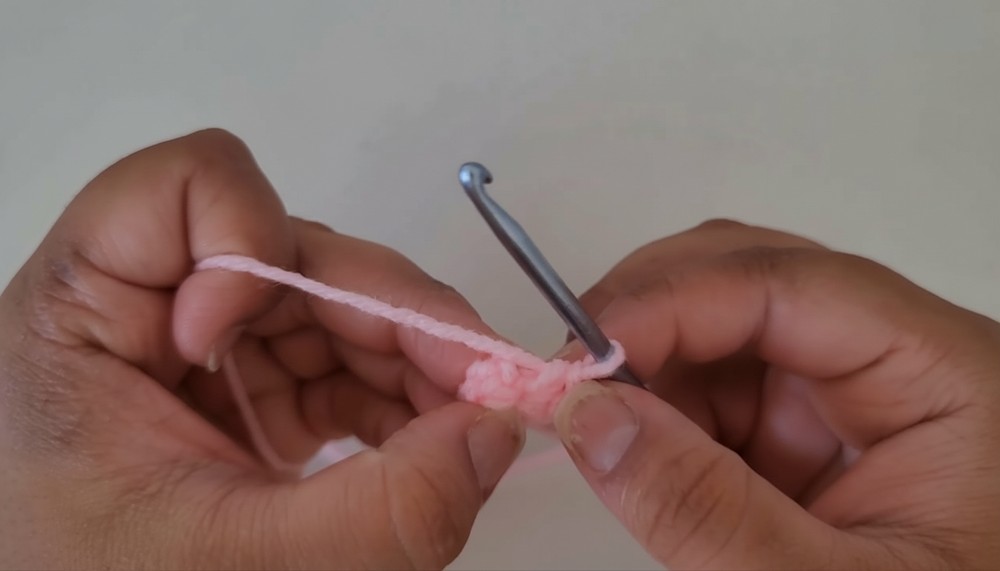
- Create a Magic Ring:
- Use the magic ring method (or slip knot alternative) and chain 1 (ch 1).
- Round 1: Work 6 single crochets (sc) into the magic ring. (6 stitches)
- Pull the short yarn tail to close the ring.
- Slip stitch (sl st) into the first stitch to complete the round and chain 1.
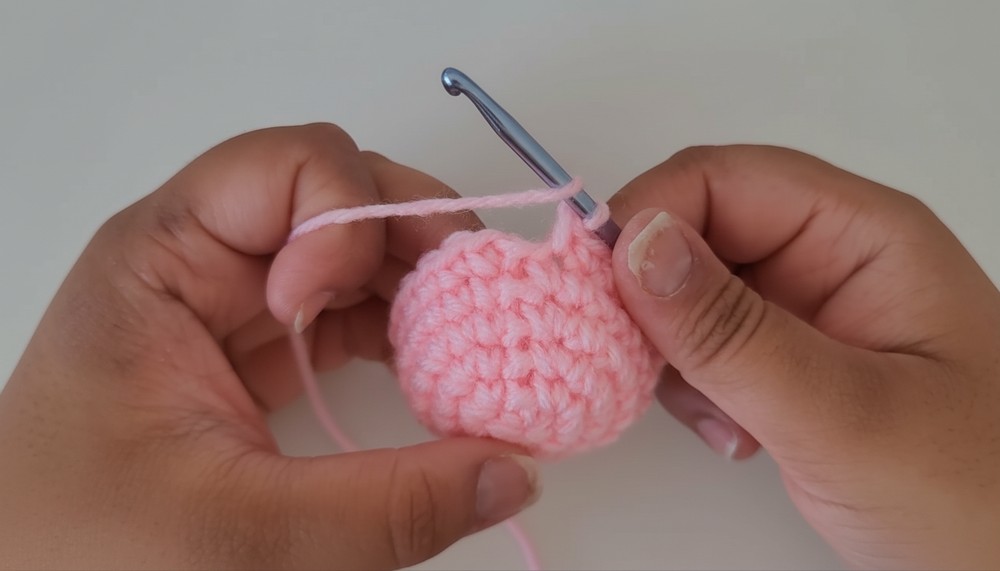
- Round 2:
- Work 2 single crochets (increase) into each stitch around. (12 stitches)
- Slip stitch into the first stitch and chain 1.
- Round 3:
- Alternate 1 single crochet and 1 increase (2 sc in the same stitch) around. (18 stitches)
- Slip stitch into the first stitch and chain 1.
- Round 4:
- Alternate 2 single crochets and 1 increase around. (24 stitches)
- Slip stitch into the first stitch and chain 1.
- Rounds 5–6:
- Work 2 rounds of single crochet (sc), maintaining the stitch count of 24 stitches.
- Slip stitch into the first stitch and chain 1 at the end of each round.
- Round 7 (Increase Round):
- Alternate 3 single crochets and 1 increase around. (30 stitches)
- Slip stitch into the first stitch and chain 1.
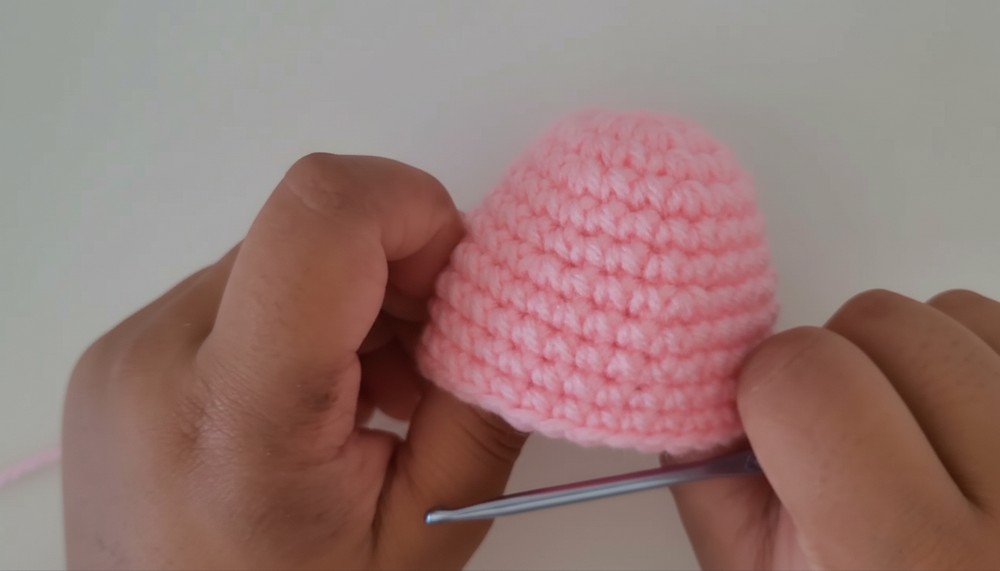
- Rounds 8–11:
- Work 4 rounds of single crochet (sc), maintaining the stitch count at 30 stitches.
- Slip stitch and chain 1 at the end of each round.
2: Adding the Face
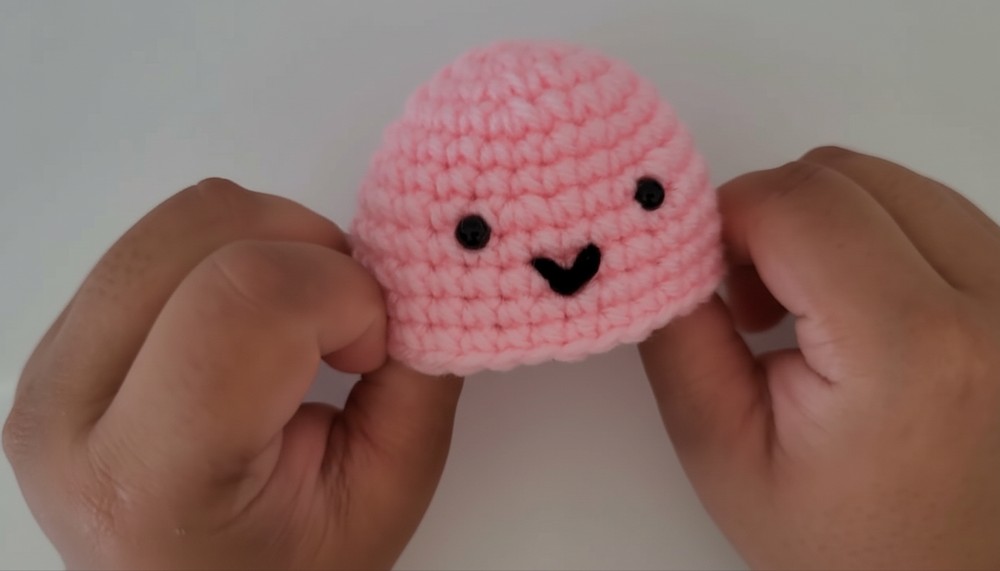
- Eyes Placement: Add safety eyes between Rounds 7 and 8, about 5 stitches apart.
- If using black yarn, embroider small ovals or circles for the eyes. Secure from the inside by knotting.
- Mouth:
- Thread black yarn onto a darning needle.
- Place the mouth slightly below the eyes.
- Create an upward curve by stitching a few simple lines (like a smile).
- Knot the yarn on the inside and trim any excess.
3: The Bottom
- Attach Yarn: Continue from the head using the same yarn color or attach a new strand.
- Round 1 (Back Loops Only):
- Alternate 3 single crochets and 1 decrease in the back loops only (BLO) for the entire round. (24 stitches)
- Slip stitch and chain 1.
- Round 2:
- Alternate 2 single crochets and 1 decrease in the normal stitches (no BLO) around. (18 stitches)
- Slip stitch and chain 1.
- Round 3:
- Alternate 1 single crochet and 1 decrease around. (12 stitches)
- Stuff the head fully before the hole gets too small.
- Round 4 (Final Round):
- Work all decreases around. (6 stitches)
- Thread the yarn tail through a darning needle, sew through the remaining stitches, and pull to close the hole.
4: The Tentacles
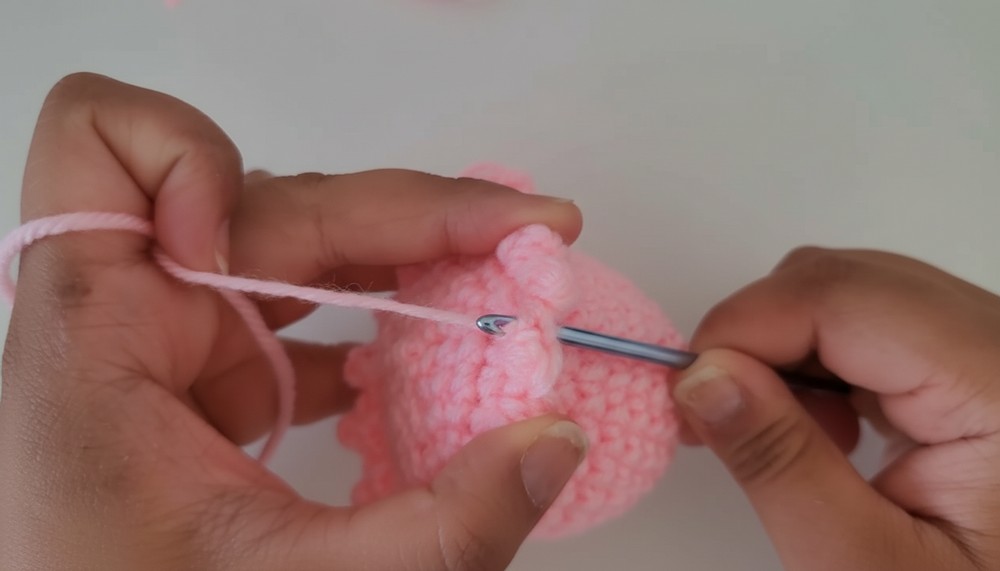
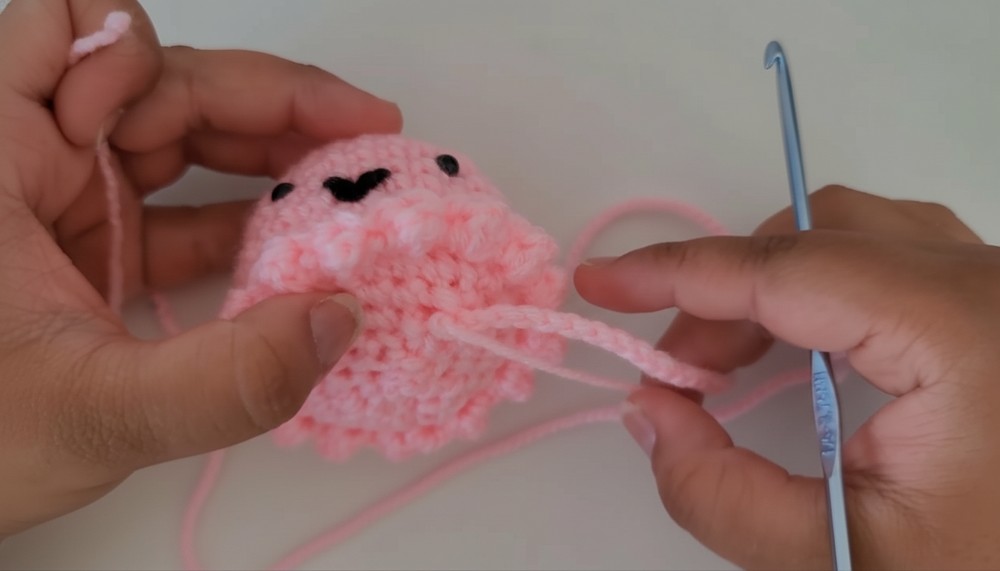
- Make Tentacles (8):
- Start with a slip knot.
- Insert your hook into any stitch along the front loop line (created in Round 1 of the bottom).
- Chain 15 (or any length you prefer).
- Cut a long yarn tail and pull it through to secure.
- Repeat Placement:
- Repeat the process evenly around the front loop line to place seven tentacles.
- Add Center Tentacle:
- For the final tentacle, use any visible stitch at the center of the bottom. Chain 15, fasten off, and secure the tail.
- Trim Tentacle Ends:
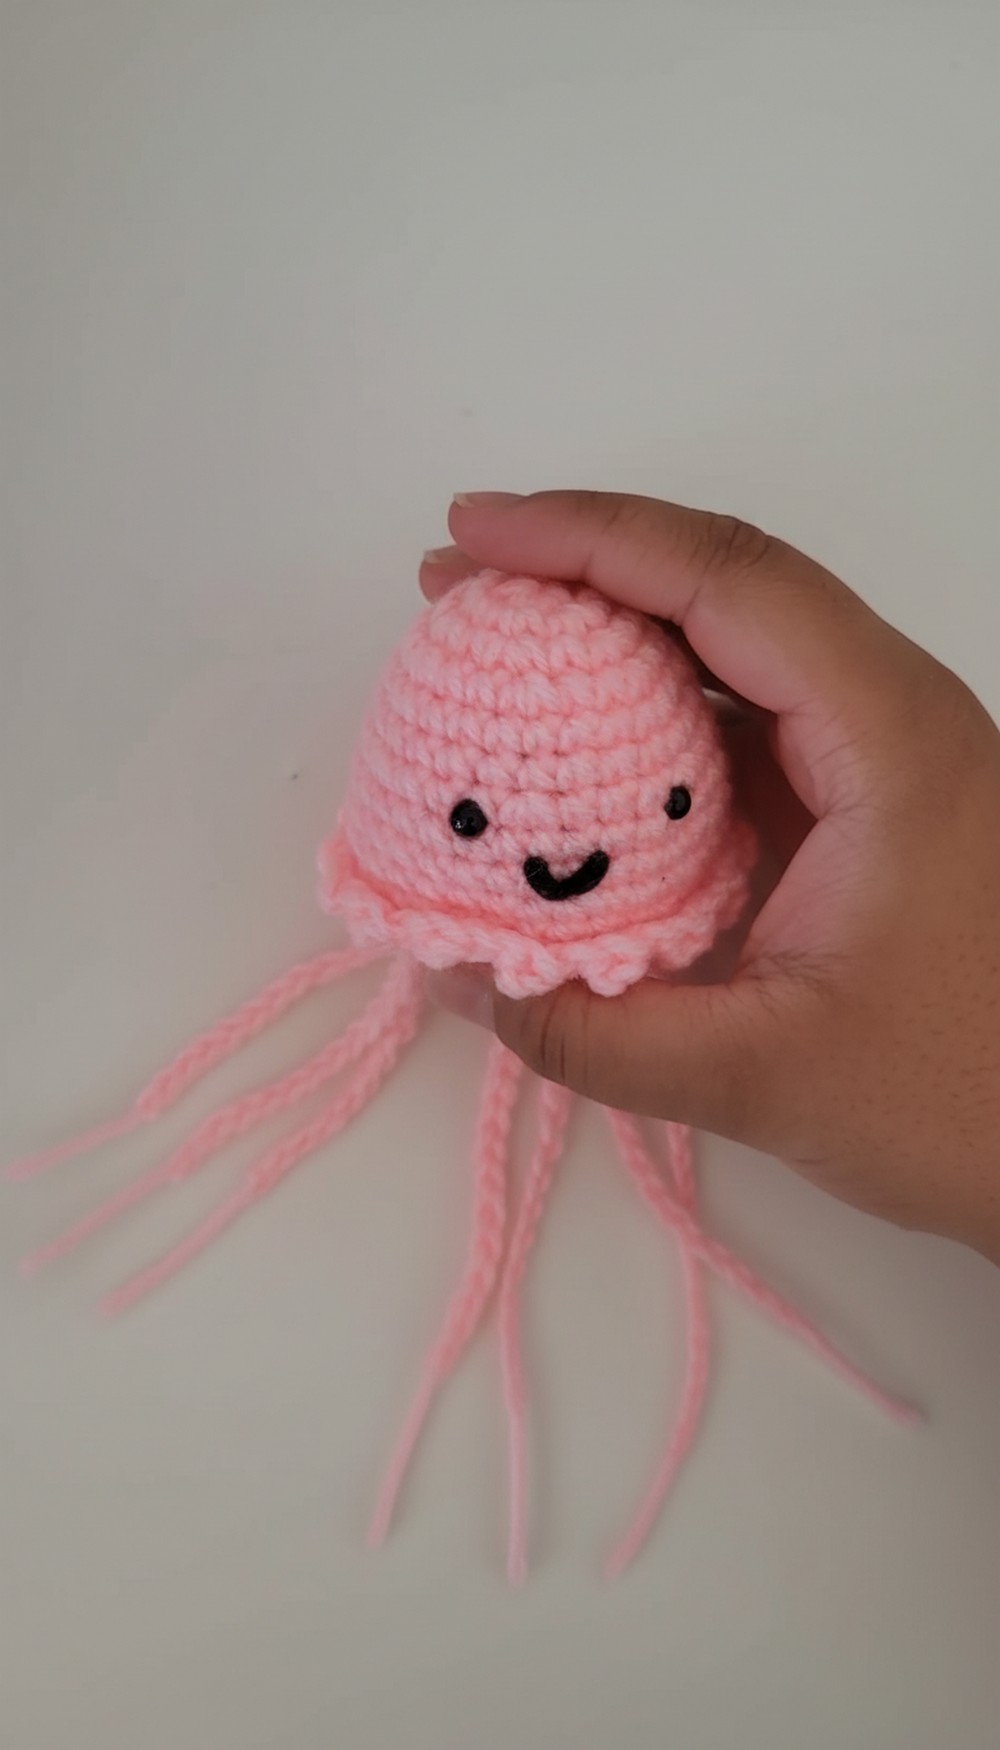
- Once all tentacles are attached, gather the ends and trim them evenly to your desired length.
- Secure Loose Ends:
- Use a darning needle or crochet hook to tuck all yarn tails into the body, ensuring everything stays neat and secure.
Tutor’s Suggestions
- For a tighter finish, be mindful of your tension, particularly when working in the back loops.
- Use soft yarn for a plush finish.
- Add beads or small embroidery details to customize your squid/octopus further.
Conclusion
Congratulations! Your charming crochet octopus amigurumi is complete. This delightful amigurumi project is fun to follow and even more fun to give as a unique handmade gift. With a little yarn and creativity, you’ve brought to life an adorable ocean friend that’s sure to delight kids and adults alike.
Tip for Success
When working on intricate details like the tentacles or sewing the bottom shut, take your time. Working carefully ensures a clean, polished look and avoids small mistakes. If you’re making this for a child, make sure the safety eyes are securely attached or opt for embroidered ones to ensure safety.