Crochet Dog Amigurumi Keychain Pattern for Personalized Gifts
Charm your friends with a Free Crochet Dog Amigurumi Keychain Pattern that’s easy to follow, customizable, and perfect for pet-themed gifts.
Unlock your creative potential with an easy and fun crochet project that’s perfect for pet lovers and crochet enthusiasts alike! This crochet pattern allows you to make an adorable dog amigurumi keychain pattern that’s as functional as it is charming. Designed with beginners in mind, it features simple stitches and minimal sewing, making it a seamless and stress-free experience. Whether used as a keychain, bag charm, or a cute handmade gift, this little dog offers plenty of utility alongside its playful appearance.
Adorable Crochet Dog Amigurumi Keychain Pattern to Try Today
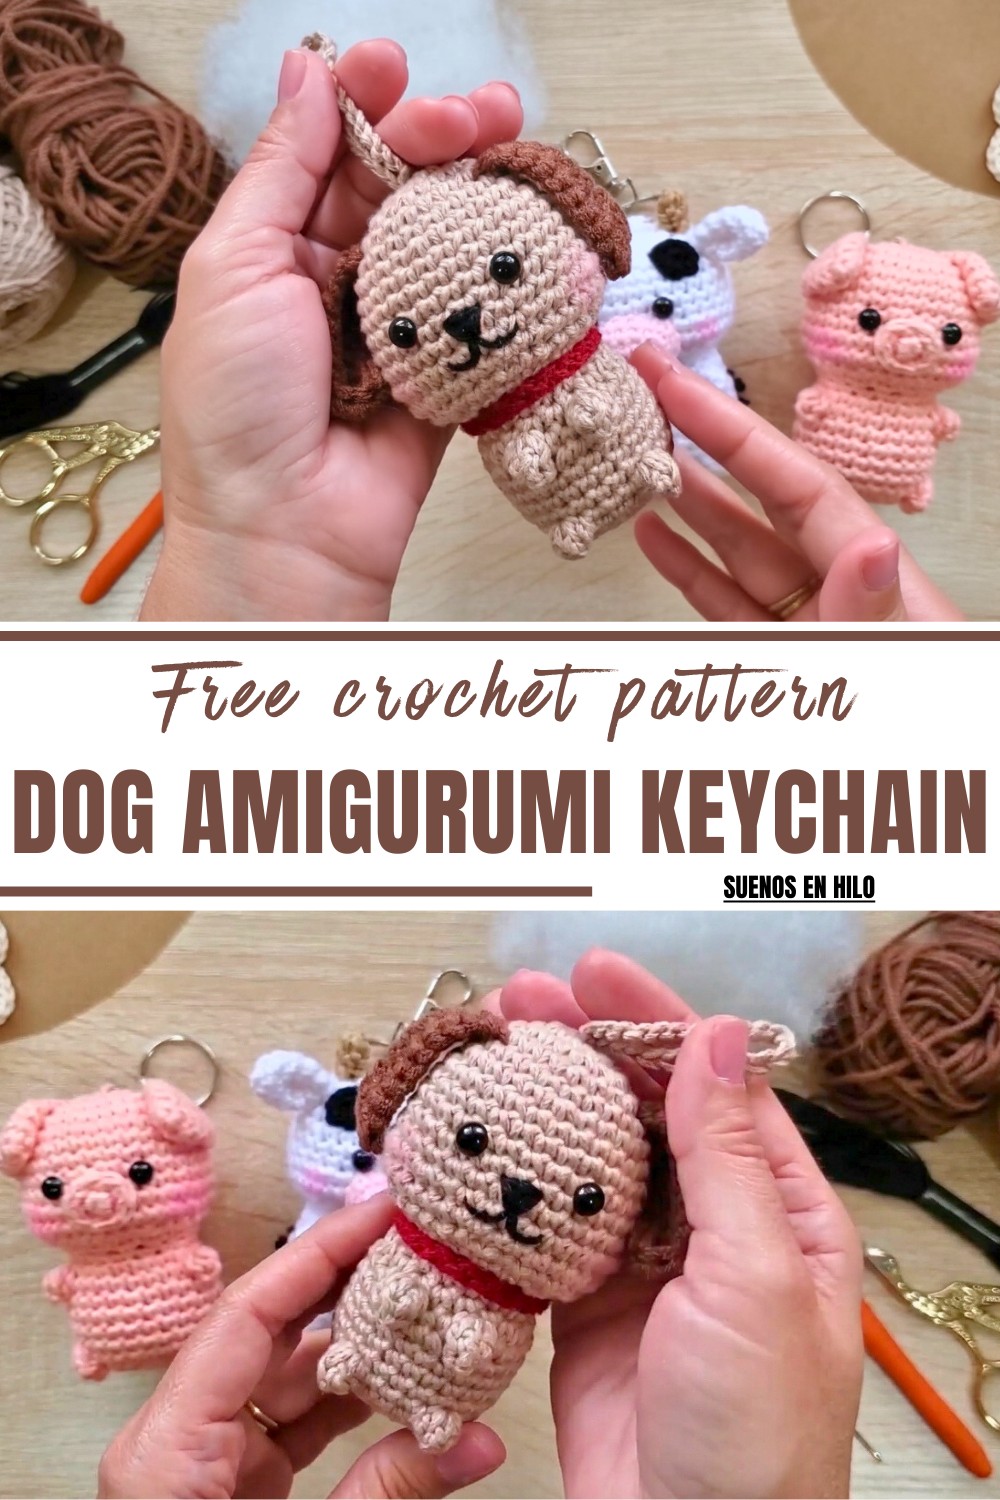
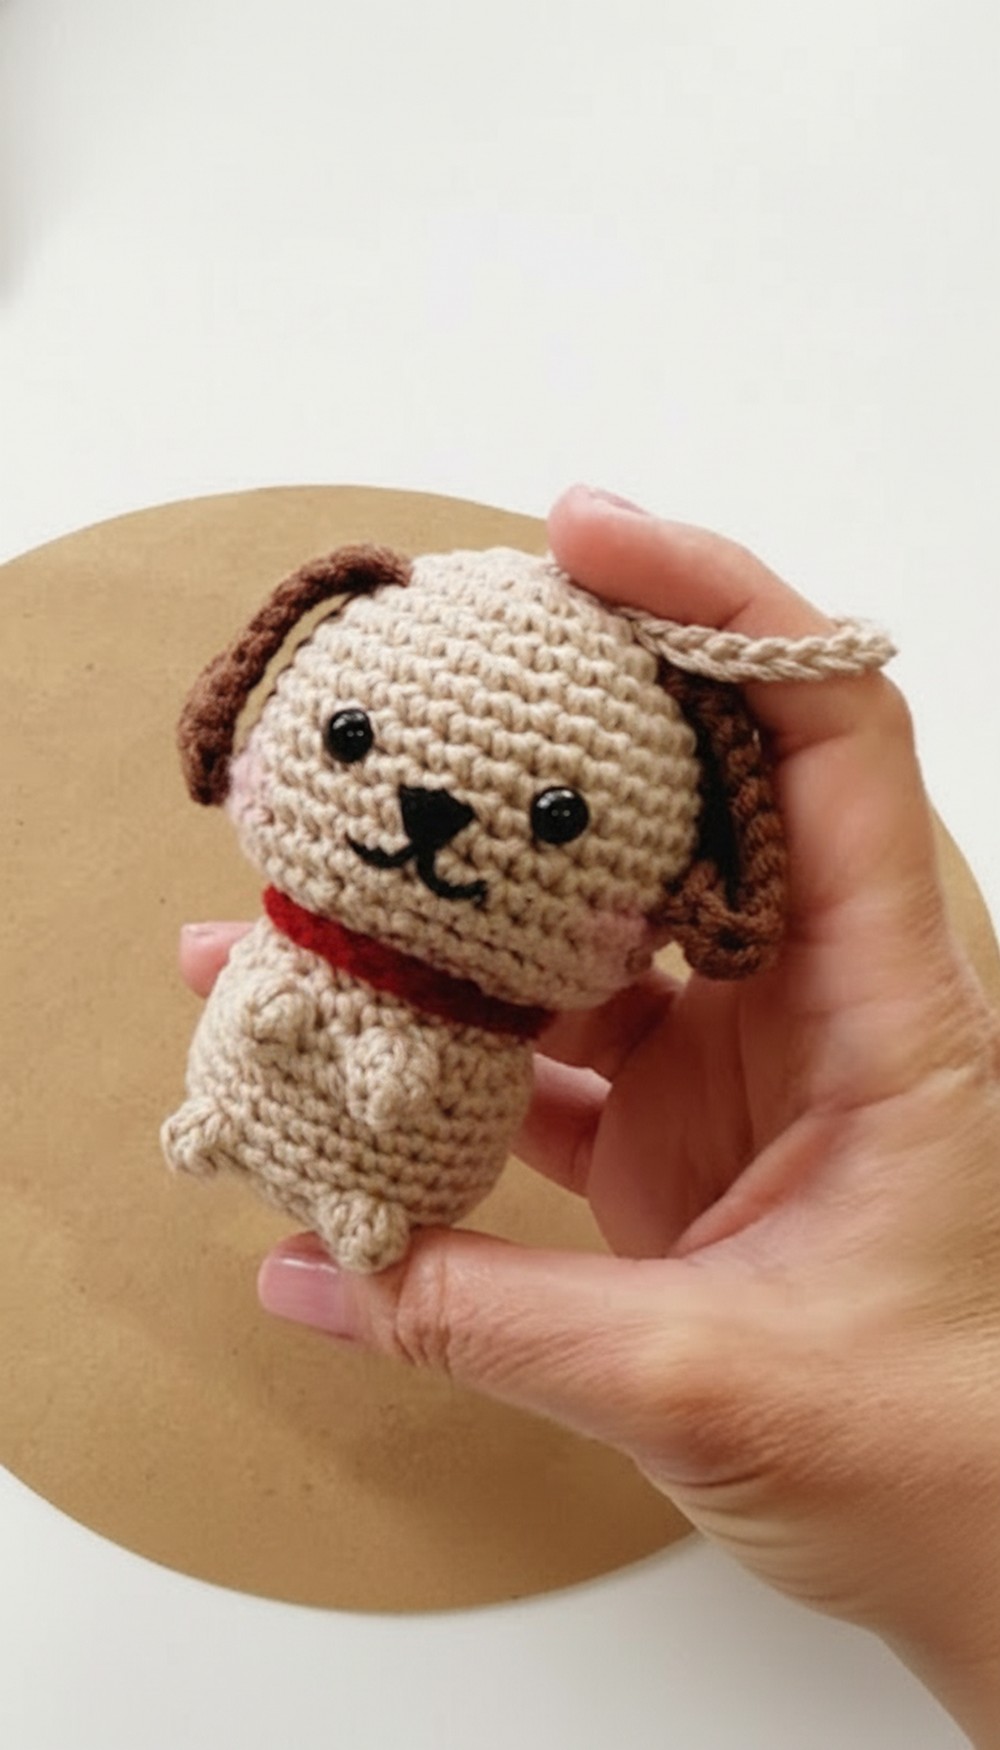
The unique one-piece pattern ensures durability while also saving you time on assembly, so you can focus on adding the final cute details like floppy ears and a sewn-on tail. Personalizing it with different yarn colors or small accessories like a collar or charm takes it to the next level, allowing you to make a unique keepsake.
Small enough to carry around but big in personality, it’s the perfect way to elevate your accessory game while also showcasing your crocheting skills. Not only is it a thoughtful, handmade gift for any occasion, but it’s also a fun way to practice your crochet techniques and show off your love for dogs in an artistic way
Materials Needed:
- Yarn: Khaki and chocolate-colored thread
- Synthetic filling for stuffing
- Crochet hook: 3 mm
- Wool needle
- Stitch marker
- 7 mm safety eyes
- Scissors
- Black embroidery thread (for the snout and mouth)
Pattern Details:
Special Features:
- One-Piece Crochet: The head, body, and legs are created in one continuous piece, reducing assembly time and giving a clean finish.
- Popcorn Stitch for Legs/Ears: Adds texture and dimensional design to the dog’s features.
- Customizable: Personalize colors, add accessories like a little collar, medal, or keychain, and make it unique!
Level of Difficulty: Beginner-Friendly!
This pattern is simple and uses basic techniques such as magic rings, single crochets, increases, and decreases. However, the precise stitch placement may require some attention.
Step-by-Step Pattern Instructions
1. Start with the Head:
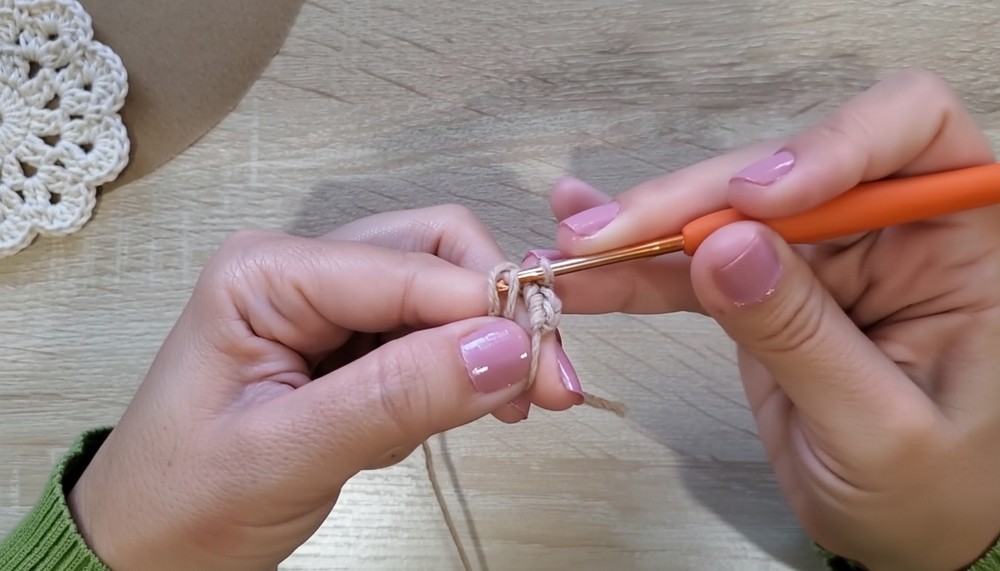
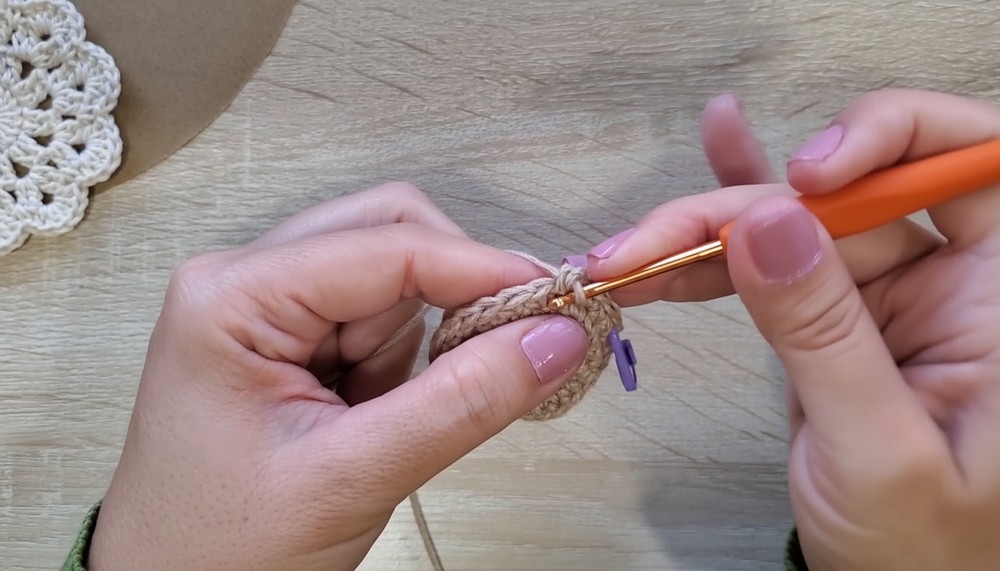
- Round 1: Create a magic ring and make 6 single crochets (sc) inside the ring. Pull the thread to close the loop.
- Round 2: Make an increase in every stitch (2 sc in each stitch) to end with 12 sc.
- Round 3: Alternate 1 sc, 1 increase around. Finish with 18 sc.
- Round 4: Alternate 2 sc, 1 increase around. End with 24 sc.
- Round 5: Crochet 1 sc in each stitch (no increases) for 24 sc.
- Round 6: Alternate 3 sc, 1 increase all around, finishing with 30 sc.
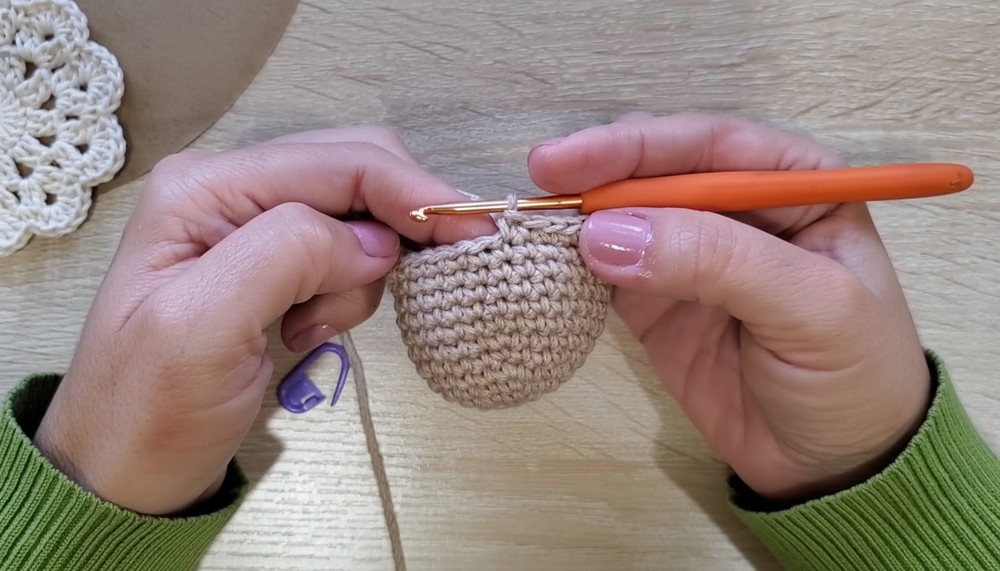
- Rounds 7–11: Crochet 5 rounds of 30 sc without increases or decreases. This builds up the length of the head and body.
2. Insert Safety Eyes:
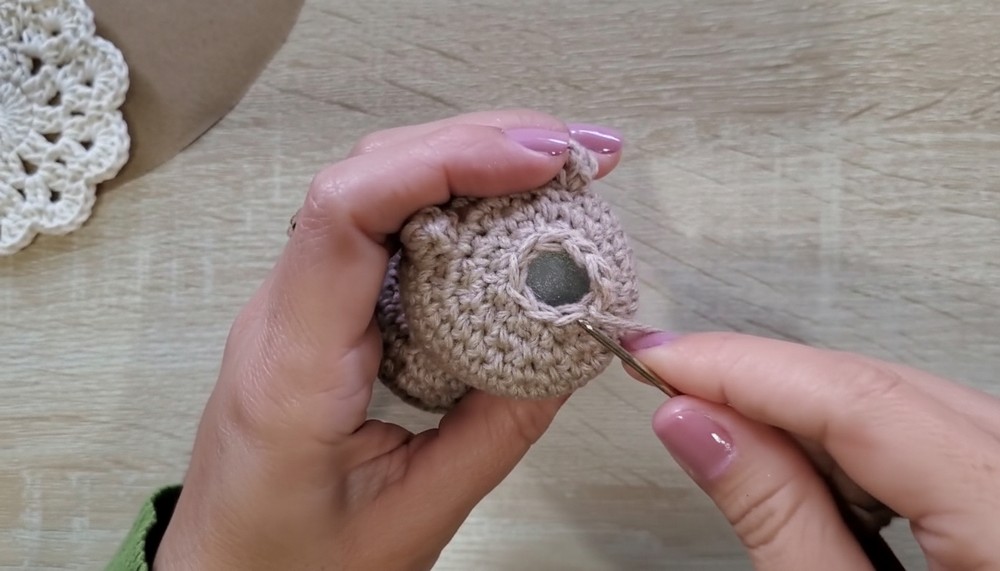
- Place the 7 mm safety eyes between rounds 9 and 10, with 6 stitches apart. Use the markers and increases as references to position them symmetrically. Secure them in place.
3. Shape the Snout and Begin Decreasing for the Neck:
- Round 12: Alternate 4 sc, 1 increase around (end with 38 sc).
- Rounds 13–14: Crochet 2 rounds of 38 sc.
- Round 15: Alternate 4 sc, 1 decrease around (end with 32 sc). Stuff the head gradually as shaping progresses.
- Round 16: Make 16 decreases evenly around. You will end this round with 16 sc, creating the neck section.
4. Create the Body:
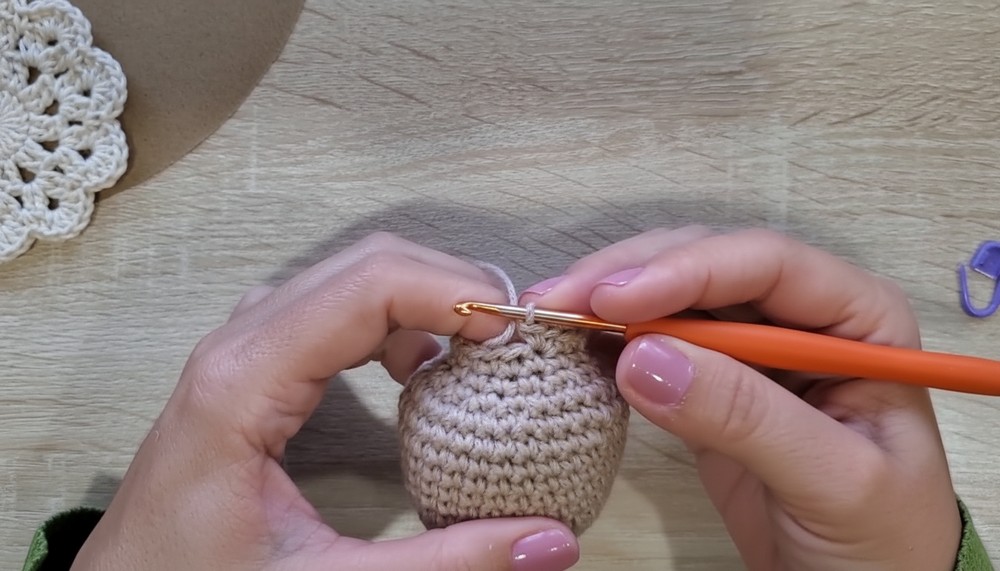
- Round 17: Alternate 3 sc, 1 increase around (end with 20 sc).
- Round 18: Alternate 4 sc, 1 increase around (finish with 24 sc).
- Round 19 (Add Front Legs):
- Crochet 11 sc.
- Add the first popcorn stitch (4 double crochets closed together) to form a paw, followed by 2 sc.
- Add the second popcorn stitch in the same fashion and finish the round with sc.
- Round 20: Crochet 1 sc in each stitch (24 sc).
5. Rear Legs:
- Round 21: Alternate 4 sc, 1 decrease around (end with 24 sc).
- Round 22: Make 24 sc.
- Round 23: Work 15 sc and crochet another popcorn stitch for the rear left leg. Add 4 sc and a second popcorn stitch for the rear right leg. Finish the round with 7 sc.
6. Closing the Body:
- Round 24: Begin the decrease sequence with 2 sc and 1 decrease repeated all around, ending with 18 sc.
- Round 25: Make 9 decreases to finish closing the body, leaving you with 9 sc. Use the wool needle to tighten and close the hole completely.
7. Add Ears:
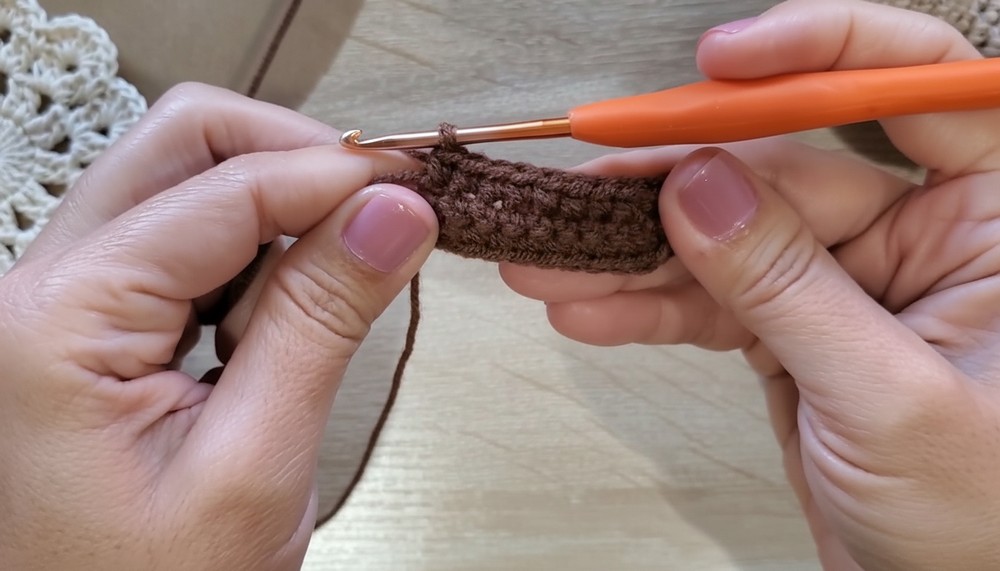
- Crochet 10 chains. Starting from the second chain, make 8 sc followed by 1 half double crochet (hdc) increase repeated twice. Crochet down the other side with 9 sc. Leave a long tail for sewing.
- Sew the ears between rounds 4 and 5 on the head, angling them slightly downward for a cute floppy look.
8. Make the Tail:
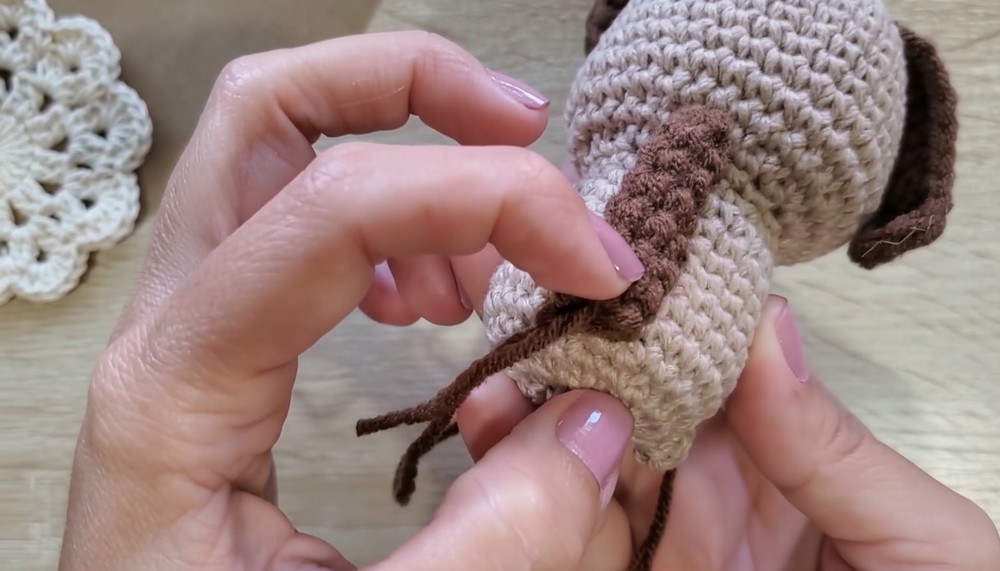
- Create a magic ring and make 4 sc inside.
- Round 2: Alternate 1 sc, 1 increase around (6 sc).
- Crochet 6 sc for 5 rounds to create a small tail. Stuff it gently, and sew it at the back of the body.
9. Embroider the Snout:
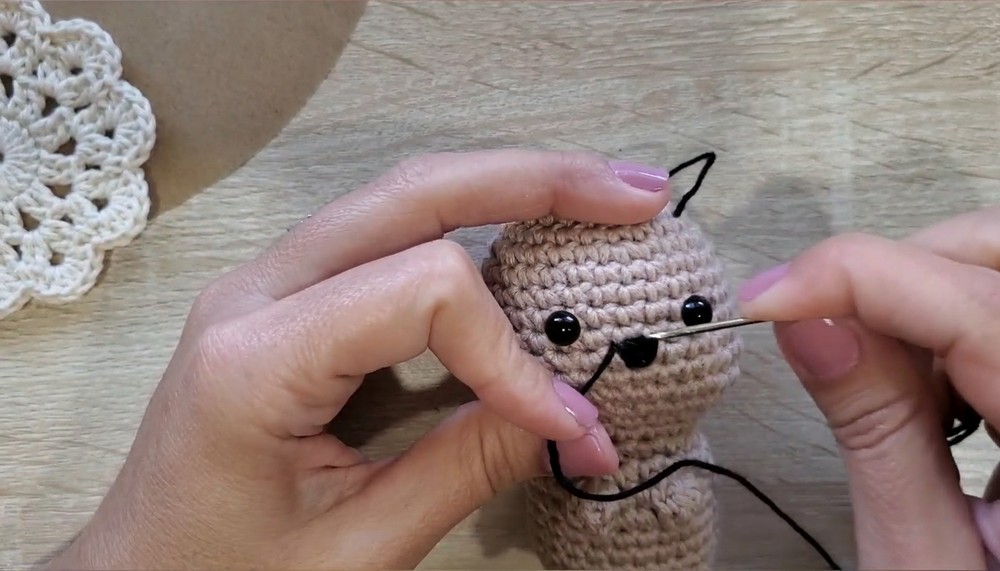
- Use black embroidery thread to create an inverted triangle right under the safety eyes for the nose. Fill it in with stitches. Add a small line below and curve outward on both sides to form the mouth.
Final Suggestions:
- Accessorize: Add a little collar or medal for extra charm. A keychain ring completes the project.
- Uses: Perfect as a gift for dog lovers, keychains, bag charms, or as a handmade decoration.
Conclusion & Remarks:
This Crochet Dog Amigurumi Keychain is an adorable and versatile project, suitable for beginners yet satisfying for advanced crocheters. Its simple construction in one piece reduces sewing time, and the addition of popcorn stitches gives it a unique, fun look. Whether made as a gift or kept for yourself, this cute creation will undoubtedly draw smiles.
Tip:
For a polished finish, stuff the body and head firmly but don’t overstuff. This ensures the shape holds without stretching stitches!