Crochet Funny Duck Amigurumi Pattern That’s Full of Personality
Learn How to Crochet a Funny Duck Amigurumi That Everyone Will Love
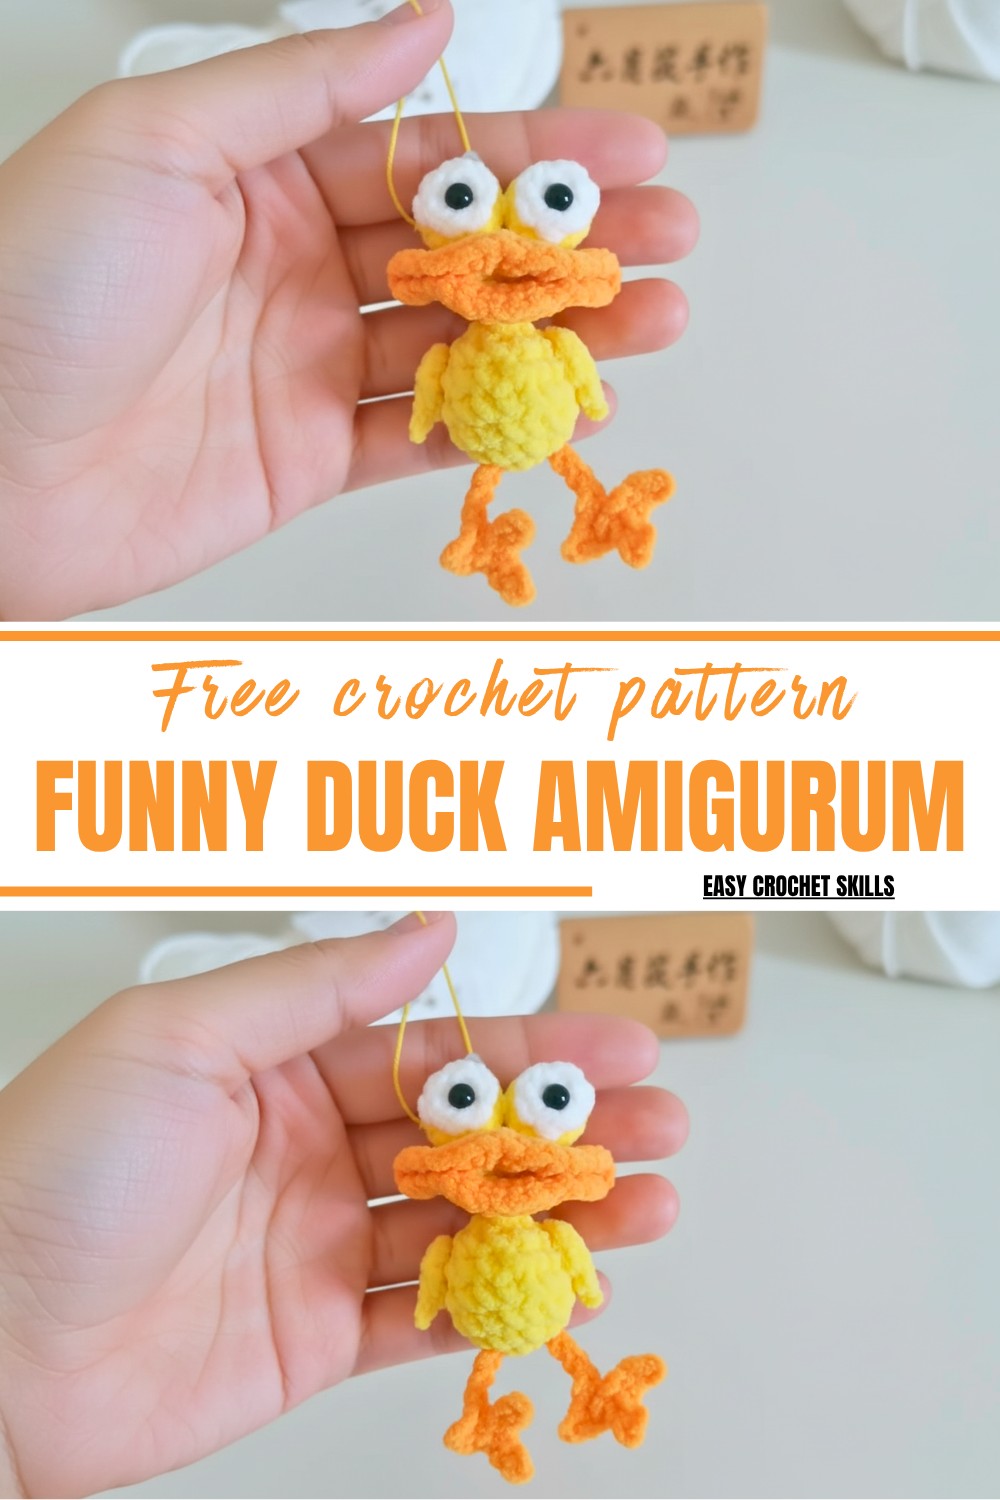
The step-by-step pattern makes it easy to build, starting from the head and body, down to the tiny wings, beak, and feet. This project is made using lightweight yarn and minimal materials, making it both accessible and quick to finish. Its small size also makes it a great vehicle for creative experimentation—you can switch colors, add accessories, or even crochet a whole flock with varying designs.
The process is relaxing, the result is rewarding, and the possibilities for use are endless. Whether you keep it for yourself or gift it to someone who loves odd yet adorable knick-knacks, this pattern is the lighthearted project you didn’t know you needed. It’s crochet with a wink of humor and a lot of heart.
Materials Required
- Yarn:
- Yellow for the body and head.
- White for the eye whites and wings.
- Black for eye accents or details.
- Orange for the feet and beak.
- Crochet Hook: 2.5mm or appropriate size for your yarn.
- Stuffing: Small amount of polyester fiber.
- Sewing Needle: For assembly and adding details.
- Scissors.
- Glue (optional): For keeping certain features securely in place.
Skill Level
Beginner to Intermediate
- Knowledge of a magic ring, single crochet (SC), slip stitches, increases, and decreases is required.
Special Features
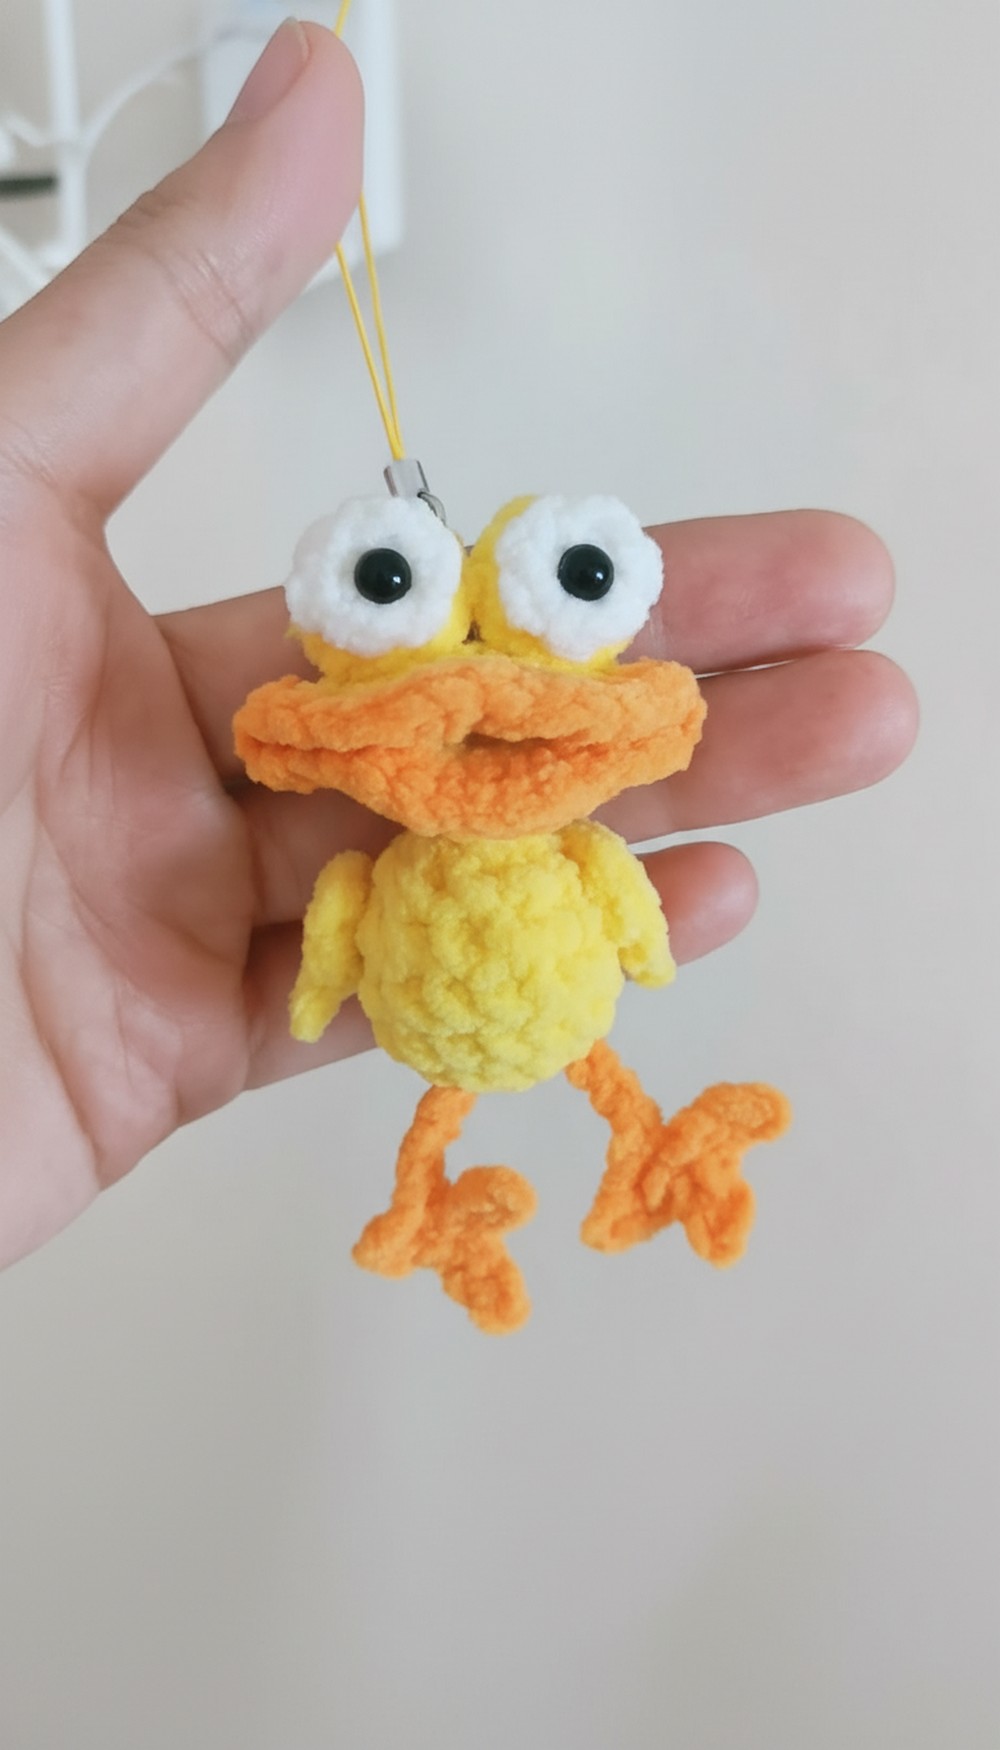
- Small Size: Perfect for creating mini accessories like phone charms and bag pendants.
- Customizable Details: Includes eyes, wings, and feet, allowing you to personalize colors and expressions.
- Multi-use Design: Lightweight crochet piece for gifting or personal use.
Step-by-Step Pattern
1. Head
Round 1: Magic Ring Foundation
- Begin with a magic ring.
- Chain 1 (this standing chain does not count as a stitch).
- Crochet 8 single crochets (SCs) into the magic ring.
- Tighten the ring and slip stitch (SS) into the first stitch.
- Chain 1 to move to the next round.
R-2: Increases
- Crochet 2 SCs in each stitch (increase).
- Repeat this for 8 groups (16 stitches total).
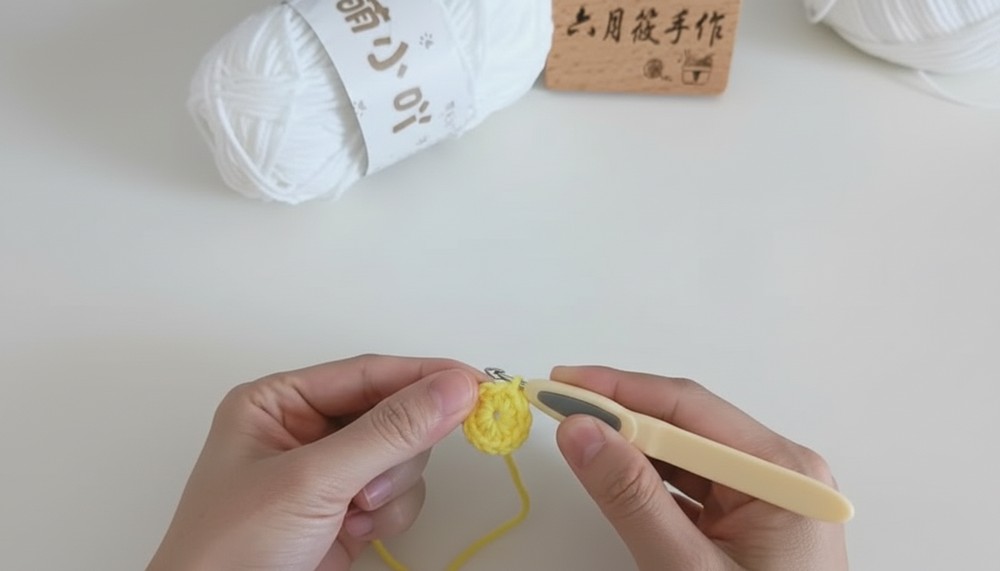
R- 3: Gradual Expansion
- Crochet 1 SC, followed by 2 SCs (increase) for each group.
- Repeat for 8 groups, totaling 24 stitches.
- Change yarn color in the last stitch by crocheting 1 unfinished SC and switching colors.
- Slip stitch into the first stitch and chain 1.
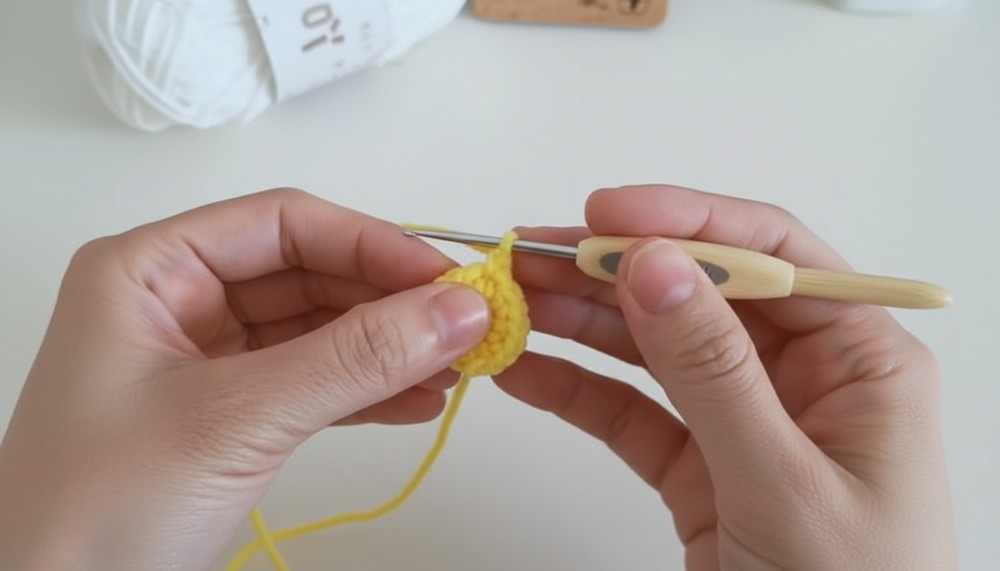
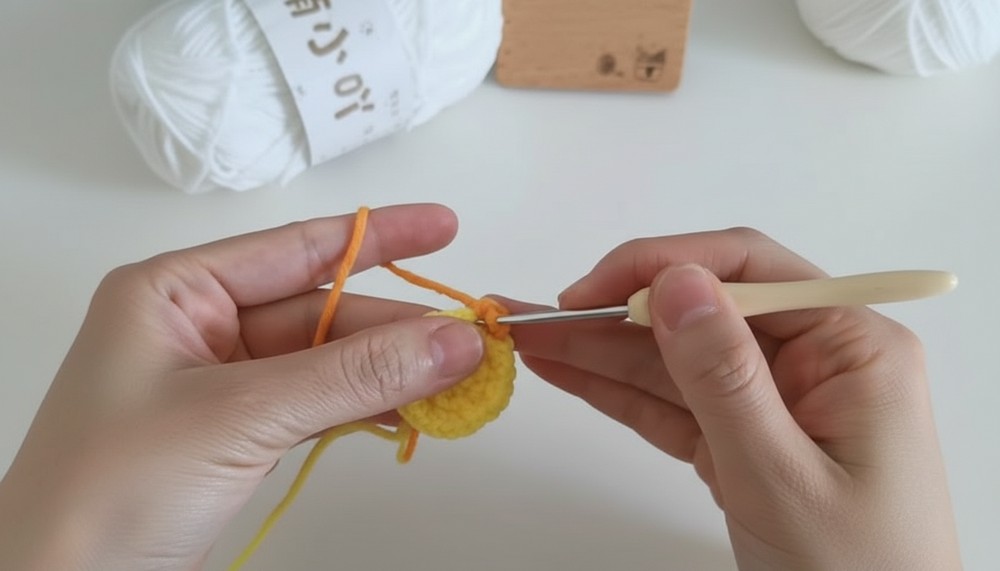
Round 4: Final Head Shaping
- Work in groups: Crochet 1 SC, followed by 1 increase, then 1 SC.
- Repeat for 8 groups (36 stitches total).
- Slip stitch and fasten off.
2. Body
Rounds 1–2: Repeat Rounds 1–2 of the head.
Rounds 3–4:
- Crochet 16 SCs per round to shape the body’s main cylinder.
R- 5: Narrowing the Body
- Work in groups: 1 SC, 1 SC decrease, followed by 1 SC.
- Repeat for 4 groups (12 stitches total).
Round 6: Taper the Body Further
- Crochet 1 SC, followed by 1 SC decrease for each group.
- Repeat for 4 groups (8 stitches total).
R- 7: Close the Body While Stuffing</strong>
- Crochet 4 SC decreases to completely close the opening.
- Add polyester fiber filling before fully securing.
3. Eyes
Bottom of Eyes:
- Use yellow yarn: Crochet 10 SCs using a magic ring. Fasten off and leave a long end for sewing.
- Use white yarn: Crochet 6 SCs using another magic ring for the eye whites.
Assembly of Eyes:
- Sew the white piece onto the yellow base to create the eyes.
- Pinch the eye shape slightly if desired.
- Use glue (optional) to secure placement.
4. Feet
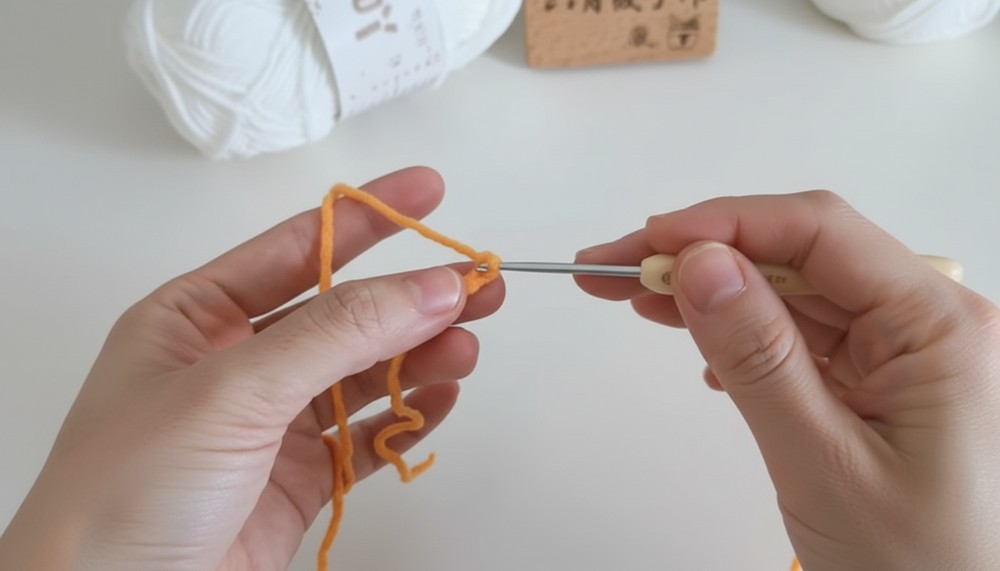
Step-by-Step Creation:
- Chain 7 stitches using orange yarn.
- In the second-to-last chain, crochet 2 slip stitches (SS), then chain 3 stitches.
- Work 2 slip stitches into the second-to-last chain again.
- Repeat the process by chaining 3 stitches one more time and finishing with 2 slip stitches.
- Return to the main chain, slip stitch to secure, and fasten off.
5. Wings
Wing Foundation:
- Begin with a magic ring. Crochet 6 SCs into the ring and tighten it to close.
Wing Edge:
- Chain 2 stitches and slip stitch in the second-to-last stitch.
- Repeat on the opposite side.
- Make 2 identical wings and fasten off.
6. Beak and Final Assembly
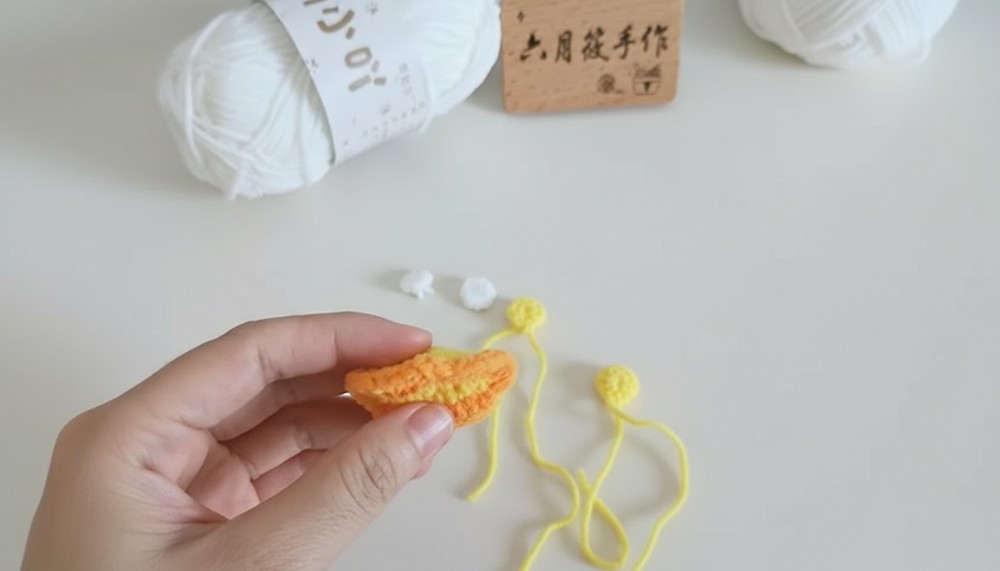
- Pinch the shape of the beak using orange yarn and sew it into place.
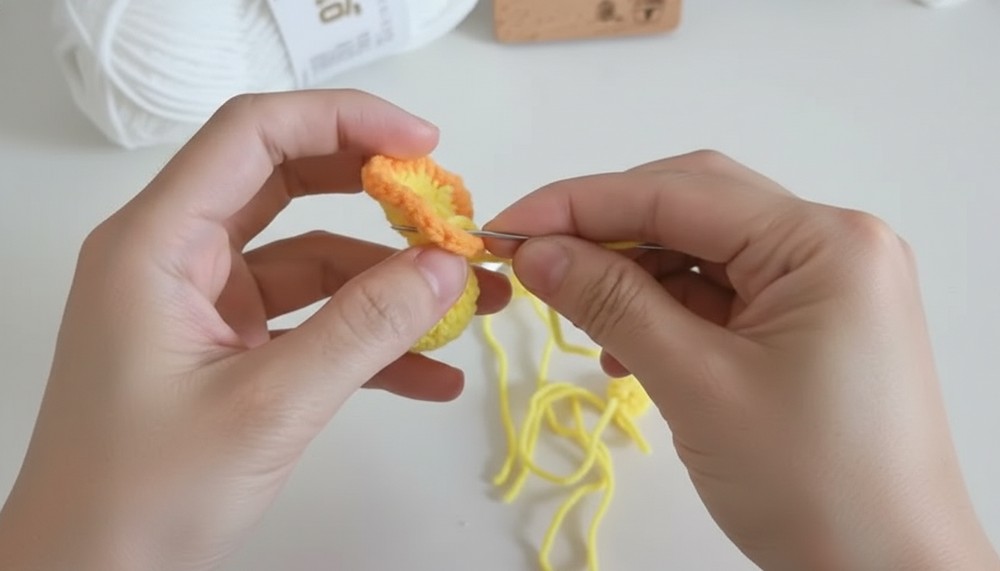
- Attach the wings and eyes to the head using a sewing needle.
- Sew the feet and body securely to the head.
- Optionally, glue parts like wings or eyes for added stability.
Tutor’s Suggestions
- Use thinner yarn and a smaller hook for an even tinier version.
- Don’t hesitate to play with yarn colors for alternate duck designs (e.g., white swan version).
- Add accessories like mini hats or scarves for extra personality!
Tip
When assembling small features like eyes and feet, use long yarn tails to sew securely to the body. Avoid using too much stuffing to maintain a balanced and compact look.
Conclusion
This Ugly Cute Duck Amigurumi is a unique piece that can brighten up anyone’s day with its quirky appeal. Fun, quick, and ideal for gift-making, it lets your skills shine with minimal effort. Perfect for phone charms, bag pendants, or tiny desk decorations, this duck is truly a versatile crochet masterpiece.