Soft & Free Crochet Mini Sheep Amigurumi Pattern for Kids
Use this Free Crochet Mini Sheep Amigurumi Pattern to design a lovable piece perfect for gifts, nursery décor, or your crochet collection.
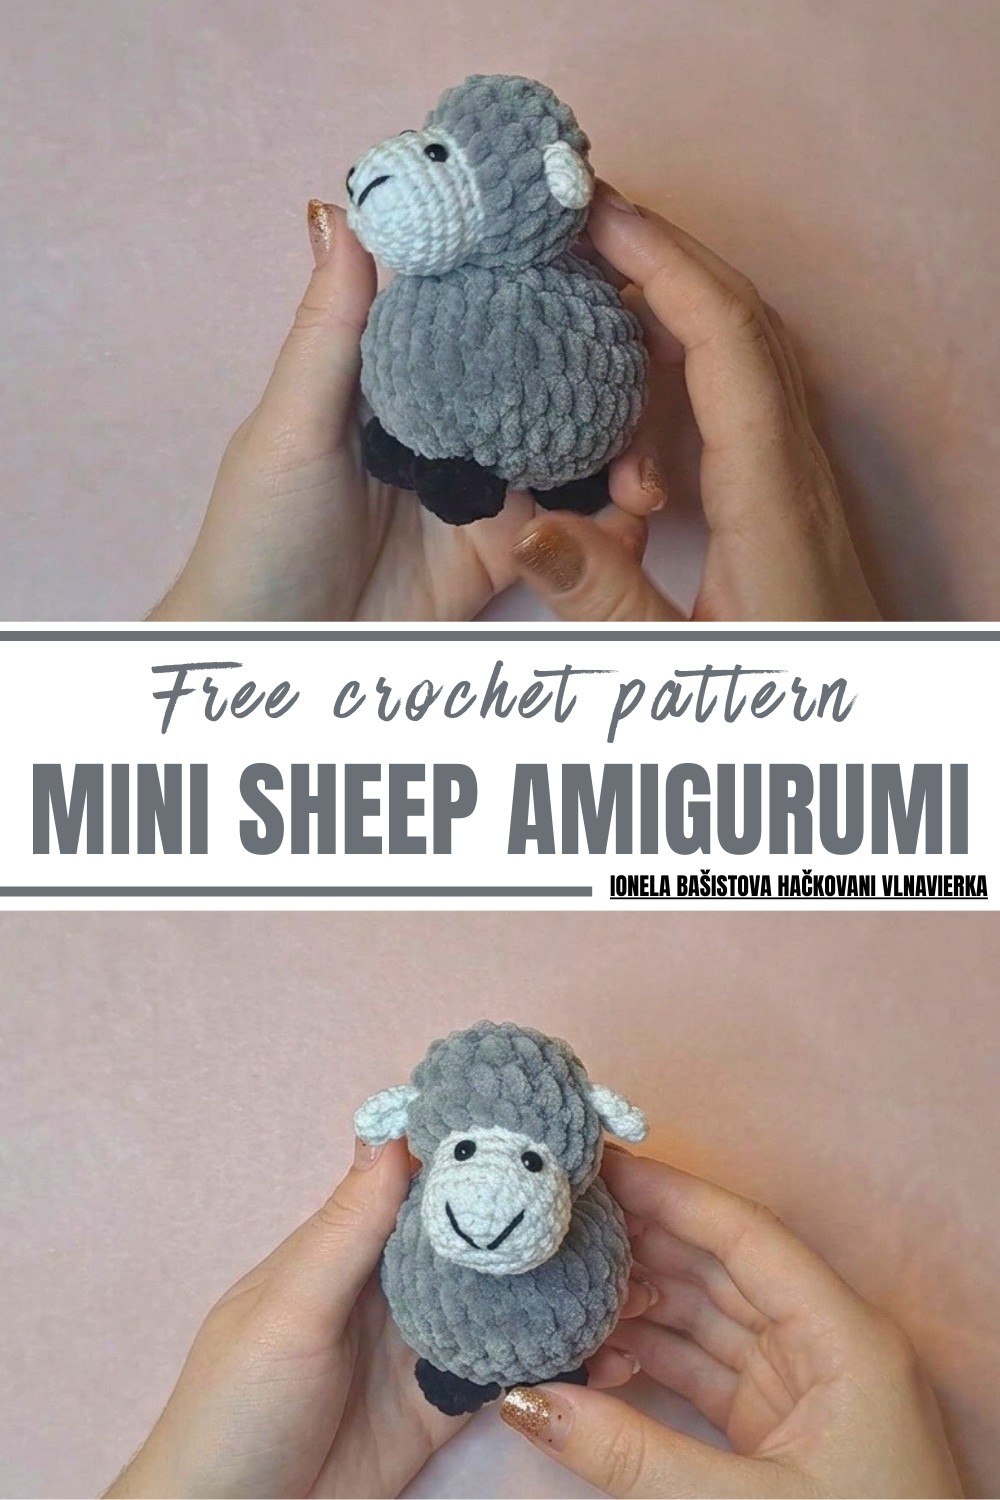
Yarn work offers the perfect mix of relaxation and creativity, and this mini sheep amigurumi pattern captures the heart of handmade charm. Small, soft, and endlessly adorable, this crocheted sheep makes the perfect gift, nursery decoration, or collectible to showcase your skills. Designed with simplicity and ease in mind, this pattern is absolutely beginner-friendly, requiring basic stitches and simple assembly to bring it to life. Its compact size and delightful details like tiny legs, floppy ears, and a round, fluffy body make it irresistibly cute and fun to put together.
Whimsical Crochet Mini Sheep Amigurumi Pattern for Adorable Tiny Creations
Whether you’re looking to unwind with a calming crochet project or want to crochet something meaningful for a loved one, this sheep pattern is sure to meet your expectations. The completed pattern can be used as a desk companion, a whimsical keychain accessory, or even a thoughtful gift for kids and crochet enthusiasts alike.
Plus, the process is both meditative and rewarding, boosting your mood and providing a creative outlet. With just a bit of yarn, stuffing, and a touch of imagination, this pattern becomes a lovable keepsake that represents the warmth and thoughtfulness of handmade art.
Special Features
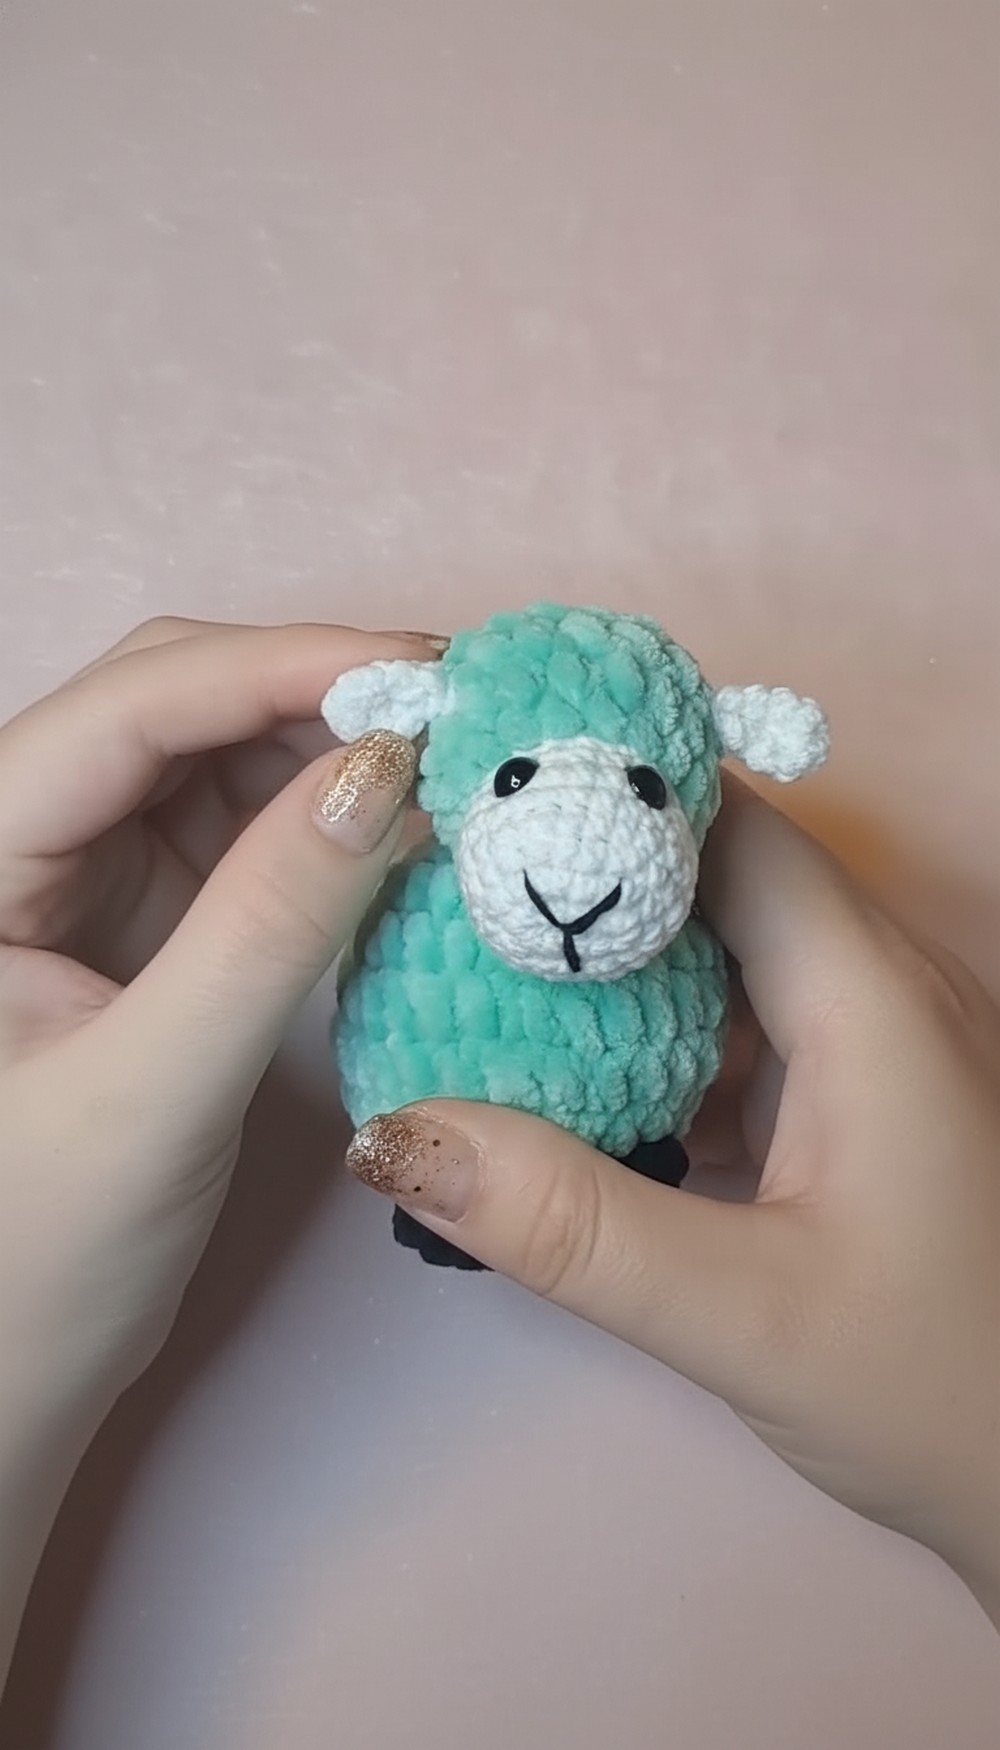
- Features: Rounded fluffy body, small beady eyes, dainty legs, and ears.
- Materials: The project uses simple materials like cotton yarn, fiber filling, safety eyes, and a crochet hook. Black yarn is used to detail the facial expressions.
- Skill Level: Suitable for beginner to intermediate crocheters. No complex stitches or techniques are involved, making it approachable.
Materials You’ll Need
- DK or Worsted weight yarn in white for the body and black for the face details.
- Crochet hook (2.0–3.0mm depending on your tension preference).
- Fiberfill stuffing.
- 6mm black safety eyes or beads.
- Yarn needle and scissors.
Pattern Instructions
1. Head (Starting with a Magic Ring)
- Use white yarn to make a magic ring.
- Round 1: Crochet 6 single crochets (sc) inside the magic ring. Pull the ring tight.
- Round 2: Increase in each stitch around (sc 2 in each stitch) – 12 stitches.
- Round 3: (Sc 1, increase) repeat around – 18 stitches.
- Round 4: (Sc 2, increase) repeat around – 24 stitches.
- Rounds 5–7: Sc 1 in each stitch (no increases) – 24 stitches.
- Round 8: (Sc 2, decrease) repeat around – 18 stitches.
- Round 9: (Sc 1, decrease) repeat around – 12 stitches. Fill the head with fiberfill as you go.
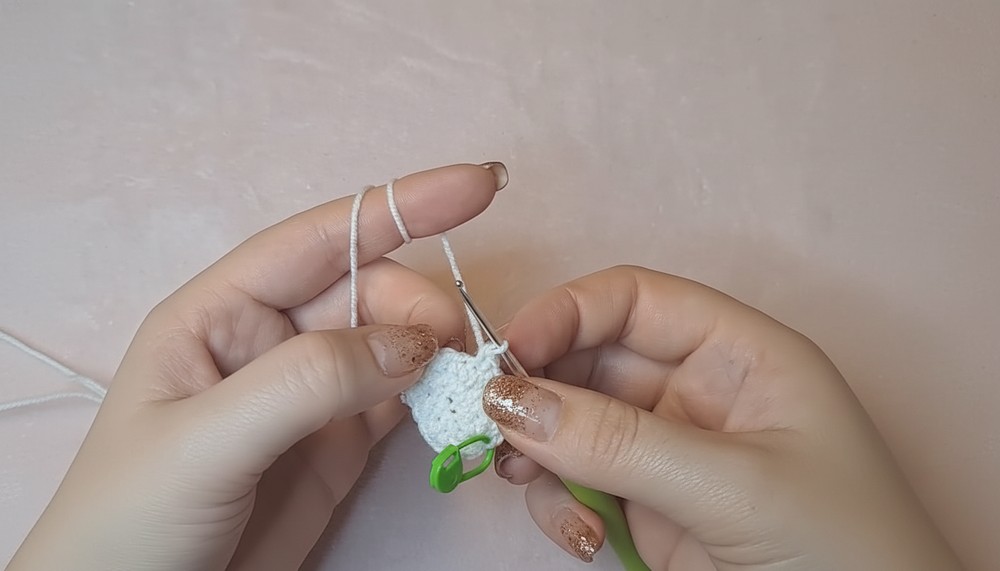
Tip: Pay attention to tension to create smooth, even stitches.
- Round 10: Work 6 decreases to close the head. Fasten off, leaving a long yarn tail for sewing.
2. Body
- Start with a magic ring using white yarn.
- Round 1: 6 sc in the magic ring.
- Round 2: Increase in every stitch – 12 stitches.
- Round 3: (Sc 1, increase) repeat – 18 stitches.
- Repeat increases until the body reaches the desired size (about 36 stitches).
- Work several rounds of sc 1 in each stitch to add height.
- Begin decreasing to create a rounded base: (Sc 2, decrease) around, then (Sc 1, decrease) until 6 stitches remain.
- Stuff the body firmly before fully closing.
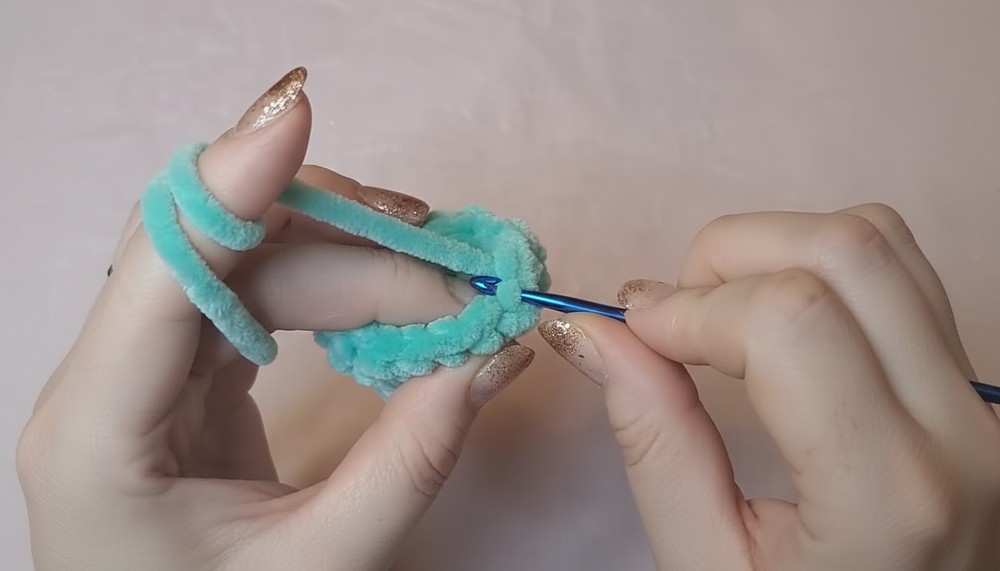
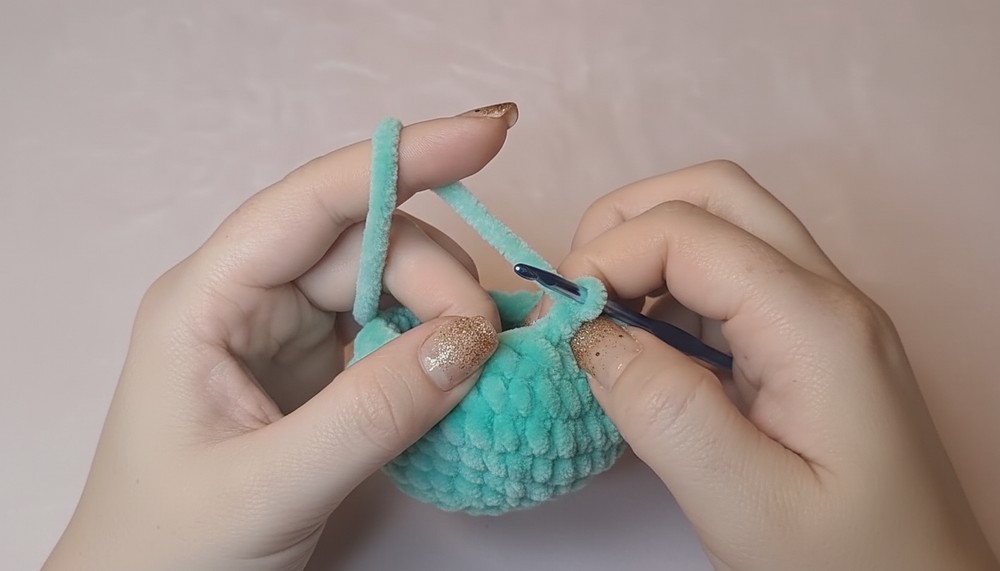
3. Ears
- With white yarn:
- Chain 4, slip stitch into the second chain from the hook.
- Work hdc, sc in the remaining chains. Fasten off.
- Make two ears and sew them symmetrically onto the head.
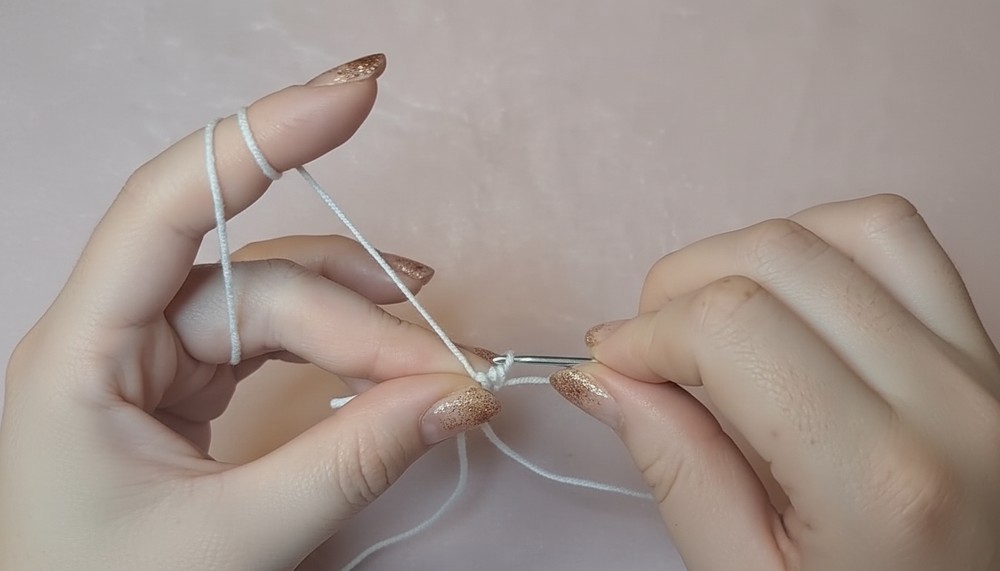
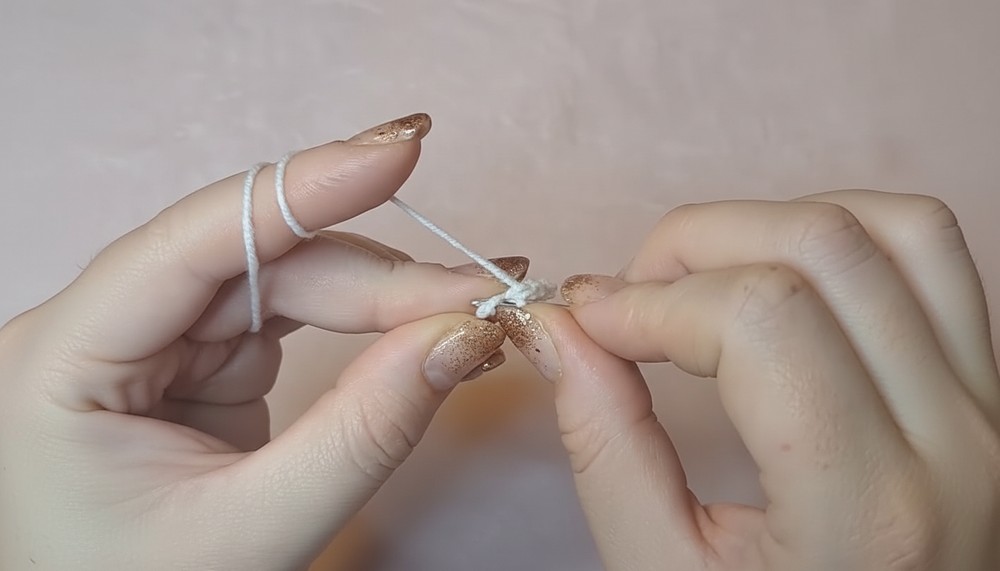

4. Legs
- Using white or black yarn (optional):
- Start with a magic ring. Crochet 6 sc in a ring.
- Round 2: (Sc 1, increase) – 9 stitches.
- Round 3–5: Sc 1 in every stitch. Fasten off and leave a long tail for sewing.
- Create four legs and attach them evenly at the bottom of the body.
5. Eyes and Facial Features
- Attach safety eyes or sew beads for eyes between Rounds 4 and 5 of the head.
- Use black thread or yarn to embroider a small “V” shape for the nose just below the eyes.
- Add additional details like eyebrows or a smile if desired, using simple embroidery techniques.
Assembly
- Sew the head onto the larger part of the body securely.
- Attach the ears symmetrically on the head.
- Sew the legs onto the body, ensuring balanced placement for stability.
- If desired, add a tiny bow, a bell, or a scarf for adorable finishing touches.


Tutor’s Suggestions and Uses
- This project is great for beginners wanting to practice basic amigurumi techniques like magic rings, increases, and decreases.
- The amigurumi sheep makes a perfect gift for children, adding a handmade, personal touch to their toy collection.
- Use it as a décor piece for nurseries, bookshelves, or an amigurumi collection.
Final Tip
For an extra fluffy finish, consider using textured yarn for the body while keeping the appendages smooth. This will give your sheep a realistic woolly appearance!
Conclusion
Crocheting the Mini Sheep Amigurumi pattern is a rewarding, fun project that allows for creativity and personalization. Whether you’re looking to create a thoughtful handmade gift or are finding beginner amigurumi patterns, this guide ensures a clear path from start to finish. With its playful charm and beginner-friendly design, this adorable project is sure to become a delightful addition to your crochet repertoire.