How to Stylish Crochet Backpack Pattern for Everyday Adventures
Solve your bag woes with this Free Crochet Backpack Pattern designed for practicality, style, and beginner-friendly creativity.
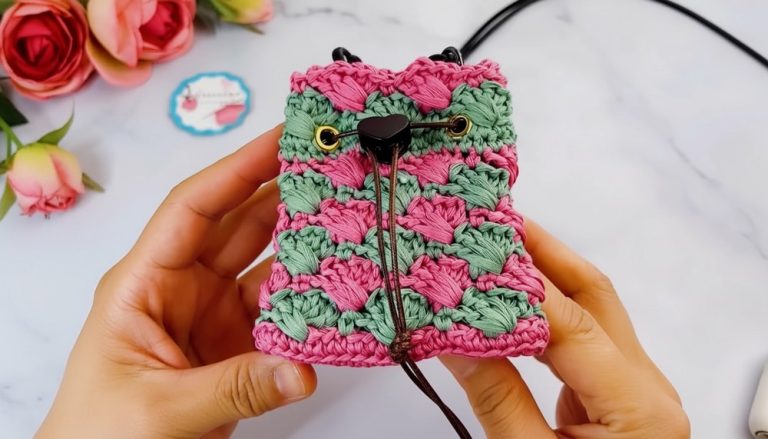
Unlock the charm of handmade accessories as you design a backpack that’s not just stylish but also highly practical. Ideal for school, travel, or even a casual day out, this Free Crochet Backpack Pattern offers a perfect balance of form and function. With its spacious pattern and strong, durable structure, it’s crocheted to carry your daily essentials with ease while adding a personal touch to your wardrobe. The pattern incorporates easy-to-follow techniques, making it suitable for both beginners and seasoned crocheters.
Learn How to Crochet a Backpack Pattern for a Modern Statement Piece

Enjoy the satisfaction of working on a project that not only reflects your creativity but also encourages sustainable living with reusable, handmade designs. Whether you need a lightweight bag for errands or an everyday backpack to pair with your favorite outfits, this pattern helps you achieve a polished, professional finish without the cost of store-bought alternatives.
In addition to its practicality, this pattern lets you experiment with colors, textures, and embellishments, making it truly one-of-a-kind. From gifting to personal use, the uses are as versatile as the design itself.
Special Features
- Professional Finish: The bag has a high-quality structure with neat edges and a well-organized stitch design.
- Spacious Design: Ample size makes it practical for daily needs, shopping, or travel.
- Stylish Elements: Includes a tassel and metallic hardware like rings, clasps, and a nameplate for a luxurious look.
- Combination of Stitches: Features both single crochet stitches and an eye-catching fancy stitch for texture variation.
Tutor’s Suggestions
- Use durable polyester flat cord for stability and a polished finish.
- Keep the yarn organized throughout to ensure clean, consistent stitches.
- Double-check the fancy stitch sequence to avoid errors: half double crochet (HDC), slip stitch (SS), repeat.
Supplies Needed
- Polyester flat cord (4 mm strand): A 500g skein with 170-200 m.
- 4 mm crochet hook (main hook).
- 3.5 mm crochet hook (for weaving ends).
- Scissors.
- Measuring tape (to ensure accurate dimensions).
- Lighter (to seal thread ends).
- Optional Hardware:
- A personalized nameplate.
- Two 2 cm half-moon rings.
- Two 2 cm lobster rings.
- Two 3 cm x 5 cm lobster clasps (for handles).
- One small clasp for the tassel.
- Pliers (for affixing clasps and metal hardware).
- Stitch markers (to mark key points).
Step-by-Step Crochet Tutorial
Step 1: Make the Base
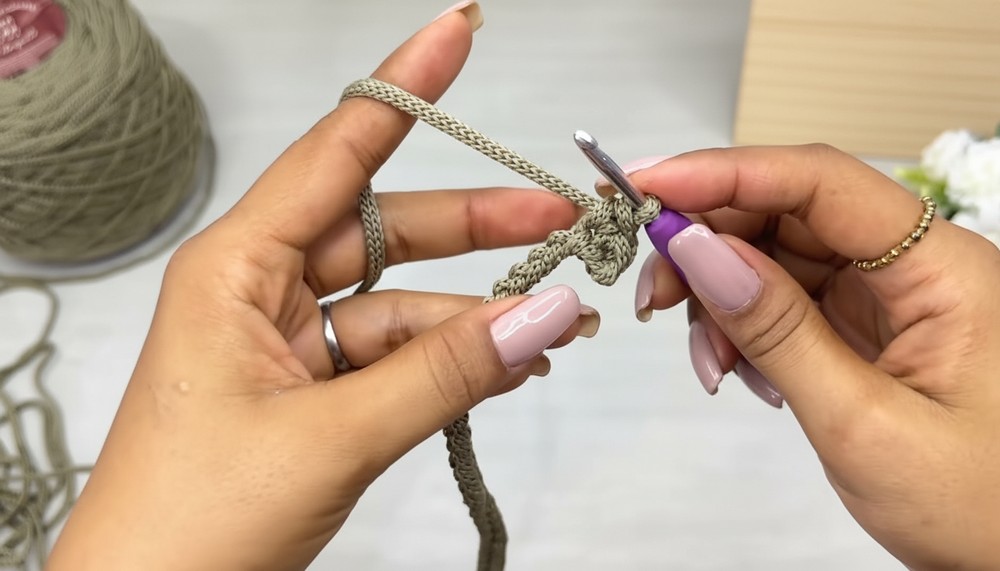
- Start with 93 chains: Create a slip knot, then chain 93 loops. This measures 62 cm unstretched. Adjust the length by increasing in multiples of 2 (e.g., 95, 97) to maintain an odd count.
- Round 1: Work single crochets (SC) across. Begin at the 2nd chain from the hook and into the back loops. Continue until the last loop. This should result in 92 single crochets.
- Tip: Always chain 1 before turning to start the next round.

2: Work the Fancy Stitch
- Round 2: Alternating Half Double Crochet (HDC) and Slip Stitch (SS):
- Begin with an HDC in the second chain from the hook.
- Insert the hook under the chain, yarn over, and pull through three loops for an HDC.
- Follow with a slip stitch under the next chain.
- Repeat the sequence: HDC, SS until the end of the row.
- Ensure your last stitch is always a slip stitch.
- Tip: Maintain uniform tension to keep the stitches neat.
- Round 3: Return to single crochets (SC) but work only in the back loops for a textured effect. Continue in this sequence:
- Odd rounds: Single crochets.
- Even rounds: Fancy stitch (HDC + slip stitch).
- Repeat this pattern until completing 23 rows.
- The result will measure 66.5 cm long by 19 cm wide.

3: Add the Border
- Chain 1 for height, then work single crochets around the entire piece to give it a polished finish.
- At each corner stitch, work 3 SC increases to create rounded edges for shaping the bag.
- After completing the round, ensure that you’ve maintained a total of 96 stitches across the long sides and 23 stitches across the short sides (excluding increases).

4: Create the Side Panels
- Foundation Chain:
- Chain 11 (10 base stitches + 1 turning chain).
- Crochet increases in the first and last chains to work from 10 stitches to 14 stitches.
- Side Height:
- Work across 14 stitches without increases until you reach 30 rows (to match the height of the main body).
- The side panel will measure 23.5 cm long and 11 cm wide.
- Make a second side panel following the same instructions.
5: Assemble the Bag
- Stitch the Side Panels:
- Fold the main rectangle in half.
- Align the side panels to the edges of the folded body and attach them using slip stitches.
- Use markers to align perfectly (30 rows from each panel should match 30 stitches of the body’s edge).
- Work clean slip stitches along the seams for a professional finish.
- Attach the Metal Clasps:
- Use pliers to secure the clasp on the lid and on the base of the bag. Ensure even centering with a measuring tape to maintain symmetry.

6: Make the Handles
- Begin with 4 Chains: Foundation chain of 4 (adjust width based on the clasp size). Work up to 3 cm wide.
- Work Double Single Crochets (DSC): This means inserting your hook through both front and back loops of each chain for added thickness.
- Length: Continue crocheting rounds following this method until the handle reaches 122–124 cm in length.
- Add Hardware: Secure lobster clasps using a tapestry needle at both ends of the handle. Fold and sew securely for lasting durability.

7: Add Finishing Touches
- Install the Rings: Attach the half-moon and lobster rings at designated locations on the bag.
- Attach the Handles: Connect the handles via the lobster clasps to the rings for a removable design.
- Tassel (Optional): Add a tassel to the front clasp as a decorative detail.

Final Details
- Finished Dimensions: 31 cm tall, 20 cm wide.
- Weight Without Hardware: 560 g of cord.
- Bag Style: You can fold the sides inward for a compact look or outward for extra space.
- Uses: Perfect as a daily tote, shopping bag, or as a stylish statement accessory.
Conclusion
This backpack pattern combines elegance with practicality, making it a must-have for any crochet enthusiast. The alternating stitch pattern creates visual interest while maintaining durability. With its sleek finish, thoughtful hardware, and versatile handle pattern, this project is as functional as it is stylish.
Pro Tip
To avoid uneven stitches, always check your tension regularly and ensure your yarn flows smoothly. Trim all thread ends neatly and use a lighter to cleanly seal polyester cord for the best results.