How to Cute Crochet Baby Shoes Pattern for Trendy Little Feet
Unlock free crochet baby shoes pattern for comfy and stylish designs that are perfect for warming tiny toes and making lasting memories.
Give your little one a cozy and stylish touch with adorable handmade footwear that’s both practical and heartfelt. Whether you’re a skilled crocheter or trying your hand for the first time, this pattern is designed with simplicity in mind, making it beginner-friendly yet beautifully detailed. These baby shoes are not just a fashion statement; they offer warmth, comfort, and a snug fit for those tiny, delicate feet. If gifting a pair as a personalized baby shower present or adding a special handmade touch to your baby’s wardrobe—you’ll instantly elevate their look while keeping them comfortable.
Soft, Comfy & Stylish Crochet Baby Shoes Pattern for Modern Moms
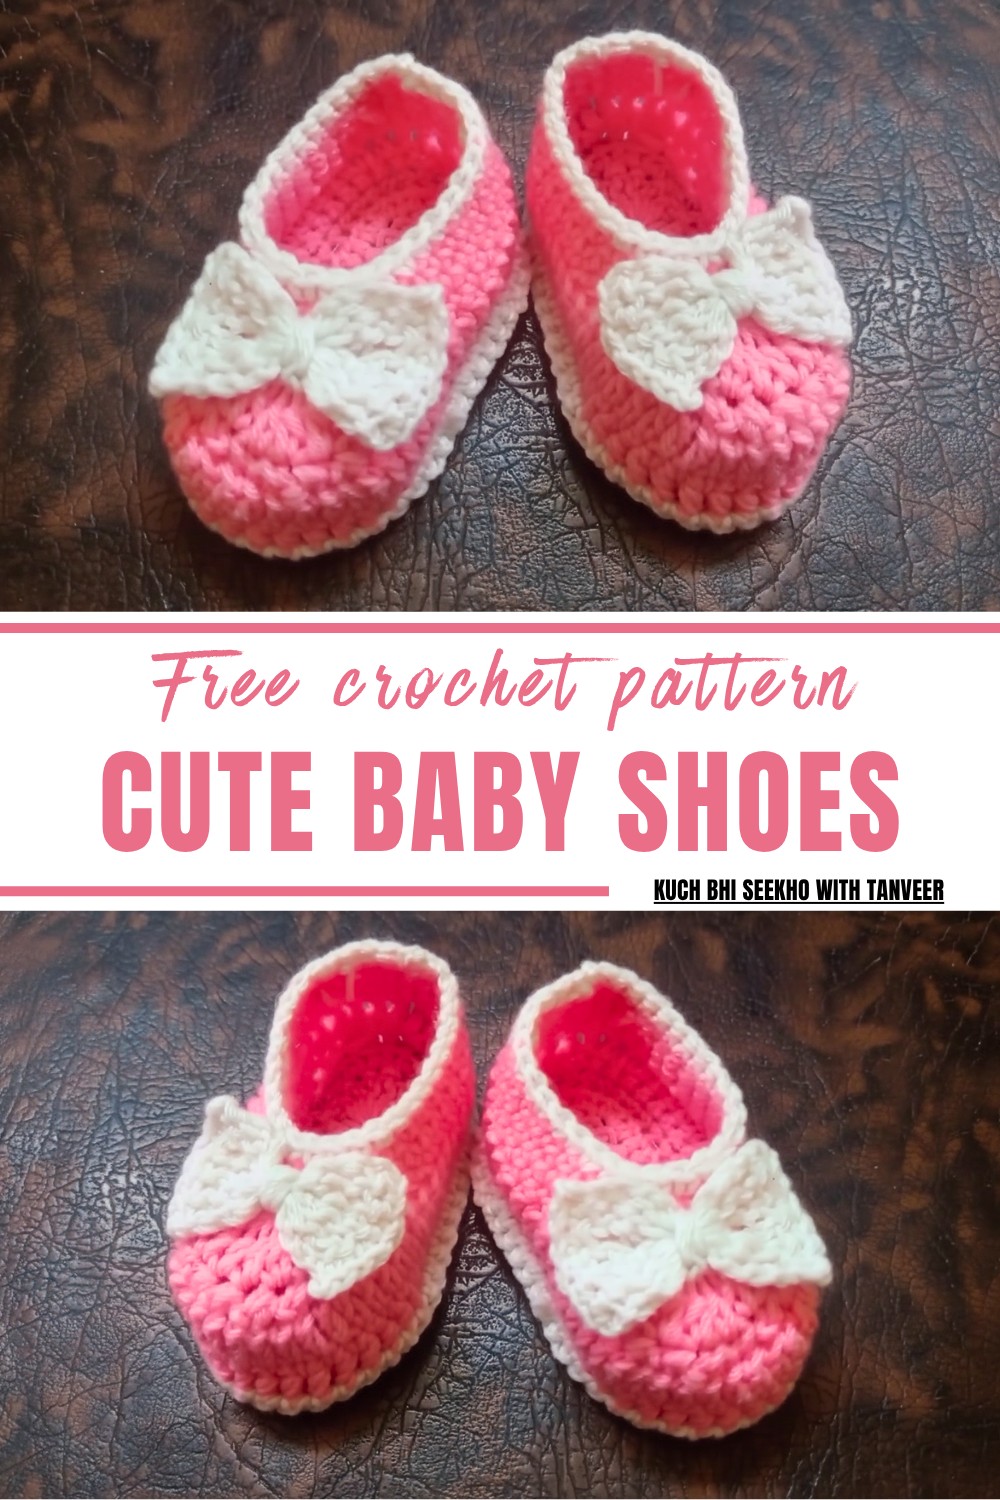
The pattern works perfectly with different color combinations, allowing you to customize it for any occasion or personality. Sized for babies between 0 to 6 months, these charming shoes fit seamlessly into everyday wear or special events. Light on materials and easy on effort, they’re a delightful way to use up leftover yarn or experiment with new skill sets.
The repetitive stitches provide a relaxing and satisfying experience, ensuring the final product is both functional and stylish. Practical, heartfelt, and endlessly customizable; this project is sure to bring smiles with every stitch. Get started and add some charm to those tiny steps!

Special Features
- Level of Difficulty: Beginner-friendly.
- Yarn Used: Scrap yarn, making it cost-effective and useful for leftover materials.
- Hook Size: Crochet hook number 9 (9mm).
- Includes simple tips for creating customized decorations like bows for added flair.
- Completes in a short amount of time.
Step-by-Step Detailed Pattern
Materials Needed
- Scraps of lightweight yarn.
- Crochet hook size 9 (9mm).
- Tapestry needle for weaving in ends.
Foundation Sole
- Start with a Slip Knot:
- Create a slip knot by looping the yarn and pulling through. Tighten it onto the hook.
- Chain 13:
- Work 13 chains.
- Work Double Crochet (DC) on Specific Chains:
- Skip the first 3 chains and create 9 Double Crochet (DC) stitches—one on each chain.
- Stitch Count: You now have 9 DC on one side.
- Add 7 Double Crochet on the Last Chain:
- On the last chain of the foundation, work 7 DC stitches, turning the stitch into a curve.
- Mirror the Opposite Side:
- Create 9 DC on the opposite side of the remaining chains.
- Stitch Count: 9 DC on each side and 7 DC in the curve.
- Finish the First Round:
- On the starting chain where the slip knot was created, work 7 DC again to form the second curve.
- Slip stitch into the first DC to close the round.
- Round 1 is complete, forming the solid sole.

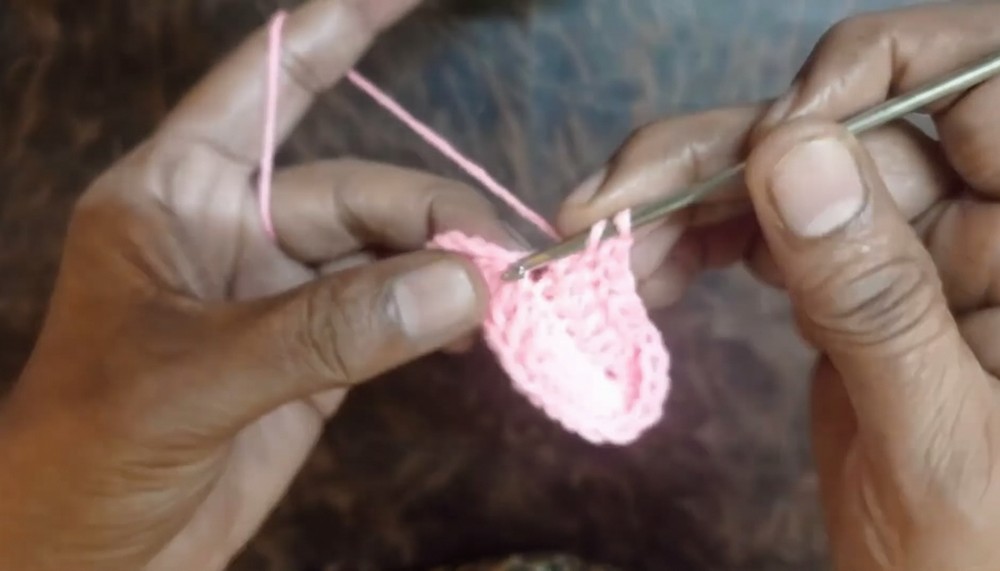
Round 2: Increasing the Sole
- Start with a Chain:
- Chain 1 to begin.
- Work Half Double Crochet (HDC):
- Work 8 HDC stitches along the straight edge on one side.
- Add Double Crochet (DC) Stitches:
- Work 9 DC stitches gradually along the curve.
- Increase Along the Curve:
- For the 7 DC from the previous round, place 2 DC in each stitch.
- Mirror the Opposite Side:
- Work in reverse with 9 DC, followed by 8 HDC on the other straight edge.
- Complete the Round:
- Slip stitch to the beginning stitch to close the round.
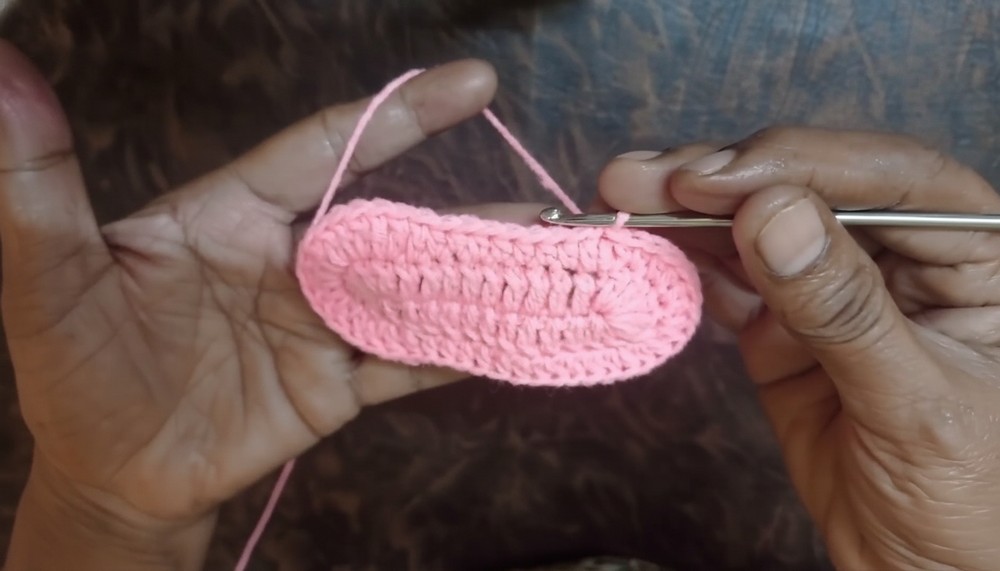
Round 3: Shaping the Shoe Sole
- Chain and HDC:
- Start with a Chain 1 and work one HDC per chain for 46 total stitches around.
- Increase at Curves:
- For every 7-stitch curve, ensure 2 stitches per space to retain the roundness.
- End with a Slip Stitch:
- Close the round with a slip stitch.
Begin Shaping the Shoe
- Mark the Toe Area:
- Mark 14 stitches for the sides and 18 stitches for the top, separating the sole into sections.
- Create Decreases for the Toe:
- Work Double Crochet Decrease (DCD) for the marked top-section stitches:
- Yarn over, insert into the stitch, pull through, repeat on the next stitch, and work through all loops on your hook.
- Work Double Crochet Decrease (DCD) for the marked top-section stitches:
- Work Outer Side Stitches Normally:
- Continue with simple Double Crochets for side sections.
- Close the Round:
- Slip stitch into the first stitch to close.


Building the Upper Part of the Shoe
- Chain 1 and Work Single Crochet (SC):
- Start with Chain 1 and create Single Crochets for the entire round.
- Decrease Around the Toe Section:
- For the marked 5 stitches at the toe, decrease by working 2 SC together.
- Work Regular SCs on the Rest:
- Continue single crochets around for the sides and back.
- Repeat for Another Round:
- Add one more round of Single Crochet to give the upper part its height.
Adding the Decorative Bow
- Create a Magic Circle:
- Wrap the yarn around your fingers and pull through a slip knot.
- Work Triple Crochet (TC):
- Chain 4, then work 5 Triple Crochets (TC) into the circle.
- Finish and Repeat:
- Secure with a small chain and repeat on the other side to form the bow’s loops.
- Tie the Bow:
- Wrap the center with yarn to gather the bow shape and attach it to the shoe’s front.

Tutor’s Suggestions
- Use contrasting colors for the sole and upper shoe to create a more striking design.
- For beginners, practice slip stitches and chains to ensure even tension before beginning.
- If gifting, pair the shoes with a matching dress or headband for an impressive set!
Uses
- These baby shoes are a perfect handmade gift for a baby shower, family, or friends’ newborn.
- They’re practical yet stylish, keeping baby feet warm while looking adorable.
- Perfect addition to photoshoots, special events, or even daily wear.
Tip
To maintain consistency in size, check your tension regularly. Always crochet the two shoes simultaneously to ensure they match perfectly.
Conclusion
With just a few simple steps, you can crochet an adorable and cozy pair of baby shoes designed for 3 to 6 months. This beginner-friendly pattern is easy to follow, rewarding, and perfect for gifting or personal use. Don’t forget to customize with colors and embellishments to make them truly unique. Your completed pair is sure to charm everyone and leave a lasting impression.