Free Crochet Pumpkin Amigurumi Pattern for Spooky Autumn Vibes
Crochet Pumpkin Amigurumi Pattern That’s Perfect for Cozy Seasons
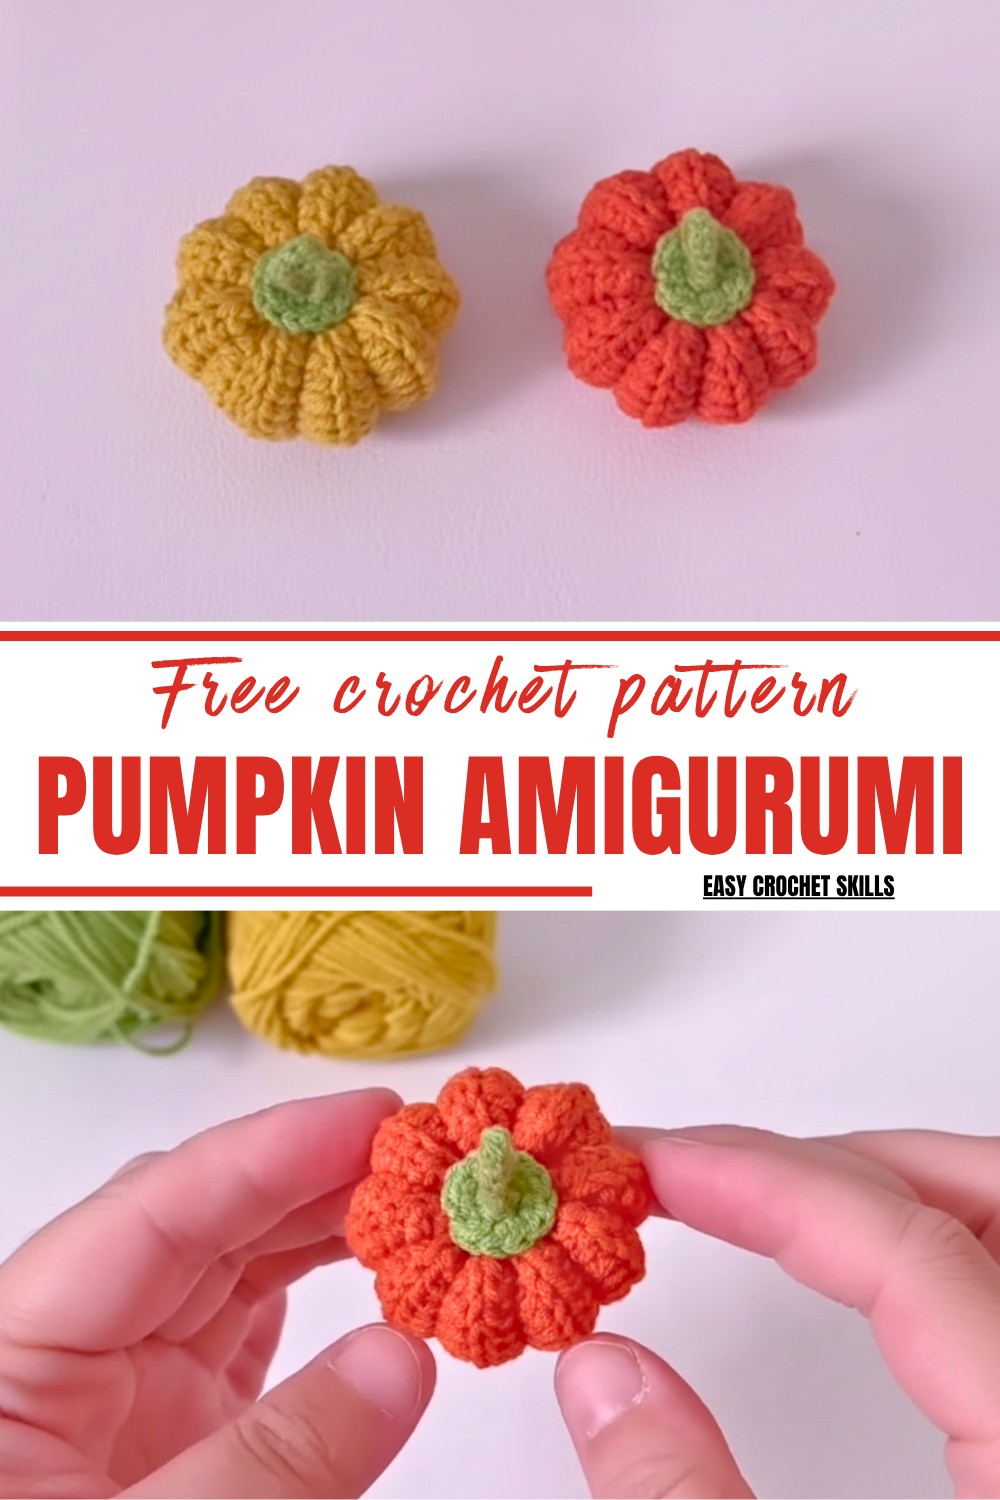
What makes this pattern shine is how easily it adapts to your style—choose vibrant autumn hues or playful pastels for a unique twist, and size it up or down to fit your project needs. Plus, it’s beginner-friendly, so you don’t need intricate skills to complete it. From the calming rhythm of crocheting to the satisfaction of holding your finished pumpkin in hand, this pattern offers a rewarding and stress-relieving creative outlet.
Whether you’re crocheting for a fall centerpiece, stuffing stockings with seasonal goodies, or just looking for a relaxing weekend project, this charming crochet pattern is filled with possibilities. It’s not just about making something cute—it’s about celebrating the cozy, nostalgic beauty of autumn in a way that warms both your space and your heart.
Materials Needed
- Yarn: 4-strand cotton yarn in orange (for the pumpkin) and green (for the stem).
- Crochet Hook: 2.0mm.
- Fiber Stuffing: To fill and shape the pumpkin.
- Sewing Needle: For assembling the pumpkin.
- Scissors.
Skill Level
Beginner-Friendly – This pattern primarily uses half double crochet, slip stitches, and simple sewing, making it great for those new to crochet.
Step-by-Step Pattern
Part 1: Crocheting the Pumpkin Body
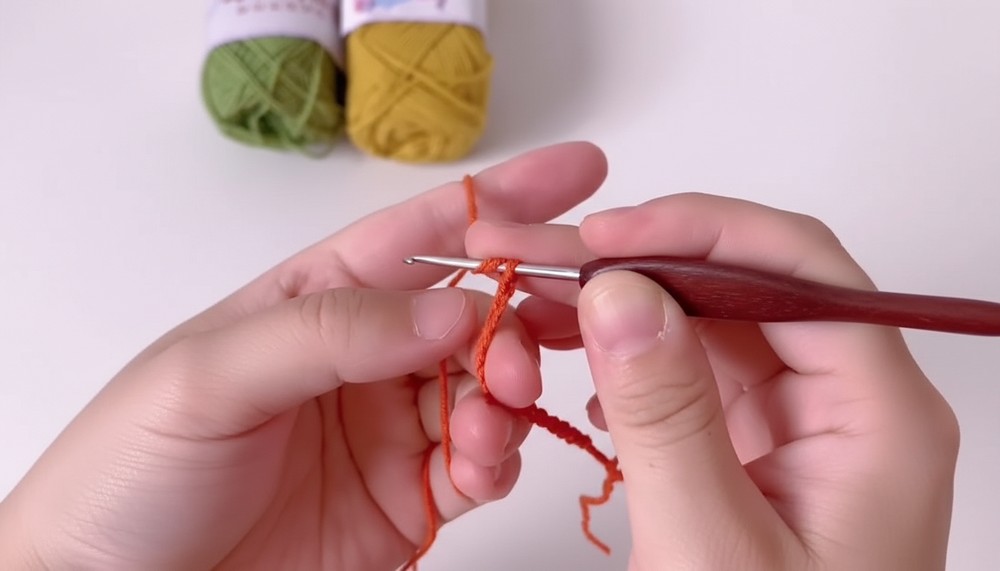
- Start with a Chain Base:
- Make a foundation of 15 chain stitches using orange yarn.
- Row 1:
- Insert the hook into the second chain stitch from the hook and crochet 1 half double crochet (HDC).
- Continue crocheting 1 HDC in each chain for a total of 14 HDCs.
- Row 2:
- Chain 1 stitch and turn your fabric.
- Work into the back loop only of each stitch and crochet 14 HDCs.
- Rows 3–19:
- Repeat the pattern for 17 more rows, always working into the back loop of each stitch and crocheting 14 HDCs per row.
- This creates the ribbed texture of the pumpkin.
- Finish the Body:
- After completing 19 rows, fold the piece in half lengthwise so that the two short ends meet.
- Secure the edges by crocheting slip stitches (SS) across, aligning each stitch with its corresponding stitch.
- Leave a long tail of yarn for the next steps.
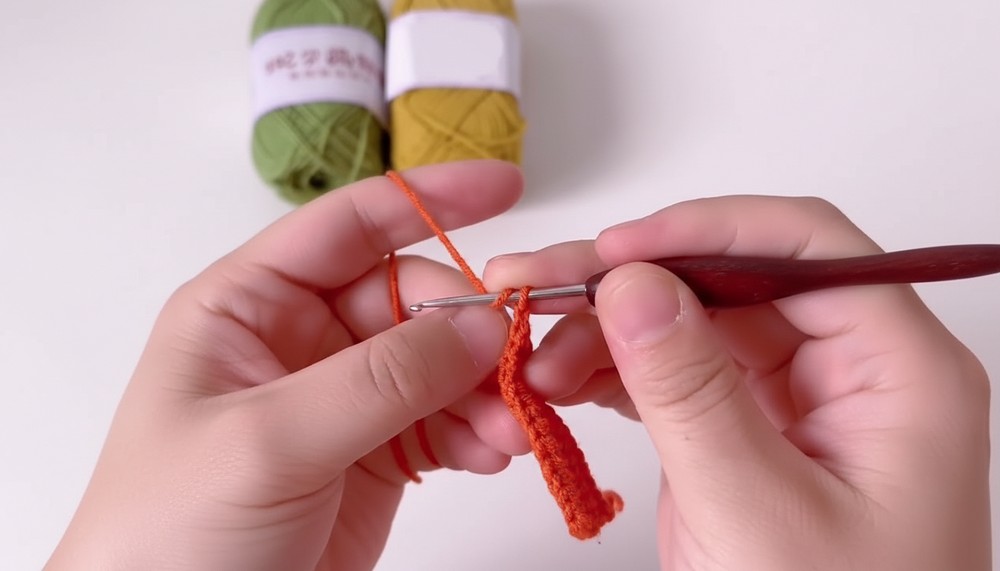
2: Shaping the Pumpkin
- Close One End:
- Thread the long tail of yarn onto a sewing needle.
- Sew along the edge of one opening, pulling the yarn tight to close the opening completely.
- Reinforce the closure by sewing around the edge a few more times.
- Stuff the Pumpkin:
- Fill the body of the pumpkin with fiber stuffing to your desired firmness.
- Close the Other End:
- Using the same method as before, sew along the edge of the other opening. Pull tight and reinforce the closure.
- Add Ridges:
- To create the characteristic pumpkin ridges, thread your needle with a long piece of yarn.
- Insert the needle through the center of the pumpkin, pulling tightly to form an indentation.
- Bring the yarn over the pumpkin’s surface and repeat, dividing the pumpkin into 9 equal sections by pulling tightly to create deep ridges.
- Secure the yarn by knotting it and hiding the tail inside the pumpkin.
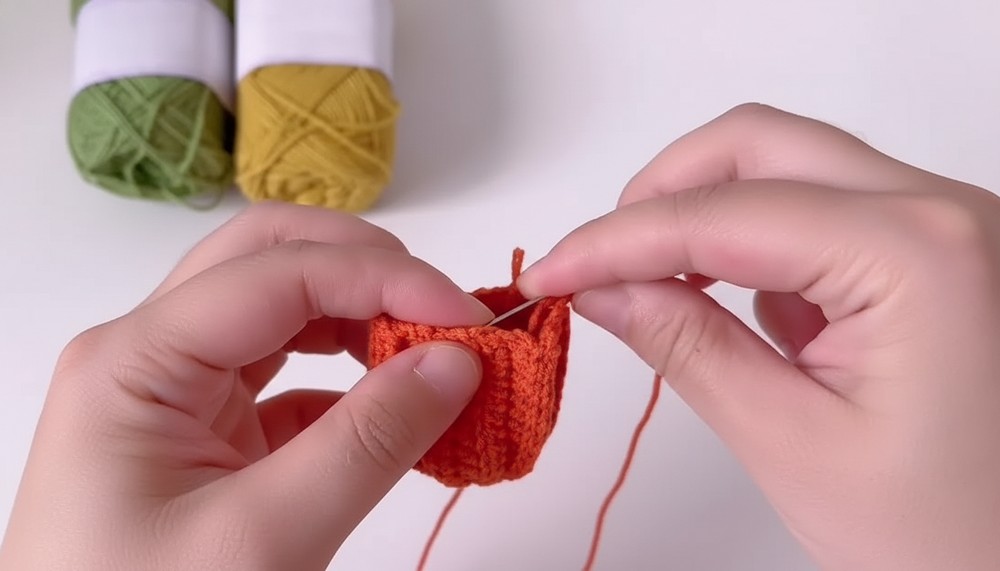
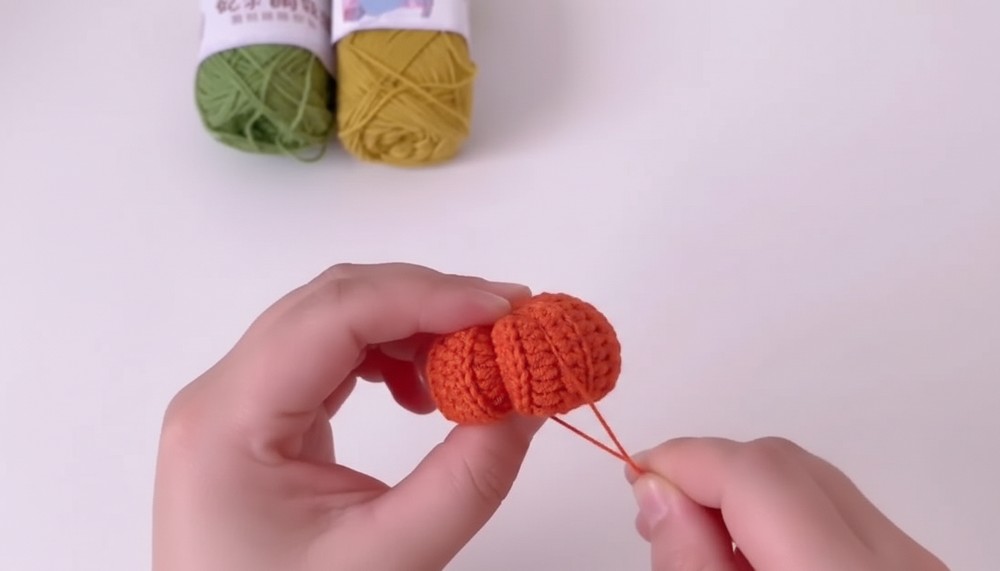
3: Crocheting the Pumpkin Stem
- Start with a Magic Ring:
- Using green yarn, create a magic ring and crochet 6 single crochets (SC) into it.
- Tighten the ring and slip stitch (SS) into the first SC to close the round.
- Round 2:
- Chain 1 stitch and work 2 SCs into each stitch.
- Finish the round with a slip stitch and cut the yarn, leaving a tail for sewing.
- Attach the Stem:
- Use the tail to sew the green stem securely onto the top of the pumpkin.
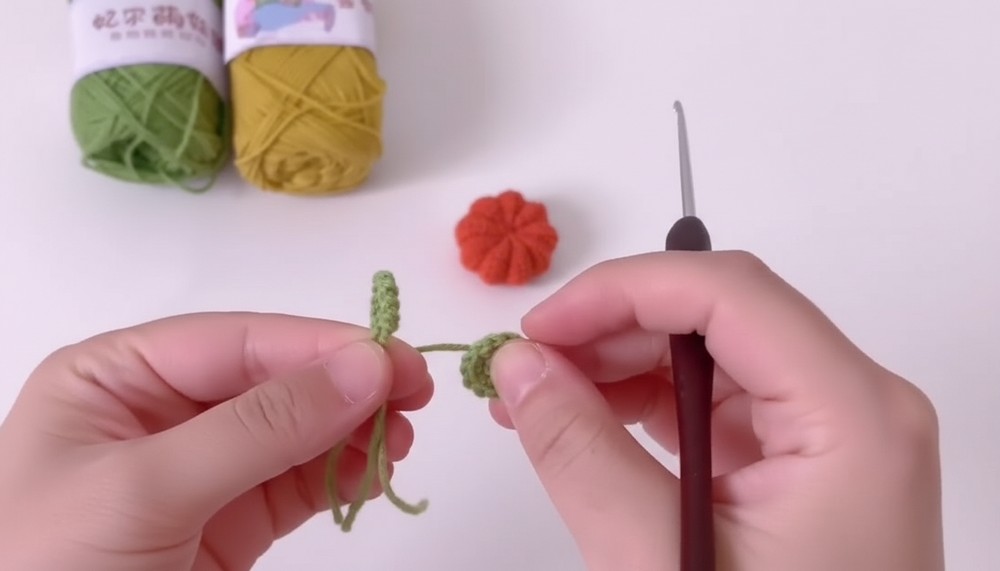
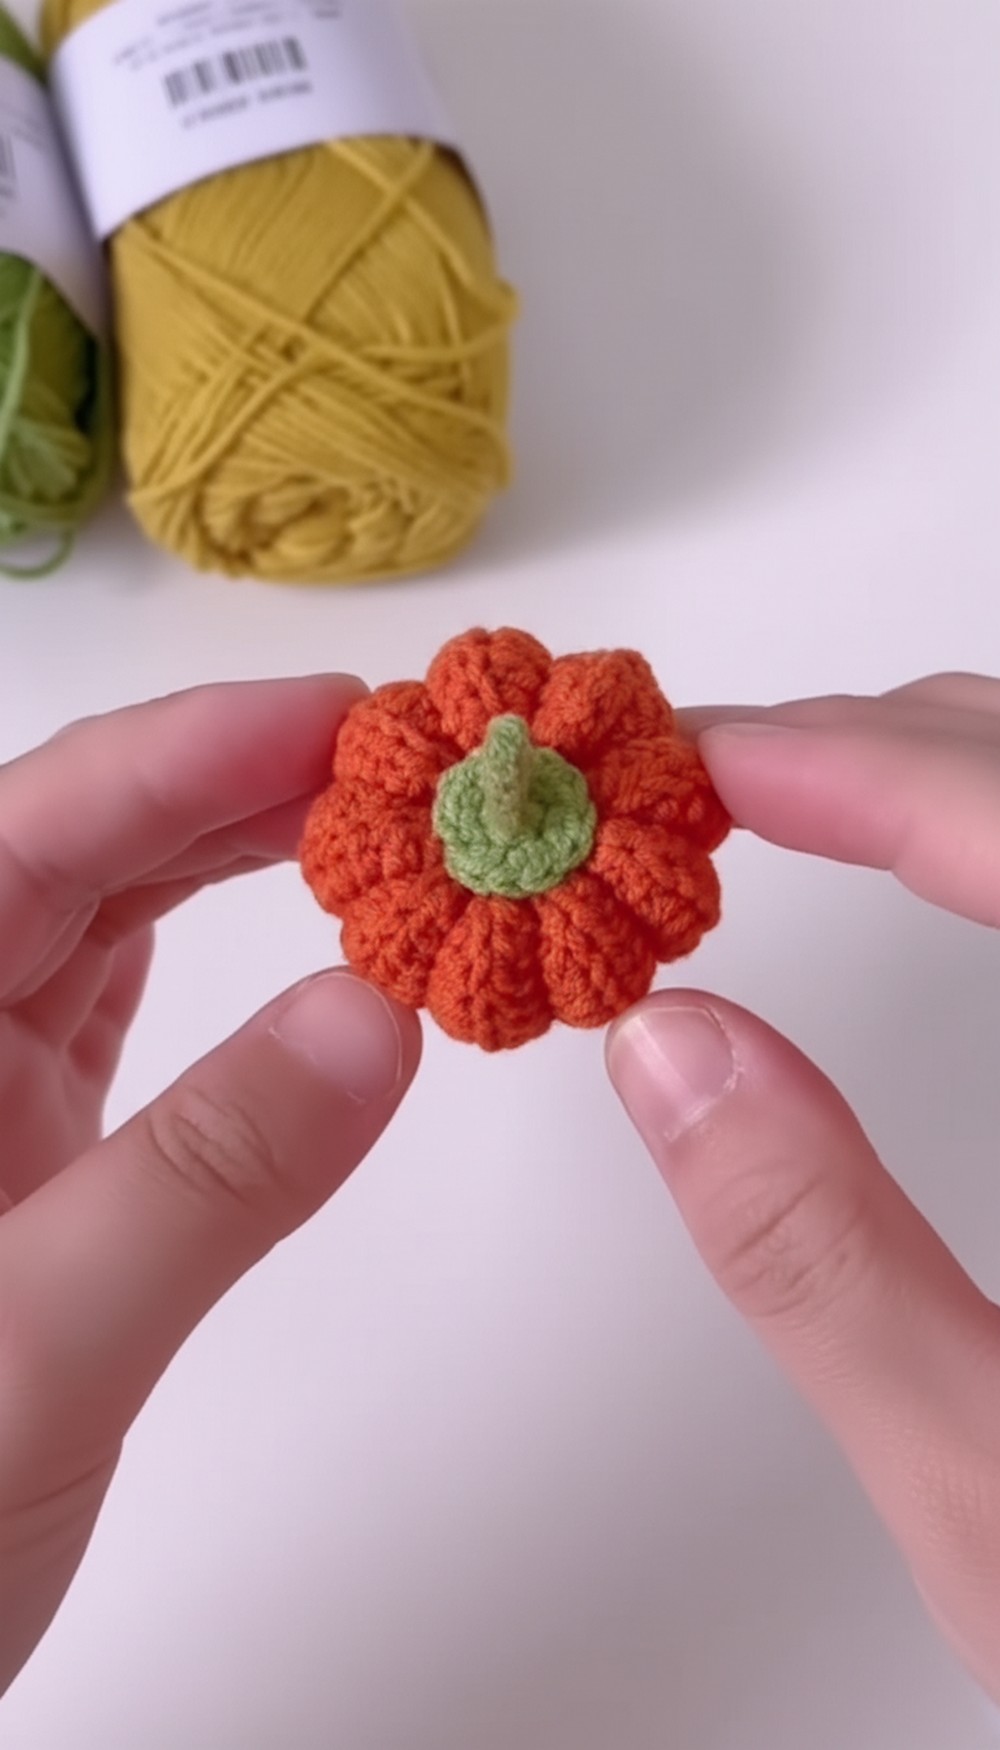
4: Adding the Pendant Rope
- Make the Rope:
- Using the same yarn as the stem, crochet a simple chain for the hanging rope (length is up to you).
- Fold the chain in half and pass the folded end through the stem’s center.
- Pull the loose ends of the chain through the looped end to secure it.
- Tie a knot to prevent it from slipping.
- Final Finishing Touch:
- Hide any leftover yarn tails by threading them through the pumpkin’s body.
Special Features
- Beginner-Friendly Design: Simple stitches and clear assembly steps make this project perfect for new crocheters.
- Customizable: Easily change the size, color, or hanging rope length to suit your needs.
- Versatile Use: Use as a pendant for bags, keychains, ornaments, or seasonal décor.
Tutor’s Suggestions
- You can add a face using embroidery thread or felt to turn the pumpkin into a cute Halloween jack-o’-lantern.
- Experiment with different yarn textures (e.g., velvet or chunky yarn) for a unique look.
Crochet Tip
When crocheting in the back loops, ensure your tension stays consistent to maintain an even ribbed texture throughout the pumpkin’s body.
Conclusion
This crochet pumpkin pendant is the perfect mix of ease and charm, bringing a playful vibe to your seasonal decorations or accessories. With its simple construction and endless opportunities for customization, this project is a delightful way to celebrate autumn. Whether you’re making one for yourself or as a sweet handmade gift, this quick-to-finish crochet project will brighten anyone’s day.