How to Crochet Rose Bouquet Pattern That’s as Unique & Classic
Revamp your crochet game with this Free Crochet Rose Bouquet Pattern; perfect for home accents, unique gifts, and handmade flowers.
Nothing compares to the lasting charm of handmade roses that never wilt. This crochet rose bouquet pattern is your chance to design a masterpiece that lasts forever while adding elegance to any space. Assembling delicate petals and vibrant hues, you’ll feel the joy in every stitch, watching your project bloom into something truly artistic. Perfect for heartfelt gifts, romantic gestures, or enhancing your own home décor, this bouquet pattern brings together texture and beauty like no store-bought item ever could.
Free Crochet Rose Bouquet Pattern for elegant Arrangements That Last Forever
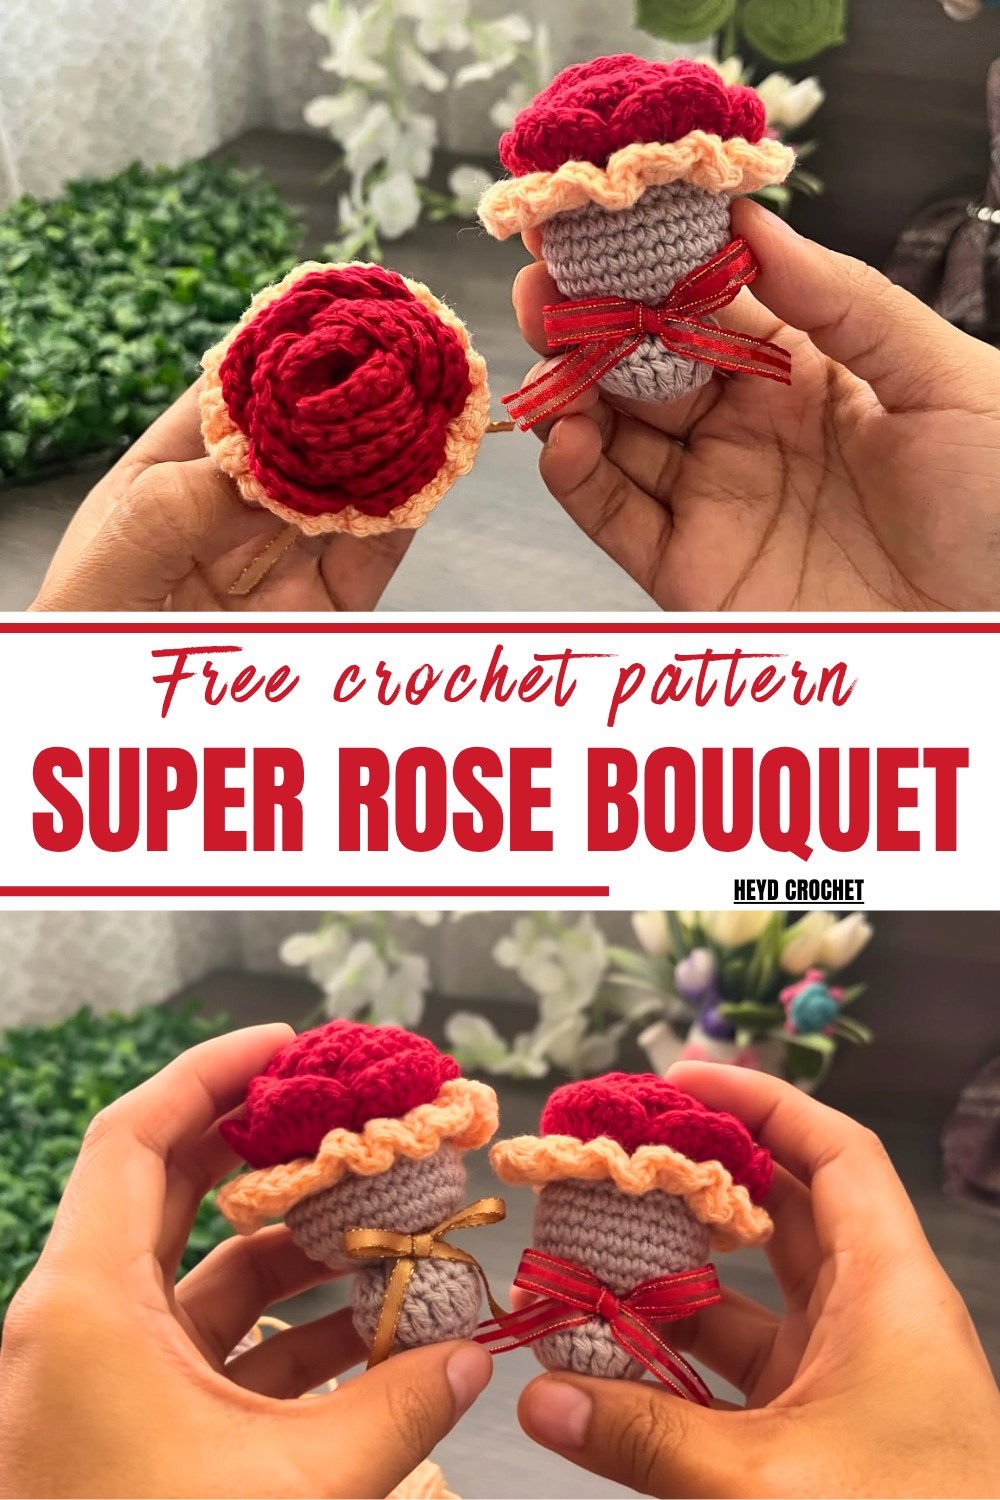
With its beginner-friendly instructions and intermediate sections for added detail, this pattern offers the perfect balance between simplicity and sophistication. You can use them for weddings, anniversaries, or even as creative bouquets for loved ones, showcasing your unique skill and thoughtful approach.
Handmade gifts hold unmatched sentimental value, making this crochet rose bouquet both a keepsake and a wonderful display of creativity. Warm hearts, stitched beauty, endless possibilities.
Step-by-Step Crochet Pattern
Hook: 1.75 mm • Materials: 100% Cotton Yarn, Darning Needle, Pin, Polyester Stuffing
- Skill Level: Intermediate
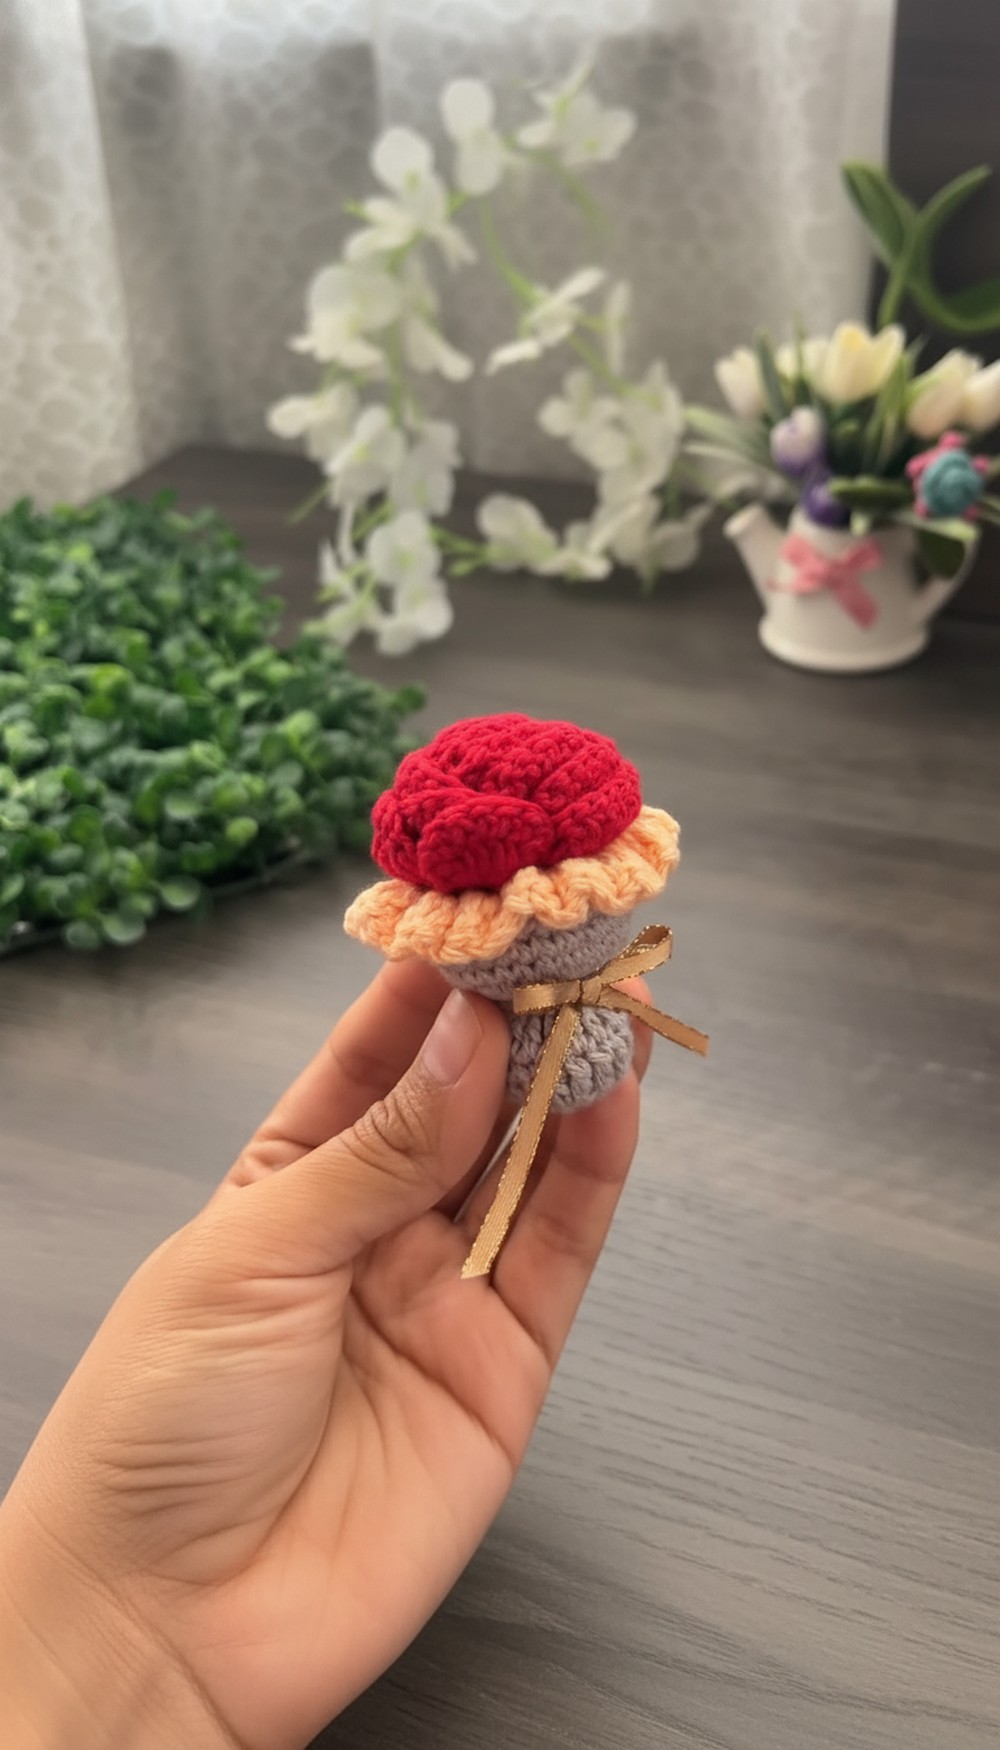
- Special Feature: Includes roses, a vase, and a decorative bow
Materials
- Yarn in 3 colors: Rose red, melon, and pink (or colors of your choice)
- Hook: 1.75 mm crochet hook
- Polyester stuffing (siliconized cotton)
- Darning needle
- Scissors
- Optional: Decorative bow
Pattern Instructions
Vase Base
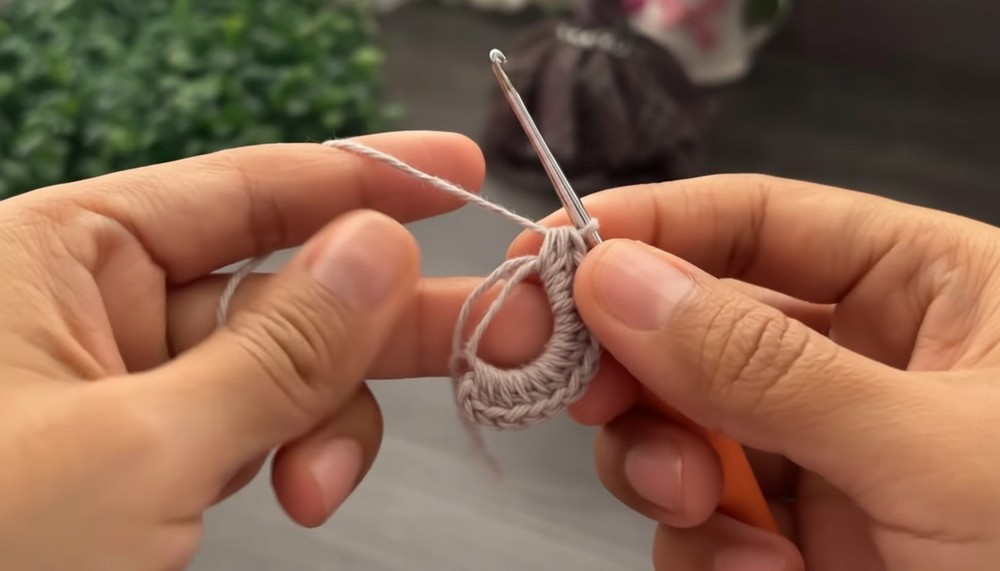
Step 1: Start Base with a Magic Ring
- Create a magic ring.
- This forms the circular base of the vase.
- Chain 2 (counts as half double crochet height).
2: Work the First Round
- Inside the magic ring, crochet 12 hdc.
- Ensure stitches are evenly spaced.
- Pull the ring tightly and sl st into the first stitch to close the round.
Increasing the Vase
3: Second Round – Double Crochet with Increases
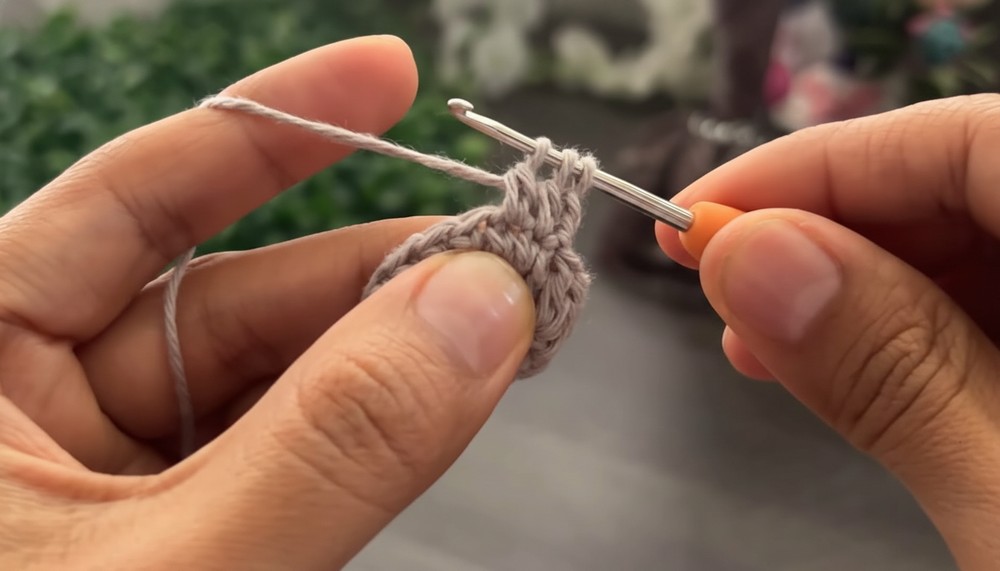
- Chain 2 (does not count as a stitch).
- Alternate between the following sequence:
- 1 dc in the next stitch
- 2 dc in the following stitch (dc increase)
- Repeat this sequence around the circle.
- Sl st to join the round.
4: Third Round – Triple Decreases
- Chain 2.
- Work triple dc decreases across three stitches:
- Yarn over, insert the hook into the first stitch, pull through the first two loops (leave remaining loops unfinished).
- Repeat this for the next two stitches.
- Yarn over and pull through all remaining loops.
- Repeat this dc triple decrease pattern for the entire round.
- Sl st to close the round.
5: Fourth Round – Working Single Crochets
- Chain 1.
- Crochet 2 sc in each stitch around (sc increases).
- Finish with sl st to join, totaling 12 stitches.
6: Fifth Round – Increases
- Chain 1.
- Work 2 sc into each stitch around again to further increase width.
- Sl st to close the round.
- Fill the bottom of the vase with polyester stuffing for shape.
7: Sixth Round – Adding Height and Shaping
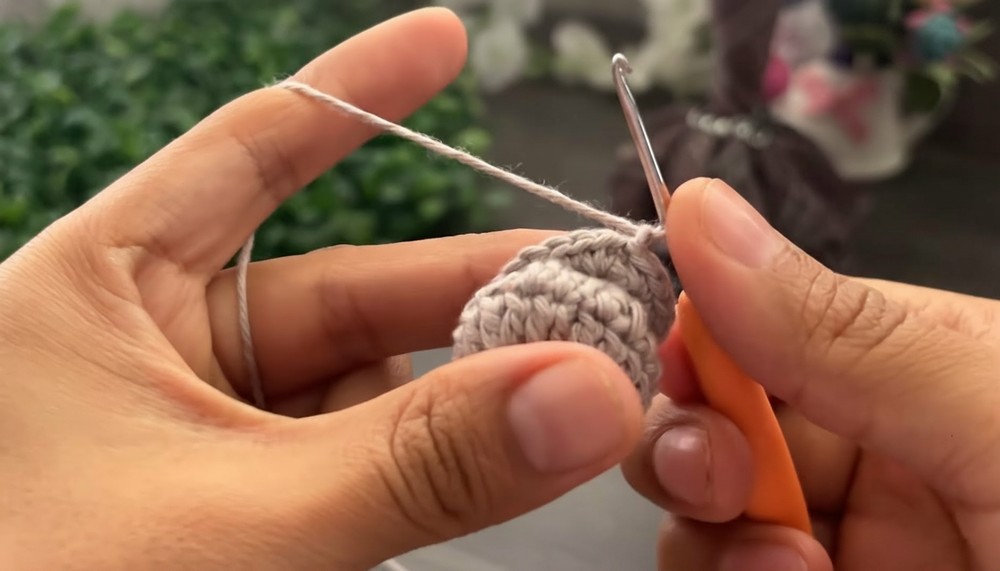
- Chain 1.
- Follow the sequence:
- Crochet 3 sc in individual consecutive stitches.
- Then work 1 sc increase (2 sc in the same stitch).
- Repeat this pattern across, forming height for the vase.
- Sl st to close.
8: Color Change to Melon (Top Edge)
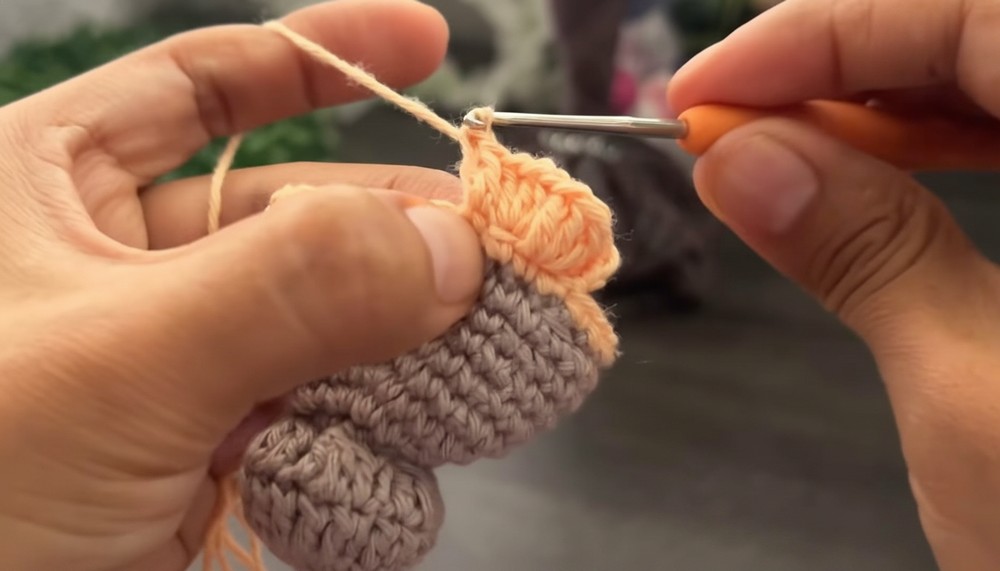
- Switch to melon-colored yarn.
- Chain 1 and crochet 1 sc in the same stitch.
- Work 1 sc in the front loops of each stitch around the top edge, leaving the back loops untouched.
- Sl st to close the round.
Adding Ruffled Edges to the Vase
9: Create Ruffles
- Using the back loops left untouched, chain 2 and begin alternating:
- 3 dc in the first back loop.
- Then 3 dc in the next front loop.
- Continue alternating between front and back loops around.
- This creates a ruffled, decorative edge resembling petals or lace.
Rose Pattern
Step 1: Chain Base for Rose
- Chain 53.
2: First Row
- Starting in the first chain, work 1 sc into each chain across.
- You should have 52 sc total.
3: Second Row – Start Arches
- Chain 5.
- Skip 2 stitches, and in the third chain:
- Work 1 dc, chain 2, 1 dc into the same stitch.
- Repeat this:
- Skip 2 stitches, then [dc + ch 2 + dc] in the next stitch.
- Finish the row.
4: Third Row – Work Inside Arches
- Chain 3.
- In each arch (space between the dc pairs):
- Work 2 dc, chain 2, 2 dc.
- Skip the spaces outside the arches and focus only on the arch spaces.
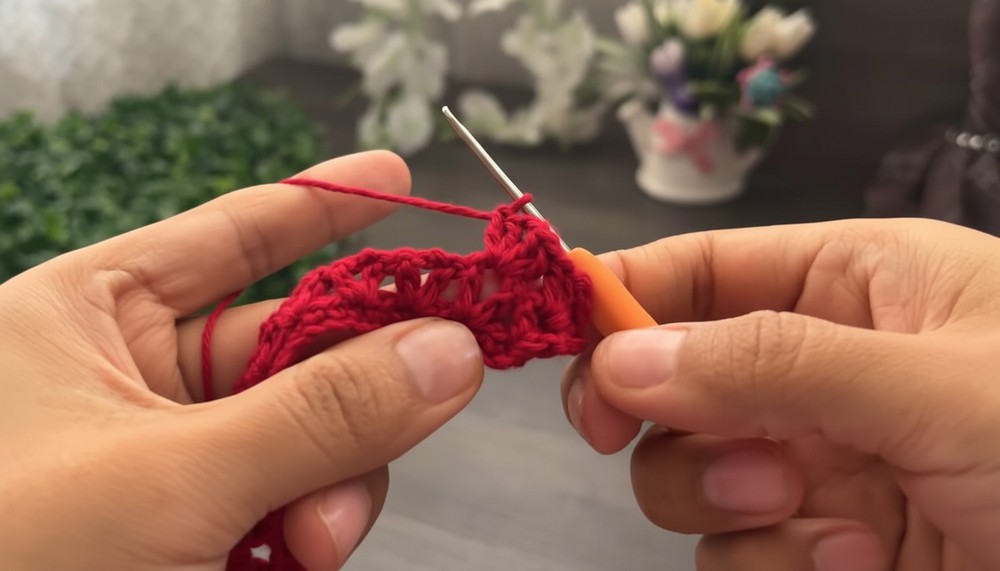
5: Fourth Row – Final Ruffles in Each Arch
- Chain 1.
- Inside each arch:
- Work 8 dc.
- At the central stitch between arches, sl st to secure.
- Continue with 8 dc in each arch until the row finishes.
- Sl st, chain 1, and cut the yarn.
Assemble the Rose
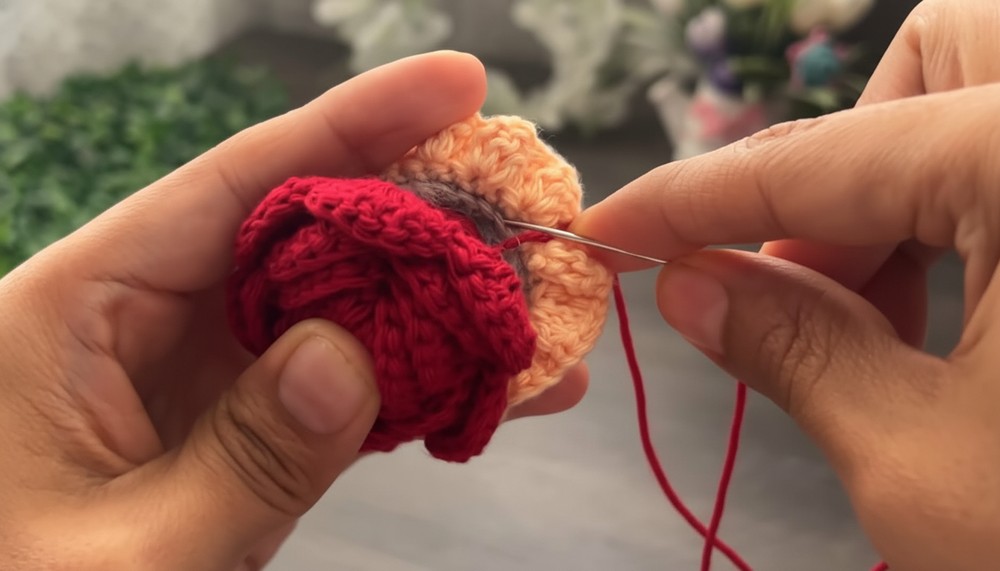
- Take your completed rose and begin rolling it from one end to the other.
- Secure in place with sewing stitches across the base using a darning needle.
- Form a realistic rose shape.
Attach the Roses to the Vase
- Insert polyester stuffing into the vase.
- Place the roses securely on top.
- Use your needle and thread to fasten the roses into the vase structure.
- Add decorative bows or accents as desired.
Conclusion
This crochet rose bouquet pattern is perfect for decorating homes, offering as gifts for loved ones, or even selling as handmade items. The vase shape, rose detailing, and ruffled edges come together to make a timeless, elegant centerpiece or keepsake.
Tutor’s Suggestions
- For Beginners: Focus on the vase shape first before attempting the rose pattern.
- Customizable: Adjust sizes and colors to suit your preference.
- Take Breaks: This is a detailed pattern—work in sections to ensure precision.
Tip
For added durability, use yarn stiffener inside the vase and stems to keep the bouquet’s shape intact over time.