Free Crochet Top Pattern to Add Elegance to Your Wardrobe
Keep your wardrobe chic and creative with this free crochet top pattern, perfect for crocheting a classic and stylish piece.
Searching for a fresh way to showcase your style while staying comfortable? This crochet top pattern is all about versatility, blending trendy looks with practical features. Perfect for sunny days or layering during cooler seasons, this pattern delivers a lightweight yet chic addition to any wardrobe. Its detailed textures and patterns add flair, making it more than just an everyday outfit; it’s a unique statement piece.
Free Crochet Top Pattern with Easy Step-by-Step Guidance for All Levels
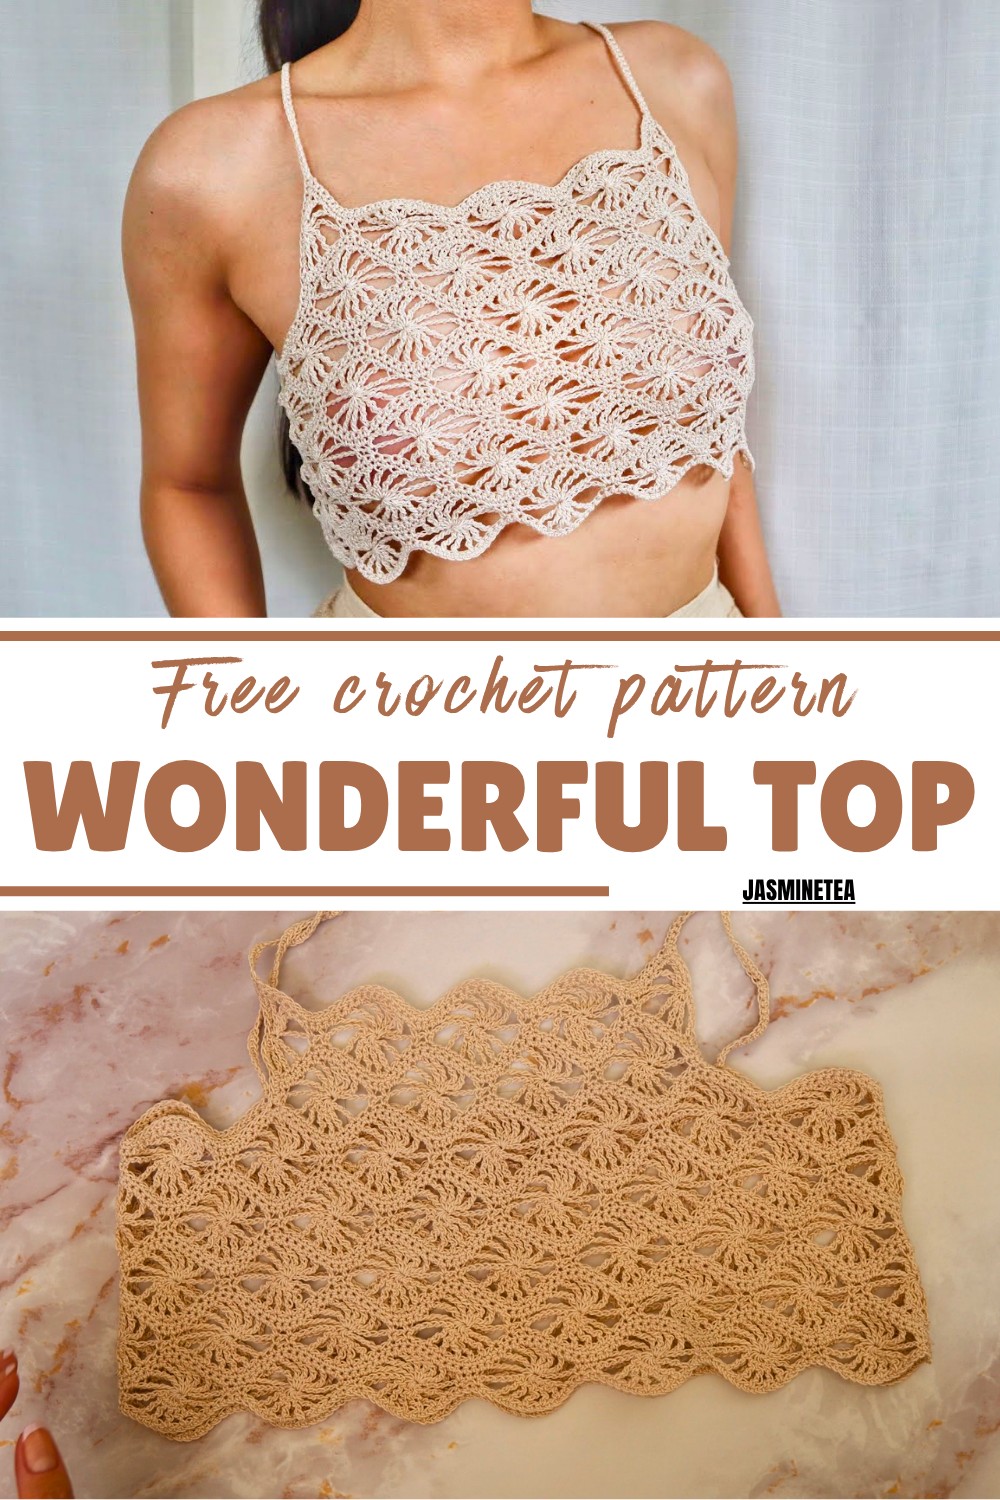
Beyond its eye-catching design, the pattern is incredibly adaptable, offering customizable sizing to suit all body shapes. Pair it effortlessly with high-waisted jeans, flowing skirts, or summer shorts, and you’ve got a fashionable choice for casual or semi-formal occasions. Crocheted with breathable fabric, it ensures you stay comfortable all day long.
Additionally, this project is perfect for refining your crochet skills, whether you’re a beginner or an experienced crafter. It’s a creative and eco-friendly way to step away from fast fashion by making lasting handmade garments. With endless choices in colors, yarn types, and strap adjustments, every piece feels truly personalized. Relax, enjoy the process, and add a stylish and sustainable touch to your closet today.

Special Features
- Design: Scalloped edges and airy lace texture.
- Difficulty Level: Beginner to Intermediate.
- Suggestions: Use durable crochet thread and relax your stitches for an elegant finish.
- Versatility: Lightweight enough for layering or as a summer top.
Materials Needed
- Crochet thread
- 2.5mm crochet hook
- Stitch markers
- Scissors
- Measuring tape
Step-by-Step Pattern Instructions
Step 1: Bust Measurement and Chain Foundation
- Determine Size: Measure your bust size and divide by 2.
- Example: For a 32-inch bust, your base measurement will be 16 inches.
- Chain Foundation: Create a chain length that is a multiple of 16 + 1, ensuring it matches your half-bust measurement.
- Add one or two extra multiples of 16 for a looser fit.
- Example for Size Small: Chain 7 multiples of 16 + 1.
2: Row-by-Row Pattern
Row 1:
- Single crochet (SC) into the second chain from the hook.
- SC into every chain across.
- Turn your work.
Row 2:
- Chain 1, turn. SC into the first two stitches.
- Chain 6, make 6 double treble crochets (DTRs) together:
- Yarn over 3 times, skip a chain, and insert into the next chain. Pull through 2 loops (three times) per DTR, leaving the last loop unworked. Continue this process 6 times, skipping one chain between each.
- Yarn over, pull through all loops on the hook.
- Chain 6, skip a chain, and SC in the next chain.
- Repeat this pattern until the end of the row. End with 2 SCs.


R- 3:
- Chain 1, turn. SC into the first two stitches.
- Chain 1, DTR into the peak chain space of the scalloped base.
- Place a total of 6 DTRs with Chain 1 space between each DTR in the same chain space.
- Chain 1, SC into the next available stitch from the previous row.
- Repeat across, ensuring you align with the scallop peaks.
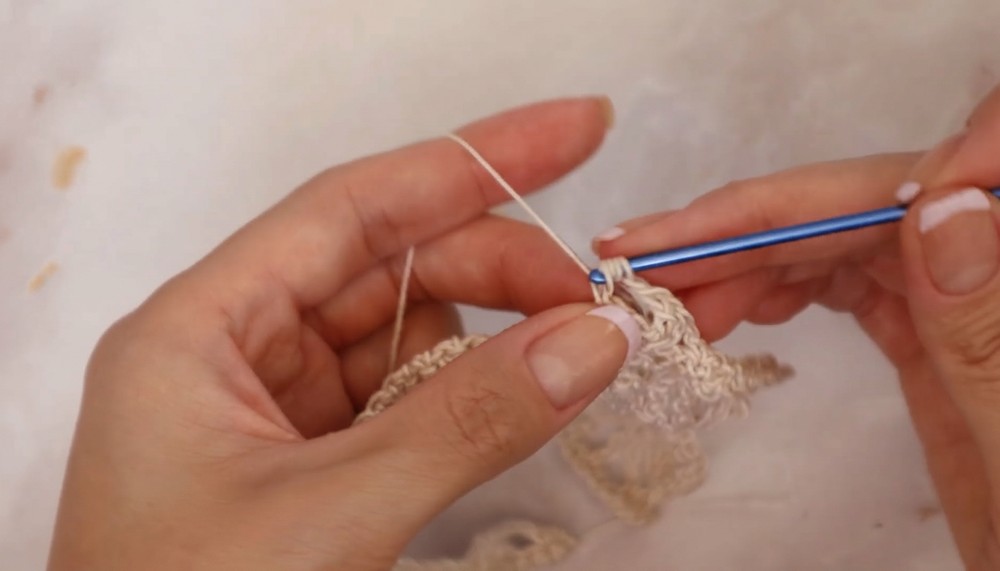
4 & 5Row:
- Start each row with a chain 1 and turn your work.
- SC into every available stitch of the row. No skipped stitches or chain spaces.

Row 6:
- Chain 4, turn. Create 4 DTRs together, following the same method from Row 2, skipping only 1 chain between each. End without adding a chain between the last two DTRs.
7 to 9 Row:
- Repeat previous instructions, alternating between scalloped sections and clean rows of SCs.
Continue Repeating Rows 2–9 Until Desired Length is Achieved:
- Stop crocheting when the scalloped body panel finishes just below the armpit.
- Suggested length for small/medium sizes: 5.75–6 inches (scallop-to-scallop). Always finish on Row 5.
3: Creating the Top Bust Panel
- Starting on Row 6 continuation, attach yarn 25 stitches from the edge.
- Repeat Rows 2–9 above the bust area to achieve coverage.
- Stop at your desired length or 2.5 inches above scallop edge for Size Small.

4: Back Panel Creation
- Repeat the scalloped body section from Step 2 to form the back panel.
- Ensure measurements align with the front panel.
Step 5: Joining Front and Back Panels
- Turn pieces right sides together (scallop sides inward).
- Seam the edges using single crochet:
- Place 5 SCs where the base scallops meet.
- Chain 4, single crochet into the center of each scallop peak.
- Repeat for each scallop along the panel.
6: Crochet Straps
Attaching Straps:
- Attach yarn at the corner edge of the top front panel.
- Chain 75 chains (or desired length; ~11.5 inches for Size Small).
- Slip stitch the strap onto the marked back panel position (1.5 scallops in from the edge).
- Single crochet along the chain for stability.

Repeat for Opposite Strap: Ensure symmetry in strap placement.
Final Touches
- Weave in all loose ends securely using a tapestry needle.
- Steam block the bralette to enhance lace texture and ensure smooth scalloped edges.
Tips for Success
- Relax your tension to preserve the bralette’s airy design.
- Use stitch markers for symmetrical alignment of straps and panels.
- Customize colors and yarn texture for unique variations.
Conclusion and Remarks
Congratulations! You’ve crocheted your own top, a perfect handmade addition to your wardrobe. This delicate crochet piece is versatile, lightweight, and stylish, ideal for summer outings, layering, or gifting. With its blend of elegance and functionality, this project showcases the beauty of handmade crochets. Remember to experiment with colors, embellishments, and sizes to make it your own. Wear it with pride and enjoy the compliments!
Pro Tip: Pair your bralette with minimalist jewelry, like dainty gold chains, to keep the focus on your crocheted masterpiece.