How to Wonderful Crochet Hat Pattern Perfect for Winter
Warm up your look this season with a free crochet hat pattern featuring customizable sizes and simple steps to create trendy accessories.
There’s something so rewarding about crocheting a cozy, stylish hat with your own hands, especially when it’s as simple and fun as this one. A free crochet hat pattern offers more than just a design to follow; it’s a way to express creativity, warmth, and care. This versatile pattern caters to all skill levels, making it ideal for beginners while still engaging for seasoned crocheters. Whether you’re looking to upgrade your winter wardrobe, make thoughtful gifts for friends and family, or even stock up your small business with beautiful handmade items, this pattern ticks every box.
Learn How to Crochet a Hat Pattern Without Any Difficulty
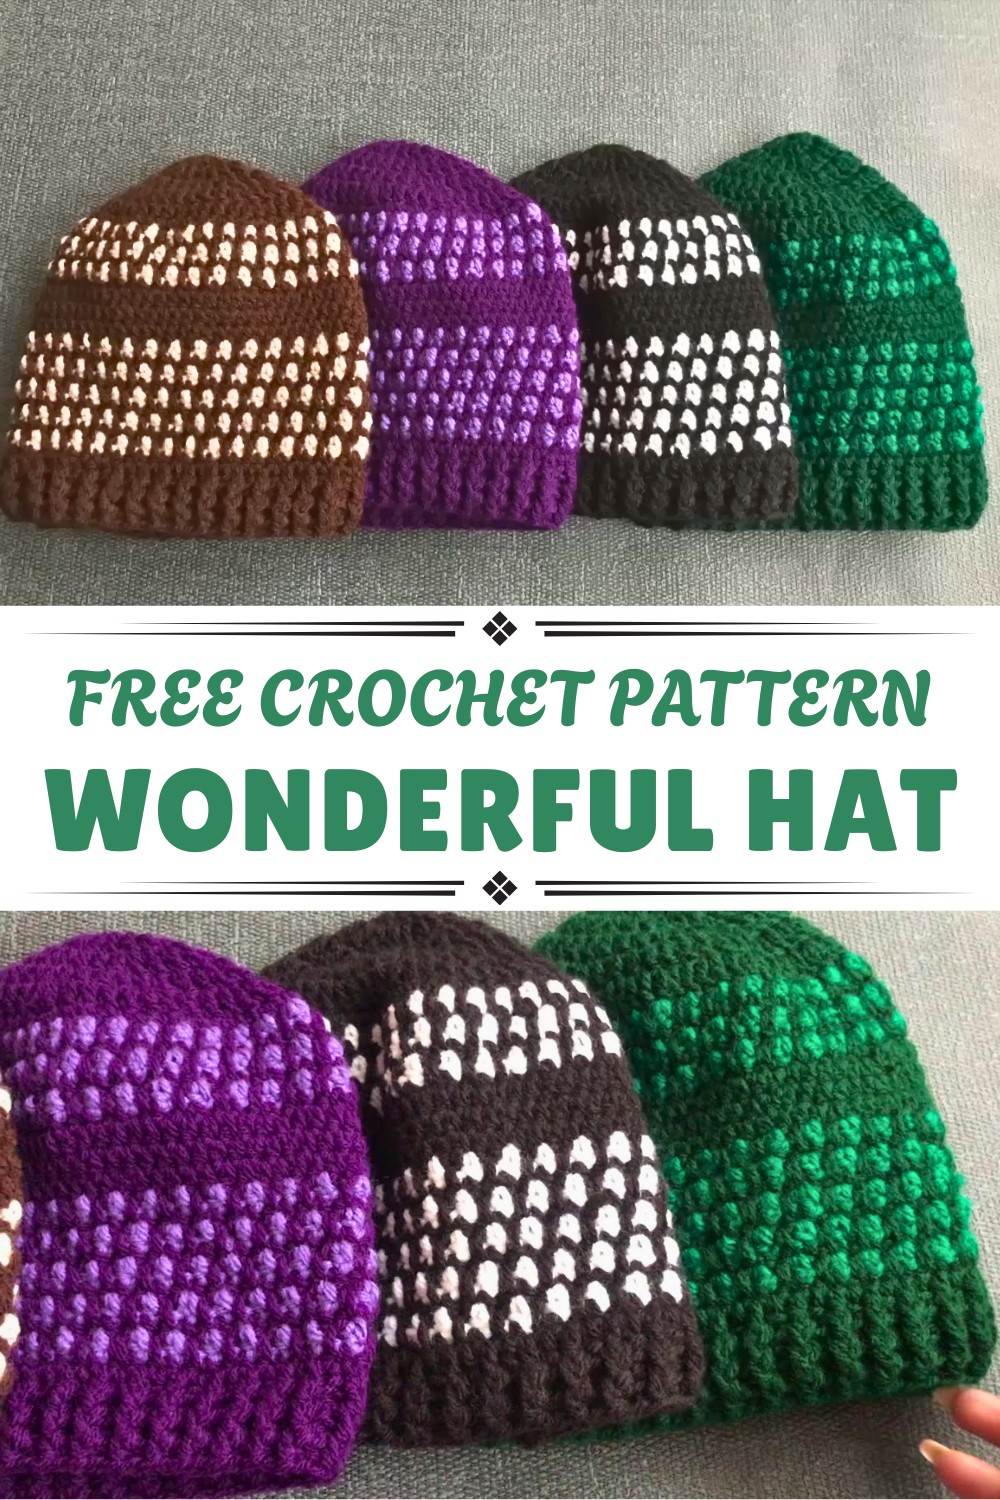
The pattern can be customized to fit all sizes, so it’s perfect for anyone, from kids to adults. With just a few basic materials like yarn and a hook, you’ll be able to work up a neat and functional hat in your favorite colors. The benefits are countless: keep warm during chilly weather, complete outfits with a trendy accessory, or enjoy the therapeutic nature of crocheting itself.
Plus, the pattern allows for endless creativity in terms of color combinations and textures, giving every hat a fresh, unique look. It’s a practical way to channel both style and comfort into something truly personal.

Category:
- Skill Level: Beginner to Intermediate
- Sizes: Small, Medium, Large
Special Features
- Can be made in three sizes (S, M, L) with only slight modifications.
- Easy-to-follow repeat pattern for creating a two-tone design with border details.
- Uses a magic circle method for seamless start.
- Versatile ribbed edging for a snug, professional finish.
- Perfect for gifting, selling, or crocheting for loved ones.
Materials Required
- Yarn: Double knitting yarn (~100 grams total; ~50g main color and ~50g secondary color).
- Hook Size: 4 mm crochet hook (recommended for DK yarn).
- Tapestry/Yarn Needle: To weave in ends.
- Scissors: For cutting yarn after completing rounds.
Detailed Step-by-Step Pattern
Step 1: Starting the Magic Ring
- Begin with a Magic Ring.
- Chain 3 (counts as the first double crochet).
- Add 11 more double crochets (DC) inside the magic ring. You should now have a total of 12 DC.
- Join the last stitch to the third chain of the starting chain 3 using a slip stitch (SS).

2: Rounds 2 to 5 (Increasing Rounds)
- Round 2:
- Chain 3.
- Work 2 DCs in each stitch from the previous round (increasing the stitch count from 12 to 24 DC).
- Join with a slip stitch.
- Round 3:
- Chain 3.
- Alternate between 1 DC in the first stitch and 2 DC in the next stitch (increasing the stitch count to 36 DC by the end of the round).
- Join with a slip stitch.
- Round 4:
- Chain 3.
- Alternate between 2 single DCs followed by 2 DCs in the next stitch (increasing to 48 DC).
- Join with a slip stitch.
- Round 5 Adjustments for Sizes:
- For small size: use half double crochet (HDC) instead of DC, keeping the stitch count unchanged (60 stitches).
- For medium and large sizes: use double crochet (DC), maintaining 60 stitches.
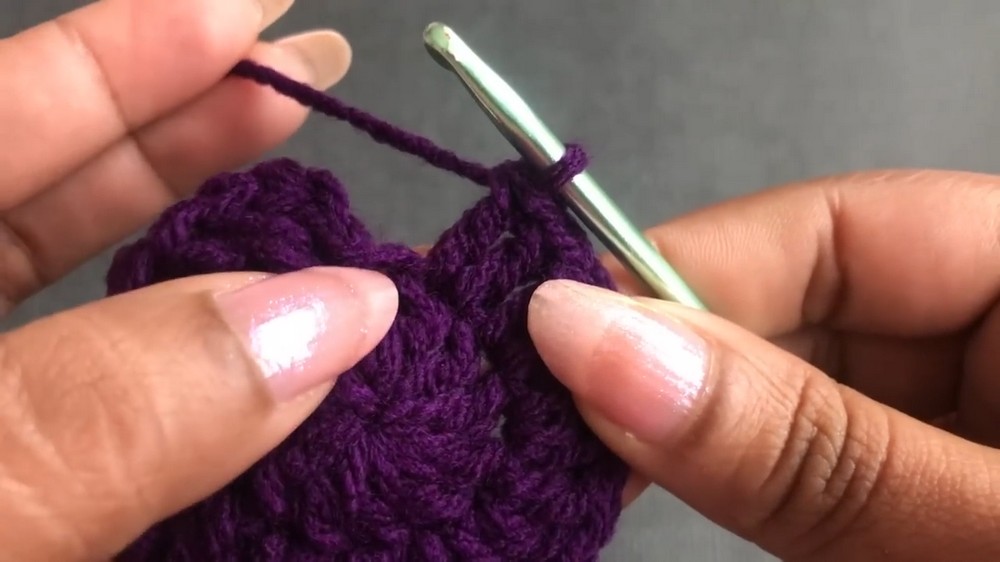

3: Additional Rounds for Size Adjustments
- Small Size: Switch to HDC from round 5 forward and reduce 2 stitches for Round 6 (i.e., 88 stitches instead of 90).
- Medium Size: Use single crochet (SC) for Round 6 with no change in stitch count (90 stitches).
- Large Size: Use DC for Round 6 and increase by 2 stitches (total 92 stitches).
4: Adding the Pattern Design (Rounds 7–12)
- Round 7:
- Change to the secondary color (e.g., light purple).
- Chain 3, skip the first stitch, and work 1 half double crochet (HDC) in the next stitch, followed by chain 1, skip 1 stitch, HDC in the next stitch. Repeat till the round’s end.
- Join with a slip stitch.
- Round 8 (Switch to Main Color):
- Work HDC in every stitch and SC in chain spaces from the row below.
- Rounds 9–12: Repeat the pattern alternating between main and secondary colors in 3 or 5 rounds, depending on your size preference.


5: Creating the Border
- Round 13–16: Add a ribbed border.
- Start with chain 2.
- Work front post double crochet (FPDC) and back post double crochet (BPDC) alternately around the hat.
- For the last round, finish with half double crochet (HDC) to secure the ribbing.


Measurements
- Small Hat: Height = ~9.5 inches | Circumference = ~18 inches
- Medium Hat: Height = ~10 inches | Circumference = ~20 inches
- Large Hat: Height = ~11 inches | Circumference = ~22 inches
Tutor’s Suggestions
- Use contrasting colors for a bolder pattern.
- If making the pattern too snug/tight, adjust the hook size to 4.5 mm.
- Weaving in the ends with care ensures durability and a neat finish.
Uses
- Cozy winter headwear for the entire family.
- A thoughtful handmade gift for loved ones.
- Perfect for crochet sales due to its stylish yet simple design.
Pro Tip
Before starting, test your yarn tension by making a sample swatch. Consistent tension ensures that the fit matches the intended size.
Conclusion
This crochet hat pattern is a versatile, beginner-friendly project with a stylish two-tone design and customizable sizes. The step-by-step process and ribbed edging crochet a professional finish that’s perfect for gifting or personal use.