Adorable FREE Jigglypuff Crochet Pattern for Pokémon Lovers
Add a playful touch to your crochet collection with this FREE Jigglypuff Amigurumi Pattern – perfect for Pokémon fans and creative gift ideas!
Pokémon fans and crochet enthusiasts love adding character-inspired items to their collections, and Jigglypuff is no exception. This free crochet amigurumi pattern lets you design a stylish yet functional plush toy that serves more than just aesthetic purposes. Whether you’re looking to personalize your space or create thoughtful gifts for loved ones, a handmade Jigglypuff can brighten any setting. Its compact size ensures it’s not only a decorative piece but also a fun companion for little ones and collectors alike.
How to Crochet Jigglypuff Plush – FREE Amigurumi Pattern

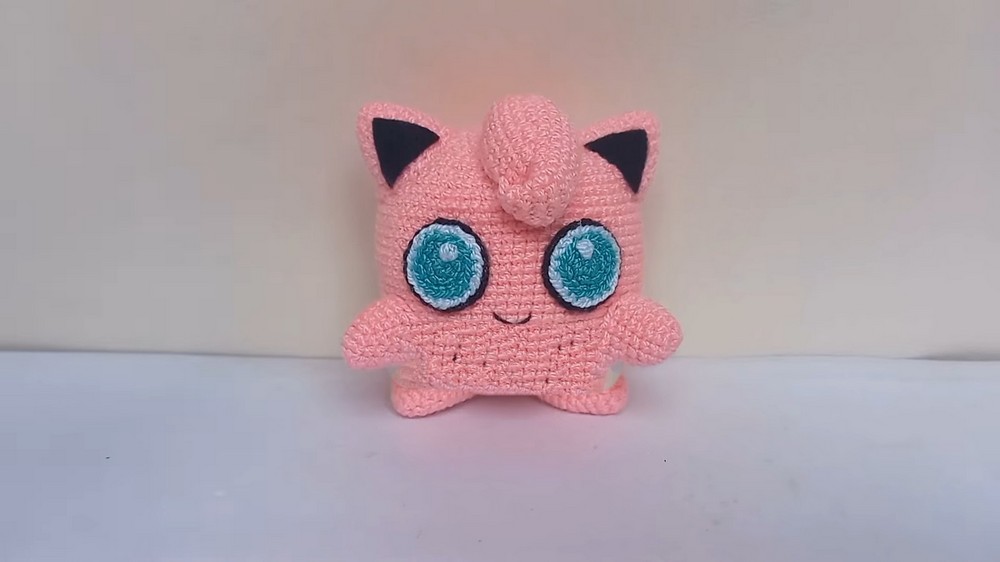
In this tutorial, you’ll learn how to crochet an adorable amigurumi Pokémon: Jigglypuff (Giglipop). The finished piece measures approximately 8 cm, depending on the type of yarn and crochet tension used. This project is ideal for fans of Pokémon or crochet enthusiasts looking to try out a smaller amigurumi character. The video includes step-by-step instructions for creating the various parts and assembling them into a polished Jigglypuff doll.
Special Features
- Compact Size: By using acrylic yarn and a 1.6mm thread, this Jigglypuff remains small and detailed.
- Customizable: Choice of yarn thickness will dictate the overall size. Using Granny or Symphony wool will produce a larger version.
- Attention to Detail: Felt accents and embroidered facial details give the character its personality.
- All-in-One Piece Structure: For some parts (e.g., head and body), a seamless design approach is used.
Level of Difficulty
Beginner to Intermediate
This project is suitable for those who are familiar with basic crochet stitches, such as:
- Single Crochet
- Increase
- Decrease
- Magic Ring Technique
The detailed video tutorial provides clear explanations, making it approachable for newer crocheters while still engaging enough for intermediate-level crafters.
Tutor’s Suggestions
- Consistency in Yarn Thickness: Stick with consistent yarn thickness (e.g., 1.6mm thread) if you want to replicate the exact size described.
- Tension Matters: Slight alterations in crochet tension may affect the measurements, so adjust accordingly.
- Comfort Tools: Use pliers to help when joining seams for hard-to-reach areas.
- Personal Touch: Experiment with different colors (for Jigglypuff’s eyes or body) for variation.
Materials Required
Yarn
- Light Pink
- Turquoise Green
- Black
- White
Tools
- Crochet Hook (Size 2 recommended)
- Thick Needle
- Thin Needle
- Pins
- Scissors
- Pliers
- Liquid Silicone Glue
- Black Felt (small quantity)
- Marker
Additional Supplies
- Stuffing for body parts
- Plastic (for legs’ base)
Step-by-Step Instructions
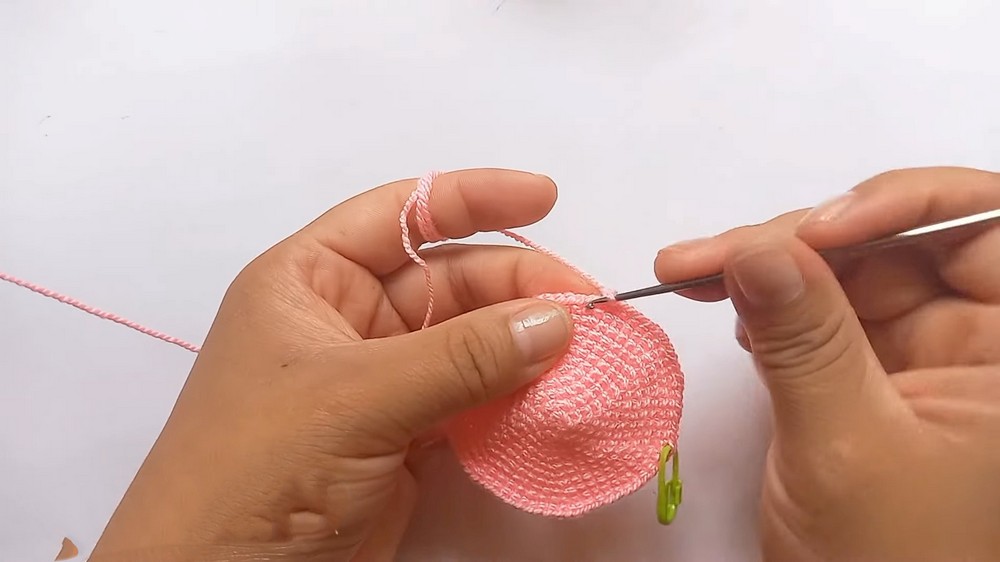
1. Head and Body
- Start with a Magic Ring: Create a magic ring of 6 single crochets.
- Increase and Build: Gradually increase by adding crochet stitches each round:
- Round 2: Double each stitch (12 single crochets).
- Round 3: Single crochet + increase repeatedly (18 stitches).
- Repeat successive rounds with increasing numbers until reaching round 12 (72 stitches total).
- Shape: Crochet evenly across rounds 13–28 (16 rounds) to maintain the body’s cylinder shape.
- Decrease: Gradually reduce stitches to close the body (rounds 29–39).
- Stuff: Add stuffing before fully closing to maintain form.
2. Ears
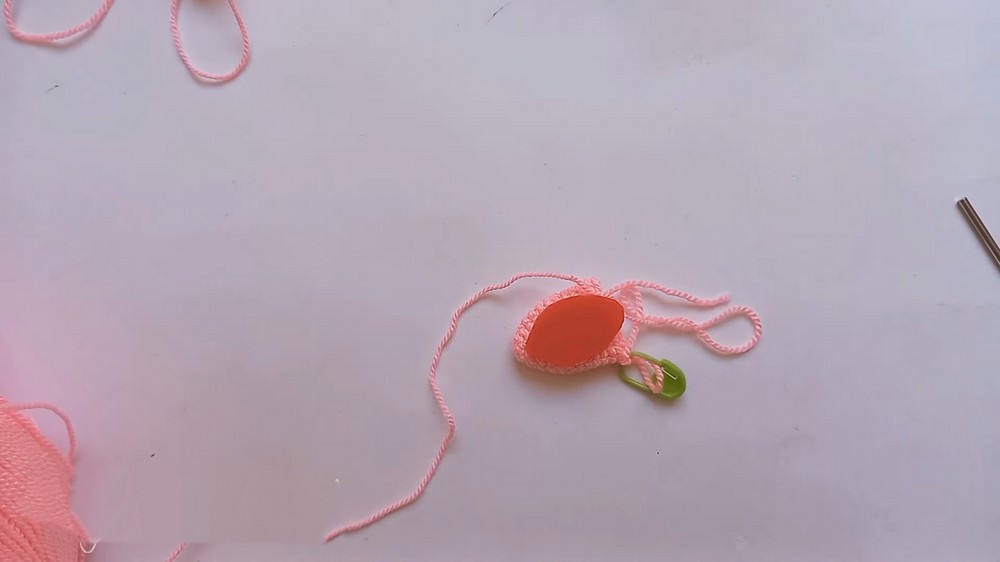
- Magic Ring with 6 Single Crochets.
- Increase: Following the same increasing technique (Rounds 2–9), structure the ear until it reaches 27 single crochets.
- Make Two Identical Pieces.
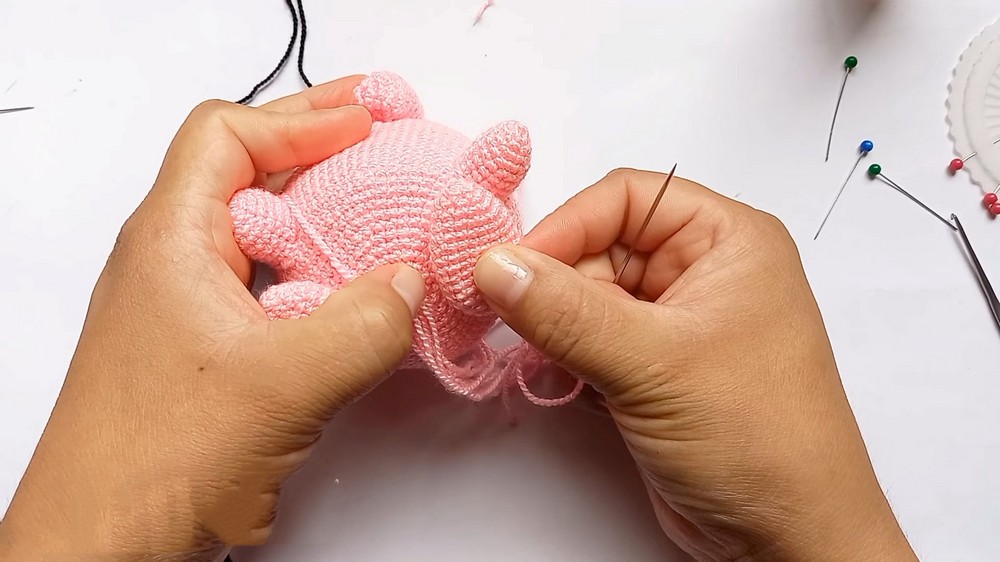
- Shape and Attach: Position ears symmetrically; sew from round 5 vertically across 9 rounds, leaving a gap of 10 points horizontally.
3. Hair
- Magic Ring with 6 Single Crochets.
- Increase Gradually: Build the structure; include spiral rows and decreases to form a rounded hair tuft.
- Sew: Position hair on top of the head starting from round 4.
- Shape: Secure with stitches and adjust the hair tuft before completing the assembly.
4. Arms
- Magic Ring with 6 Single Crochets.
- Gradual Increase and Steady Rows: Build up to 15 single crochets, and crochet evenly across for 4 rounds.
- Sew Arms: Attach below the ears (6 rounds horizontally and between points vertically).
5. Legs
- Magic Ring with 6 Single Crochets.
- Increase and Structure: Gradually build up the base (up to round 5 with 18 stitches).
- Insert Plastic: Cut out hard plastic and place it inside the legs to keep them flat.
- Stuff and Close: Reduce stitches (rounds 13–14) to form the final shape, ensuring the flat base is intact.

6. Eyes and Mouth
- Eyes: Use turquoise green yarn to crochet in a flat magic ring style. Add white yarn accents and glue felt details for the pupils.
- Mouth: Embroider using black thread with a double strand method for definition. Shape across three points.
7. Assembly
- Join Pieces: Sew all body parts securely, starting with the ears, followed by hair, arms, and legs.
- Final Touch: Add felt triangles inside the ears and glue them with precision.
Uses
- Decor: Makes a fantastic display piece for Pokémon enthusiasts.
- Gift: Perfect as a handmade gift for fans.
- Keychains or Accessories: Slightly alter the size for portable uses, such as bag charms.
- Toy: Functional as a keepsake for children (safe with non-toxic glue and stuffing).
Conclusion
This tutorial is a fantastic opportunity to hone your crochet skills while creating a delightful Pokémon character. With the right materials, attention to detail, and patience, you’ll have your own Jigglypuff amigurumi ready to impress friends and family. By following the step-by-step instructions and taking advantage of tutor tips, even beginners can complete this fun and rewarding project.