Crochet Pooh In The Bathtub Pattern That Everyone Will Adore
Learn the Easy Crochet Pooh In The Bathtub Pattern for Unique Creations
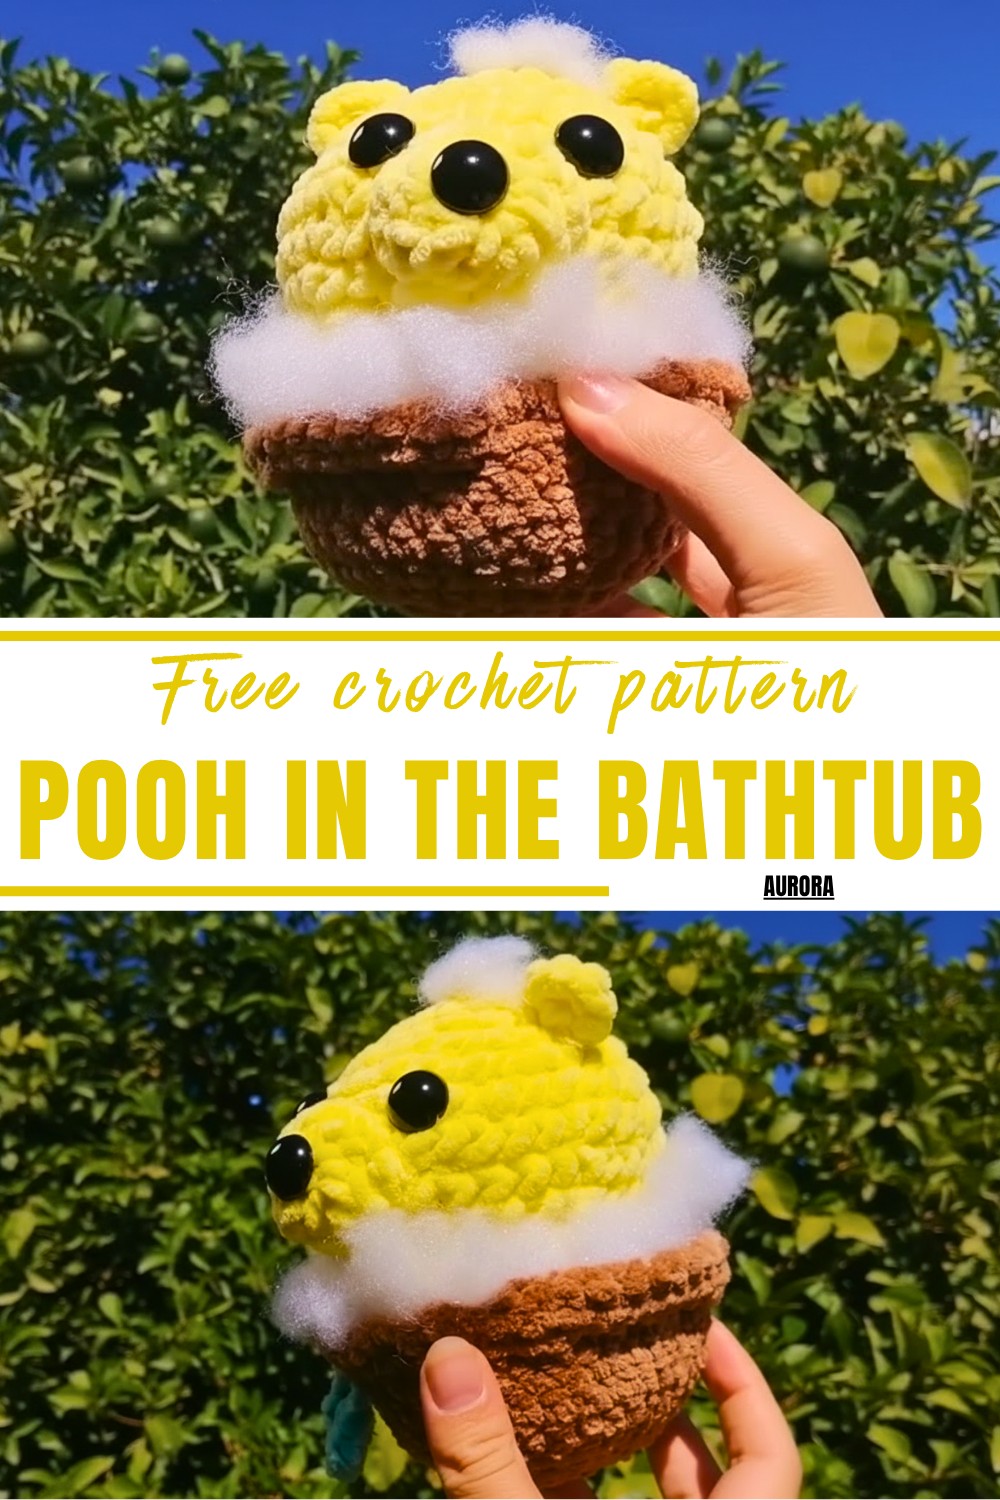
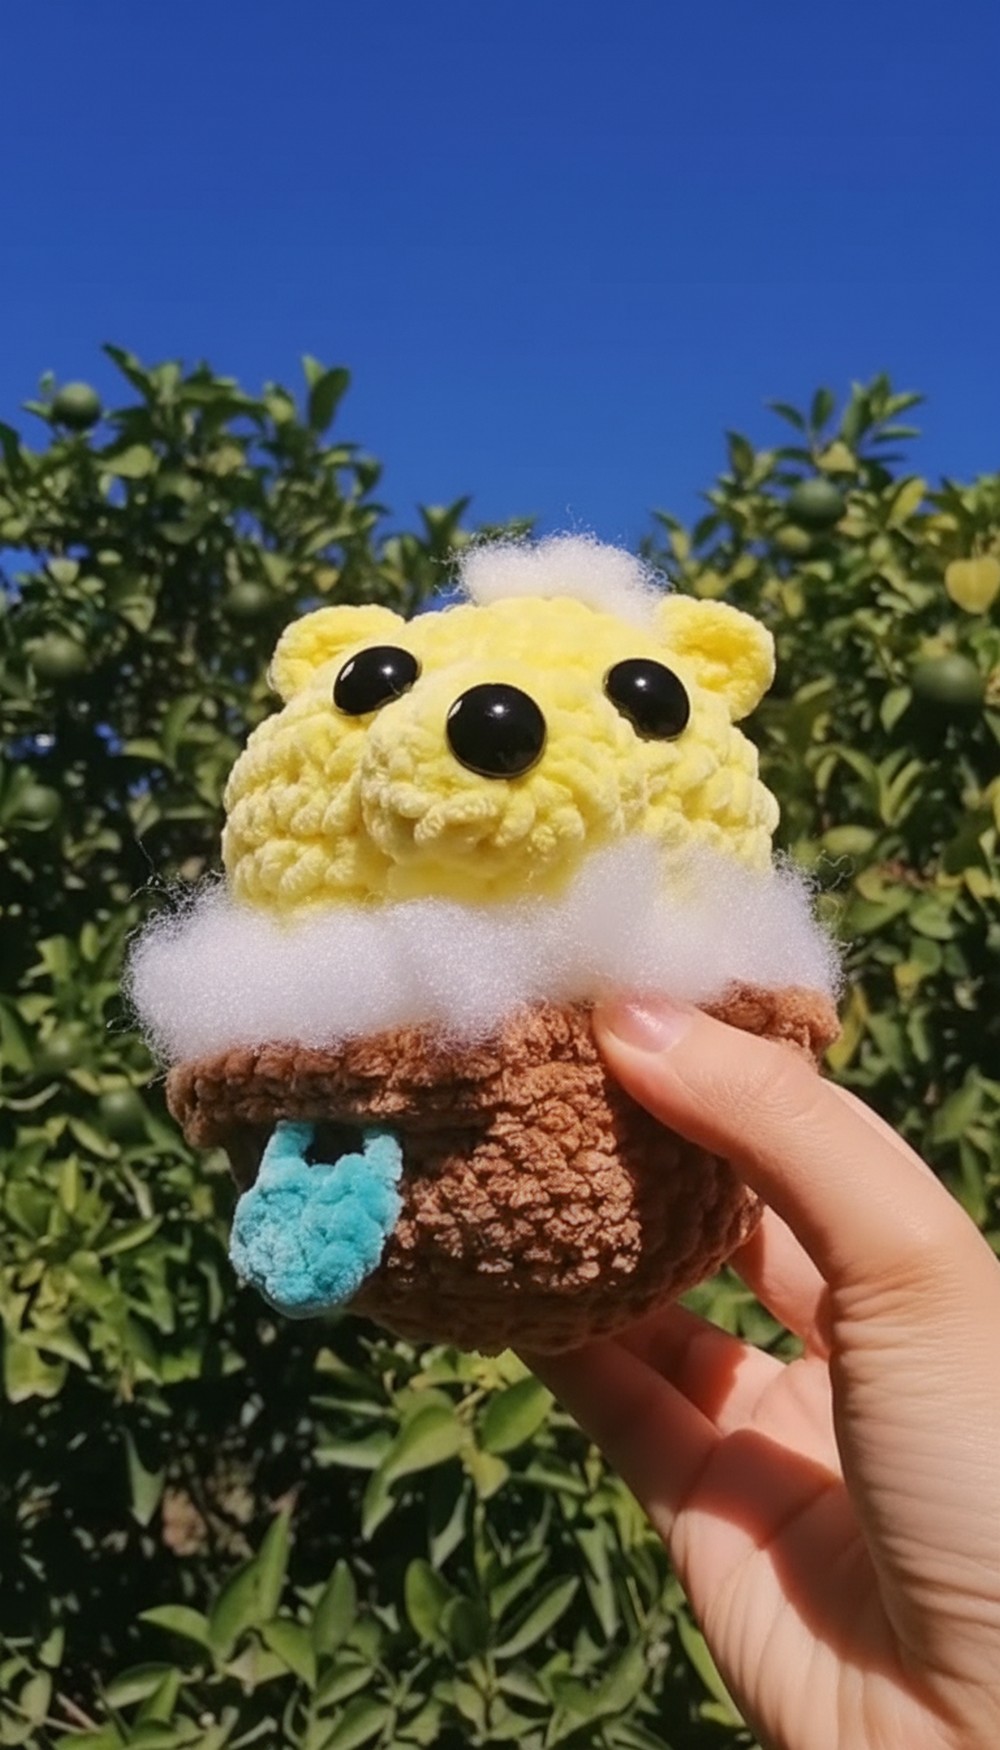
Materials Required
- Yarn: Three colors (White, Yellow, Red)
- Hook: 3.5 mm crochet hook
- Scissors
- Needle
- Bobby Pins
- Stuffing Material
Step-by-Step Crochet Pattern
Part 1: Bathtub Base
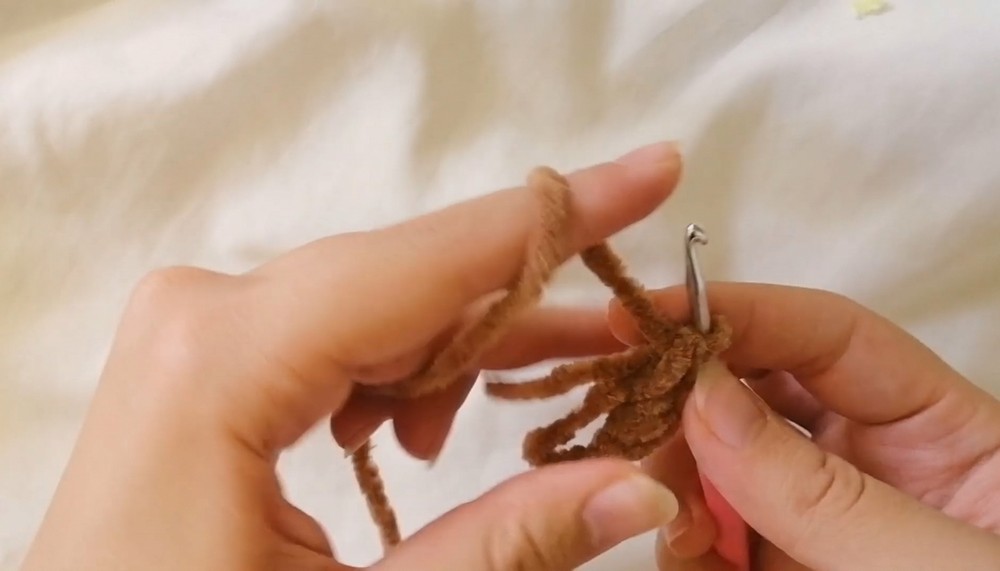
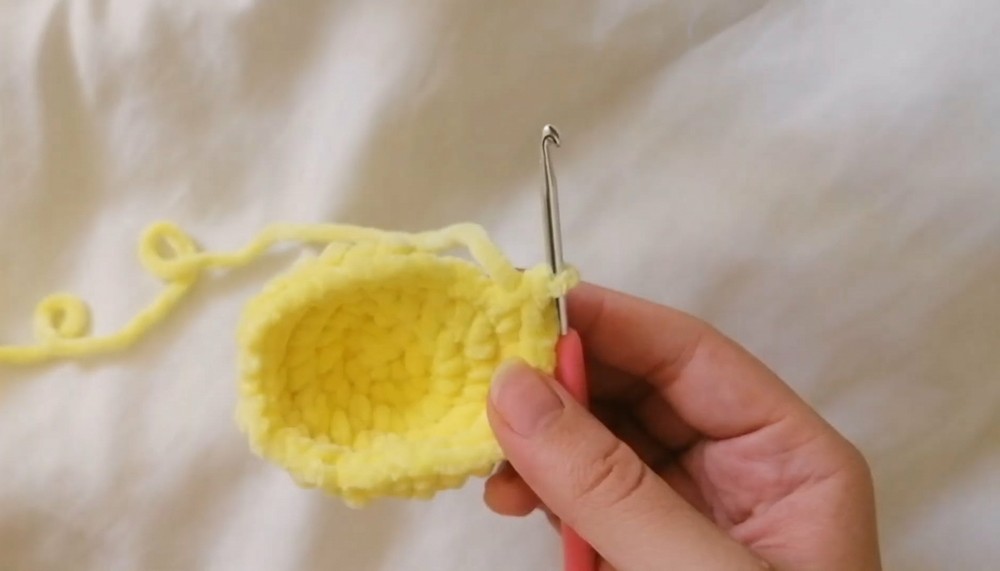
- Magic Ring: Begin by creating a magic ring and crocheting 12 single crochets into it. Pull the tail tightly to close the loop.
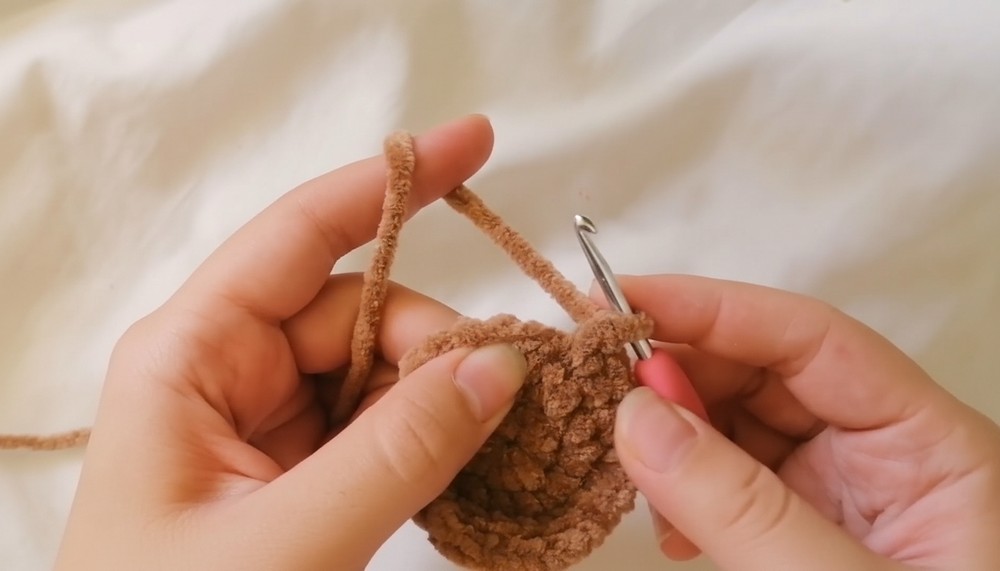
- Round 2: Crochet one single crochet followed by an increase (two single crochets in the same stitch) for a total of 6 repeats. Mark your stitches to track the row’s start.
- Round 3: Work two single crochets followed by an increase for 6 repeats.
- Round 4: Crochet three single crochets followed by an increase for 6 repeats.
- Round 5: Work four single crochets followed by an increase for 6 repeats.
- Round 6: Crochet five single crochets followed by an increase for 6 repeats.
- Rounds 7-10: Work 42 single crochets around without any increases, ensuring smooth and consistent stitching.
- Detail Work: On Round 10, use only front loops to crochet 30 single crochets. This technique provides a unique textured edge for the bathtub base.
2: Bear (Pooh)
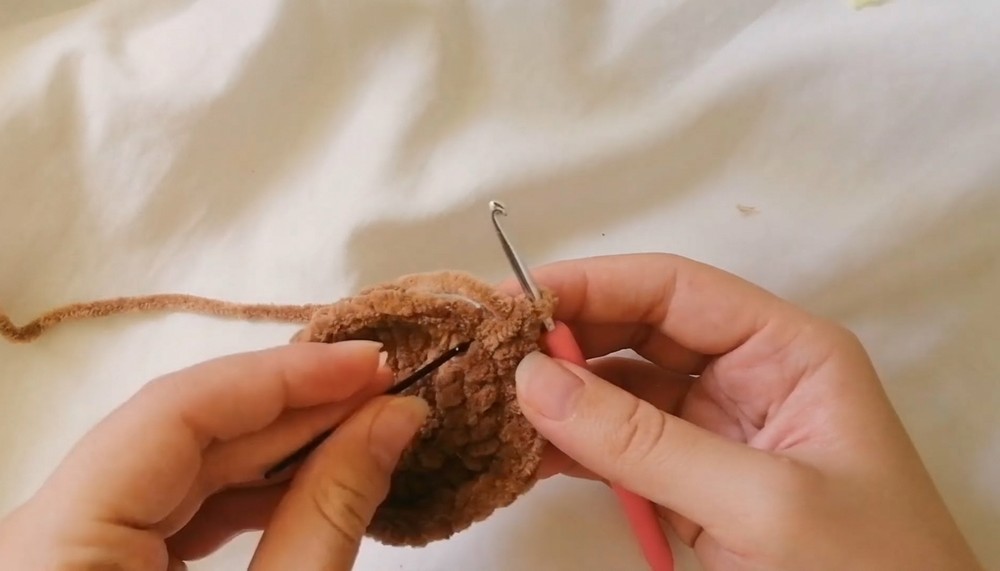
- Magic Ring: Begin another magic ring and crochet 6 single crochets into it. Pull the tail tightly to close the loop.
- Round 1: Work 6 increases (two single crochets in each stitch) for a total of 12 stitches.
- Round 2: Crochet one single crochet followed by an increase for 6 repeats.
- Round 3: Work two single crochets followed by an increase for 6 repeats.
- Round 4: Crochet three single crochets followed by an increase for 6 repeats.
- Round 5: Work four single crochets followed by an increase for 6 repeats.
- Round 6: Crochet five single crochets followed by an increase for 6 repeats.
- Round 7: Work 42 single crochets around without increases.
- Round 8: Crochet five single crochets followed by a decrease (front loops only) for 6 repeats.
- Round 9: Work four single crochets followed by a decrease for 6 repeats.
- Round 10: Crochet three single crochets followed by an increase for 6 repeats.
- Stuffing: Once the head is complete, add stuffing material to shape it. Attach safety eyes to the face and securely position them in place.
3: Muzzle and Ears
- Muzzle:
- Make a magic ring and crochet 6 single crochets into it.
- Work 6 increases.
- For the next round, crochet one single crochet followed by an increase for 6 repeats.
- Leave a long tail for sewing and attach the muzzle to Pooh’s face.
- Ears:
- Create a magic ring and crochet 6 single crochets into it.
- Pull the tail tightly to close the loop and leave a long tail for sewing.
- Make two identical ears and sew them symmetrically onto Pooh’s head.
4: Foam Circles and Loofah
- Foam Circles:
- Crochet small and large circles in various sizes using white yarn.
- Glue these circles onto the bathtub to mimic soap bubbles for a realistic touch.
- Loofah:
- Make a magic ring and crochet 6 single crochets into it.
- Tie a knot to secure the loofah and trim any excess yarn.
Assembly Suggestions
- Sew Pooh’s muzzle and ears first to ensure facial symmetry.
- Glue foam circles evenly for a balanced bubbly look.
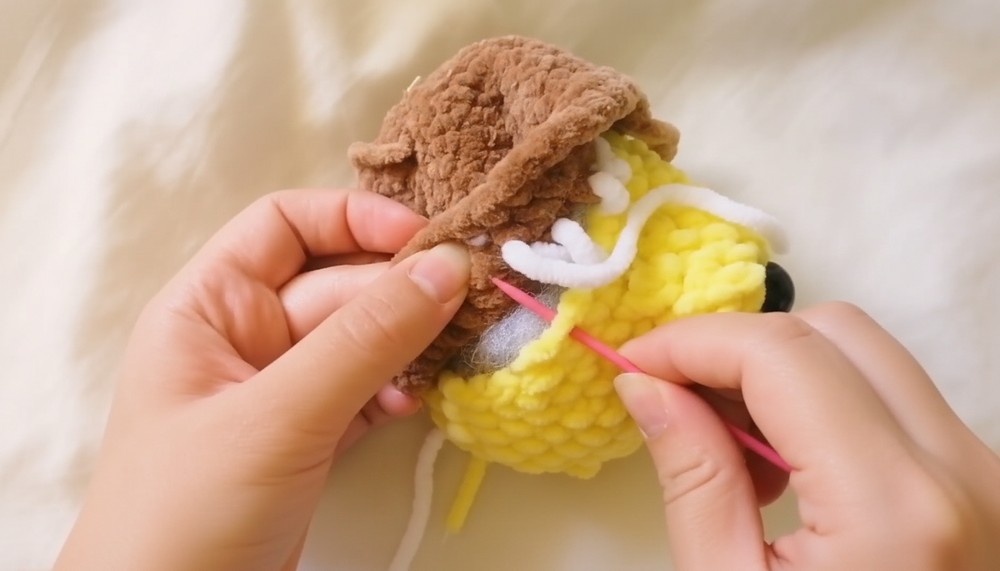
- Position Pooh’s body in the bathtub carefully, stuffing appropriately for stability.
Difficulty Level
- Intermediate: Ideal for those comfortable with magic rings, increases, decreases, and detailed assembly work. Beginners can attempt with patience and attention.
Uses
- Decoration: Perfect for bathroom shelves or as part of themed displays.
- Gifting: An unforgettable handmade gift for friends, family, or anyone who loves Pooh!
- Practice: A fun way to master amigurumi techniques while making something whimsical.
Tip by the Tutor
When crocheting decreases, work into the front loops only for cleaner edges and a more seamless finish. Use stitch markers to track progress and avoid confusion during rounds.
Conclusion
Crocheting Pooh in the Bathtub is a rewarding experience that results in an adorable and whimsical creation. From the intricate bear pattern to the bubbly foam details, every step adds a unique charm to this project. Whether used as décor or gifted to loved ones, this pattern is sure to bring smiles and joy.