How to Crochet Leaf Stitch Beanie Pattern to Upgrade Your Style
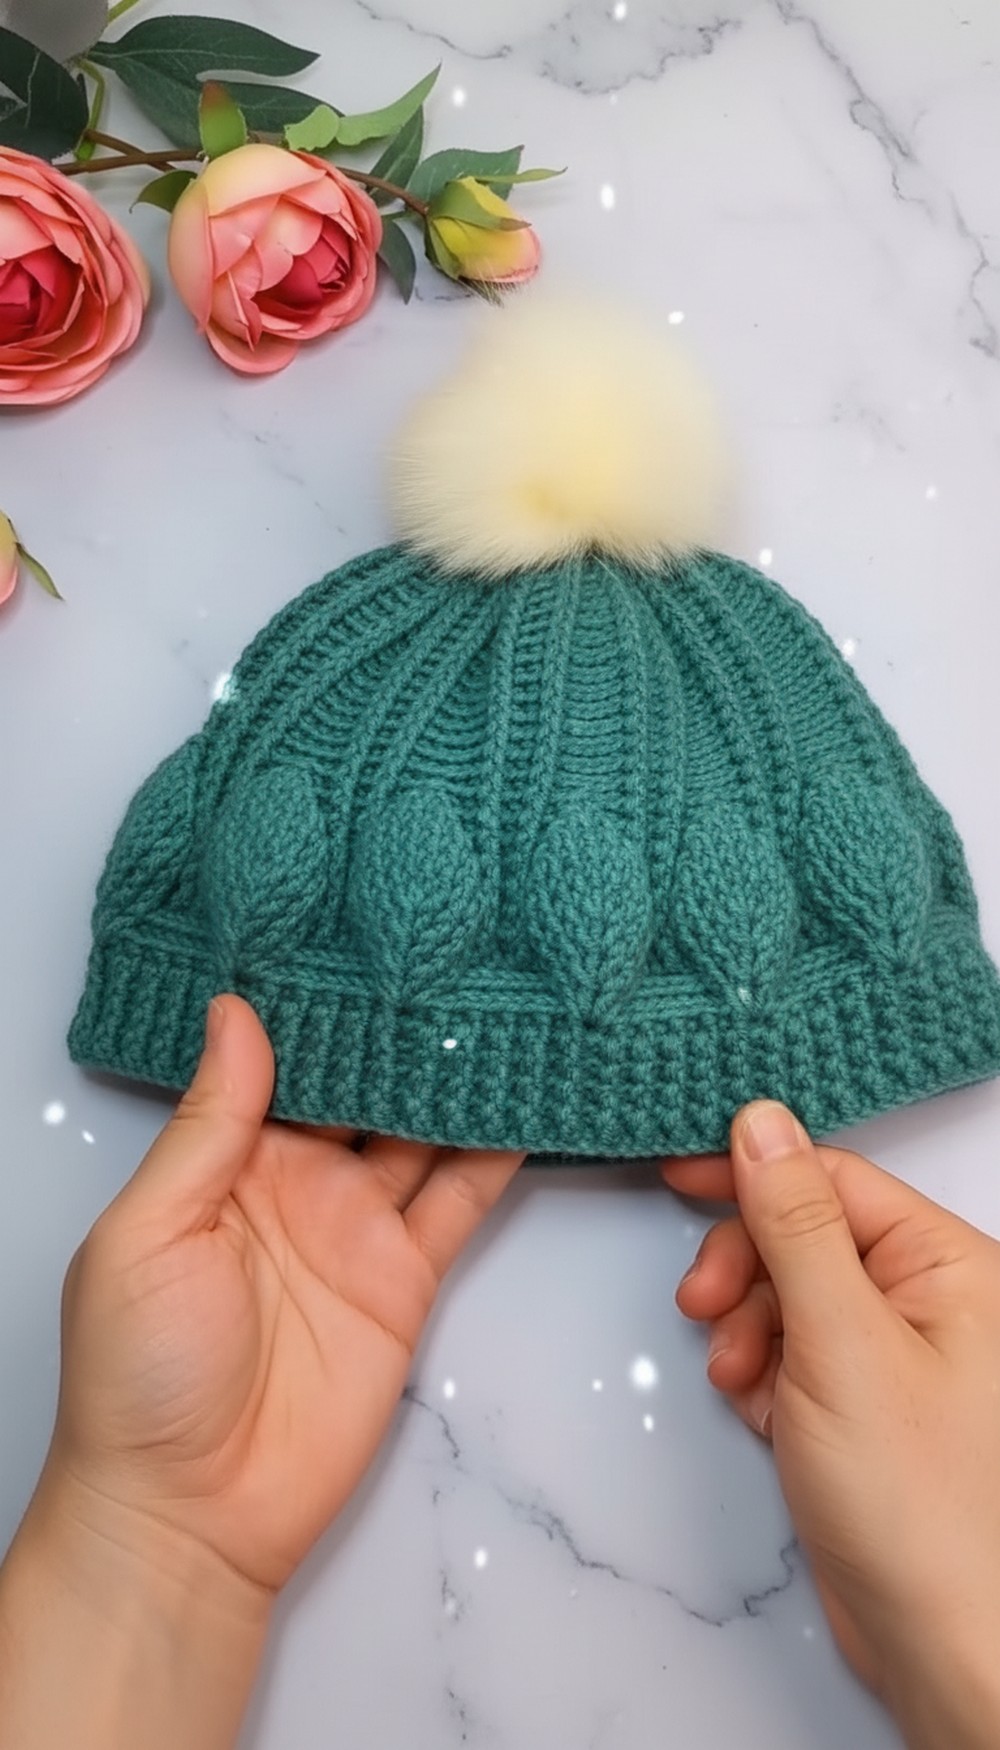
Warm up your winter style with this free Crochet Leaf Stitch Beanie Pattern that combines comfort and handmade elegance in every stitch.
A cozy, textured hat with a delicate leaf-like stitch pattern is the perfect way to combine warmth and style. This beanie pattern is a beautiful choice for chilly days, offering just the right balance of function and elegance. Its intricate details make it a standout accessory that pairs seamlessly with coats, scarves, or casual outfits, making it versatile for any occasion. Whether worn for practicality or a touch of flair, it always enhances your winter wardrobe.
Free and Easy Crochet Leaf Stitch Beanie Pattern to Try Now

This pattern provides more than just a finished item; it offers a relaxing and rewarding process for any crochet enthusiast. With thoughtfully crocheted steps and customizable sizing, it’s ideal for intermediate crocheters looking to refine their skills or for beginners eager to step into a slightly advanced project. The repetitive nature of the stitches offers a calm rhythm that brings relaxation and focus, stitch by stitch.
The finished pattern makes an excellent gift, spreading warmth and care to loved ones, or serves as a personal accessory that showcases your creative effort. Lightweight yet snug, it provides comfort and style for daily wear or special outings. This pattern seamlessly combines beauty and utility, turning your efforts into something truly special.
Special Features
- Leaf-Like Texture: A unique and beautiful stitch pattern that creates a lush, leafy pattern.
- Customizable Fit: You can adjust the starting chain to ensure the beanie fits perfectly.
- Easy-to-Follow Rounds: Clear repetition ensures simple tracking of progress.
- Universal Styling: Suitable for everyday wear or special occasions.
Level of Difficulty
Intermediate: Familiarity with basic crochet techniques like chaining, slip stitches, double crochets, front and back post double crochets, and stitch decreases is recommended.
Materials
- Yarn: Use medium-weight yarn for a cozy yet elegant texture.
- Crochet Hook: The size needed to achieve a comfortable stitch tension.
- Stitch Marker: Optional, but helpful for keeping track of rounds.
- Scissors
- Tapestry Needle: For sewing the hat closed and attaching embellishments like buttons.
- Button: Optional for decorative flair.
Step-by-Step Pattern
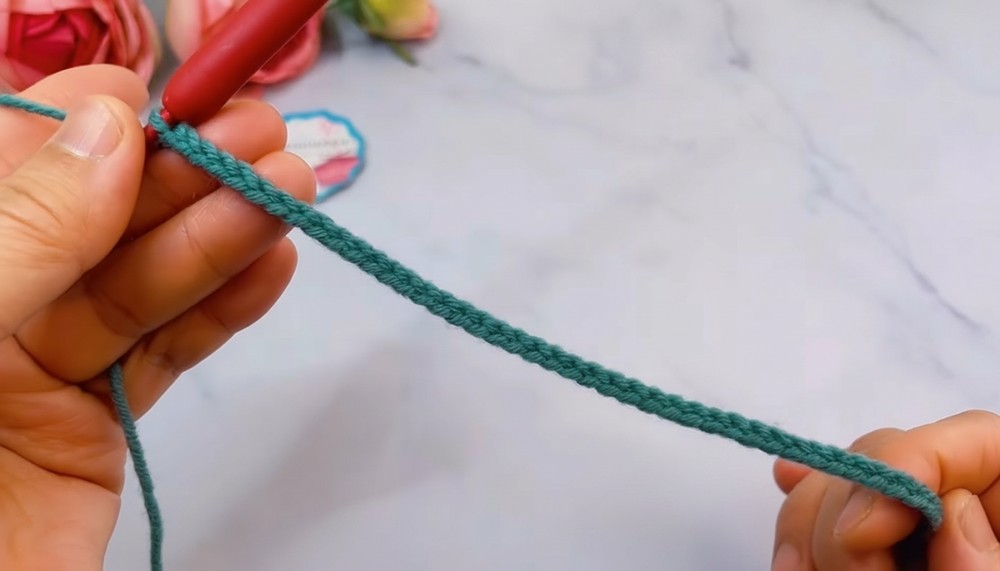
1. Foundation Chain
- Start with a slip knot.
- Chain 120 stitches or adjust to ensure the number of stitches is in multiples of 10 for the leaf stitch pattern.
- Slip stitch into the first chain to form a ring. Be careful not to twist the foundation chain.
2. Round 1 (Base Row):
- Turn the chain over to crochet into the back bumps (this gives a neat foundation).
- Chain 3 (counts as one double crochet). Place a stitch marker as needed to track the first stitch.
- Crochet 1 double crochet in each back bump around.
- Slip stitch into the first stitch to fasten off the round.
- Tip: Try it on to ensure the chain isn’t too loose or tight. Adjust starting stitches as needed.

3. Round 2 (Ribbing):
- Chain 2.
- Alternate 1 back post double crochet (BPDC) followed by 1 front post double crochet (FPDC) around.
- Repeat the pattern 59 more times to complete the round.
- Slip stitch into the first stitch to fasten off.
4. Rounds 3-5:
- Repeat Round 2 for three more rounds, following the exact ribbing pattern.
5. Round 6 (Leaf Stitch Formation Begins):
- Chain 2.
- BPDC in the first two stitches.
- Place 4 regular double crochets (DC) in the space between the third and fourth stitches.
- BPDC into the next stitch.
- Repeat this leaf stitch pattern 11 more times.

6. Round 7:
- Slip stitch to fasten off Round 6.
- Chain 2.
- BPDC into the first two stitches.
- FPDC into the next two stitches.
- Crochet 2 DC between two adjacent stitches for added texture.
- Repeat the sequence and finish the round.

7. Rounds 8-14:
- Gradually increase the number of FPDC stitches and double crochet intervals between leaf stitches, following the video demonstration:
- Round 8: FPDC increases to 3 stitches.
- Round 9: FPDC increases to 4 stitches.
- Make subtle adjustments in each round as per the instructions.

8. Leaf Stitch Refinement (Rounds 15-22):
- Continue forming leaves by maintaining the post stitch sequence and balance between BPDC, FPDC, and regular double crochets.
9. Begin Decreasing (Rounds 23-29):
- Round 23: Reduce the count of BPDC every two patterns.
- Round 24: Continue decreasing BPDC while maintaining leaf integrity with FPDC.
- Follow this gradual decrease method round-by-round.
10. Final Rounds (30-32):
- Round off the leaf design with smaller FPDC intervals and finish with single crochet stitches.
- By Round 32, make unfinished FPDC decreases to close the top of the beanie.
Closing the Beanie
- Leave a long tail after fastening off. Use a tapestry needle to sew the top of the beanie shut.
- Add embellishments like a button for an elegant touch if desired.

Tutor’s Suggestions
- For Beginners: Use stitch markers to keep track of rounds and patterns. This will prevent confusion, especially during decreases.
- Customization: Experiment with different yarn colors to achieve vibrant or neutral tones to match your wardrobe.
Uses
- A cozy accessory for cold weather.
- A handmade gift for friends and family.
- Adds a fashionable flair to outfits with its unique textured design.
Tip
Blocked your stitches consistently for neatness! Gently steam the completed beanie for a polished finish.
Conclusion
By using this pattern, you’ve crocheted a stunning Leaf Stitch Beanie that’s both functional and beautiful. Your creativity and dedication shine through in this project. If you enjoyed this, don’t forget to share this pattern with fellow crochet enthusiasts.