How To Crochet Baby Hat Pattern for All Sizes
Cover your baby in comfort with this free crochet baby hat pattern, offering simple steps for crocheting a cute and cozy winter essential.
Nothing warms a baby’s tiny head better than a thoughtfully homemade crochet hat. Designed to offer both comfort and cuteness, this baby hat pattern offers parents, caregivers, and enthusiasts the opportunity to crochet something truly special for their little ones. Lightweight yet cozy, this hat pattern provides excellent warmth during chilly days while being gentle against a baby’s delicate skin. Beginners will appreciate its straightforward steps, making it an enjoyable and accessible project for anyone interested in learning new skills.
Learn the Best Crochet Baby Hat Pattern for Gifts or Personal Use
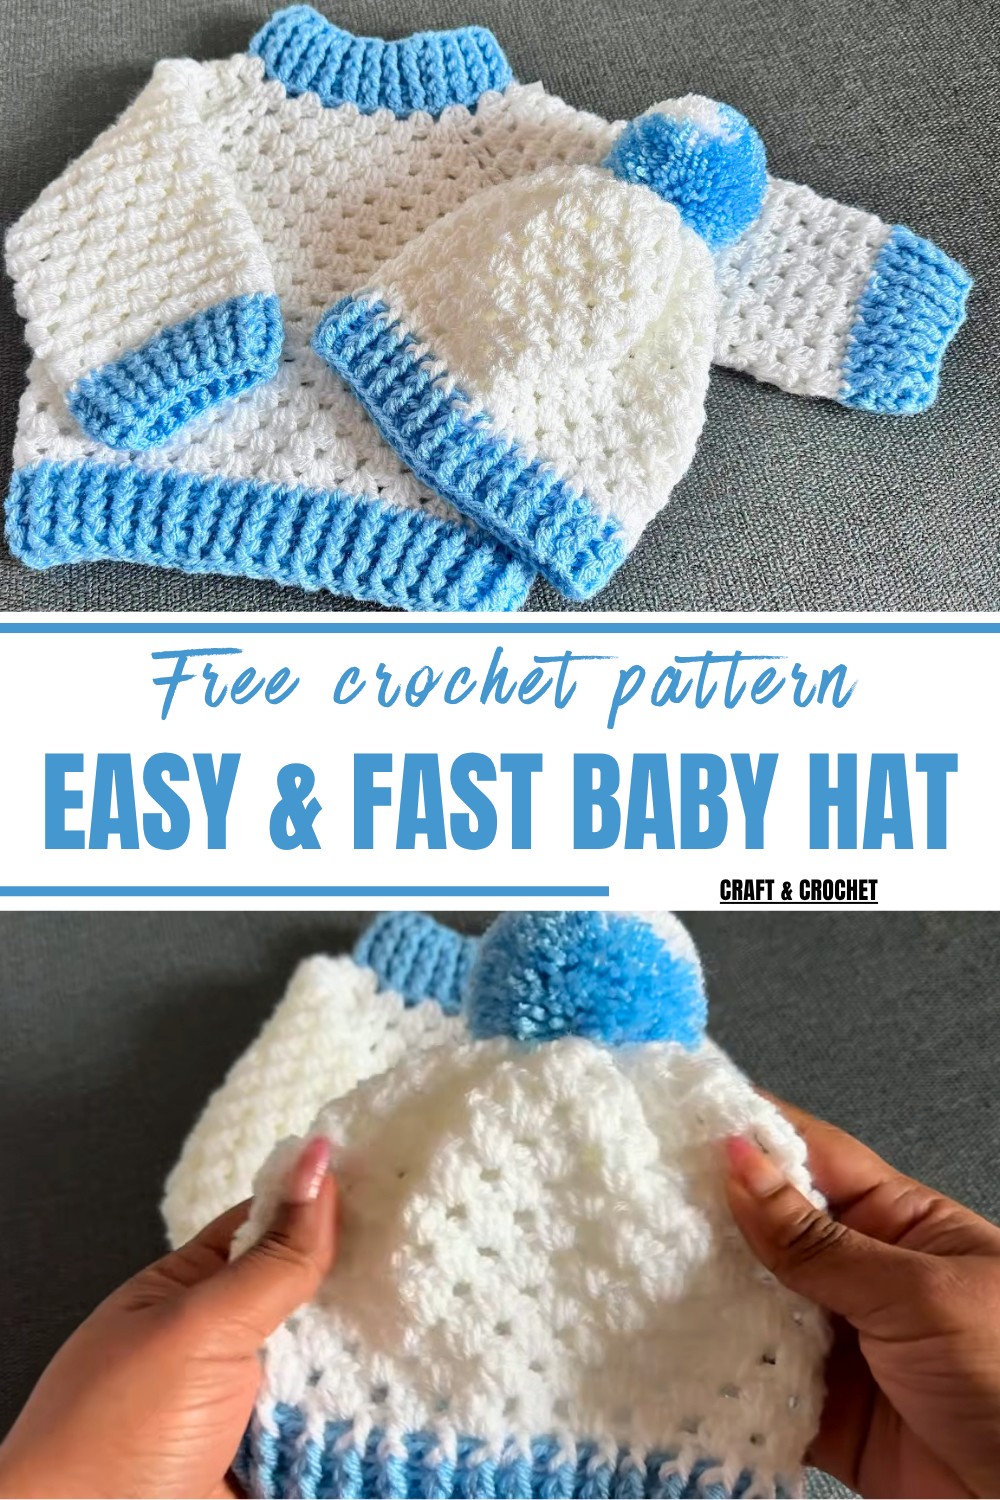
The pattern allows for easy customization, offering the chance to play with colors that suit individual preferences or coordinate with matching outfits. Whether soft pastels for a delicate look or vibrant shades for playful charm, you can personalize each hat for boys, girls, or gender-neutral themes. The sizing options are versatile, ranging from newborns to toddlers aged two years, ensuring the hat grows alongside the child.
Perfect as a heartfelt gift, baby shower present, or adding a handmade touch to a baby’s wardrobe, this crochet pattern offers more than practicality-it embodies care and thoughtfulness in every stitch. Its simplicity makes it a quick project, yet the result is undeniably special and sure to become a cherished keepsake.
Special Features
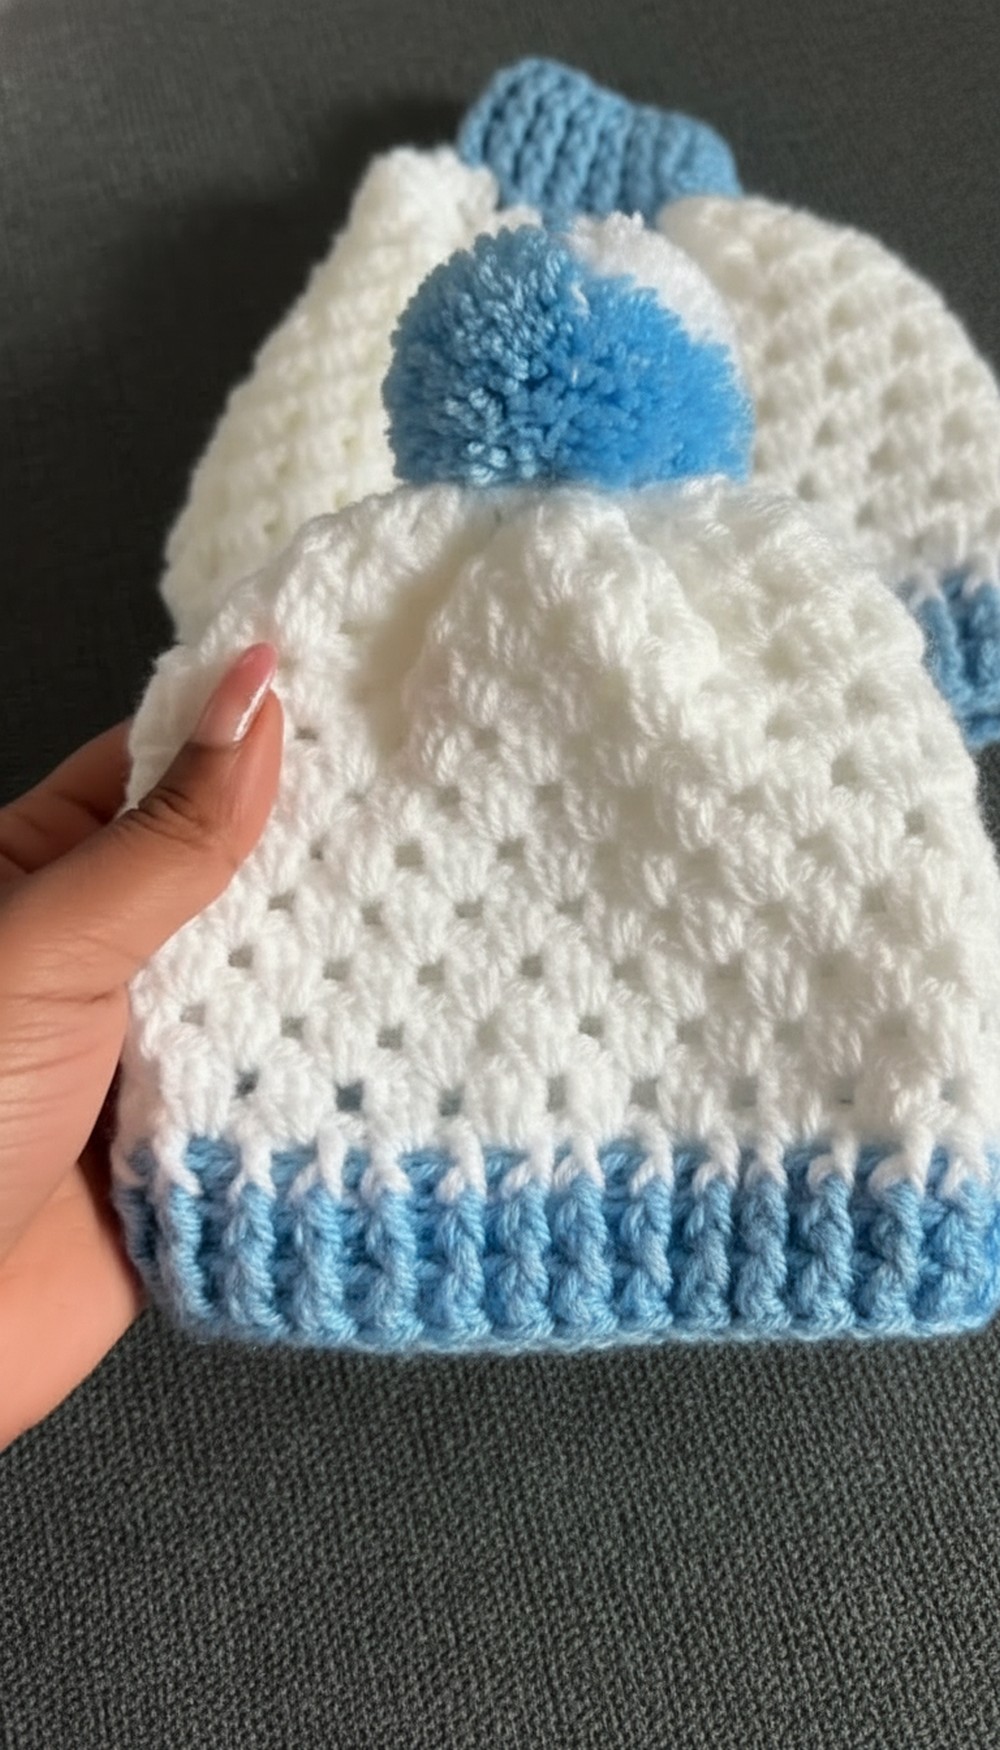
- Versatile Design: Suits both baby boys and girls, with color customization.
- Sizes Available: Newborn to 2 years, with easy adjustments.
- Beginner-Friendly: Simple stitches and repetitive patterns.
- Matching Set: Can pair with blankets and cardigans made using the same pattern.
- Quick Completion: Can be done in 15–30 minutes, depending on skill level.
Materials Needed
- Yarn:
- Double knitting yarn (~330 meters, 100 g).
- Suggested color codes: Blue (CE-022) and White (CE-001).
- Crochet Hook: 4 mm.
- Stitch Counter or Marker (optional).
- Pom Pom Maker (7 cm).
Step-by-Step Instructions
Foundation Chain
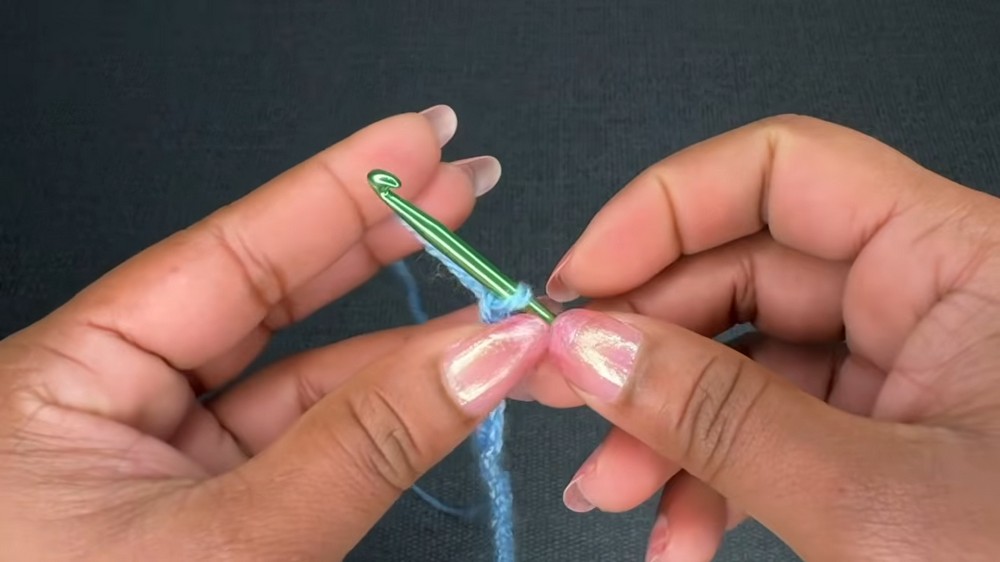
- Start with Slip Knot: Leave extra yarn for joining later.
- Chain:
- Newborn: 57 chains.
- 0–3 Month: 62 chains.
- 3–6 Month: 63 chains.
- 6–12 Month: 69 chains.
- 1–2 Years: 72 chains.
- Add two extra chains at the end for turning.
Round 1: Double Crochet Foundation
- Start with Double Crochet:
- Skip the first three chains and start from the 4th chain.
- Work 1 double crochet (DC) into each chain across.
- Stitch Count:
- Newborn: 57 DC.
- 0–3 Month: 60 DC.
- 3–6 Month: 63 DC.
- 6–12 Month: 69 DC.
- 1–2 Years: 72 DC.
- Join the first and last stitch with a slip stitch.
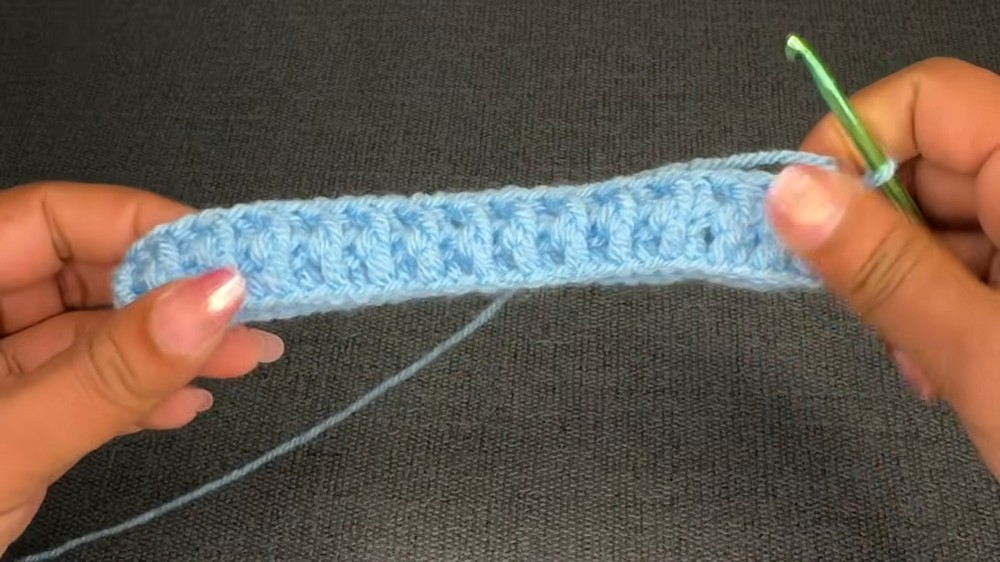
Rnds 2–4: Ribbing with Front Post and Back Post Double Crochet
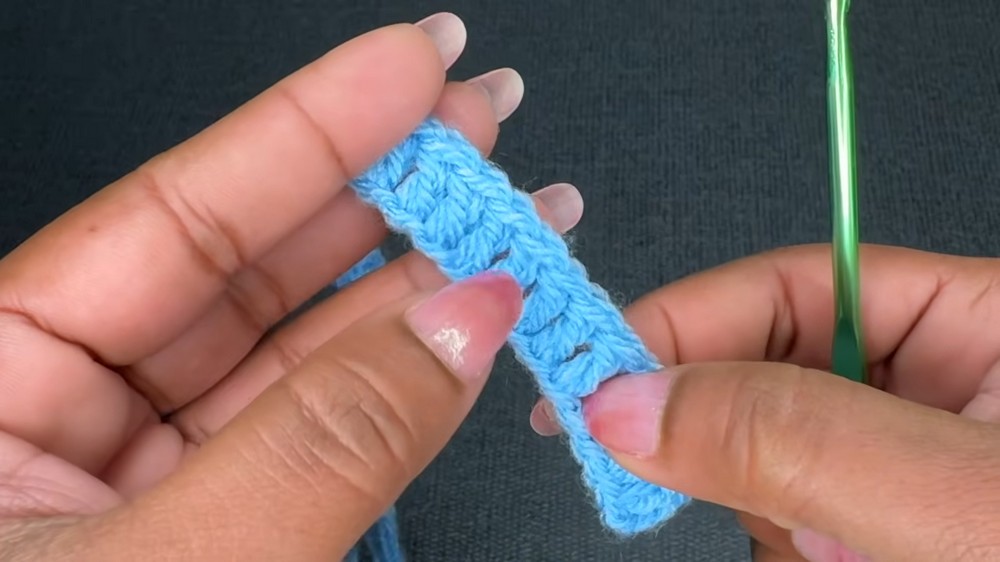
- Start with Chain 3 (counts as the first stitch).
- Alternate between:
- Front Post Double Crochet (FPDC) for the next stitch.
- Back Post Double Crochet (BPDC) for the stitch after.
- Continue Alternating: FPDC, BPDC across the round.
- Join with a slip stitch to complete each round.
- Repeat until 4 rounds are complete.
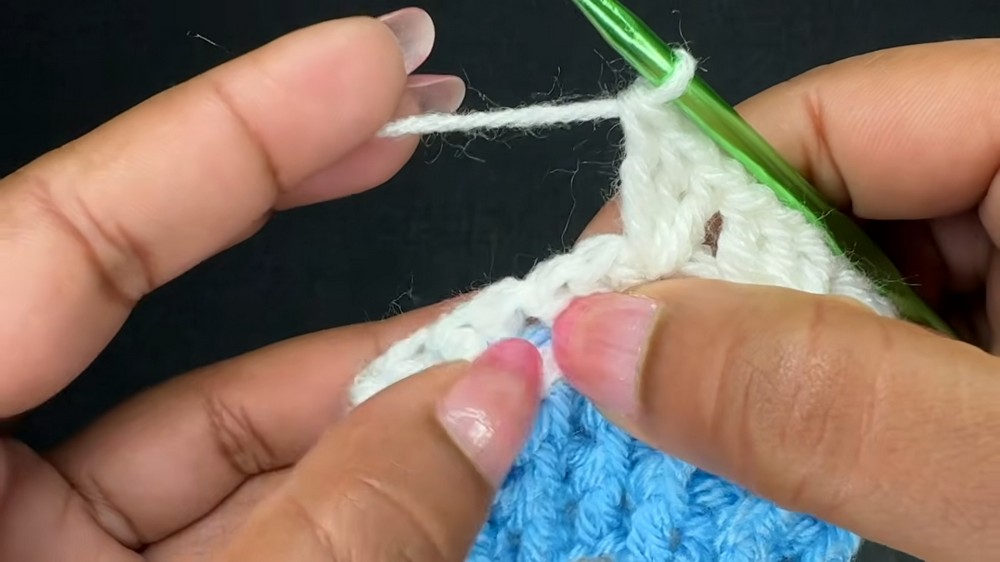
5–9 Rounds: Main Pattern (Petals)
- Start with Chain 3: Into the space between FPDC and BPDC, work:
- 3 Double Crochet (DC) in the same space.
- Skip 3 Stitches: Work 3 DC into the space between the next FPDC and BPDC.
- Continue around: Skip 3 stitches and work 3 DC into each following space.
- Stitch Count: Same as Round 1.
- Repeat the pattern for five rounds (5–9).
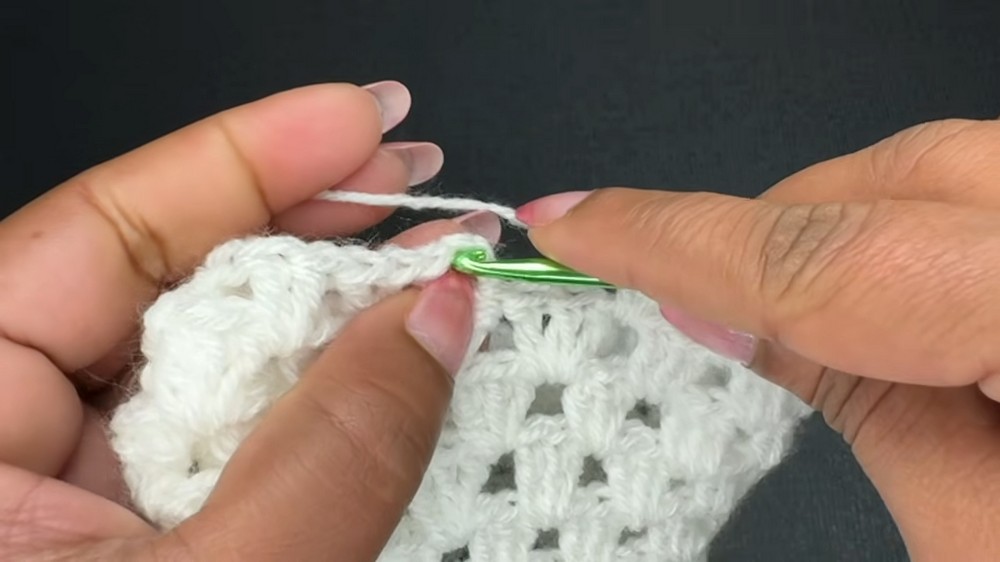
Rnd 10: Decreasing Petals
- Chain 3: Work 2 DC in each space across the round.
- Stitch Count:
- Newborn: Approx. 19 stitches.
- 0–3 Month: Approx. 20 stitches.
- Join with slip stitch.
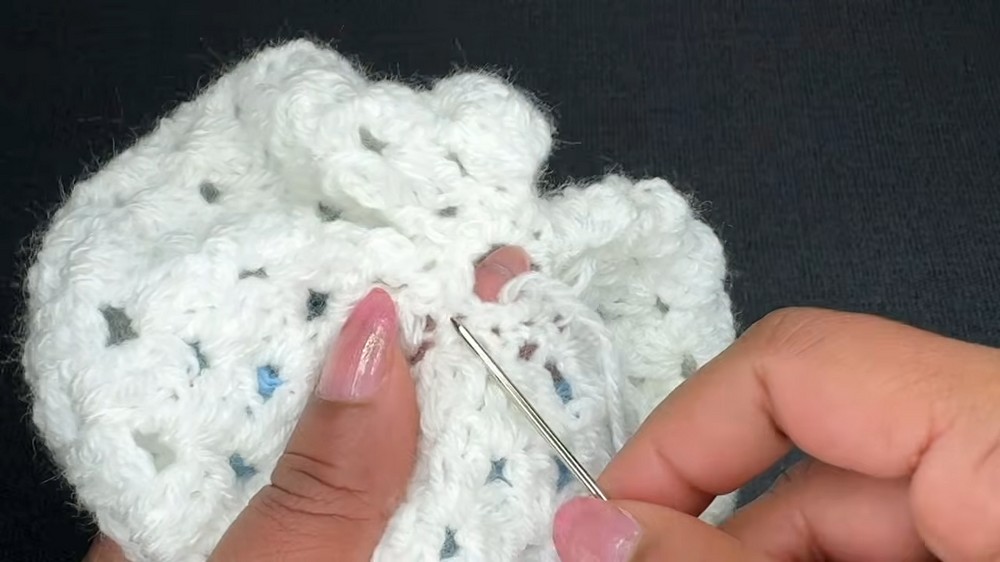
Round 11: Single Crochet Top Closure
- Chain 1: Work decreasing SC stitches by combining loops from two spaces:
- Insert into the first stitch, leaving the loop.
- Insert into the second stitch, leaving another loop.
- Pull through all loops to form one SC.
- Continue until only 10 stitches remain at the top.
- Weave and Close: Use yarn needle to pull through remaining stitches and tighten the hole.
Pom Pom Addition
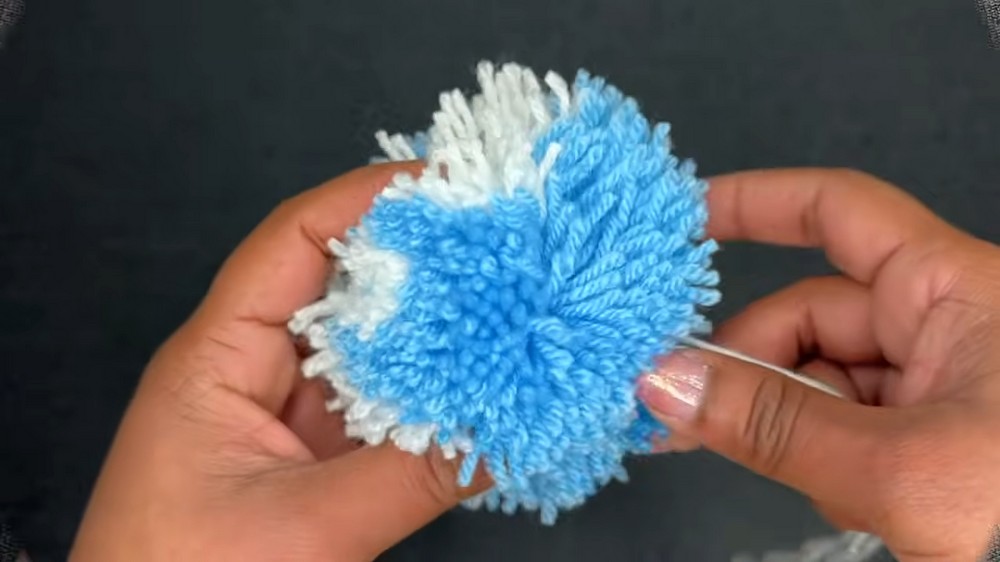
- Pom Pom Maker: Use 7 cm pom pom maker.
- Wrap Yarn: Start with blue and alternate with white yarn until fully wrapped.
- Cut and Secure: Tie the pom pom tightly and trim for a balanced shape.
- Attach to Hat: Secure the pom pom onto the top of the hat and trim excess yarn.
Tutor’s Suggestions
- Yarn Choice: Use soft double knitting yarn for maximum comfort.
- Color Combinations: Use pastel tones for babies or bold colors for a playful look.
- Pom Pom Alternatives: If you don’t have a pom pom maker, create one using cardboard.
Uses
- Create cozy and adorable hats for babies ranging from newborn to toddler age.
- Ideal for gifting at baby showers or pairing with matching blankets and cardigans.
- Adds extra style with color options and pom-pom details.
Final Tip
Make sure to count your stitches and use tight yet even loops to avoid gaps in the hat. Adjust your yarn tension for consistency, and use contrasting colors to enhance the ribbing pattern and pom-pom design.
Conclusion
This baby hat pattern is a delightful crochet project that combines style, comfort, and practicality. With its simple ribbing and decorative pom-pom, it’s quick to follow and sure to become a cherished accessory for any baby.