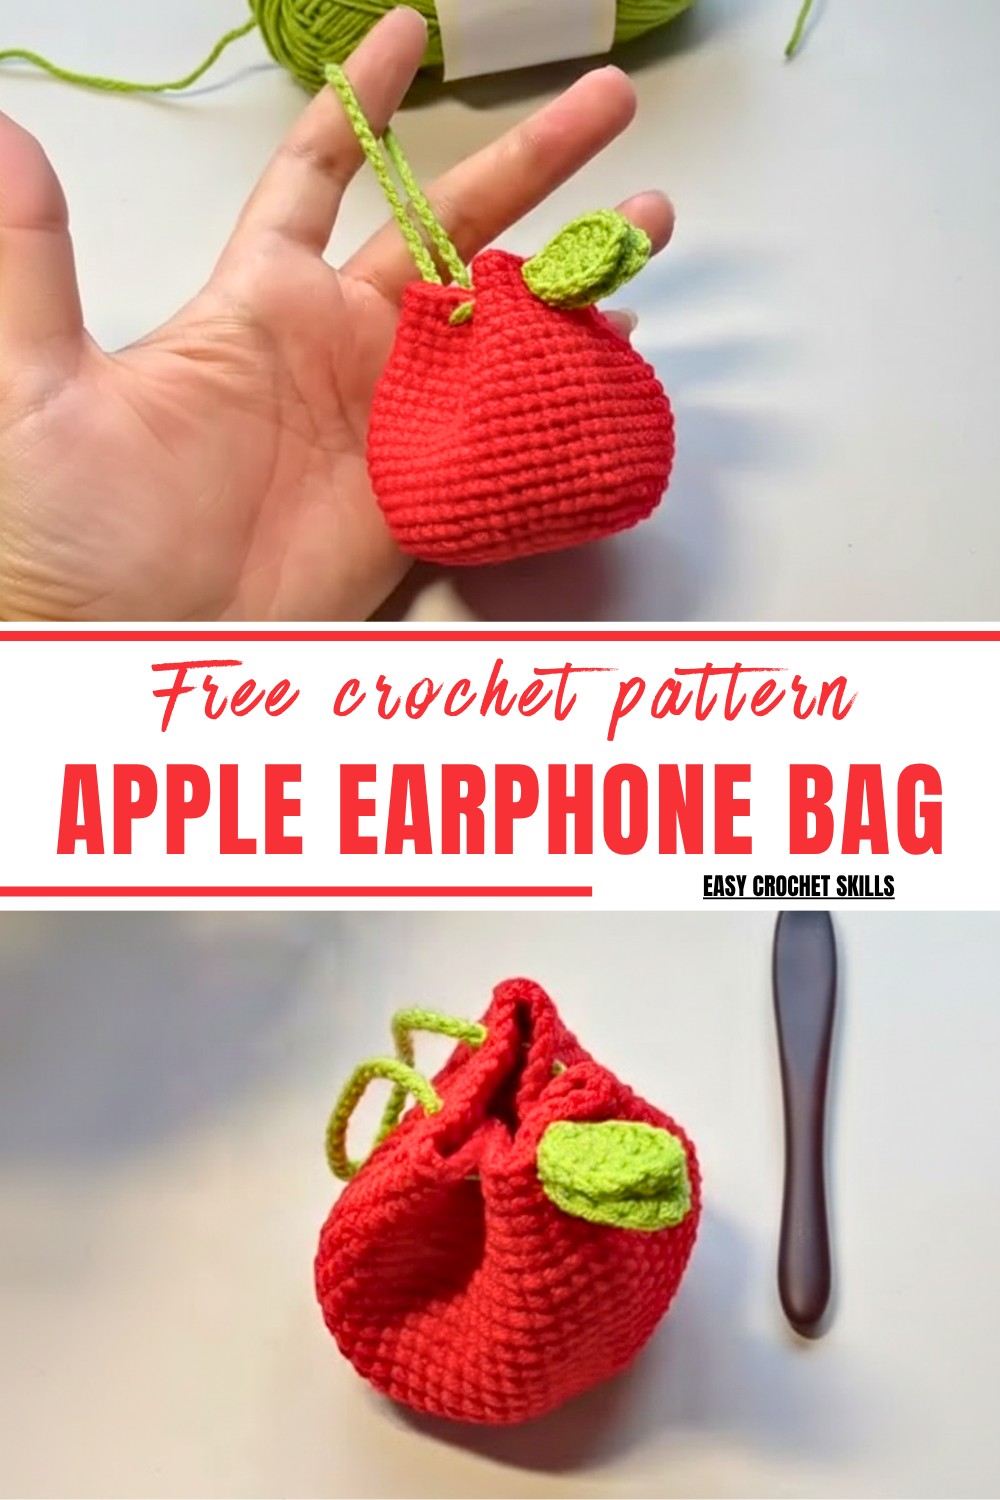
The Perfect Crochet Apple Earphone Bag Pattern Step-by-Step
Beginner-Friendly Crochet Apple Earphone Bag Pattern
What You’ll Need
- 4-strand cotton yarn (color of your choice – red, green, or yellow for a natural apple look).
- Crochet hook suitable for your yarn size.
- Sewing needle for attaching the rope and decorative leaves.
- Glue (optional, to attach leaves).
- Scissors.

Skill Level
Beginner to Intermediate: This pattern is suitable for those familiar with basic crochet stitches such as single crochet (SC), double crochet (DC), slip stitch (SS), and magic ring techniques. Detailed instructions and repetition make it perfect for those progressing from beginner to intermediate crochet.
Special Features
- Unique Apple Shape: Combines both form and function – it’s as cute as it is practical.
- Compact and Handy: Excellent for organizing earphones while taking up minimal space.
- Customizable: You can experiment with yarn color or size to modify the design to your preference.
- Eco-Friendly Design: It uses cotton yarn, ensuring better durability while reducing environmental impact.
Step-by-Step Crochet Pattern
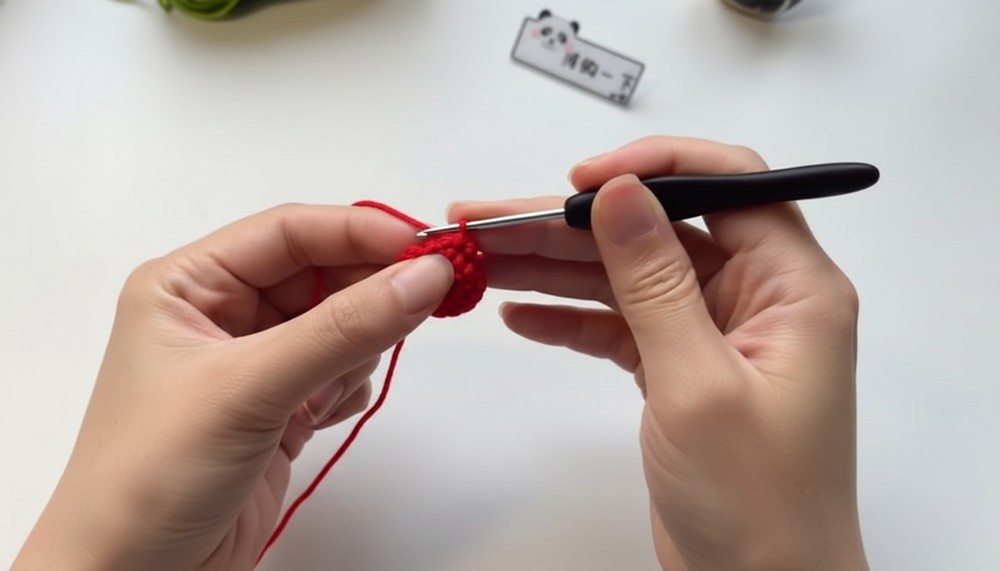
Body of the Apple (Start Round Base)
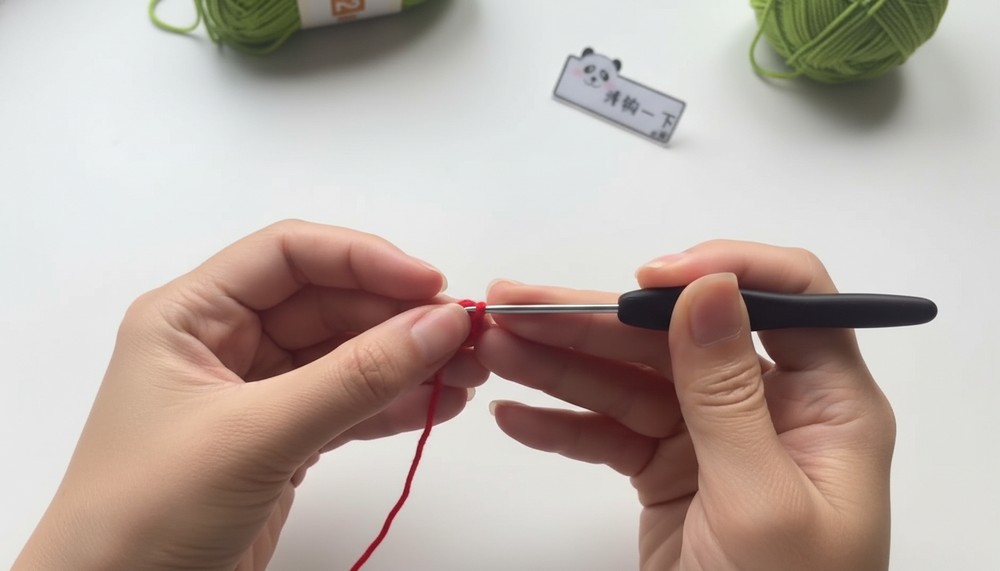
- Start with a Magic Ring:
- Pull the yarn back into a loop to form a magic ring.
- Make a standing stitch (not a chain), securing the ring.
- Round 1:
- In the magic ring, crochet 6 single crochets (SCs) evenly.
- Tighten the ring to close it tightly.
- Complete this round with a slip stitch (SS) into the first SC and 1 chain.
- Round 2:
- Crochet 6 single crochet increases (2 SCs in each stitch). This will total 12 SCs for this round.
- Finish with a slip stitch and 1 chain.
- Round 3:
- Crochet 1 SC in the first stitch, followed by 1 SC increase in the next stitch (2 SCs in the same space).
- Repeat this 6 times (18 SCs total). Complete with a slip stitch and chain.
- Round 4:
- In this round, crochet the following stitch grouping, repeated 6 times around:
- 1 SC in the first stitch,
- 1 SC increase in the second stitch,
- 1 SC in the third stitch.
- This totals 24 SCs. End with a slip stitch and chain.
- In this round, crochet the following stitch grouping, repeated 6 times around:
- Building Rounds 5–9 (Increasing Rounds):
- These rounds continue with similar increases. Each grouping will include one additional stitch in between the increases. Details are as follows:
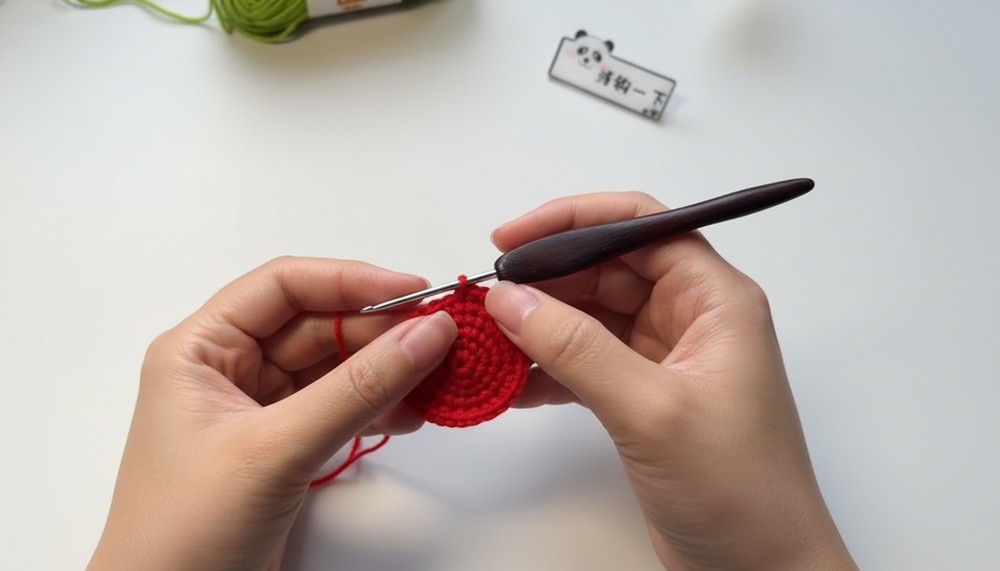
- Round 5: [3 SCs, 1 SC increase] x 6 (30 SCs).
- Round 6: [2 SCs, 1 SC increase, 2 SCs] x 6 (36 SCs).
- Round 7: [5 SCs, 1 SC increase] x 6 (42 SCs).
- Round 8: [3 SCs, 1 SC increase, 3 SCs] x 6 (48 SCs).
- Round 9: [7 SCs, 1 SC increase] x 6 (54 SCs).
- For each round, complete with a slip stitch and chain.
- These rounds continue with similar increases. Each grouping will include one additional stitch in between the increases. Details are as follows:
- Rounds 10–19 (No Increases):
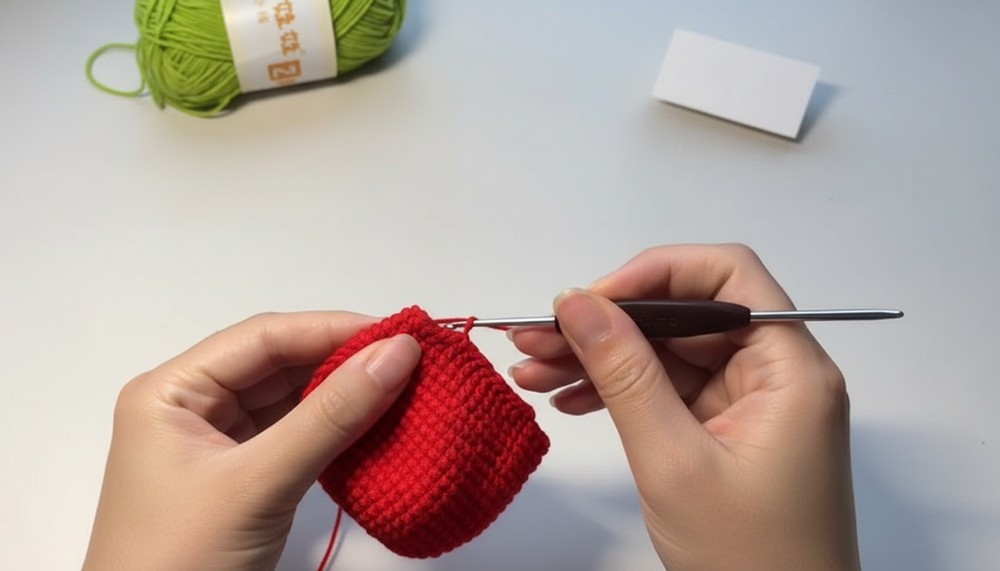
- Crochet 1 SC into each stitch (54 SCs total per round).
- Work evenly to create the height of the apple.
Shaping the Top (Decreasing Rounds)
- Round 20:
- Stitch grouping: [7 SCs, 1 single crochet decrease (SC DEC)] x 6 (48 SCs).
- Round 21:
- Stitch grouping: [3 SCs, 1 SC DEC, 3 SCs] x 6 (42 SCs).
- Rounds 22–23 (No Decreases):
- Crochet 1 SC per stitch (42 SCs per round) evenly.
Creating Cut-Outs (For Drawstring Insertion)
- Round 24 (Cut-Out Round):
- Crochet 5 SCs, 1 chain, and skip 1 stitch.
- Repeat [5 SCs, 1 chain, skip 1] around.
- Round 25:
- Crochet [5 SCs, 1 SC in the chain space from the previous round] around.
- Complete the round with a slip stitch, then fasten off and weave in the ends.
Drawstring
- Create the hanging cord by crocheting 50 chain stitches.
- Thread the Cord Into the Body:
- Insert the chain through the skipped stitch spaces in Round 24 using a sewing needle.
Making Leaves
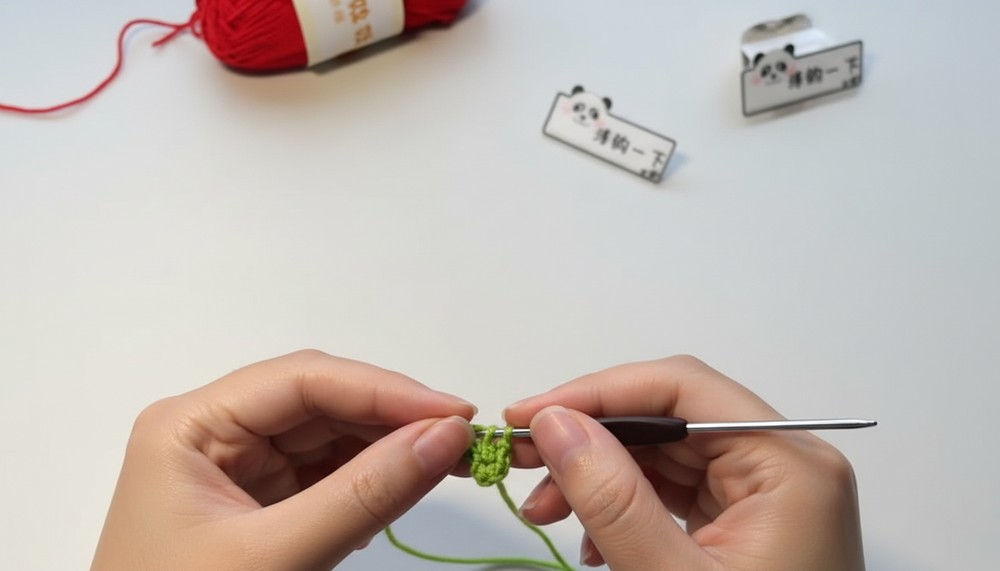
- Start with 8 chain stitches.
- Work back into each chain with the following stitches:
- 2nd chain from the hook: 1 SC.
- Next chain: 1 half double crochet (HDC).
- Next 3 chains: Each gets a double crochet (DC).
- Next chain: 1 HDC.
- Final chain: [1 SC, 1 chain, 1 SC].
- Repeat the process for the backside of the leaf:
- Work the same pattern in reverse order, ending with a slip stitch in the starting stitch.
- Make two identical leaves using the steps above.
Assembling the Apple
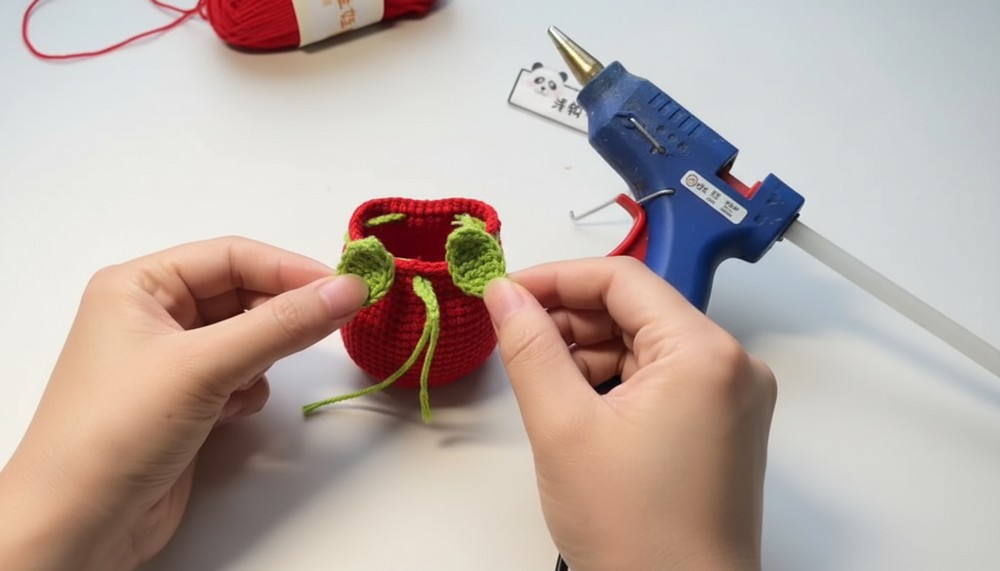
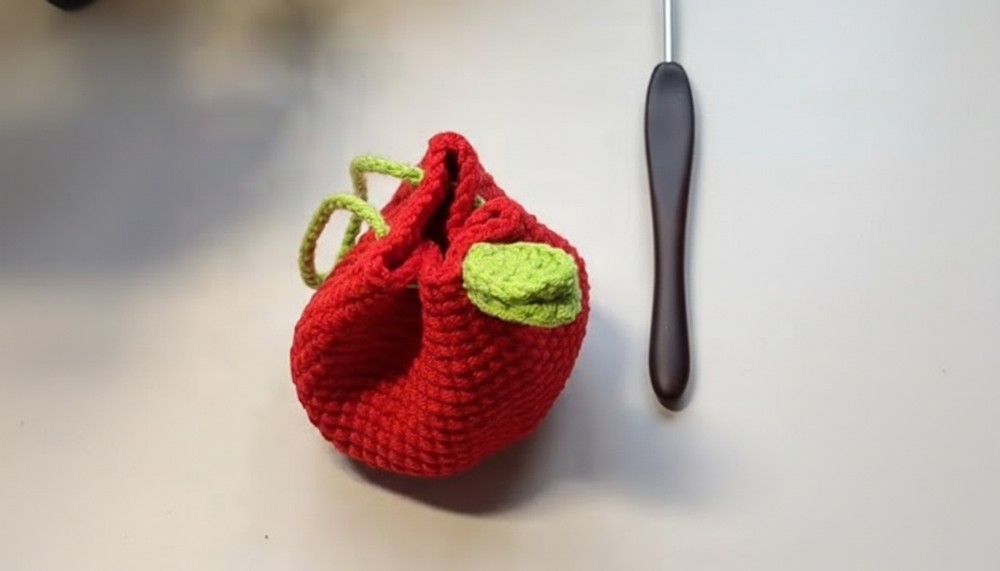
- With the back sides of the leaves facing each other, insert one end of the drawstring between the leaves.
- Use glue or sewing to attach the leaves securely to the drawstring.
- Let the glue dry or secure with tight stitching.
Uses & Suggestions
- Uses: Perfect for storing earphones, small trinkets, or as a decorative accessory bag.
- Tutor’s Suggestion: Use vibrant colors like red yarn for the apple and green for the leaves for a realistic look.
A Quick Tip
When creating the magic ring or drawstring, keep the yarn tension consistent to maintain neat and even stitching throughout your project.
Conclusion
This Crochet Apple Earphone Bag is a delightful project for all crocheters. With just a few steps and basic materials, you can crochet a functional organizer with a touch of personality. Customize the size, color, or even add embellishments like small flowers. It’s the perfect gift for friends and family or a charming addition to your crochet collection.