Free Crochet Persimmon Amigurumi Pattern for Cute Home Décor
Learn How to Crochet Persimmon Amigurumi That Looks So Good
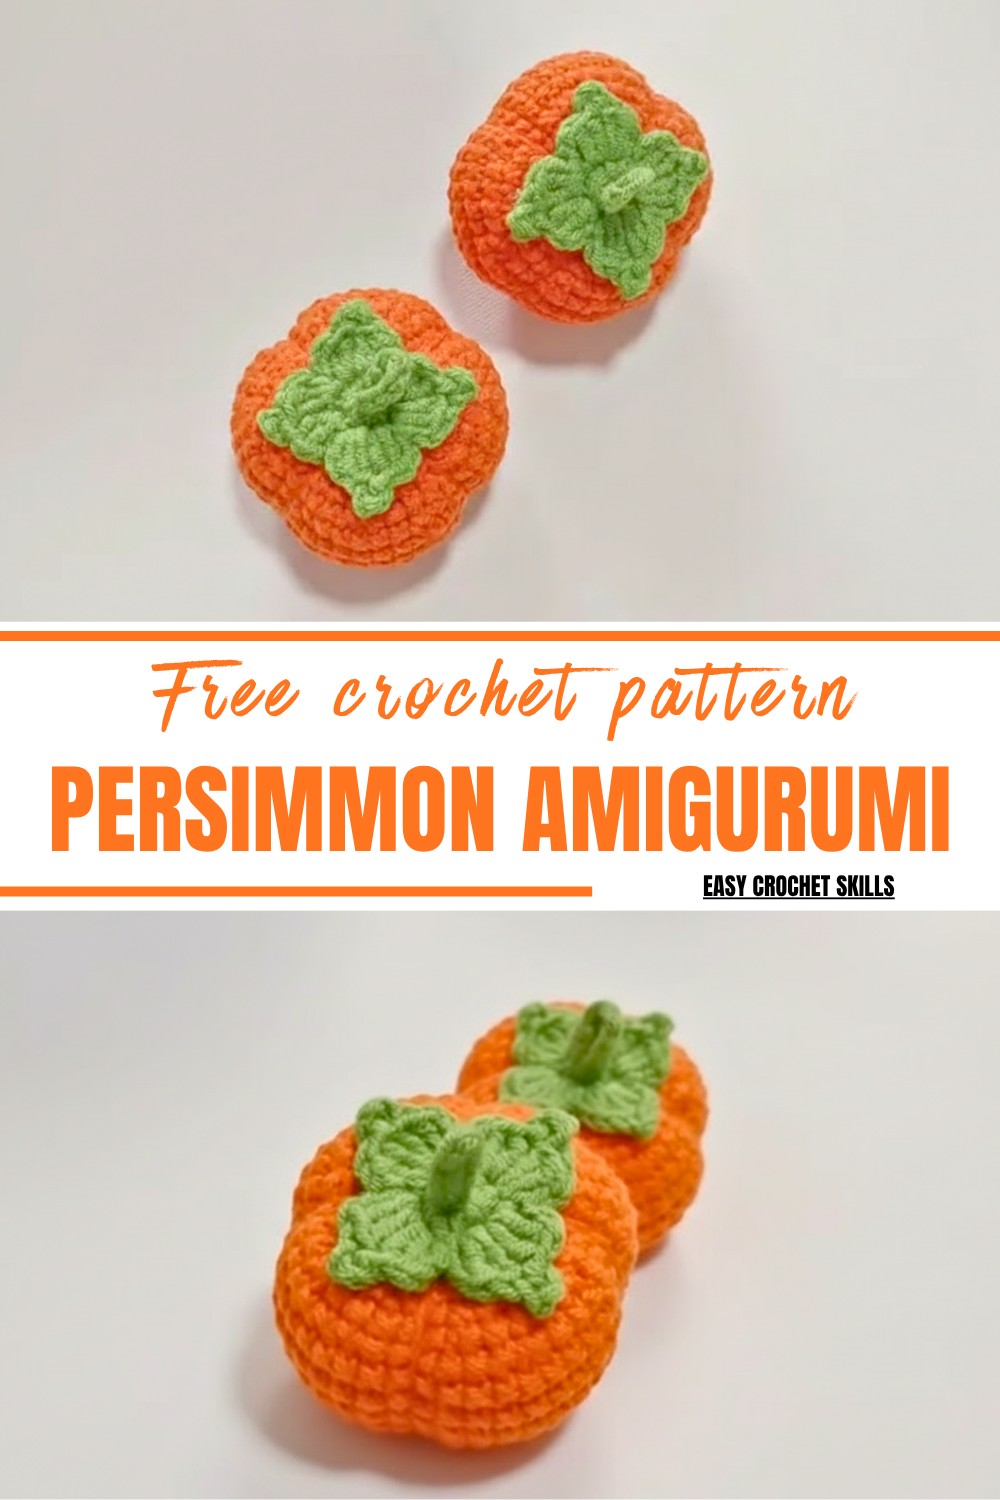
The pattern is easy-to-follow, suitable for beginners, but still enjoyable for experienced makers looking for a quick project. Using soft cotton yarn ensures a smooth texture and solid shape, while stuffing materials give it a satisfying plumpness. From precise shaping techniques to a fun leaf stem design, every detail brings personality to this little piece. Plus, its symbolic association with good fortune makes it a meaningful addition to your creations.
Not only is it a delightful way to practice crochet basics, but it’s also highly versatile—great for keyrings, dangling decorations, or personalized gifts for loved ones. Add a splash of orange to your crafting and make each stitch count toward something truly joyful and unique!
Materials Needed
- Yarn: Cotton yarn in orange (for the persimmon) and green (for the stem).
- Crochet Hook: Size appropriate for your yarn (usually 2.5mm–3mm).
- Stuffing: Polyester filling or cotton to stuff the amigurumi.
- Sewing Needle: For closing and shaping the persimmon.
- Scissors: For cutting yarn ends.
- Glue (optional): To secure the leaves and hanging rope.
Skill Level
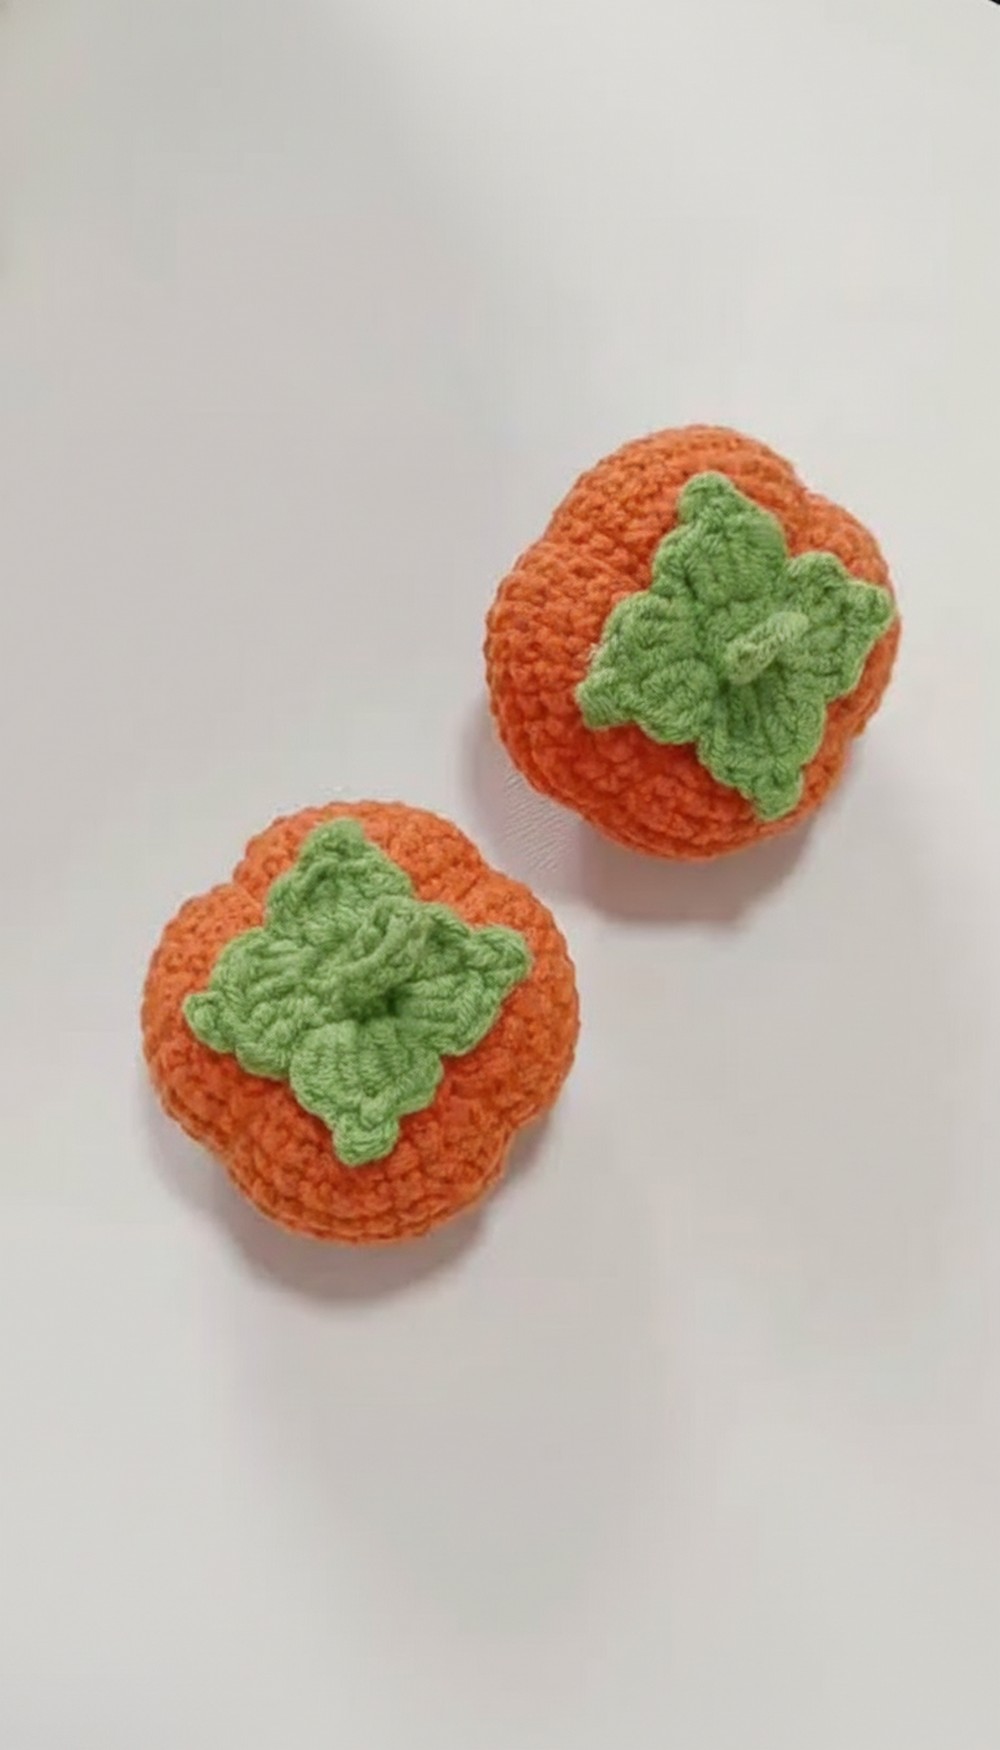
Beginner: This pattern is straightforward, with basic stitches like single crochet (SC), double crochet (DC), increases, decreases, and working in the round—all explained step-by-step.
Special Features
- Symbol of Good Fortune: The persimmon is a cultural symbol of everything going well.
- Versatile Use: Works as a pendant, ornament, keychain, or decoration for special occasions.
- Quick and Fun: The pattern is simple yet satisfying, perfect for gifting or personal use.
Step-by-Step Pattern
Body of the Persimmon
Start with the Magic Ring
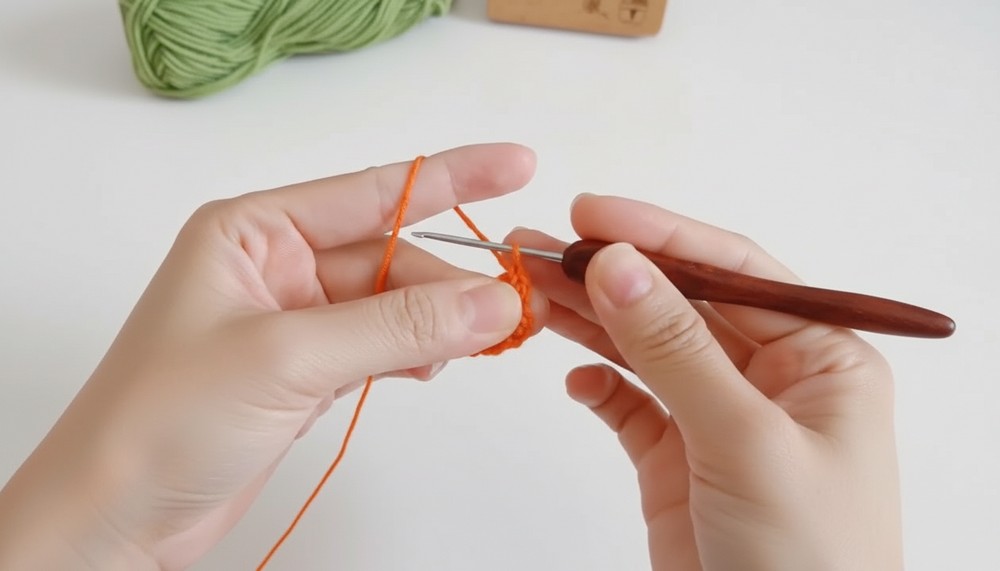
- Make a Magic Ring:
Wrap the yarn around your finger and create a loop. Insert your crochet hook into the ring, pull the yarn, and create 1 chain. This chain does not count as a stitch.
Work the Rounds (Increase Rounds to Shape the Body)
- Round 1:
- Crochet 6 single crochets (SCs) into the magic ring.
- Tighten the ring to close the hole firmly.
- Slip stitch (SS) into the first SC and chain 1.
- Round 2:
- Crochet 2 SCs in each stitch (single crochet increases).
- Make 6 groups for a total of 12 stitches.
- Round 3:
- Crochet 1 SC in the first stitch, followed by 1 SC increase (2 SCs in the next stitch) as a group.
- Repeat 6 times, resulting in 18 stitches.
- Round 4:
- Work [1 SC, 1 SC increase, 1 SC] as a group. Repeat 6 times for 24 stitches.
- Round 5:
- Work [3 SCs, 1 SC increase] as a group. Repeat 6 times for 30 stitches.
- Round 6:
- Work [2 SCs, 1 SC increase, 2 SCs] as a group. Repeat 6 times for 36 stitches.
- Round 7:
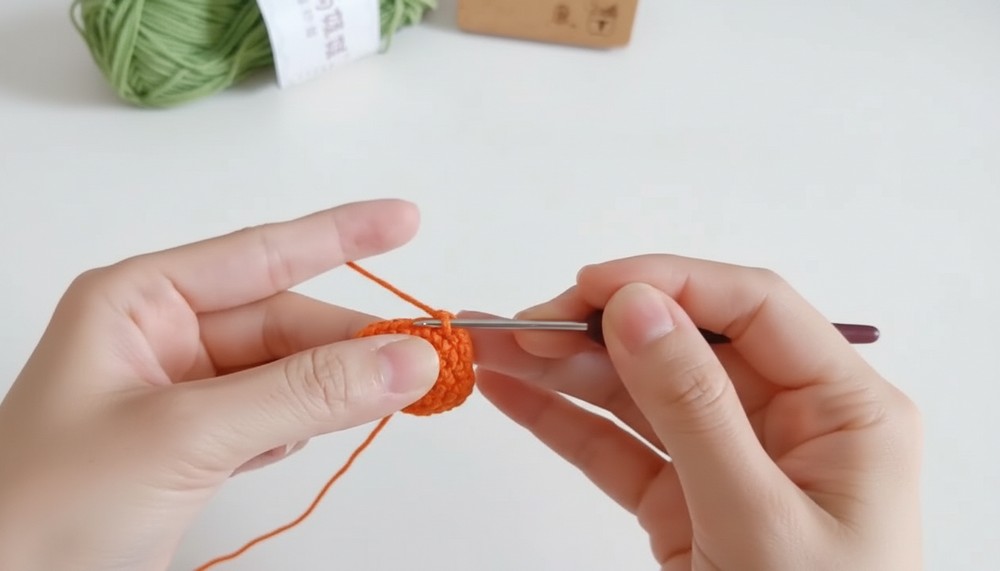
- Work [5 SCs, 1 SC increase] as a group. Repeat 6 times for 42 stitches.
Maintain the Shape
- Rounds 8–11:
- Work 1 SC in each stitch for 42 stitches per round. Crochet evenly to build the height.
Decrease Rounds (Shaping the Bottom)
- Round 12:
- Work [5 SCs, 1 SC decrease] as a group. Repeat 6 times for 36 stitches.
- Single Crochet Decrease: Pick the front loop of the next two stitches, yarn over, pull through both loops, and crochet them together into one stitch.
- Round 13:
- Work [2 SCs, 1 SC decrease, 2 SCs] as a group. Repeat 6 times for 30 stitches.
- Round 14:
- Work [3 SCs, 1 SC decrease] as a group. Repeat 6 times for 24 stitches.
- Round 15:
- Work [1 SC, 1 SC decrease, 1 SC] as a group. Repeat 6 times for 18 stitches.
- Round 16:
- Crochet [1 SC, 1 SC decrease] for a total of 12 stitches.
- Round 17:
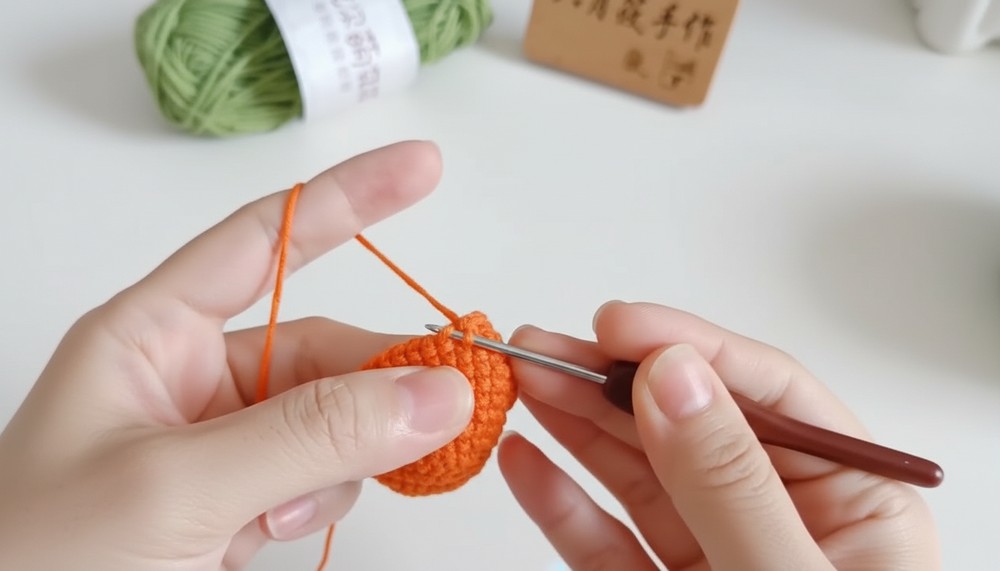
- Work 6 SC decreases to close the opening completely.
- Finish the Body:
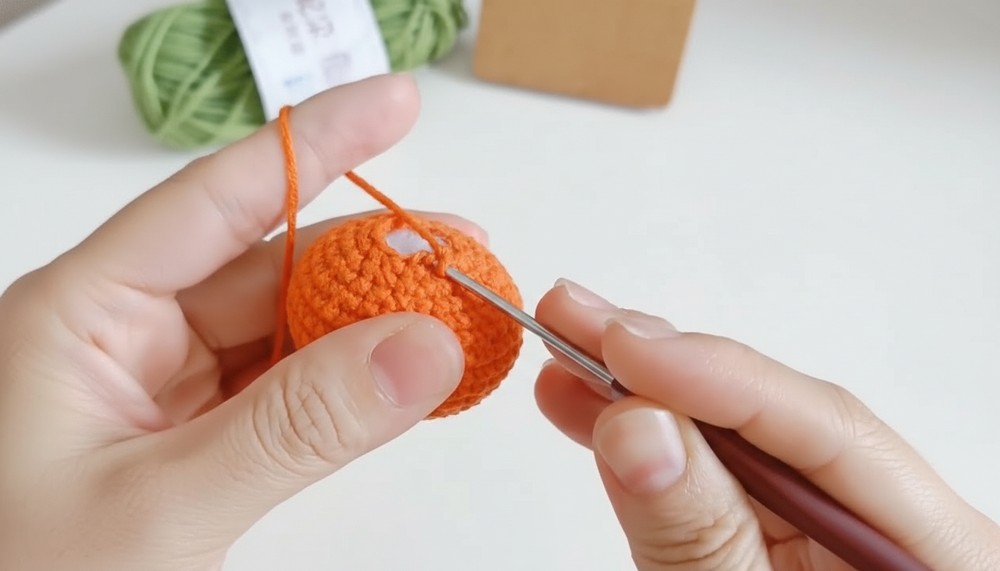
- Use a sewing needle to pick the front loop of the remaining stitches. Pull the yarn to close the hole tightly.
Shaping & Decorating
- Divide the Persimmon:
- Insert the sewing needle through the middle to the bottom of the persimmon.
- Pull the yarn to create dividing lines, shaping the body evenly into 4 parts.
Crocheting the Stem
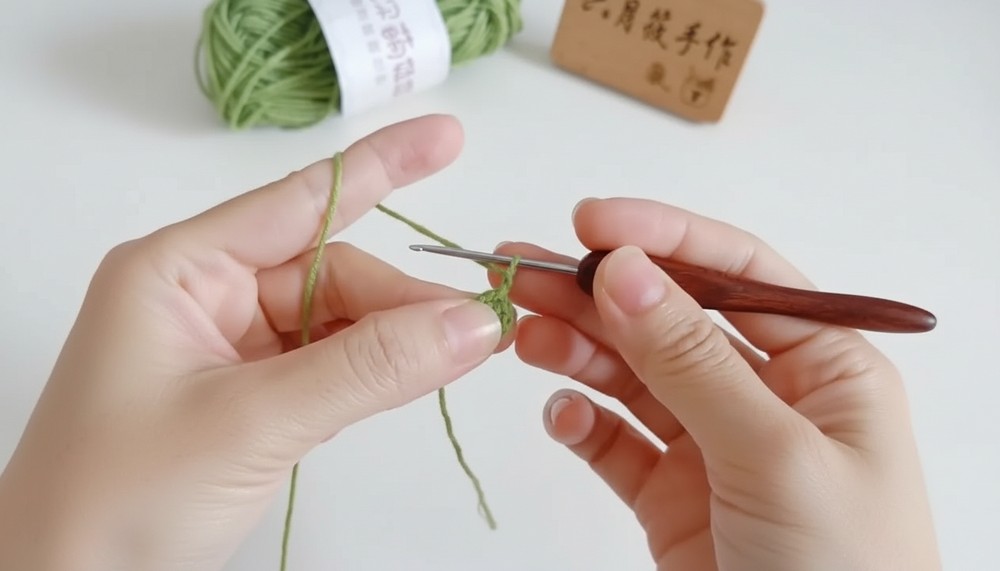
- Magic Ring:
Wrap the yarn and crochet 8 SCs into the ring. Slip stitch to finish the round. - Round 2:
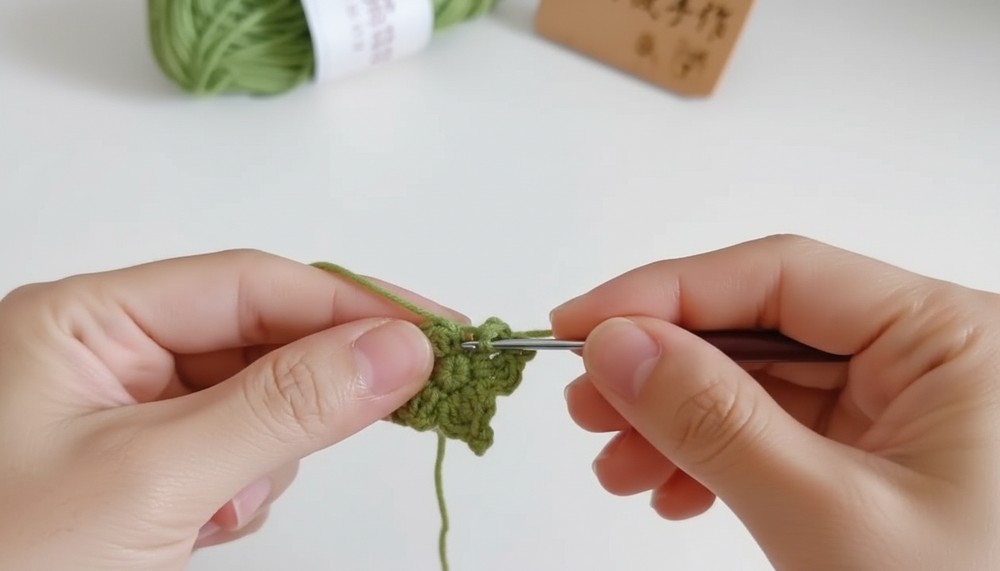
- Crochet 2 chains and 2 double crochets (DCs) in the same stitch.
- Crochet a 3-chain picot as follows:
- Make 3 chain stitches, backtrack through the 2 outside yarns, pull the yarn out, and secure with a slip stitch.
- Keep Repeating:
- In the next stitch, crochet 2 DCs. Follow up with picots.
- Repeat for 3 additional groups using 2 chains, 2 DCs, and picots.
Assembling the Persimmon
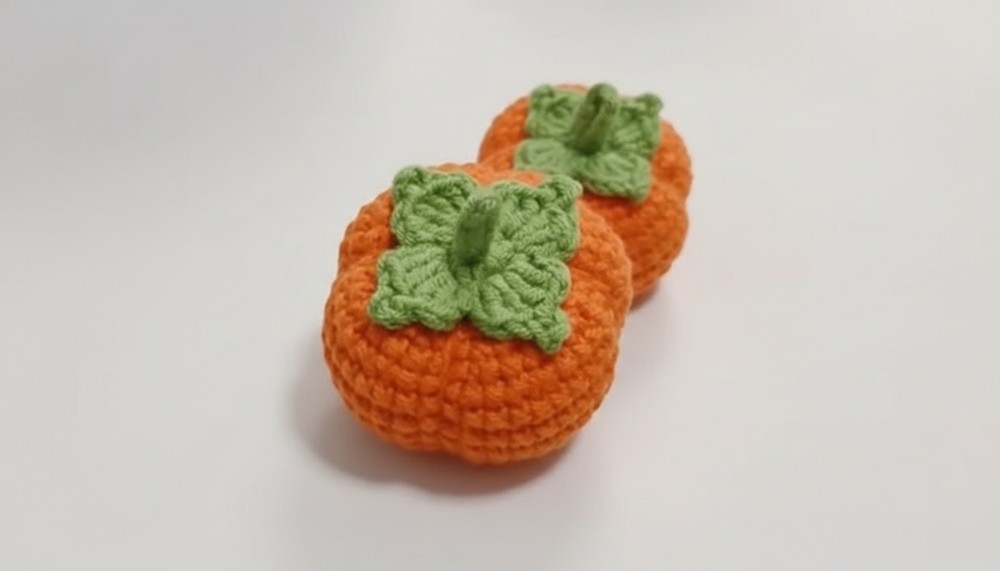
- Attach Hanging Rope:
- Crochet 12 chain stitches, pull the chain through the stem’s middle, and tie the yarn’s end.
- Secure the Stem:
- Use glue or stitching to attach the stem securely to the persimmon’s top.
Tutor’s Suggestions
- Use soft cotton yarn for a natural texture and better durability.
- Experiment with multiple persimmons in varying shapes and sizes—perfect for seasonal decorations or gifts.
A Quick Tip
When dividing the body, ensure your yarn tension is even to get clean and symmetrical sections.
Conclusion
This Crochet Persimmon Amigurumi Pattern is the perfect quick project to add a pop of handmade charm to your décor. Lightweight, easy, and filled with symbolism, it’s both practical and beautiful.