Easy Crochet Matcha Cookie Pendant Pattern for Handmade Gifts
Looking for a Free Crochet Matcha Cookie Pendant Pattern? Try This One

Designed for crocheters of all skill levels, this project allows beginners to practice fundamental techniques like single crochet, increases, and slip stitches, while offering intermediate crocheters room to play with colors and embellishments.
Whether as an adorable charm for yourself or a heartwarming handmade gift for friends, this pattern celebrates the charm of mini crochet projects while keeping things fun and simple.
Materials Needed
- Yarn: 4-strand cotton yarn in matcha green, white, and brown (or colors of your choice).
- Crochet Hook: 2.0mm.
- Stuffing: Small amount of polyester fiber or cotton for slight puffiness.
- Sewing Needle: For assembly and attaching details.
- Scissors.
- Non-toxic glue (optional): To secure edges gently.
Skill Level
Beginner to Intermediate: Basic knowledge of single crochet, half-double crochet, increases, decreases, and slip stitches is required. Assembly and sewing steps may need some attention.
Special Features
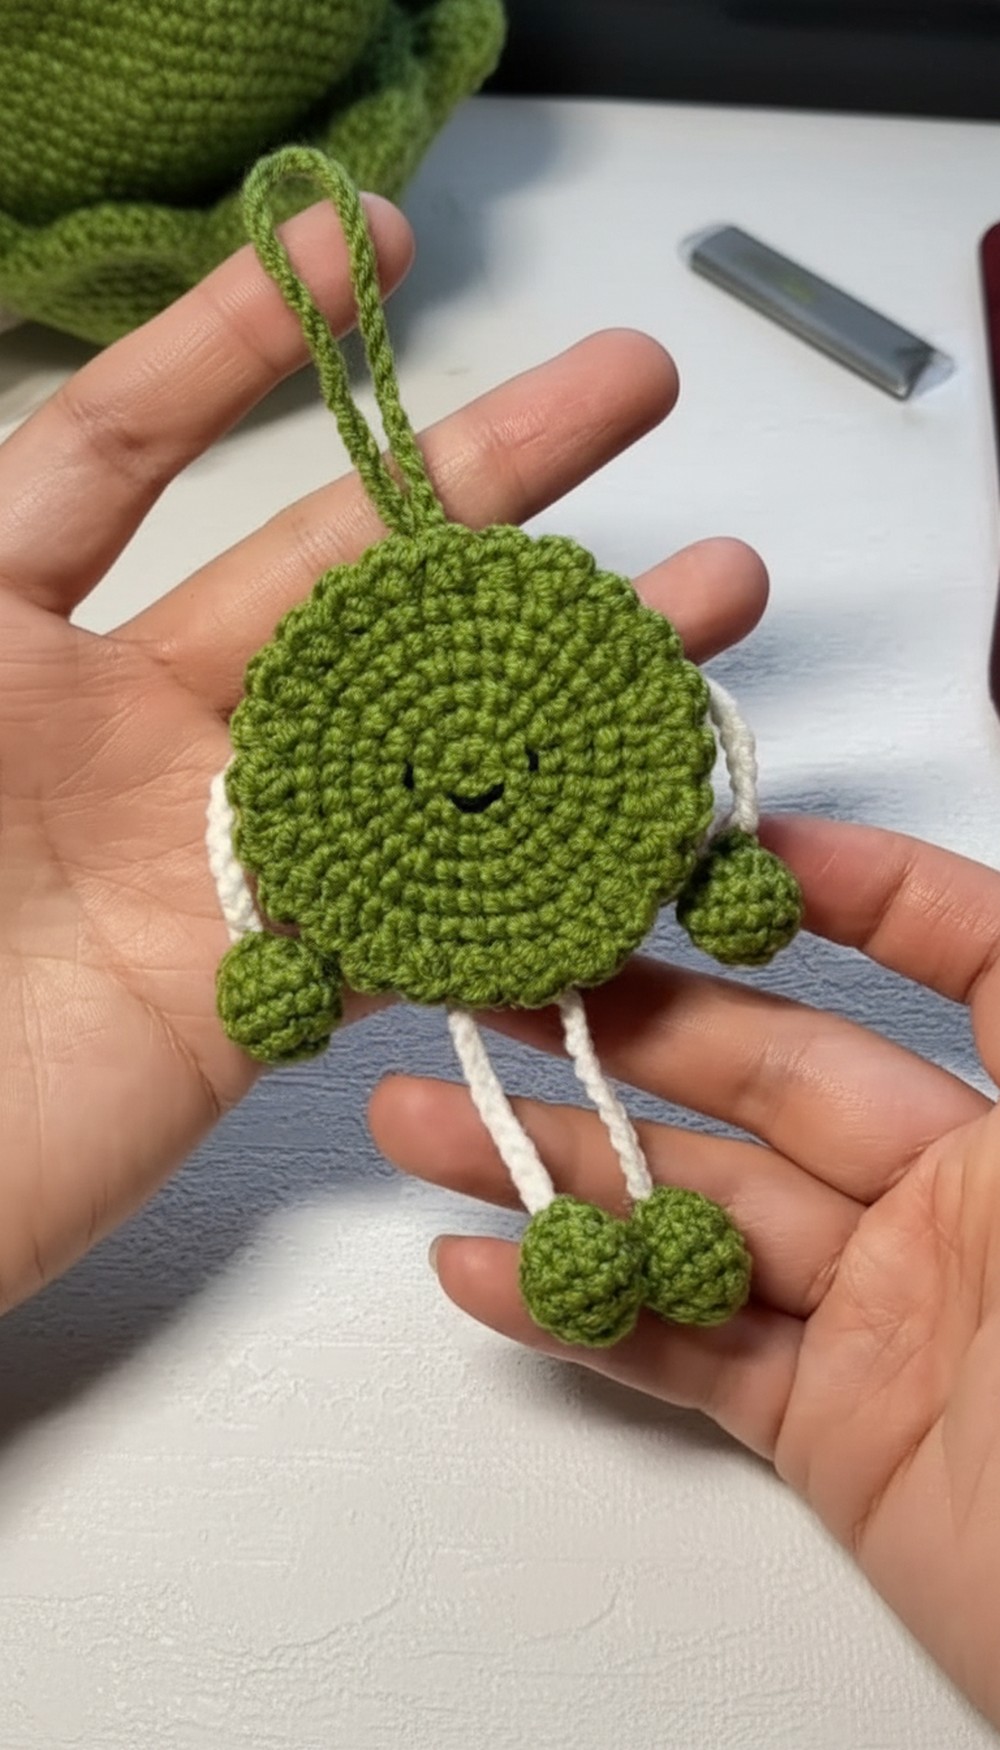
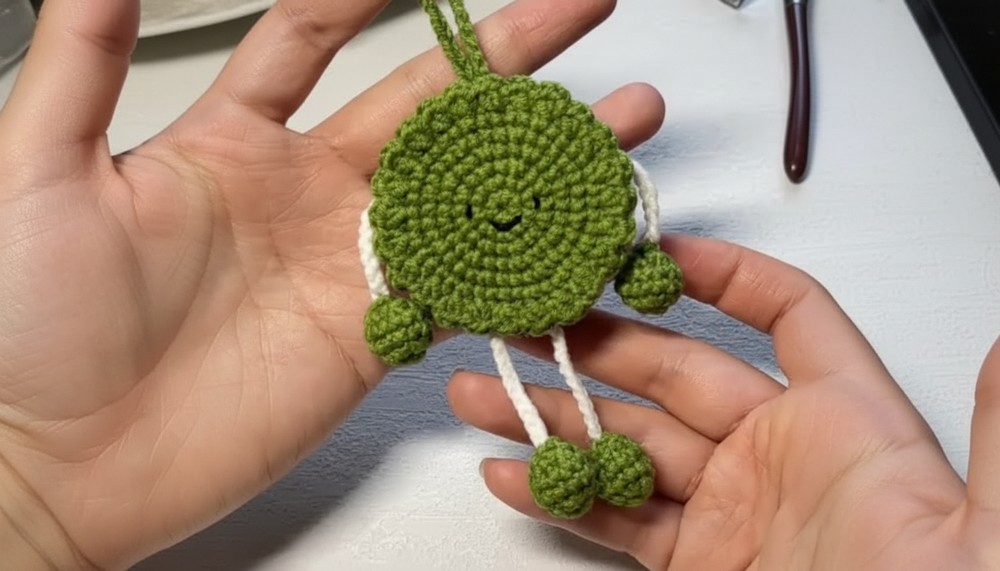
- Adorable Expressions: The finished piece includes sewn-on facial expressions, making it customizable and unique.
- Wobbly Cookie Edge: Half-double crochets and skipped stitches create a playful scalloped border mimicking a real cookie.
- Layered Design: The pendant comprises multiple layers connected securely to give it a sandwich cookie look.
Step-by-Step Pattern
1. Main Cookie Discs (Make 3)
Round 1: Magic Ring Foundation
- Start with a magic ring.
- Chain 1 to make a standing stitch (not counted as a stitch).
- Crochet 8 single crochets (SCs) inside the ring.
- Tighten the ring to close.
- Slip stitch (SS) into the first stitch and chain 1.

Round 2: Increases
- Work 2 SCs in each stitch to create 8 SC increases.
- Total: 16 stitches.
- Slip stitch into the first SC and chain 1.

R- 3: Expand the Circle
- Work in groups: Crochet 1 SC in the first stitch, 2 SCs (increase) in the next stitch.
- Repeat for 8 groups (24 stitches total).
R- 4: Increase Pattern
- Crochet 1 SC in the first stitch, 1 SC in the second stitch, and 2 SCs (increase) in the third stitch.
- Repeat for 8 groups (32 stitches in total).
5 Round: Further Expansion
- Crochet 3 SCs, then 2 SCs (increase) in the next stitch.
- Repeat for 8 groups, resulting in 40 stitches.

Round 6: Final Round
- Crochet 2 SCs, 1 SC increase, 1 SC, followed by 1 SC.
- This group pattern forms 8 groups totaling 48 stitches.
2. Scalloped Cookie Edge (Round 7)
- Crochet 2 half-double crochets (HDC) in the first stitch.
- Skip the next stitch.
- In the third stitch, make 1 slip stitch (SS), chain 1, followed by 2 HDC in the same stitch.
- Skip the next stitch.
- Repeat this pattern (2 HDC, skip, SS + chain 1 + 2 HDC) until the end of the round.
- Slip stitch into the first group to close the round.

3. Assembly and Expression
- Prepare Three Cookie Layers: Crochet three identical discs with scalloped edges.
- Sew Expression: Use black or pink yarn to sew the eyes and mouth onto one of the discs (the front-facing layer).
- Make Appendages:
- Hands: Chain 8 stitches for each hand.
- Legs: Chain 10 stitches for each leg.
- Leave a yarn tail for sewing.

4. Arms and Legs
Round 1
- Begin with a magic ring.
- Crochet 6 SCs into the ring. Tighten and close.
Round 2
- Work 6 SC increases (total: 12 stitches).
Rounds 3–4
- Crochet 12 SCs per round.
Round 5: Decrease and Close
- Work 6 SC decreases around. (Pick the front loops of each pair of stitches, combine them into 1 SC.)
- Secure with a slip stitch, fasten off, and leave a yarn tail to attach.
5. Assembly
- Sew the hands and legs between two green cookie layers.
- Attach the white filling layer (center disc) between the cookie pieces.
- Use non-toxic glue for extra stability before sewing the layers.
- Add a small rope by chaining the desired length, and sew its ends at the top of the pendant to create the hanging loop.

Tutor’s Suggestions
- Experiment with colors for different cookie flavors (e.g., chocolate, strawberry, or vanilla).
- Add beads or embroidery for extra detail on the facial expression or buttons.
- Use a stitch marker to avoid losing track of stitches when making the scalloped edge.
Tip
When sewing or gluing the edges, apply glue sparingly to avoid seepage. Work small areas at a time to retain a clean finish.
Conclusion
This Matcha Cookie Pendant is a delightful and versatile crochet project worthy of showing off! With its scalloped edge, sewn expression, and hanging loop, it’s both functional and visually appealing. Whether used as a keychain or gifted to loved ones, this tiny masterpiece carries a handmade charm in every stitch.