How to Crochet Baby Bear Amigurumi Pattern for Handmade Gifts
Budget-Friendly Crochet Baby Bear Amigurumi Pattern for Kids
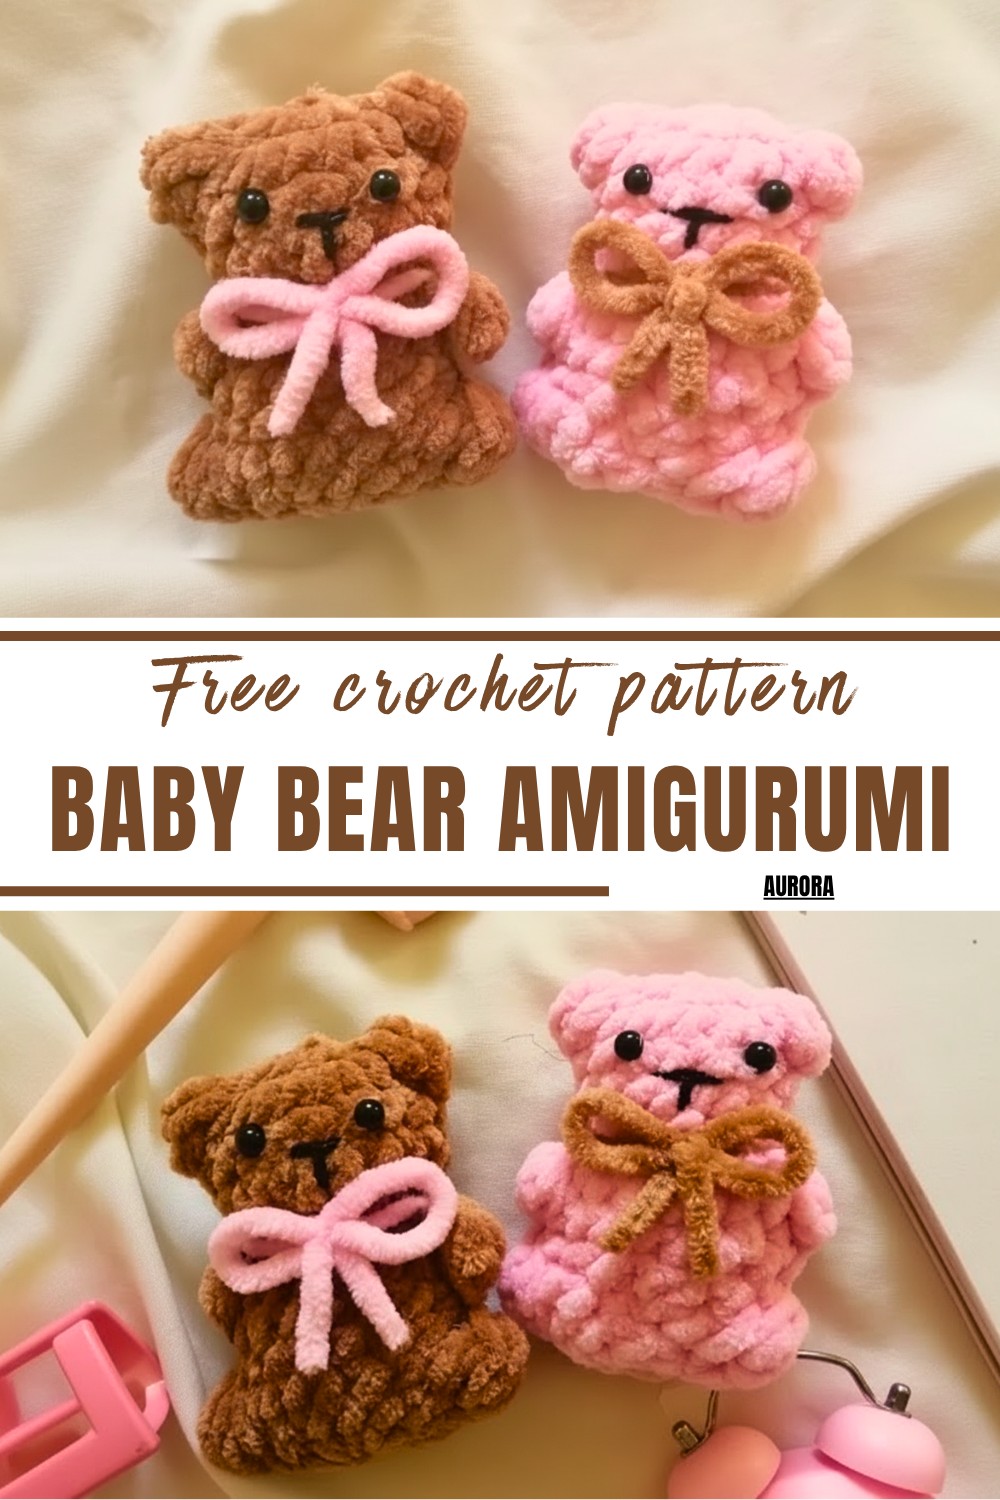
You can personalize your bear in any color, adding small touches like bows or scarves for a unique touch. Lightweight and small, it’s perfect for on-the-go crocheting or a quick, satisfying project. Whether you’re looking to surprise someone special with a handmade gift or enhance your collection of crocheted keepsakes, this pattern has you covered.
It’s more than just a bear—it’s an expression of creativity and love in its simplest, cutest form. So, grab your yarn, hook, and a sprinkle of enthusiasm, and you’ll soon have a charming little companion that’s sure to warm hearts and brighten days.
Materials Needed
- Yarn (any color of your choice)
- Crochet Hook (2.5 mm used in the tutorial)
- Scissors
- Bobby pin (or a stitch marker)
- Tapestry needle
- Stuffing
- Glue and plastic eyes
- Black yarn (for facial features)
Abbreviations Used
Here are the abbreviations for stitches used in the pattern:
- MR: Magic Ring
- SC: Single Crochet
- Inc: Increase (2 SC in one stitch)
- Dec: Decrease (join two stitches together)
- Bobble: Bobble Stitch
Pattern
Step 1: Start with the Magic Ring
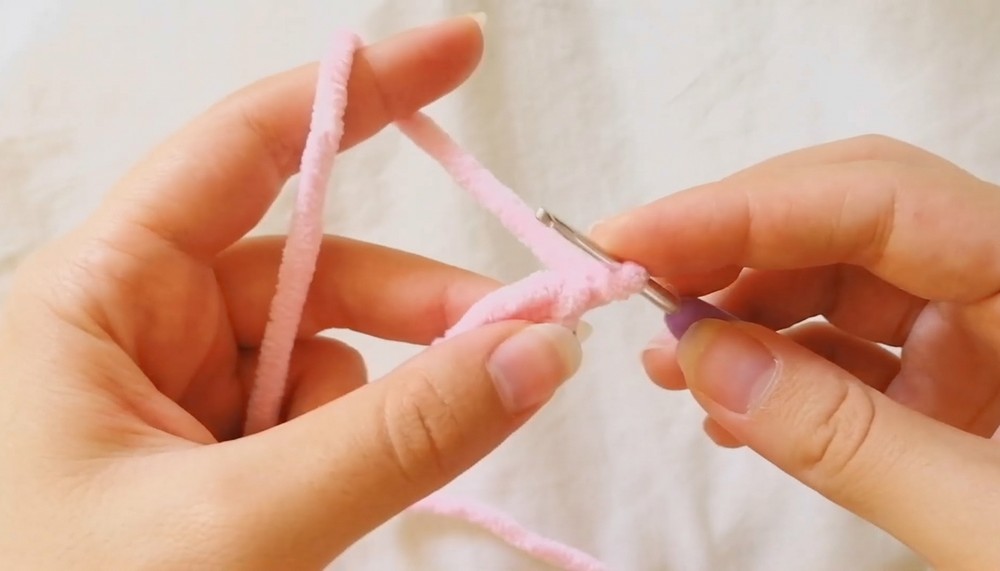
- Wrap the yarn around two fingers and hold it with your thumb.
- Insert the crochet hook into the first loop, grab the second loop, and twist it.
- Grab the working yarn and pull it through the loop.
- Tighten to create a magic ring.
2: Round 1
- Work 6 SC into the magic ring.
- Pull the tail of the magic ring to close it tightly.
3: Round 2
- Make 6 increases (2 SC in each stitch), resulting in 12 stitches.
4: Round 3
- Work in the following pattern:
- 1 SC, Inc (repeat around).
- Total stitches: 18.
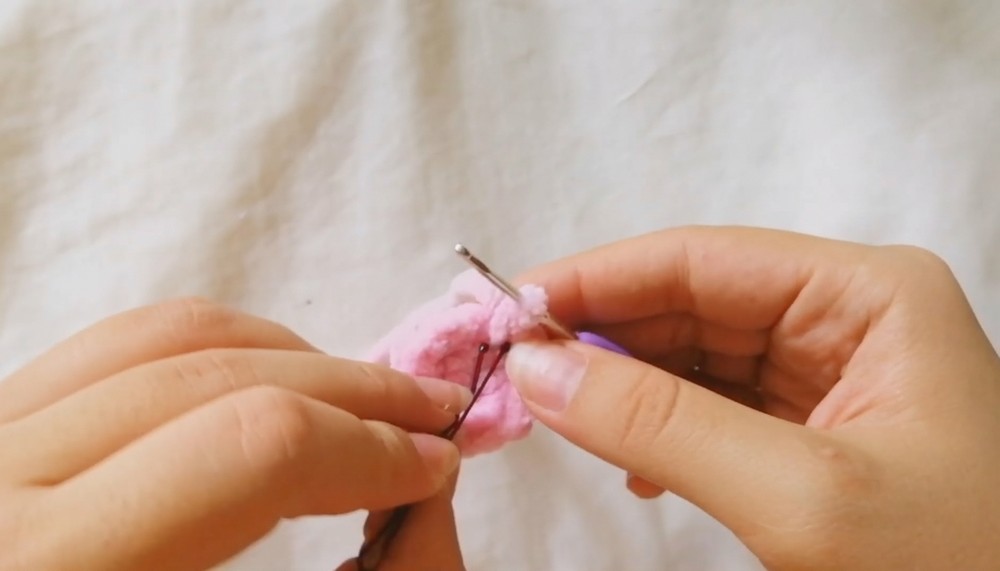
- After the first stitch, use a bobby pin or stitch marker to mark your starting point.
5: Round 4 to Round 7
- Work 18 SC in each round.
6: Round 8
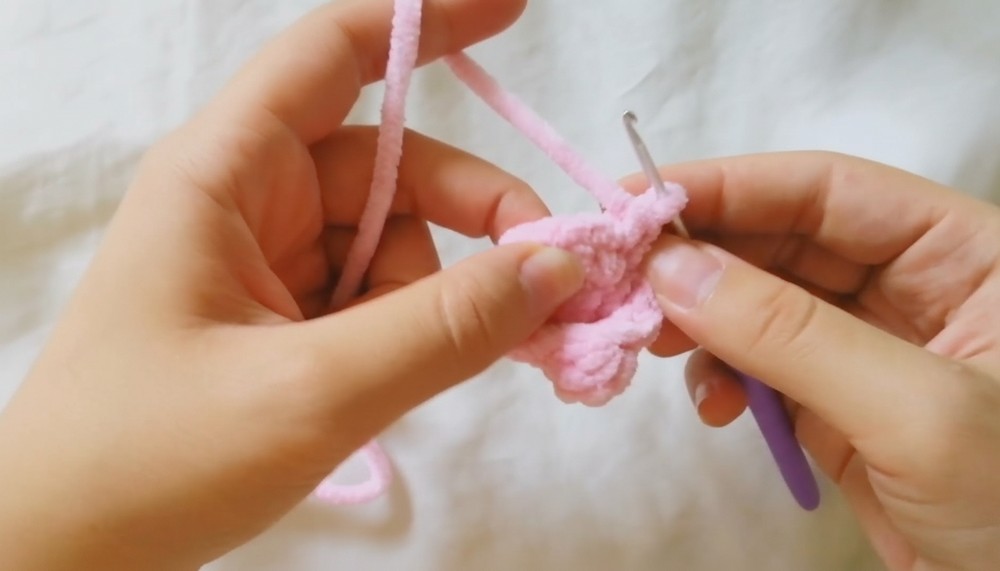
- Begin by crocheting:
- 4 SC, Bobble, 7 SC, Bobble, 3 SC.
- This round creates the bear’s arms using the bobble stitch:
- Bobble Stitch:
- Yarn over, insert your hook into the stitch, yarn over, and pull up a loop.
- Yarn over and pull through two loops (repeat 3 more times in the same stitch).
- You should have 6 loops on your hook.
- Yarn over and pull through all 6 loops.
- Bobble Stitch:
7: Rounds 9 and 10
- Work 18 SC in both rounds.
8: Round 11
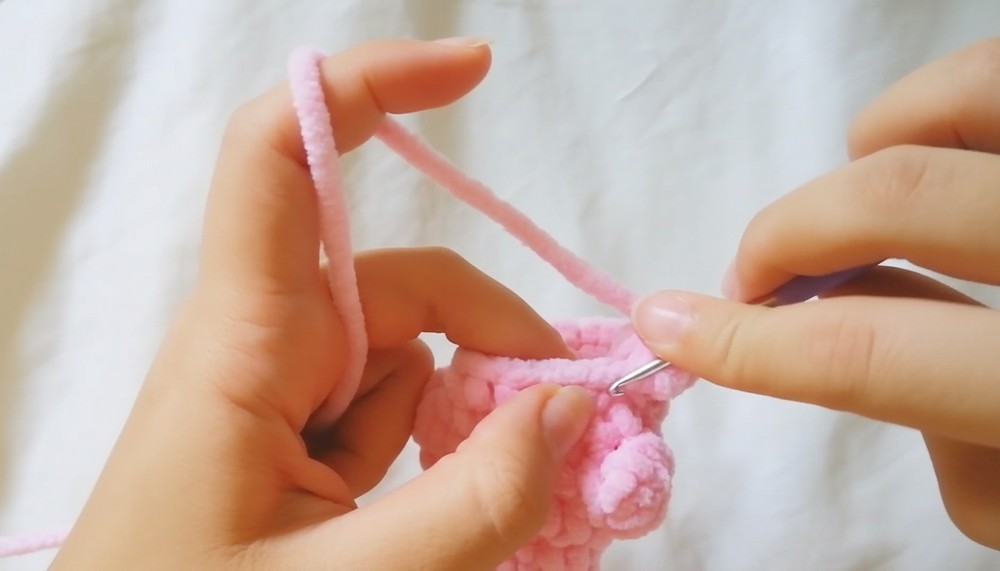
- Crochet:
- 4 SC, Bobble, 7 SC, Bobble, 3 SC.
9: Stuff the Bear
- Add stuffing to your bear before starting Round 13. Adjust the amount so the bear is firm but not overly stretched.
10: Round 13 (Decreasing)
- Work 6 decreases:
- Insert your hook into the first stitch, yarn over, and pull up a loop.
- Insert your hook into the next stitch, yarn over, and pull up another loop.
- Yarn over and pull through all three loops on your hook.
- Repeat this 5 more times until the hole closes.
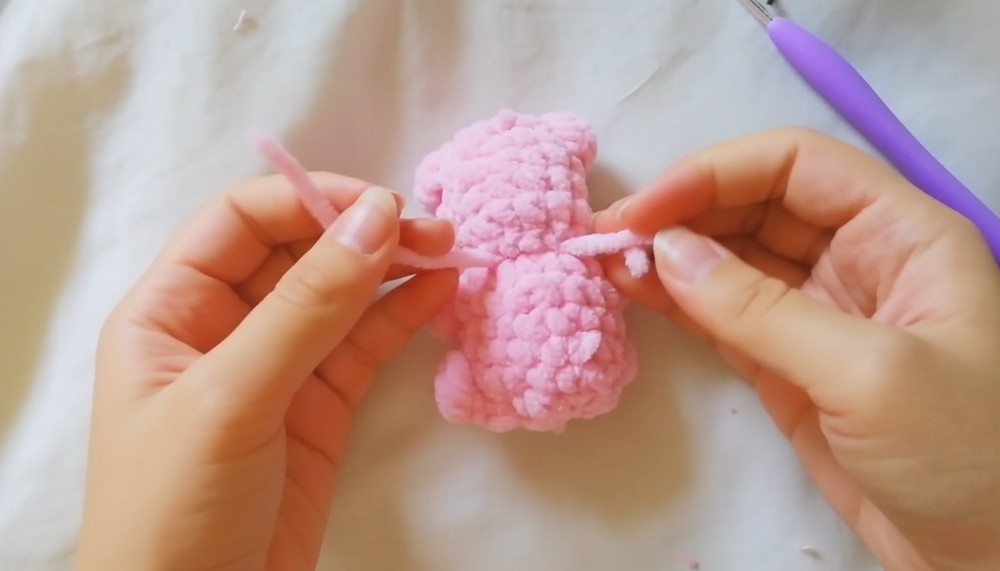
- Cut the yarn and pull it through.
- Use the tapestry needle to weave the leftover yarn through the stitches, tightening the closure.
11: Decorating the Bear
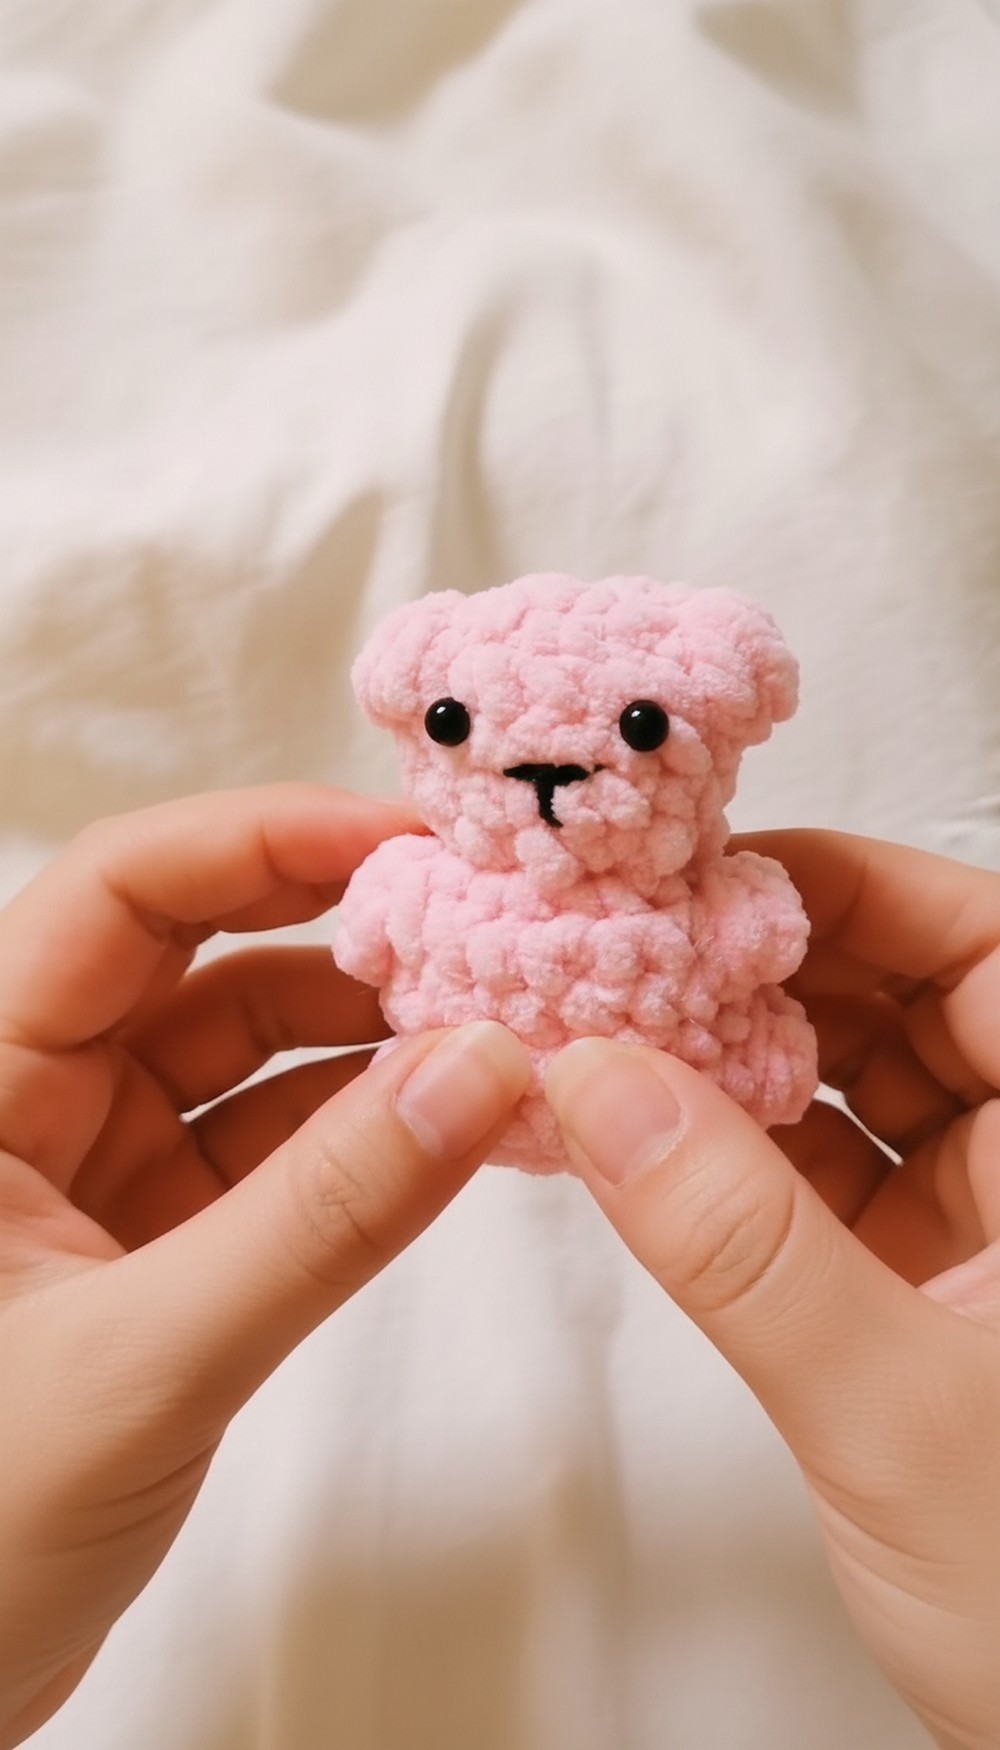
- Face:
- Take black yarn and sew the mouth and nose between Rounds 4 and 5.
- Eyes:
- Glue the eyes near the first round.
- Bow:
- Crochet a small bow to decorate the bear or use a ribbon.
Difficulty Level
- Beginner-Friendly: This project introduces basic stitches such as single crochet, magic ring, and bobble stitch, making it a perfect learning opportunity for new crocheters.
Special Features
- Bobble Stitch: Adds adorable texture for the bear’s arms.
- Customizable: You can use different yarn colors or add accessories like bows or scarves.
- Small and Quick: Makes it an excellent project for gifts or baby decor.
Uses
- Gift for babies or kids.
- Nursery Decoration.
- Collectible amigurumi for crochet enthusiasts.
Tutor’s Suggestion
The instructor emphasizes taking your time to learn the bobble stitch and encourages beginners to rewatch the sections in case they forget how to execute key techniques.
Tip
- Stretch Out Your Hands: Crochet can sometimes strain the hands, so take short breaks to stretch and relax your fingers. It ensures you enjoy a smooth crafting experience!
Conclusion
Congratulations! You’ve successfully crocheted a cute baby bear. This beginner-friendly project is not just adorable but also a rewarding experience. With practice, you’ll perfect your stitches and be able to customize your bears in various colors and accessories.