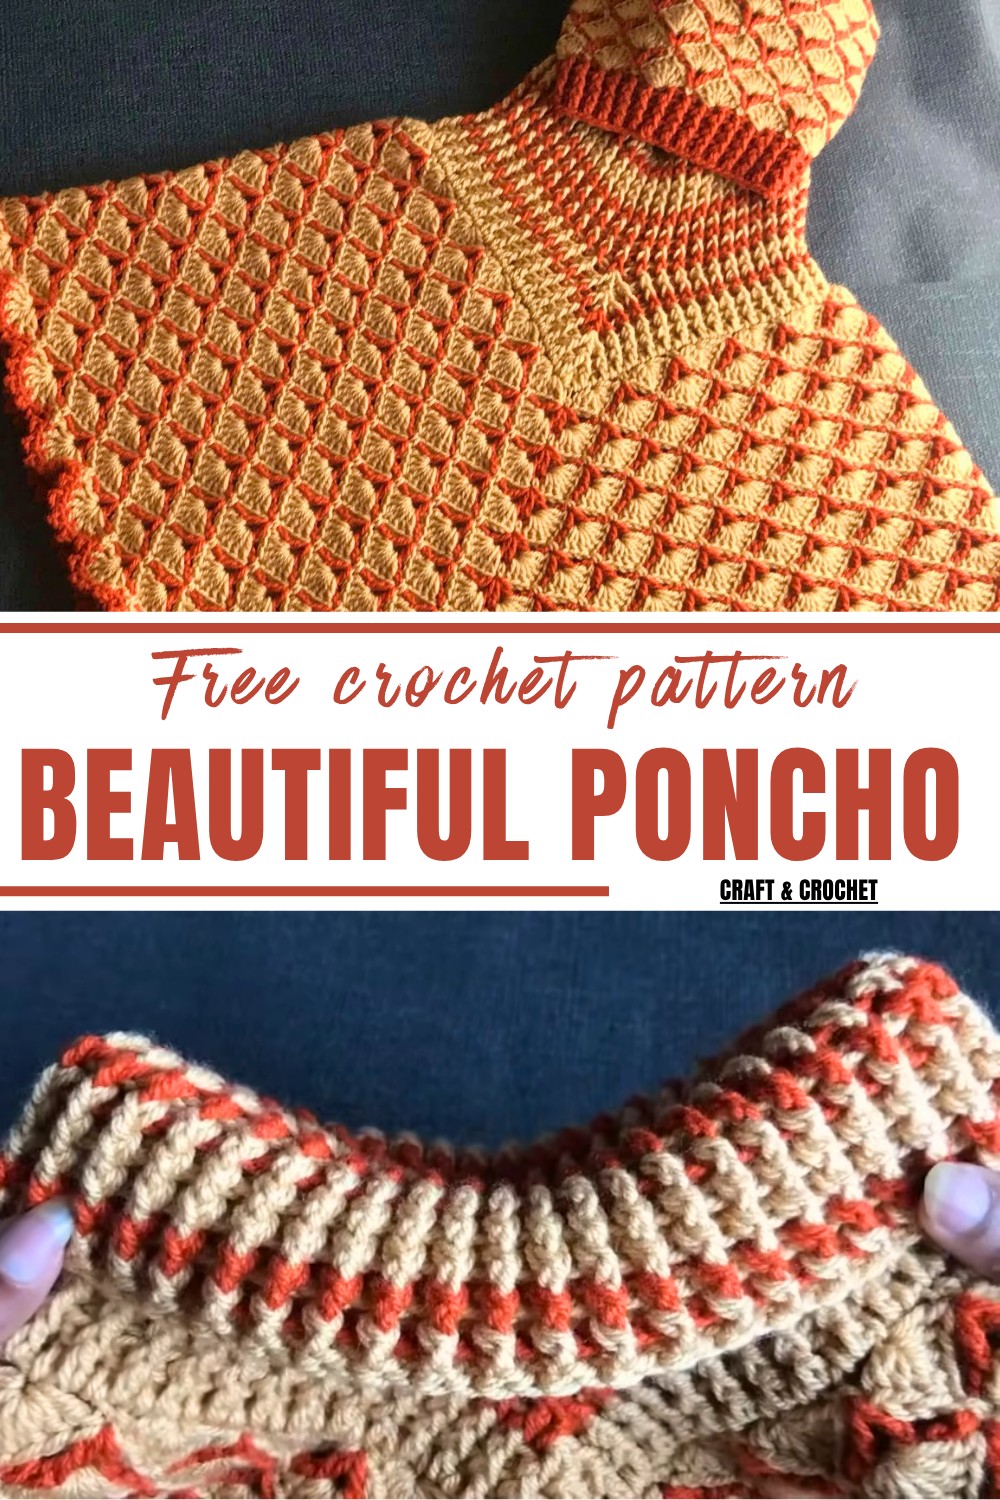
Beginner-Friendly Crochet Poncho Pattern for Elegant Layering
Upgrade your wardrobe with a stunning Free Crochet Poncho Pattern that’s simple to follow and ideal for layering in cooler weather.
Adding a touch of warmth and style to your wardrobe has never been easier with this crochet poncho pattern. Designed to suit all skill levels, this project brings together simplicity and elegance to crochet a timeless piece that’s perfect for any season. Whether you’re new to crochet or an experienced enthusiast, the repetitive pattern ensures a soothing and gratifying experience, while allowing room for creativity and personal flair.
Easy and Free Crochet Poncho Pattern for Cozy and Fashionable Looks
This pattern isn’t just about practicality; it offers versatility and charm in spades. Perfect for layering over casual or dressy ensembles, it provides a cozy yet fashionable finishing touch to any outfit. With endless customization options, from vibrant colors to neutral tones, you can match it to your personality or the occasion. Its lightweight pattern ensures it’s easy to wear while still providing comfort on chilly days or cool evenings.
Great for building crochet confidence or as a relaxing project, this pattern also makes an amazing gift for loved ones. Functional, stylish, and endlessly adaptable, the poncho is a wardrobe staple that combines comfort with creativity, leaving you with both a sense of accomplishment and a finished piece you’ll be proud to wear. It’s a must-try project!
Introduction
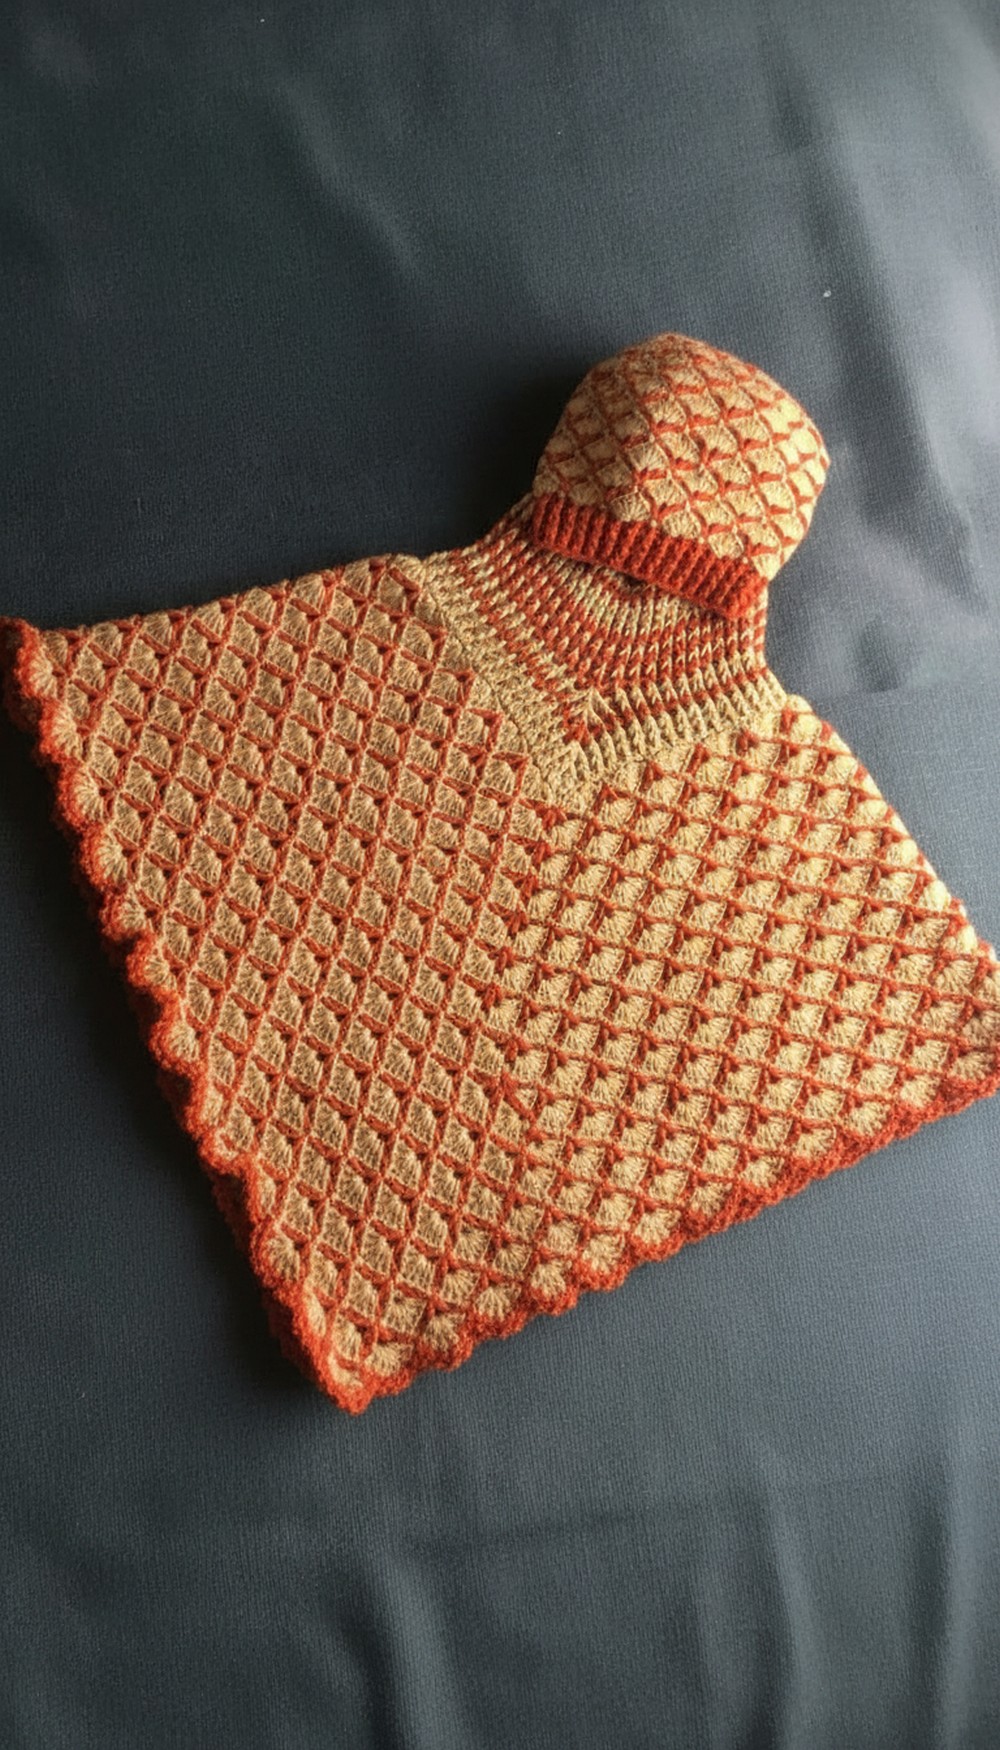
This poncho is a cozy, stylish piece worked in the round from the neckline down, using a beautiful shell and V‑stitch pattern that only repeats two rounds. It’s designed to match a separate hat pattern and is worked in two colors for a modern, textured effect. The poncho pattern is light yet warm, comfortable to wear, and suitable for teens, 8 years+, adult medium, and adult large depending on starting chains and number of repeats.
Special Features
- Only two main pattern rounds to repeat (a shell round and a framework/V‑stitch round).
- Multiple sizes: 8 years+ / teen, Adult Medium (M), Adult Large (L).
- Neck variations: short neck or long turtleneck collar.
- Uses two colors for a trendy striped/shell look, but can be worked in one color.
- Stretchy, textured ribbed neck using front post and back post double crochet.
Skill Level
Advanced Beginner to Intermediate
You should be comfortable with:
- Chain (ch)
- Single crochet (sc)
- Double crochet (dc)
- Front post double crochet (FPdc)
- Back post double crochet (BPdc)
- Working in rounds
- Increasing and decreasing with post stitches (for the neck shaping)
Materials
- Yarn: Double knitting (DK) yarn
- For 8 years+/Teen / Adult M:
- 2 balls light color (100 g, 300 m each)
- 1 ball dark color (100 g, 300 m)
- For Adult L:
- Extra 2 balls (so 4 light + 2 dark total, as tutor suggests more yarn for larger size)
- For 8 years+/Teen / Adult M:
- Recommended hook: 4.0 mm crochet hook (used for all sizes)
- Stitch markers or a contrasting scrap yarn (for corners and counting)
- Yarn needle for weaving in ends
- Scissors
Size & Foundation Chain
Pattern multiple: multiple of 6 + 2
From the video:
- 8 years+ / Teen / Adult Medium:
- Foundation chain: 134 ch
- (This is 132: multiple of 6 + 2 extra = 134)
- Results in 22 shells around
- Approx circumference: 32.5″ / 82 cm
- Adult Large:
- Foundation chain: 146 ch
- (144: multiple of 6 + 2 extra = 146)
- Results in 24 shells around
Teen and Adult Medium start with the same number of stitches (134 ch) – difference is in the number of pattern rounds repeated for length.
Abbreviations (US Terms)
- ch – chain
- sc – single crochet
- dc – double crochet
- FPdc – front post double crochet
- BPdc – back post double crochet
- st(s) – stitch(es)
- sl st – slip stitch
- sk – skip
- sp – space
- RS – right side
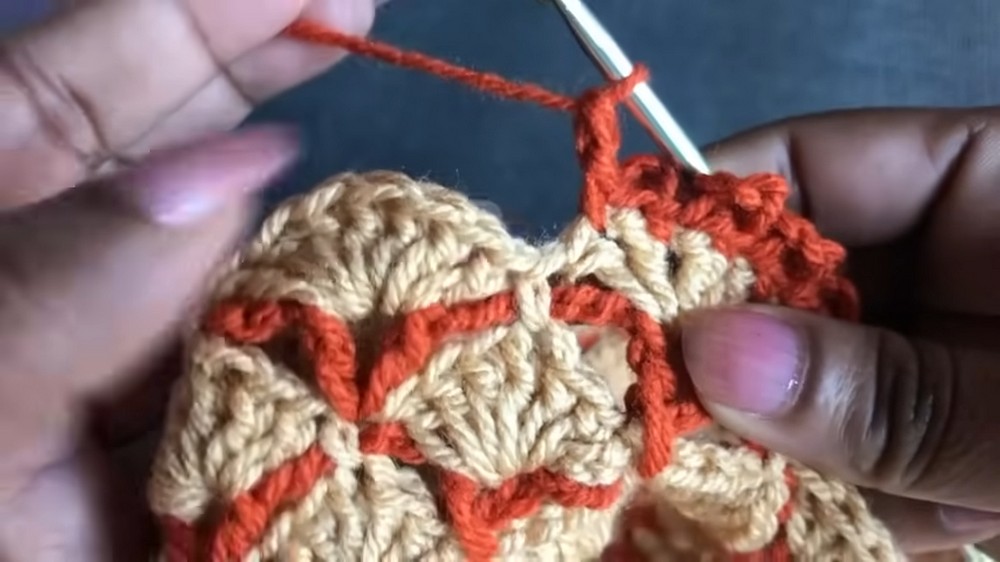
General Notes
- Poncho body is worked in the round from neck downward.
- You alternate:
- a framework round (V‑stitches and ch‑5 spaces) in dark color, and
- a shell round (7 dc shells) in light color.
- Corners are made by two V‑stitches separated by ch‑1 into marked points.
- Each shell round increases two shells total (one per side), so poncho gradually widens.
- Neck is picked up later around the top opening.
PONCHO BODY
Foundation Chain
Using light color and 4 mm hook:
- Make a slip knot.
- Chain to the required length:
- 8 years+ / Teen / Adult M:
- Chain 134.
- Adult L:
- Chain 146.
(The tutor counts in blocks and uses contrasting yarn to keep track, but you can just count.)
- 8 years+ / Teen / Adult M:
- Turn the chain so the back bumps face you; you’ll work into these back loops.
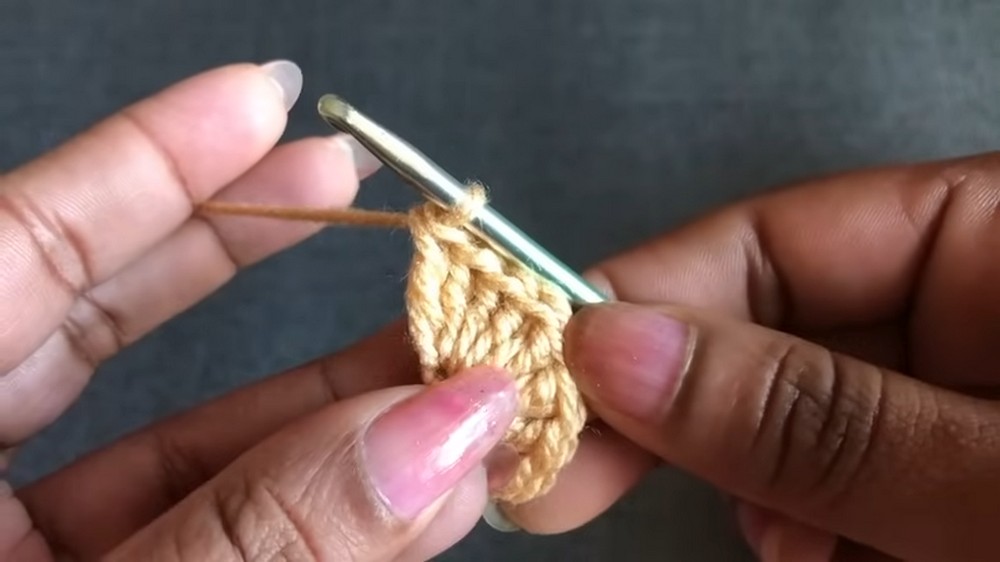
Round 1 – Shell Foundation Round (Light Color)
This round establishes all your 7 dc shells and joins into a ring.
- Skip first ch, sc in 2nd ch from hook.
- Shell: sk next 2 ch, 7 dc in next ch.
- Anchor shell: sk next 2 ch, sc in next ch.
- Repeat steps 2–3 all along the chain:
- For 8 years+ / Teen / Adult M you should end with 22 shells total.
- For Adult L you should end with 24 shells total.
- At end of chain, you should have 3 chains left:
- sk 2 ch, sc in last ch.
- Join round: Bring ends together so the strip forms a ring.
- Sl st into the first sc of the round to join.
- Use the starting yarn tail to secure/join the starting and ending chain neatly (small knot or sewing).
You now have a ring of shells.
Marking Corners
You need 2 opposite corners:
- Start anywhere and choose a sc as your reference point.
- From that sc, skip 2 shells, then mark the next sc as Corner 1.
- From Corner 1, count shells around to opposite side:
- For 8 years+/Teen/M:
- You should have 11 shells per side.
- Mark the sc at that point as Corner 2.
- For 8 years+/Teen/M:
- For Adult L:
- You will need 12 shells per side (24 total).
These corner markers will be used in the framework rounds.
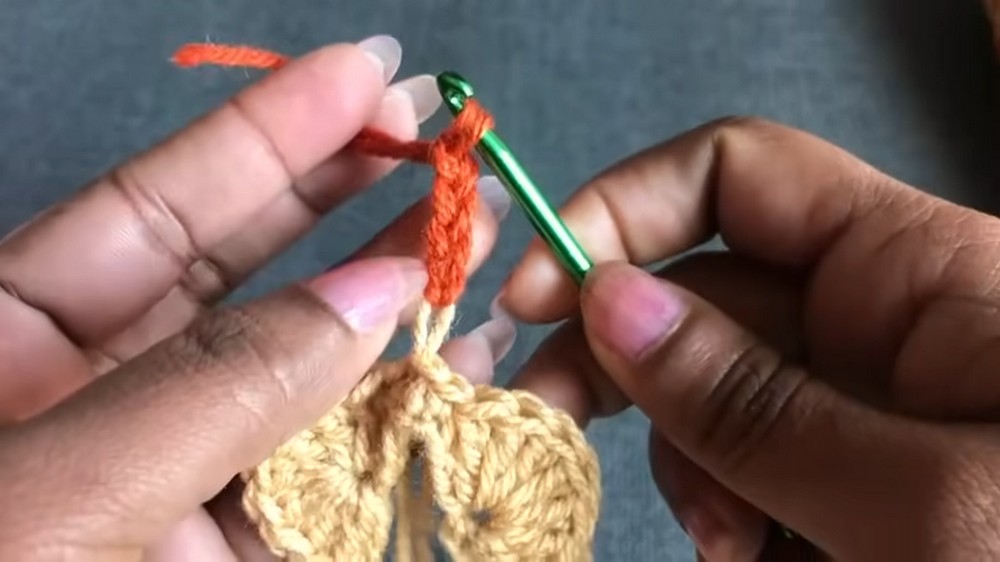
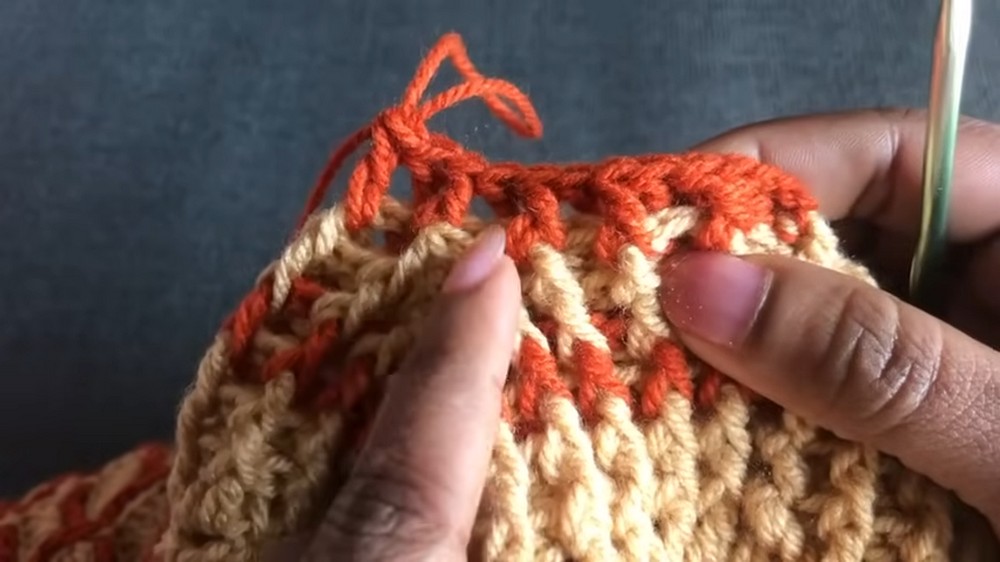
Round 2 – Framework Round (Dark Color)
This is the first V‑stitch + chain‑5 framework round.
Attach/bring up dark color without cutting light color (carry behind).
- Ch 4 (counts as 1 dc + ch‑1).
- In the same corner sc (or starting sc if you began there): dc → forms first V‑stitch:
- (dc, ch 1, dc) in same sc.
- Ch 5.
- Skip next shell, in next sc: work V‑stitch:
- (dc, ch 1, dc) in that sc.
- Continue around:
- Ch 5, V‑stitch (dc, ch 1, dc) in each sc, until you reach Corner 1.
At Each Corner (Two V‑stitches):
At the corner sc:
- Ch 5, in corner sc work:
- (dc, ch 1, dc) – first V‑stitch
- ch 1
- (dc, ch 1, dc) – second V‑stitch
This gives 2 V‑stitches separated by ch‑1 at each corner.
- Repeat the same structure for Corner 2.
- Between corners, in each non‑corner sc:
- 1 V‑stitch with ch‑5 between V‑stitches.
- At the end of the round:
- After last ch‑5, join with sl st into the 3rd ch of beginning ch‑4.
Round 2 finished (this is your framework round).
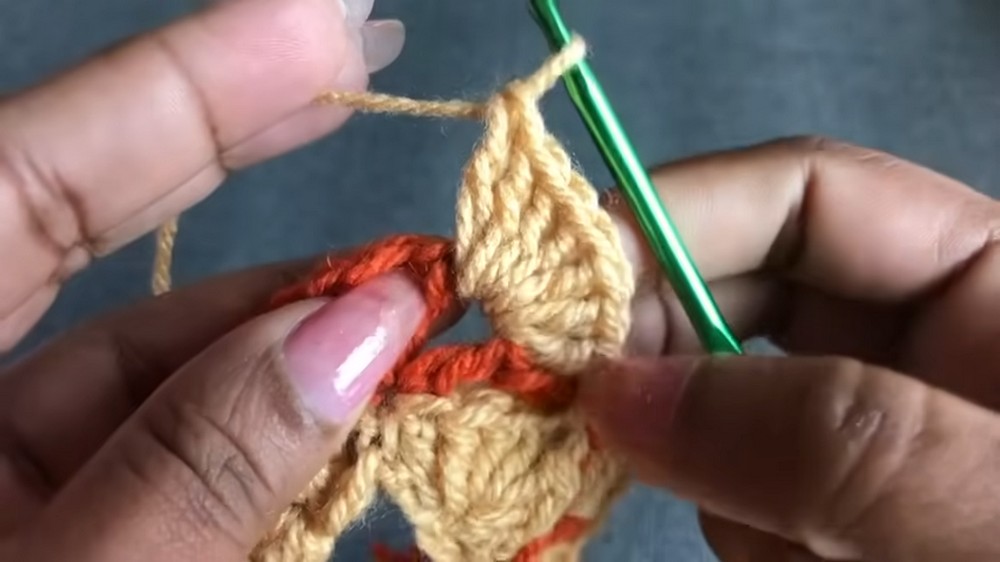
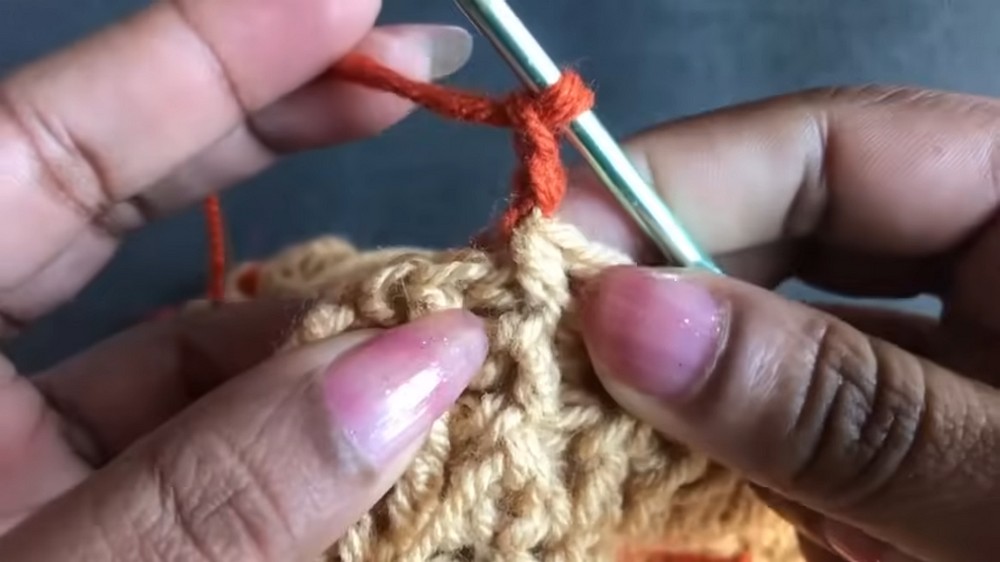
Round 3 – Shell Round (Light Color)
Pull up light color through the loop; do not cut dark.
- In the first V‑stitch of the round:
- Ch 3 (counts as first dc).
- Work 6 more dc into the same V‑stitch space → 7 dc total (shell)
- Over the next ch‑5 arc:
- Find the shell below from the previous shell round (Round 1).
- Locate its 4th dc (center stitch).
- Insert hook into that center dc and sc, anchoring the chain and aligning shells.
- In the next V‑stitch, work 7 dc (shell).
- Repeat:
- Shell (7 dc) in every V‑stitch.
- Then sc into the 4th dc of the shell below to anchor the ch‑5 space.
At Corners on Shell Rounds:
At a corner in Round 3, the structure is:
- First corner:
- Shell in first V‑stitch,
- sc in middle dc of shell below,
- shell in second V‑stitch,
- then sc into the next shell center below.
(From transcript: corner appears as shell–sc–shell around the two corner V‑stitches.)
- Continue around following that pattern.
- At end of round, join with sl st into top of ch‑3 of first shell.
Round 4 – Framework Round (Dark Color)
This is structurally the same as Round 2, but now the poncho has grown a bit.
- Pull up dark yarn; hold light color idle.
- Ch 4 = dc + ch‑1.
- In same sc (where previous shell was anchored): dc → first V‑stitch.
- Ch 5, then in next sc (between shells):
- (dc, ch 1, dc) = V‑stitch.
- Continue V‑stitch in each sc with ch‑5 between.
Corners (same as Round 2):
At each corner sc:
- Ch 5, then in that corner sc:
- (dc, ch 1, dc), ch 1, (dc, ch 1, dc).
Continue to end of round, then sl st into 3rd ch of starting ch‑4.
Round 5 – Shell Round (Light Color)
Same structure as Round 3.
- Pull up light color in first V‑stitch.
- Ch 3, then 6 dc in same V‑stitch = 7 dc shell.
- Sc into center dc of shell below to anchor chain‑5.
- Work shells in all V‑stitches, anchoring each ch‑5 in the 4th dc of previous shell.
- At corners: shell–sc–shell across the two V‑stitches of the corner.
- Join with sl st into top of ch‑3.
Ongoing Body Pattern
From here the tutor repeats:
- Round 2 & Round 3 equivalent:
- Dark color framework round (like Round 2 / 4 / 6…)
- Light color shell round (like Round 3 / 5…)
You always:
- Work V‑stitches with ch‑5 between in dark color rounds.
- Work 7 dc shells in V‑stitches and sc into shell centers on light color rounds.
- At each shell round, you effectively increase 2 shells total per round (one extra per side), so the poncho gently flares.
The tutor mentions, for 8 years+ / teen size:
- Ends up with 16 shell rounds (shaded rounds),
- Total of 31 rounds in the body (framework + shell combined),
- Length approx 19″ / 48 cm from neck opening to hem.
For Adult Medium, she suggests making 5 more shell rounds (which equals 10 rounds total extra, since each repeat has a framework + shell).
For Adult Large, start with more shells (24 instead of 22) and also work more repeats to reach desired length.
Adjust length as you like by repeating these two rounds.
Border / Hem Edging (Dark Color)
Once body is as long as desired:
- Finish the last shell round (light) and join with sl st. Cut light color yarn and fasten off.
- Pull up dark color yarn between any two dc of a shell.
Border Round (same for all sizes):
- Sc between two adjacent dc of the shell.
- Ch 3.
- Insert hook into the two loops of that sc just made (like a picot), sc again – forming a small pointed petal.
- Move to the next gap between two dc of the same shell:
- Sc, ch 3, sc into same sc (picot).
- Work one picot between each pair of dc across the shell → you get 6 picots per shell.
- (Because a 7 dc shell has 6 “spaces” between stitches.)
- At corners, continue exactly the same:
- Sc between two dc, ch 3, sc back into that sc.
Continue all around, working 6 picots per shell, including over corner shells.
At the very end:
- After last picot, sl st into the first sc of the border round.
- Fasten off, weave in dark color ends.
NECK / COLLAR
The neck is worked after the poncho body is complete.
You can make a short neck (few rounds) or long turtleneck (as in video: rounds up to 17).
Neck Pick-Up – Round 1 (Light Color)
- Lay poncho flat, back side up. Identify a back corner.
- From that corner, skip 3 shells along the neckline and insert your hook into the next sc along the neck edge – this is where neck round starts.
- You do this on both sides so neck sits centered between the front corners.
- Attach light color yarn with a sl st, then ch 3 (counts as first dc).
Now you are working around the opening, using the chain spaces that formed the neck edge.
- Pattern around neck (Round 1):
- In each ch‑2 space: work 2 dc.
- In each ch‑1 space: work 1 dc.
At corners, there is a slightly different handling:
- At a corner ch‑2 space:
- dc in that space,
- dc in next nearby space, leave last loops on hook and join them together (dc2tog), forming a slightly decreased corner.
- Work all around the neck opening in this way (dc in ch spaces, corners with dc2tog as the tutor shows).
- At end, join with a sl st to top of starting ch‑3.
Total after Round 1: 128 dc around neck (as tutor states).
Neck Round 2 – Begin Post Rib
Now switch to front post / back post double crochet to form ribbing.
- Ch 3, counts as FPdc.
- Next dc: work BPdc.
- Next dc: FPdc.
- Next dc: BPdc, and so on, alternating FPdc, BPdc around.
At corners: where two sts were worked together earlier, treat them as one stitch, and when you see the paired corner dc, you work FPdc over the merged post as tutor does.
- Continue alternating FPdc and BPdc around.
- Join with sl st to top of ch‑3.
Neck Round 3 – Continue Post Rib + Decrease Corners
- Ch 3 = FPdc over first st.
- Continue alternating FPdc over FPdc, BPdc over BPdc around.
At each corner (3 front post dc sequence in previous round):
- The tutor makes three FPdc together (FPdc3tog):
- FPdc, leaving last loop; FPdc in next; FPdc in next; then yarn over and pull through all loops on hook.
- This reduces stitches and shapes the neck inward.
- Continue alternating FP/BP around the rest.
- Join with sl st.
Neck Rounds 4–7 – More Decreases (Alternating Colors)
The video shows:
- Round 4 – start with dark color, FPdc/BPdc, corners with 3 FPdc together.
- Round 5 – switch back to light color, FPdc/BPdc with corner decreases as before.
- Round 6 – light color, continue FPdc/BPdc and reduce using FPdc3tog at corners.
- Round 7 – same decreasing method.
In summary for Rounds 2–7:
- You’re alternating FPdc and BPdc to create rib texture.
- At each corner, three FPdc posts are worked together to reduce 4 sts per round (as tutor says: “each round we reduce 4 stitches”).
By the end of Round 7, the neck has narrowed and is ribbed.
Rounds 8–17 – Straight Rib (No More Decreases)
From Round 8 onward, the tutor stops decreasing and just continues straight rib:
- Start with chosen color (dark on Round 8 in video).
- Ch 3, then work FPdc in each FPdc, BPdc in each BPdc all the way around.
- No more corner decreases – work into every stitch.
- Repeat this for Rounds 8–17, or until neck is as long as you like.
At the end of Round 17:
- The tutor has 92 stitches in the neck.
- She fastens off and weaves in ends.
For shorter neck: stop earlier, e.g., after Round 5 or 7.
Uses
- Perfect as a warm layer for chilly days.
- Ideal for school age children, teens, and adults.
- Coordinates with a matching hat in the same stitch pattern (mentioned by tutor).
- Great gift project: eye‑catching shell pattern with a neat ribbed neck.
Tutor’s Suggestions & Notes
- Beginners can attempt this since the body repeats only two rounds; the neck is more advanced but manageable if you’ve done post stitches before.
- You can work the whole poncho in one color if you prefer a simpler look.
- For larger sizes:
- Start with more shells (24 for Adult L).
- Add more shell rounds for desired length (tutor suggests +5 shell rounds for Adult M).
- Always count shells and corners occasionally to ensure you haven’t lost or gained unwanted stitches.
Conclusion & Remarks
This Free Crochet Poncho Pattern is both beautiful and practical, with a rhythmic two‑round repeat that makes the body soothing to work and easy to memorize. The combination of shells and V‑stitches gives lovely drape, while the post‑stitch neck adds professional structure and warmth. With clear corner shaping and incremental shell increases, the poncho flares gracefully to fit teens and adults.
Once finished, you’ll have a comfy, stylish poncho that pairs perfectly with the matching hat and can be customized in colors and length to suit any wearer. Take your time with the neck decreases, keep your counts consistent, and you’ll end up with a polished garment you’ll be proud to wear or gift.
Final Tip
When working the shell round, always anchor each chain‑5 space into the center (4th) dc of the shell below with a single crochet. This keeps the shells perfectly aligned and stops the poncho from twisting or skewing as it grows.