How to Free Crochet Baby Sneakers Pattern for Perfect Keepsakes
Learn an innovative Free Crochet Baby Sneakers Pattern that offers clear steps to crochet stylish, cozy, and adorable baby shoes.
Tiny toes deserve big style, and nothing says adorable quite like a pair of perfectly crocheted baby sneakers. These pint-sized shoes combine charm, comfort, and personalization, making them a beautiful labor of love for babies aged 0-12 months. Whether you’re crocheting them as a thoughtful baby shower gift, a keepsake for new parents, or a warm addition to a newborn’s wardrobe, their versatility adds endless value.
Easy Crochet Baby Sneakers Pattern for Beginners & Experts Alike

With clear, step-by-step guidance, this pattern caters to intermediate crocheters who enjoy working on projects that are both fun and functional. Designed to fit seamlessly with a baby’s busy little kicks, this pattern feature a sturdy sole, a snug fit, and a shaped toe section, all paired with endless customization possibilities through color and detailing.
Aside from being irresistibly cute, this crochet pattern is practical, lightweight, and ideal for any season. Whether they’re for your little one or someone else’s, these baby sneakers blend creativity and love into a project that’s as meaningful as it is stylish. Quick to follow, easy to gift, and heartwarming to see, they’re sure to become a favorite go-to crochet project.
Crochet Baby Sneakers Pattern
Difficulty Level: Intermediate
Special Features: Shaped toe section, sturdy structure, adaptable sizing, and adorable results.
These crochet baby sneakers are perfect for gifting or creating a personalized accessory for little feet. Designed for sizes 0-2 months, 3-6 months, and 6-12 months, the pattern offers step-by-step guidance with tips to achieve flawless results.
Materials Needed:
- Yarn in three colors (or as preferred)
- Crochet hook (adjust size based on yarn)
- Stitch markers
- Scissors
- Yarn needle with a blunt point for sewing ends
- Optional: Cushion or soft toy stuffing for blocking
Step-by-Step Pattern:
Base Sole Section:
- Start: Begin with a slip knot and chain 10.
- Round 1:
- Work into the 3rd chain from the hook. Make 2 double crochets:
- Yarn over, insert hook into the chain, yarn over, pull through, yarn over, pull through two loops, yarn over, pull through the remaining two loops.
- Continue making 1 double crochet into the next 6 chains.
- In the last chain, make 6 double crochets.
- Mirror the initial side by crocheting 1 double crochet into the next 6 chains.
- Finish the round with 2 double crochets in the first stitch.
- Slip stitch into the top of the starting stitch to close the round. You should have 22 stitches.
- Work into the 3rd chain from the hook. Make 2 double crochets:
- Round 2:
- Chain 2. Start with 2 double crochets in the first stitch. Repeat this in the next stitch.
- Crochet 1 double crochet into the next 5 stitches.
- Make 2 double crochets into each of the next 8 stitches as increases.
- Mirror the other side: Crochet 1 double crochet into the next 5 stitches again.
- Finish with 2 double crochets in each of the last 2 stitches.
- Slip stitch into the top of the starting stitch. You should now have 34 stitches.
- Rounds 3 & 4:
- Chain 1. Work single crochets into the back loops of each stitch for both rounds.


Toe Section:
- Identify the middle stitches by folding the work, marking the center stitch on the toe side. Then count 8 stitches on each side of the marked stitch to determine the toe section. Place stitch markers accordingly.
- Attach Yarn: Replace the stitch marker on the starting position and attach your toe-section yarn.
- Row 1: Create 8 double crochet decreases by:
- Yarn over, work into the next back-loop stitch, complete half the double crochet, repeat in the next stitch, and complete the decrease.
- Continue until all 8 decreases are done to shape the toe.
- Row 2: Chain 2 and turn. Create 4 double crochet decreases over the remaining 8 stitches, now working under both loops.
- Finish Off: Cut yarn, pull through, and sew in ends.

Tongue Section:
- Attach Yarn: Join your tongue yarn on the right (or left for left-handed crocheters).
- Make 8 single crochets evenly spaced across the toe section.
- Row 1: Chain 1, turn, and make 8 single crochets.
- Row 2: Chain 1, turn, and skip the first stitch. Single crochet across the remaining 7 stitches.
- Row 3: Chain 1, turn, skip the first stitch. Single crochet across the remaining 6 stitches.
- Snip yarn and sew in ends.

Body Edging:
- Join Yarn: On the right-hand side of the toe (or left for left-handed crocheters), join the yarn for the body edging.
- Work single crochets evenly across the top and sides. At each corner, make 2 single crochets.
- On the opposite end, snip yarn, sew in ends, and complete the shaping.
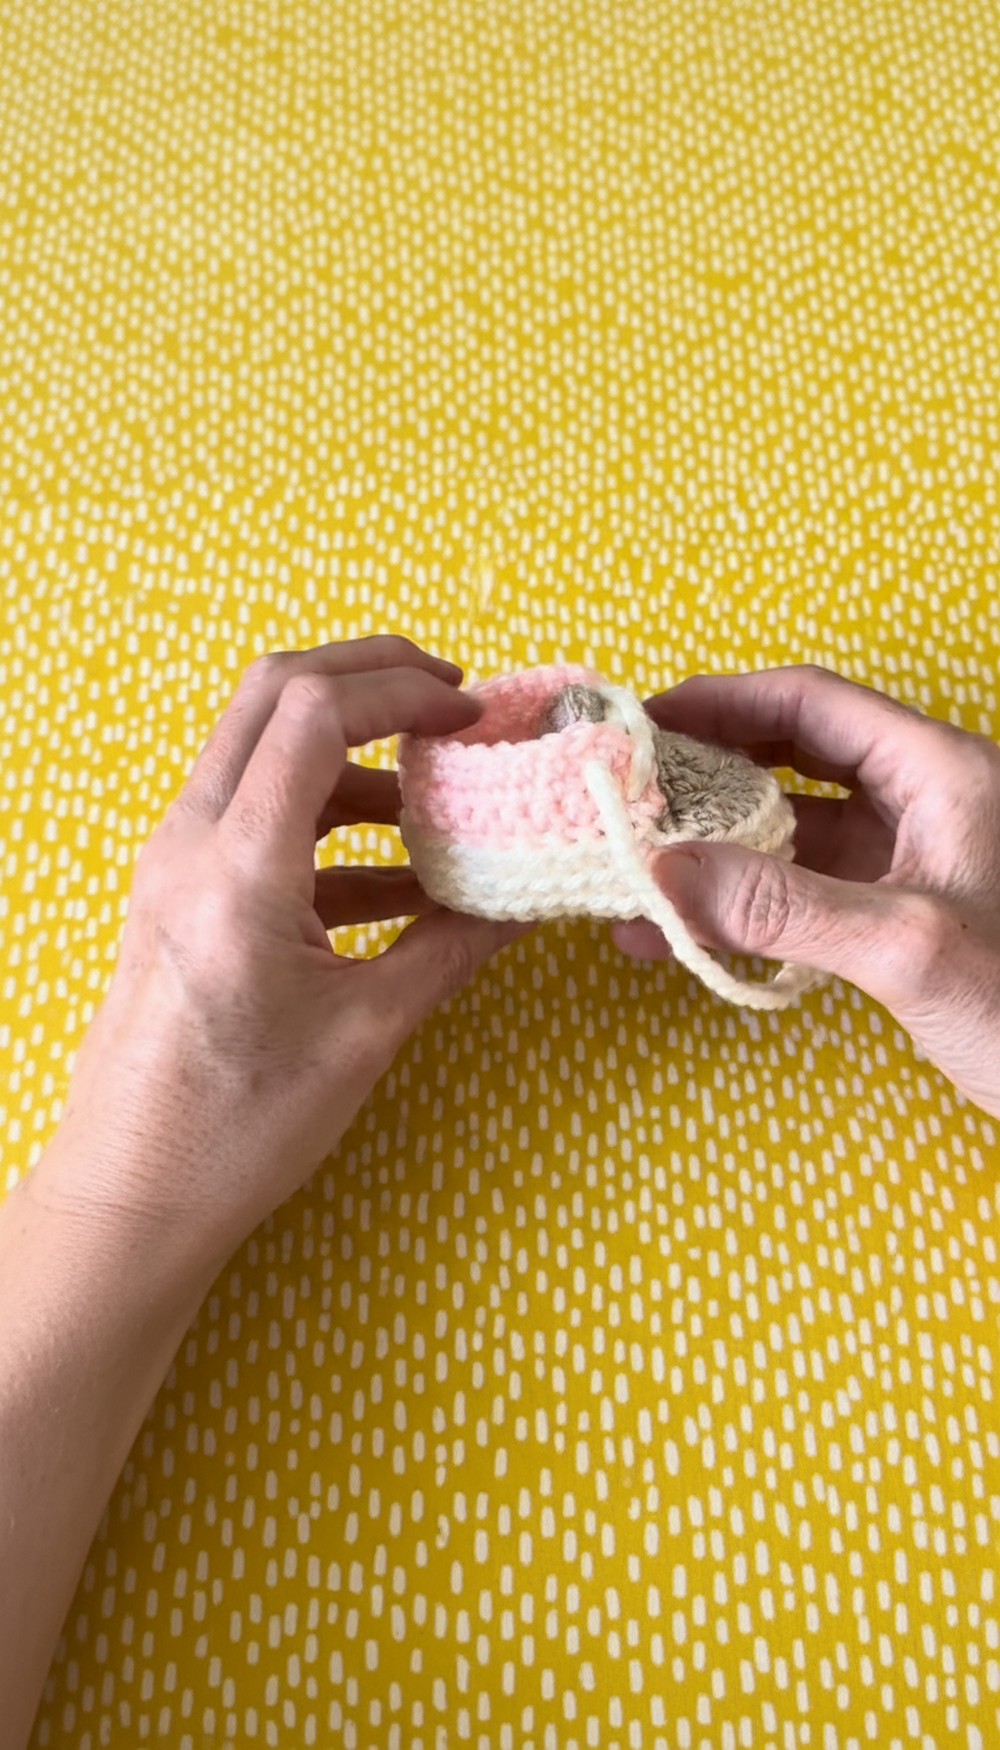
Final Edging and Laces:
- Edging: Join yarn at the shoe’s body edge to create finishing stitches. Make single crochets all around for a neat edge.
- Laces: Use a smaller crochet hook for tighter tension.
- Make a slip knot and chain tightly for 40 cm (16 in).
- Snip yarn, pull through, and fray the ends slightly for a finished look.
- Thread the laces through the stitch gaps evenly.

Conclusion:
This charming baby sneakers pattern offers a timeless yet modern look. With structured design and thoughtful shaping, it’s perfect for any skillful crocheter looking for a rewarding challenge. Whether as a gift or a keepsake, these tiny creations will bring joy and love.
Tutor’s Suggestions:
- Tighten stitches for durability and structure.
- Block the finished work using soft stuffing to refine the shape.
- Experiment with colors to suit different themes or personalize your design.
Tip:
After finishing, spritz the shoes lightly with water, stuff them for blocking, and let dry to maintain their shape beautifully.