Free Crochet Sailor’s Knot Coaster Pattern for Every Occasion
Quick Crochet Sailor’s Knot Coaster Pattern That Looks Amazing Anywhere
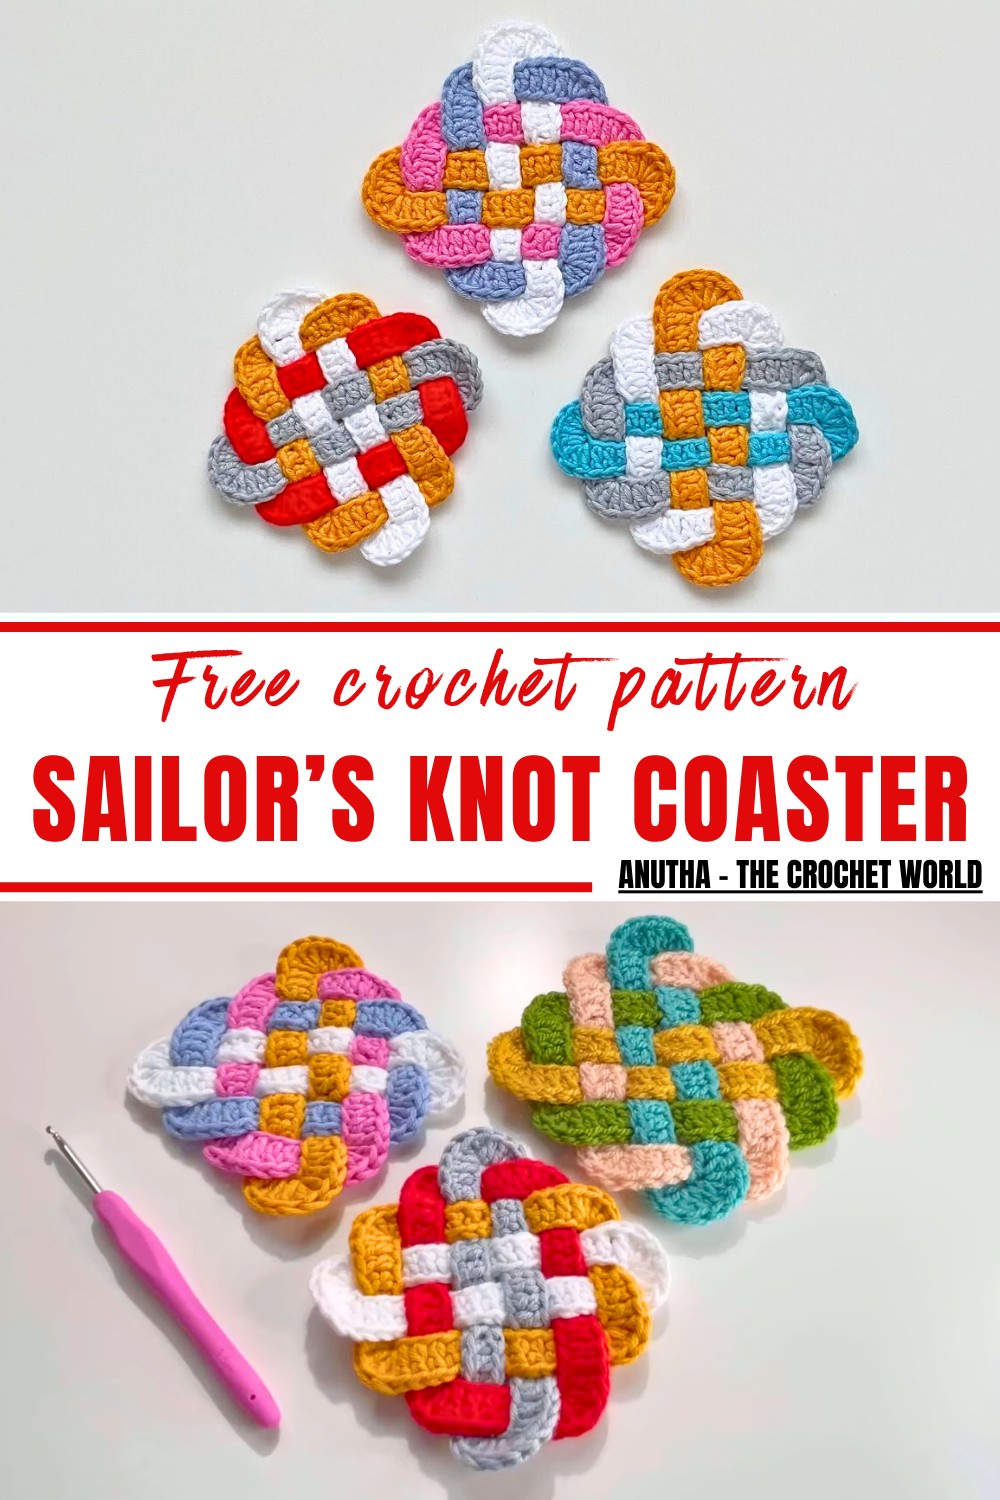
Tailored for all skill levels, it offers endless customization options—experiment with vibrant colors for a lively touch or soft pastels for a subtle nautical vibe. This pattern is lightweight, durable, and ideal for everyday use or special occasions like tea parties, brunches, or gatherings with a seaside theme. Using yarns ranging from cotton to acrylic, you can crochet coasters that are long-lasting and easy to clean.
Beyond its aesthetic appeal, this pattern makes a thoughtful handmade gift for friends and family, showcasing your unique crochet skills. The interwoven knot pattern speaks of patience and creativity, while its compact size makes it perfect for showcasing on coffee tables or as part of handmade gift bundles. Bring style, functionality, and personal charm into your space with this captivating piece for your tableware collection.
Materials Needed
- Yarn: Four different colors of yarn (100% cotton or 100% acrylic).
- Hook: Depending on yarn type:
- 3 mm for tight stitches.
- 3.5 mm (recommended).
- 4 mm to 5 mm for larger coasters and looser shapes.
- Tapestry Needle: For stitching the pieces together.
- Scissors.
Difficulty Level
- Intermediate: While the individual steps are simple, the project requires precision in assembly and tying the knot.
Special Features
- Uses four different colors to give a vibrant, striking effect.
- Combines oval and rectangular shapes for a dynamic design.
- Can be made with acrylic yarn for durability or cotton yarn for softness.
- A functional and decorative coaster with a sophisticated woven look.
Step-by-Step Pattern
Part 1: Oval Shape
You will need two oval shapes for the Sailor’s Knot Coaster.
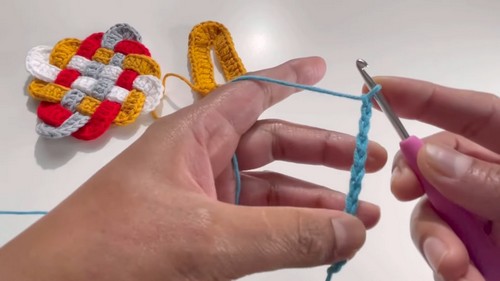
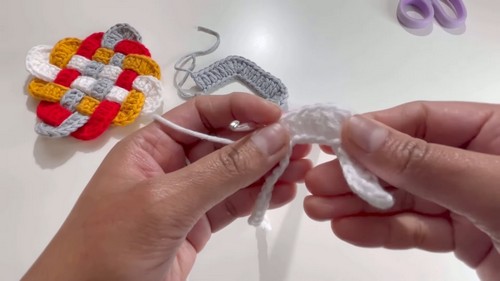
Step 1: Foundation
- Slip Knot: Create a slip knot with the first yarn color.
- Chain 40: Make 40 chains (40 CH).
2: Double Crochet in Chains
- Skip the first three chains (these count as the first double crochet).
- Yarn over (YO) and insert your hook into the back portion of the 4th chain.
- Make 1 double crochet (DC).
- Continue making 6 DCs, one in each chain.

3: Cluster Stitches
- In the next chain, make 4 double crochets in the same chain, forming a cluster (4 DC in 1 CH).
- Repeat the cluster: Make 4 DCs into the next chain.

4: Long Stretch of DCs
- Make 17 DCs, one in each of the next 17 chains.
5: Second Cluster Stitches
- In the next chain, make 4 DCs in the same chain.
- Repeat this cluster for the following chain.
6: Final Stretch
- Work 11 DCs, one in each of the last 11 chains.
Step 7: Finish Off
- Cut your yarn and secure the last stitch.
- Repeat the steps above to make two oval shapes.
Part 2: Rectangular Shape
You will need two rectangular shapes for the pattern.
Step 1: Foundation
- Slip Knot: Create a slip knot with the second yarn color.
- Chain 42: Make 42 chains (42 CH).
2: Double Crochet in Initial Chains
- Skip the first three chains (first DC).
- Yarn over (YO) and insert your hook into the back portion of the 4th chain.
- Make 6 double crochets (6 DCs) in total, one in each chain.
3: Cluster Stitches
- In the next chain, make 4 DCs in the same chain (forming a cluster).
- Follow this with 6 DCs, one in each of the next 6 chains.
4: Large Center Stretch
- Make 12 DCs, one in each of the next 12 chains.
5: Repeat Cluster and Final Stretch
- In the next chain, make 4 DCs in the same chain (repeat cluster).
- Make 6 DCs in the next 6 chains.
- Repeat 4 DCs in the next chain for the last cluster.
- Finish with 6 final DCs, one in each of the last 6 chains.
Step 6: Finish Off
- Cut your yarn and secure the last stitch.
- Repeat the steps here to make two rectangular shapes.
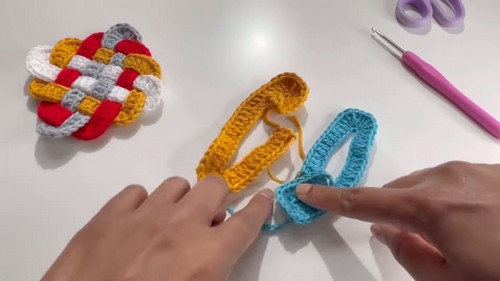
Part 3: Assembly – Forming the Sailor’s Knot
Step 1: First Oval Pair
- Place the two oval shapes side by side.
- Stitch the ends of both oval shapes together using a tapestry needle, forming two connected loops.
2: Adding the First Rectangle
- Take the first rectangle and weave it into the ovals.
- Follow the Sailor’s Knot structure:
- Below one oval, over the second oval, and repeat.
- Stitch the rectangle’s ends together once properly placed.
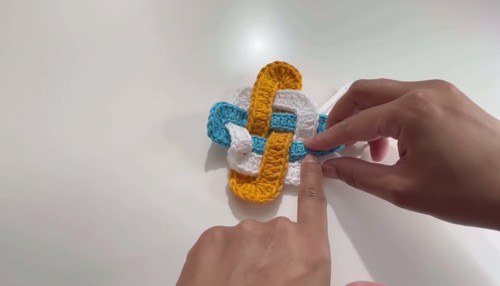
3: Second Rectangle
- Weave the second rectangle through the shapes, alternating below and above as needed.
- Stitch the ends securely to complete the woven knot look.

Tutor’s Suggestions
- For beginners, practice yarn tension consistency to avoid uneven shapes.
- Acrylic yarn provides durability, while cotton yarn offers softness and a more natural finish.
- Use contrasting colors for a striking visual effect or pastels for a subtle, decorative touch.
Uses
- Perfect for protecting tables from heat or moisture.
- Great as an addition to nautical or rustic-themed spaces.
- Makes an excellent handmade gift idea for friends and family.
Tip
Before stitching the pieces together, carefully adjust their placement to ensure the knot looks symmetrical for a polished finish.
Conclusion
The Sailor’s Knot Coaster Pattern is a beautiful and functional crochet project that combines skill and creativity. Its unique design adds personality to any home and is a fun challenge for both beginners and experienced crocheters. Use vibrant or subtle color combinations to suit your taste, and enjoy the satisfaction of weaving this intricate knot together.