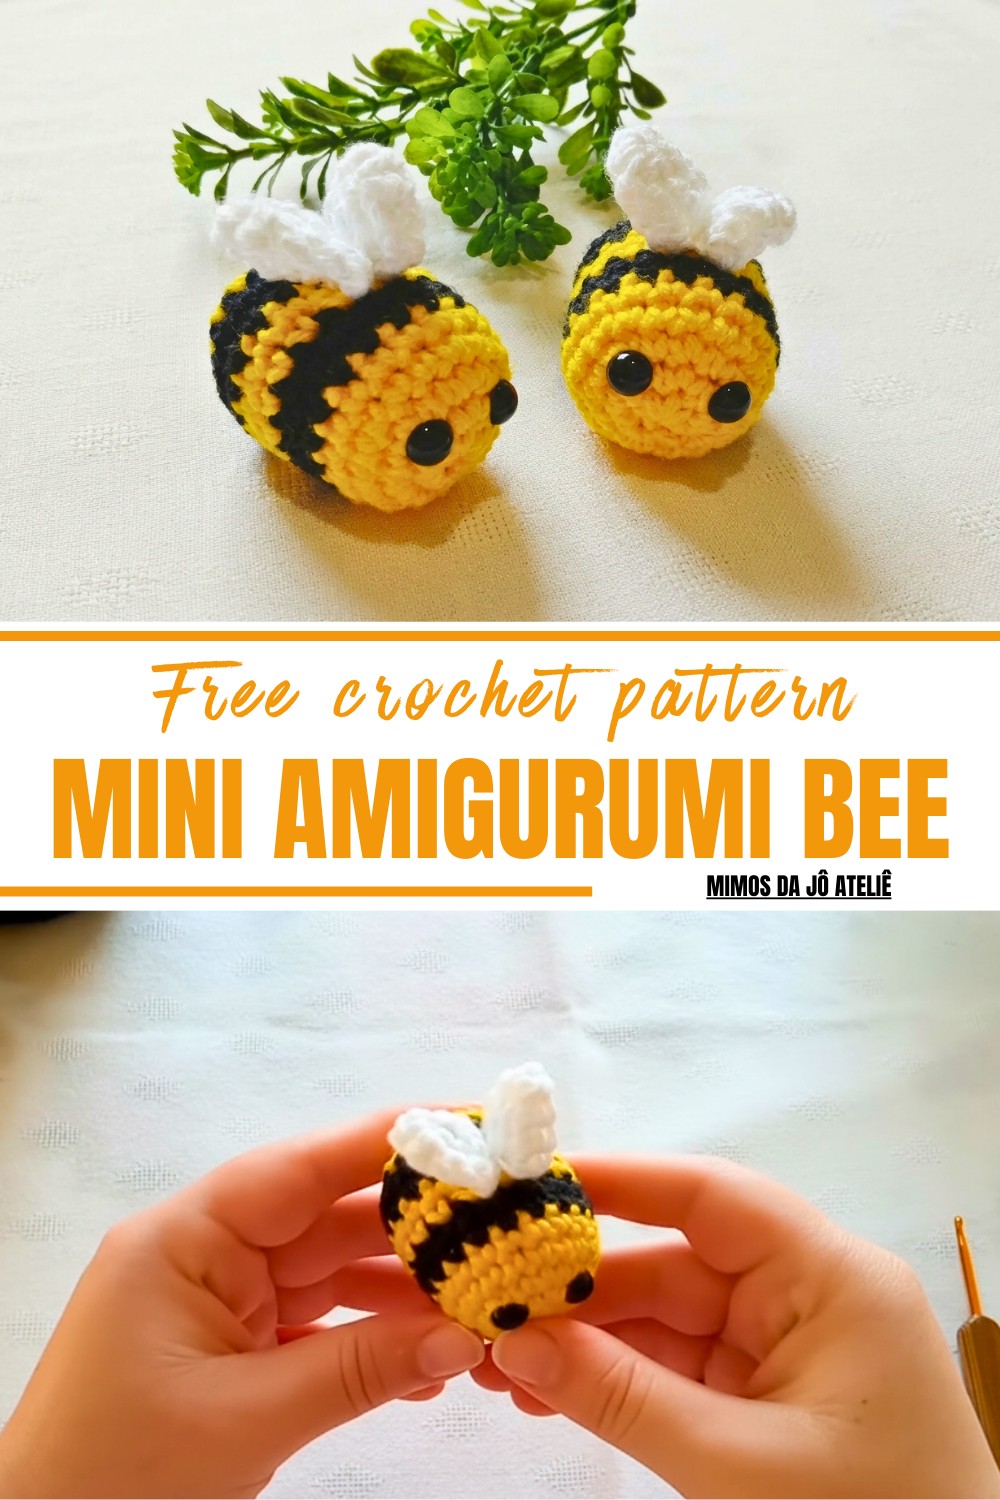
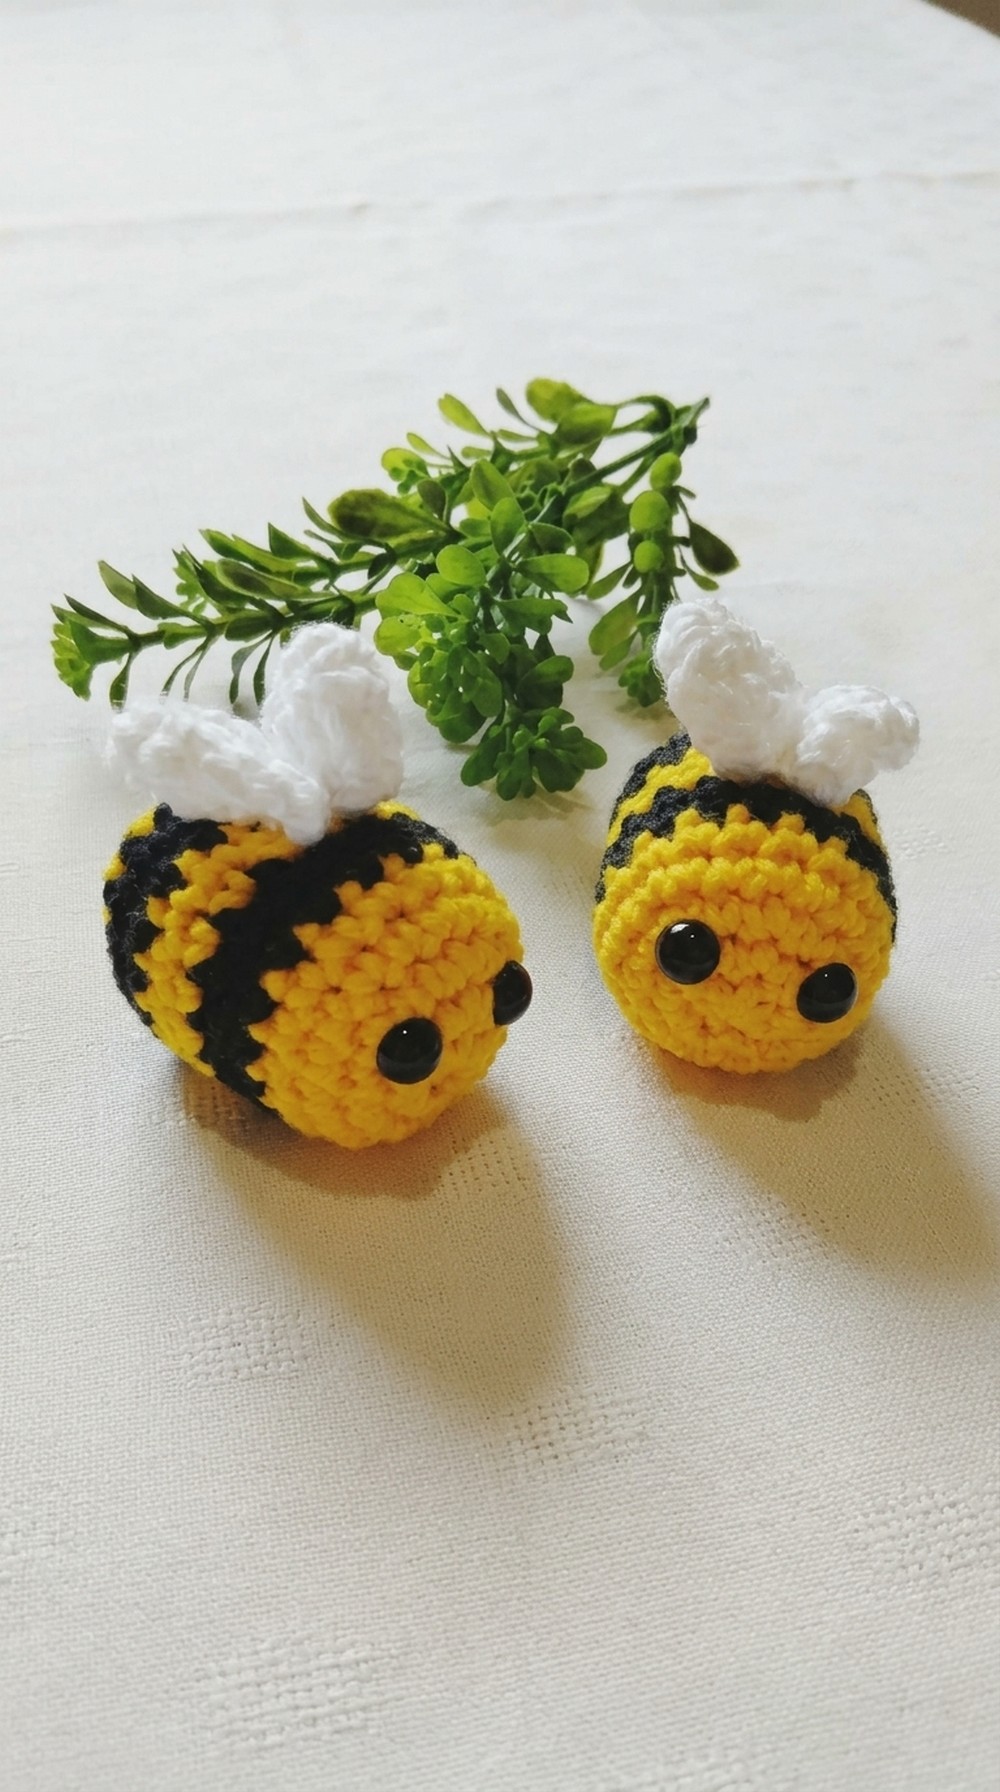
Simple Crochet Mini Amigurumi Bee Pattern Perfect for Beginners
How Can You Crochet a Mini Amigurumi Bee Pattern Step-by-Step
Materials Needed:
- Yarn: Barroco Maxcolor No. 4 (Colors: black, yellow, and white).
- Hook: 3mm crochet hook.
- Stuffing: Polyester fiberfill.
- Safety eyes: Black No. 8 (You can use different sizes and colors if desired).
- Scissors.
- Stitch markers (optional but recommended).
- Tapestry needle for sewing and weaving ends.
Special Features:
- Uses simple crochet techniques for a beginner-friendly project.
- Quick pattern, perfect for leftover yarn pieces.
- Difficulty Level: Beginner/Intermediate.
Step-by-Step Pattern Details:
Body:
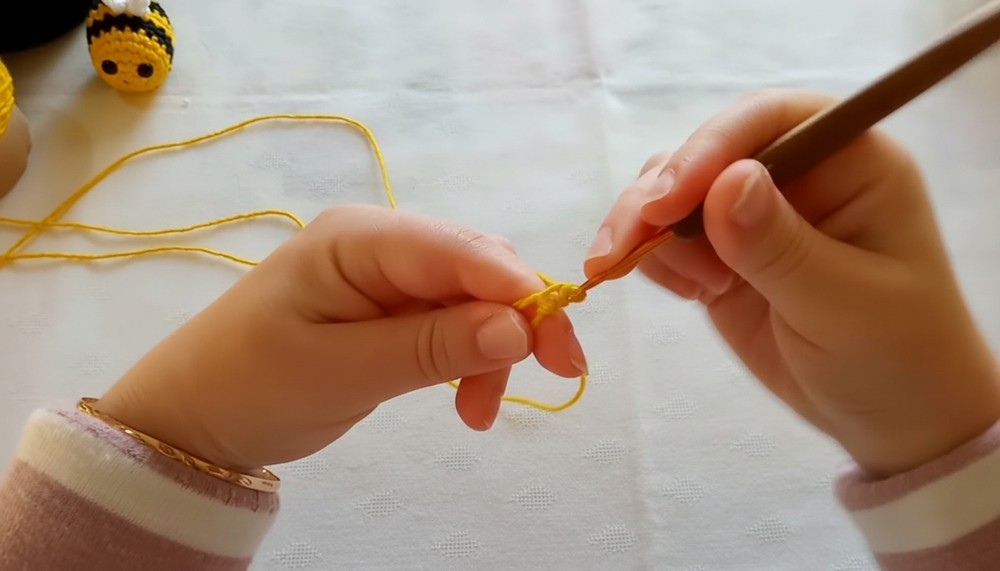
- Start with Yellow Yarn:
- Create a magic ring.
- Work 6 single crochets (sc) into the ring (G1, U2, 13, 14, 15, 16).
- Close the ring tightly and make knots to secure.
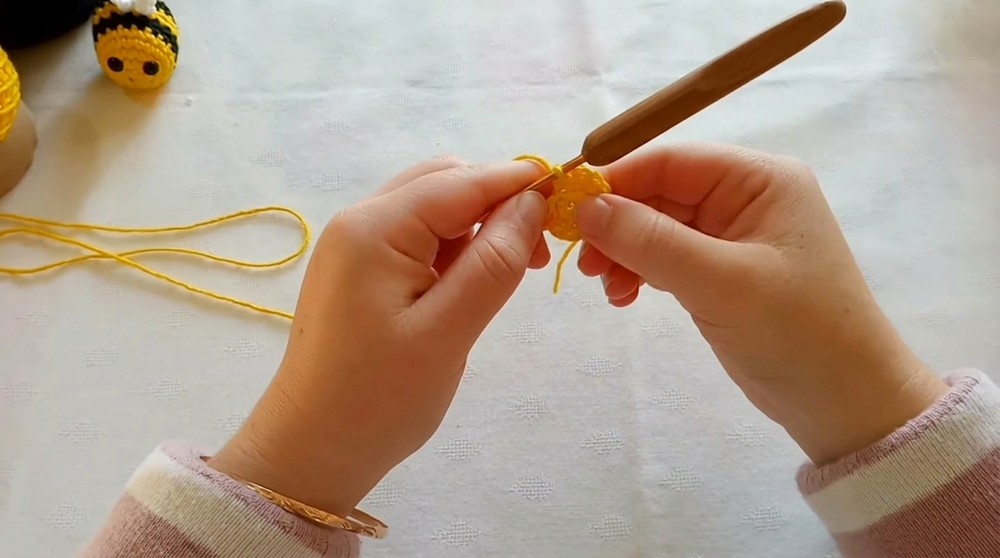
- Round 2: Increase (work 6 increases):
- Perform 12 sc total by working 2 sc in each stitch. Use a stitch marker to keep track of rounds.
- Round 3: Alternate 1 sc + 1 increase:
- Do this pattern across: 1 sc, 1 increase, repeat until total stitches = 18.
- Round 4-5: Work 1 sc into each stitch (No increases). Complete one round of 18 sc each.
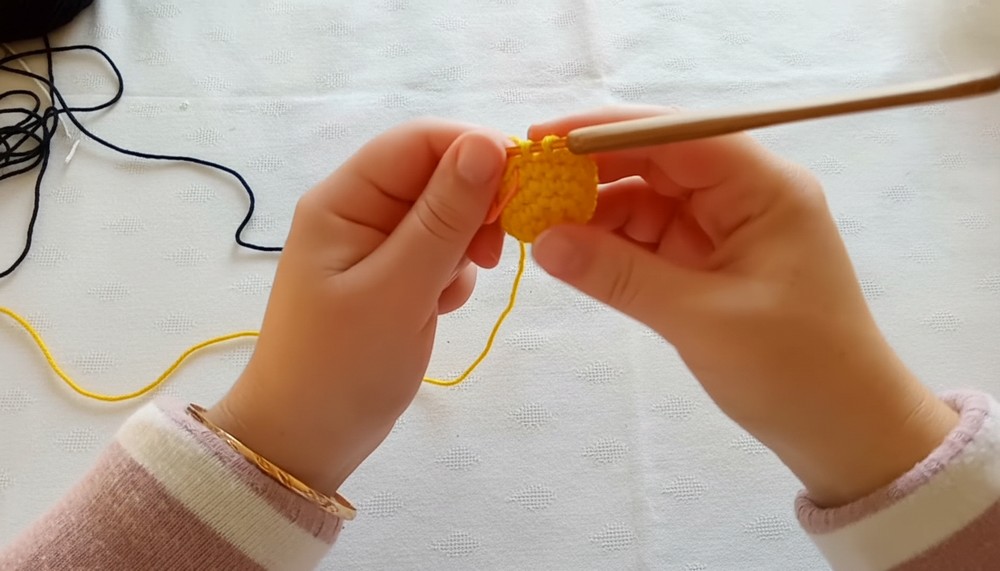
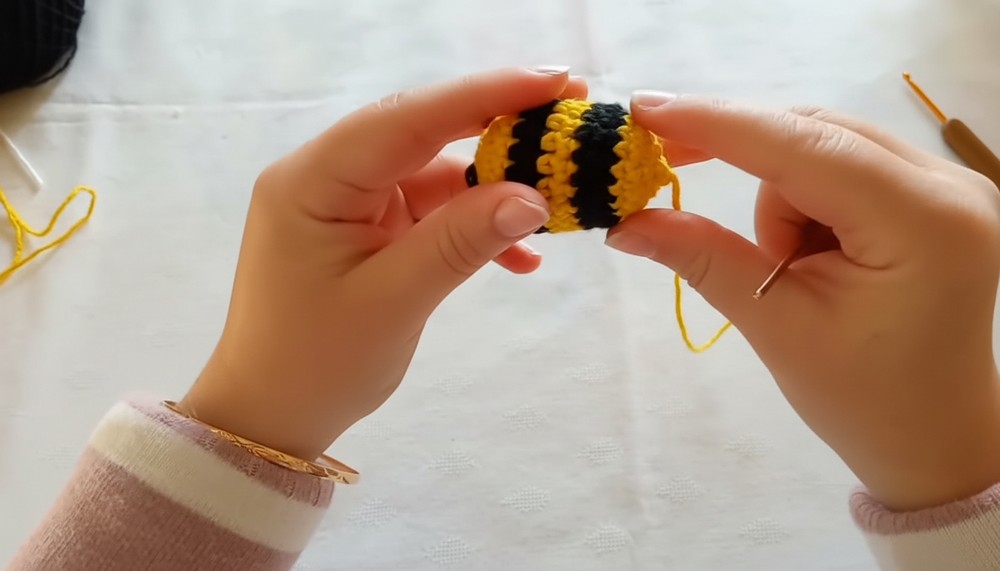
- Change to Black Yarn for Round 6-7:
- Finalize the last sc in round 5 using black yarn.
- Work 1 sc into each stitch over each round (18 stitches per round). Cut yarn or use the strand as desired for seamless color changes.
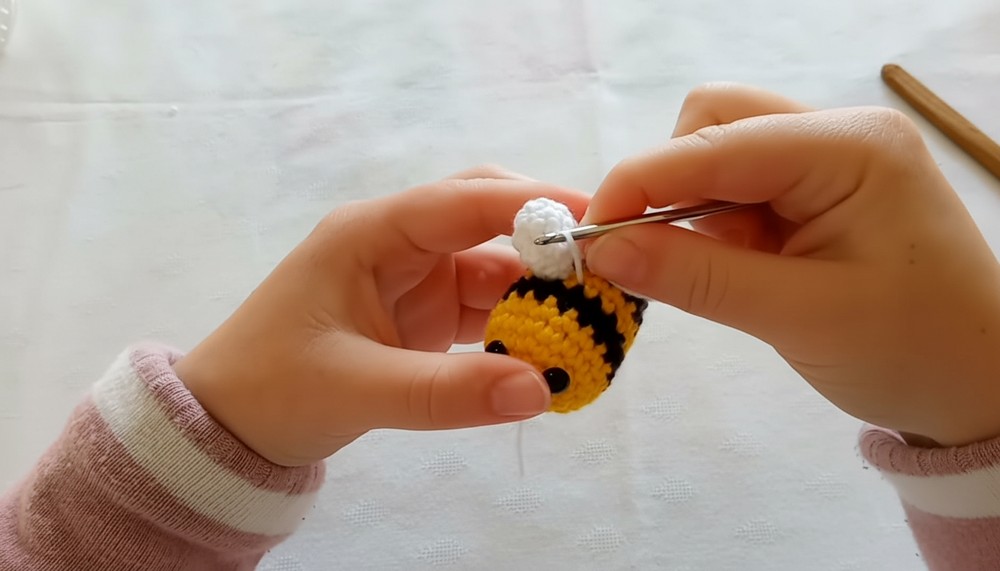
- Insert Safety Eyes (After Round 2):
- Place between rounds 2 and 3.
- Leave 3 stitches’ distance between the eyes.
- Align them symmetrically with the body (keep seam lines under).
- Yellow Yarn – Round 8-9:
- Switch back to yellow; work 1 sc into each stitch.
- Black Yarn – Round 10-11:
- Repeat as with previous rounds, keeping a color stripe pattern.
- Stuff the Body:
- Begin filling with polyester fiber as the rounds progress, ensuring even stuffing and firm shape.
- Yellow Yarn – Round 12:
- Continue sc over sc, ensuring proper shaping.
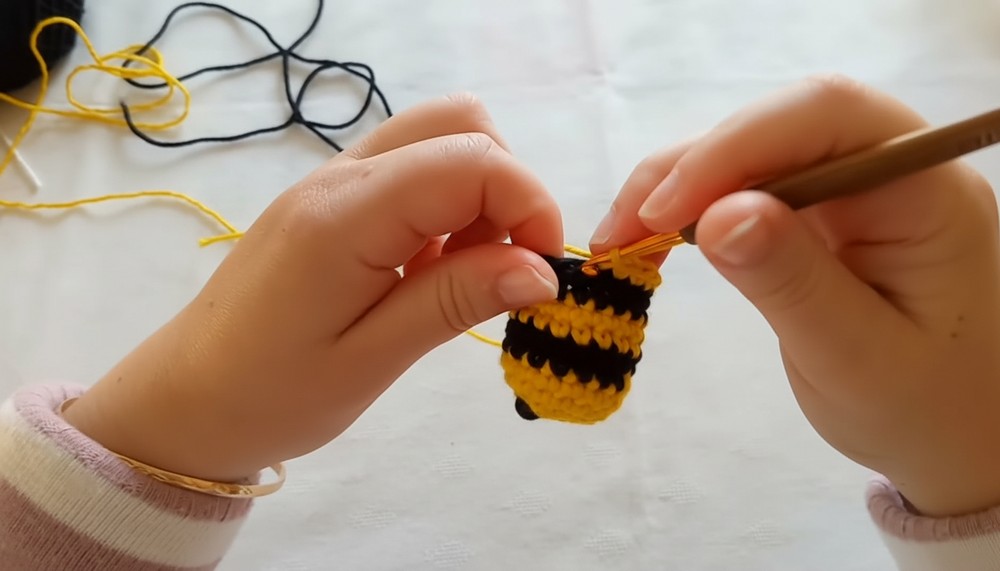
- Round 13: Decrease by alternating 1 sc + 1 decrease:
- Work 12 stitches total.
- Round 14: Finish with 6 decreases:
- Work 2 stitches together across the round. Use a tapestry needle to close the final hole.
- Pass the remaining yarn tail in each front loop of the final round and pull to closure. Knot and weave in the yarn.

Wings:
- Use White Yarn:
- Make a slip knot and chain 4 stitches.
- Work 3 sc starting in the 2nd chain from the hook.
- Turn and Work Increases:
- Chain 1. Turn the wing over.
- Work “3 sc + 1 increase (2 sc in one stitch)”.
- Repeat this, increasing at the center stitch in every row.
- Repeat Wing Rows:
- Work 3 rows using the same increasing method.
- Finish the last row with a knot, leave a long tail for sewing, and create a second wing.
- Attach the Wings:
- Position the wings symmetrically on the bee’s back between the yellow and black rows.
- Ensure they curve outward like small shells.
- Use the long yarn tails to sew the wings securely to the bee. Hide any excess yarn inside the body.


Tutor Suggestions:
- The instructor recommends using scrap yarn for this project since the bee doesn’t require much.
- Experiment with eye colors and embellishments like tiny flowers to create a unique vibe.
- While conducting color changes, either work with a stranded yarn technique or cut and knot after each switch (depending on personal preference).
Uses:
- Keychains: Add a small ring and make it a portable accessory.
- Décor: Hang them as part of mobile decorations for kids’ rooms or baby nurseries.
- Gifts: Make personalized bees for friends and families—use smile stitch for added personality!
Pro Tip:
To ensure symmetrical wings, fold the bee’s body lightly, marking the center at the back with stitch markers. Then attach each wing in alignment for a polished appearance.
Conclusion:
With this Mini Amigurumi Bee Pattern, you successfully crocheted an adorable, versatile crochet. Whether used as décor, accessories, or gifts, this bee brings charm to any occasion. Enjoy experimenting with colors and accessories to personalize each creation!