Quick Crochet Half Willow Granny Square Pattern for Any Project
Turn simple stitches into art with the Free Crochet Half Willow Granny Square pattern, ideal for elegant & beautifully textured designs.
Adding versatility to your crochet projects can be a fun and practical way to enhance their design. The crochet half willow granny square pattern is not just a creative piece for edging but a clever solution for achieving polished and symmetrical finishes in garments, blankets, and home décor. By working half of the traditional willow granny square, this pattern offers a technique catered to borders, rims, and unique layouts where full squares might be tricky to fit. Its lightweight yet textured appeal brings a contemporary touch to both classic and modern projects.
Easy Crochet Half Willow Granny Square Pattern For Beginners

This innovative pattern helps save time while allowing you to perfect corner designs or work around curves seamlessly. From mesh dresses to decorative throw blankets, its uses are vast and adaptable, providing opportunities to think outside the box while staying creative. Many crocheters find this half-square technique essential for creating cleaner and more structured edges, turning a basic piece into an eye-catching masterpiece.
Beginner-friendly yet intriguing enough for seasoned crocheters, the pattern encourages experimentation with texture, color, and layout. Whether used for wearable art or decorative displays, this pattern effortlessly blends utility and style. Block your finished squares for added precision, and watch your project truly shine!
Materials Needed:
- Yarn: Choose the same type used for the full squares in your project (medium-weight recommended).
- Crochet Hook: Size appropriate for your yarn (tutorial uses a standard hook for the project).
- Needle: For weaving in ends.
- Scissors: For trimming yarn tails.
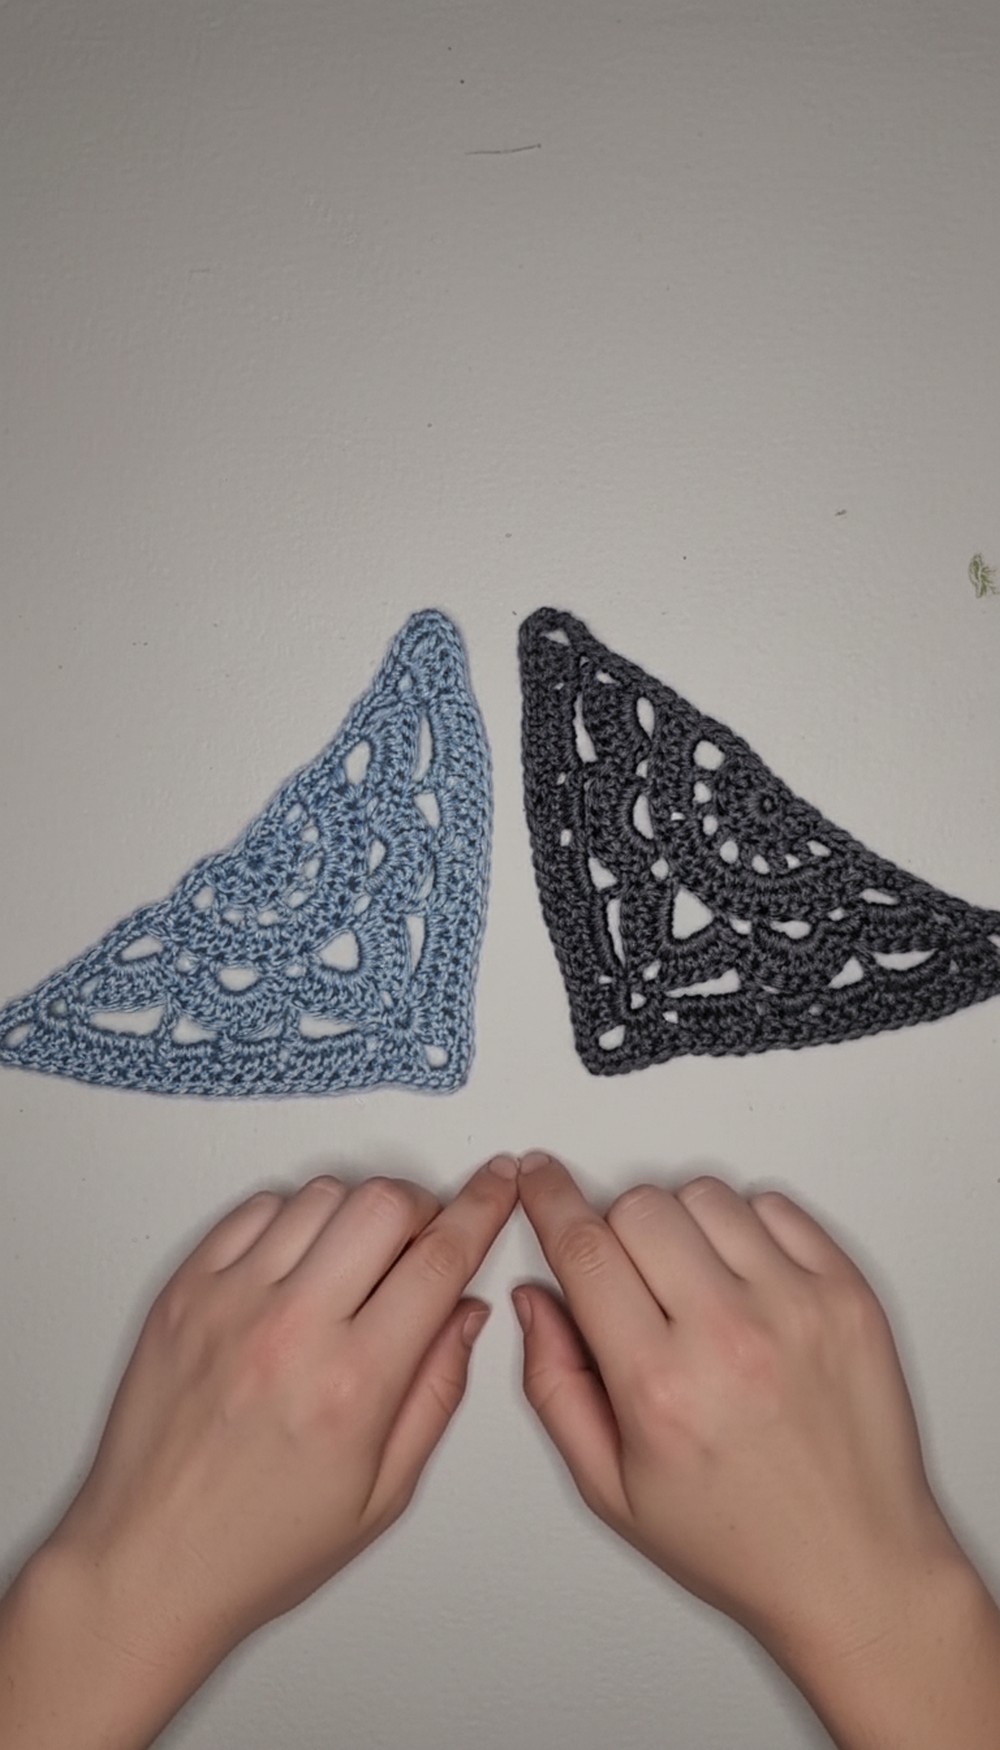
Difficulty Level: Intermediate
Special Features:
- Adjustments are made by halving the usual full-square pattern, making it unique.
- Perfect for borders, edgework, or curved designs.
- No strict flipping rules during rows—it works as a flat pattern.
Step-by-Step Pattern
Foundation Circle:
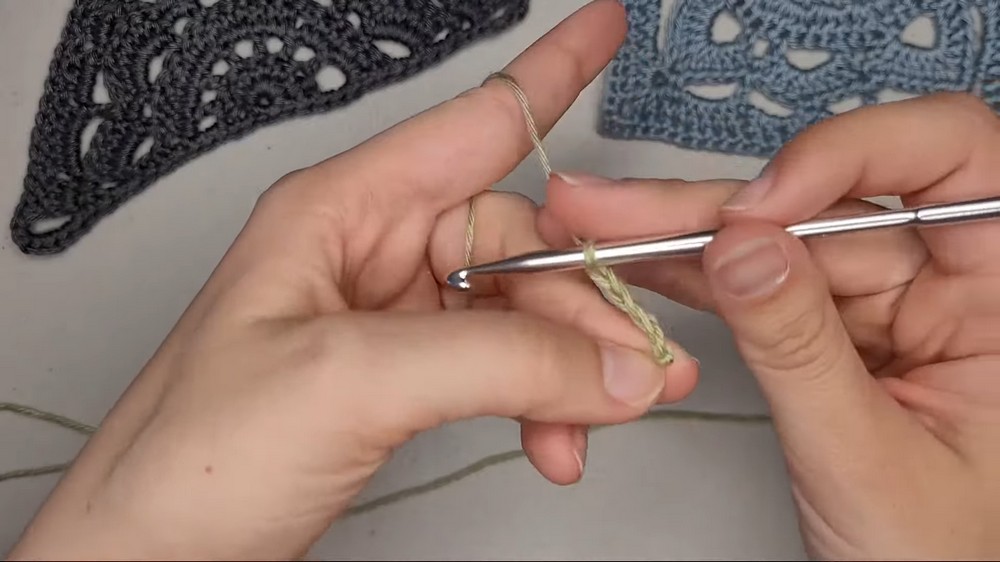
- Start by making a slip knot and chaining 4 stitches.
- Slip stitch into the first chain to form a circle. Alternatively, you can make a magic ring</strong> if preferred.
Row 1:
- Chain 3 (counts as the first double crochet).
- Work 8 double crochets (dc) into the center of the circle (instead of 16, since this is a half pattern).
- Do not join the round, as this is worked flat. Leave the stitches as they are.
R 2:
- Chain 4 (counts as 1 double crochet and chain 1 space).
- Flip your work.
- Skip the first stitch. Work 1 double crochet into the next stitch, followed by chain 1.
- Continue this pattern: dc, chain 1 across the row until you reach the end.
- You should have 7 chain spaces</strong> total in this row.</strong></li>

Row 3:
- Chain 3 to begin the row.
- Work 1 double crochet in the first chain space.
- Go directly to the next chain space and work 2 double crochets.
- Alternate the pattern: 1 dc, 2 dc across the row, ending with 2 dc in the last space.
- You should have 19 double crochets</strong> at the end of this row.
R 4:
- Begin with a single crochet in the first stitch and skip 2 stitches.
- Chain 5, then skip over 2 stitches and work 1 single crochet.
- Chain 3, skip 1 stitch, and work 1 single crochet in the next stitch.
- Chain 4, skip 1 stitch, and work 1 single crochet.
- Repeat this alternating chain pattern: Chain 5, Chain 3, Chain 4 until you finish the row.
- End with a single crochet in the last stitch.

5 Row (Corners):
- Chain 4 (counts as a double crochet and chain 2 corner). Flip your work.
- Work 5 double crochets into the next chain-5 space.
- Work 7 double crochets into chain-4 spaces. In chain-3 spaces, work 1 single crochet.
- When reaching the chain-5 corner, work 5 double crochets, chain 2, and 5 double crochets.
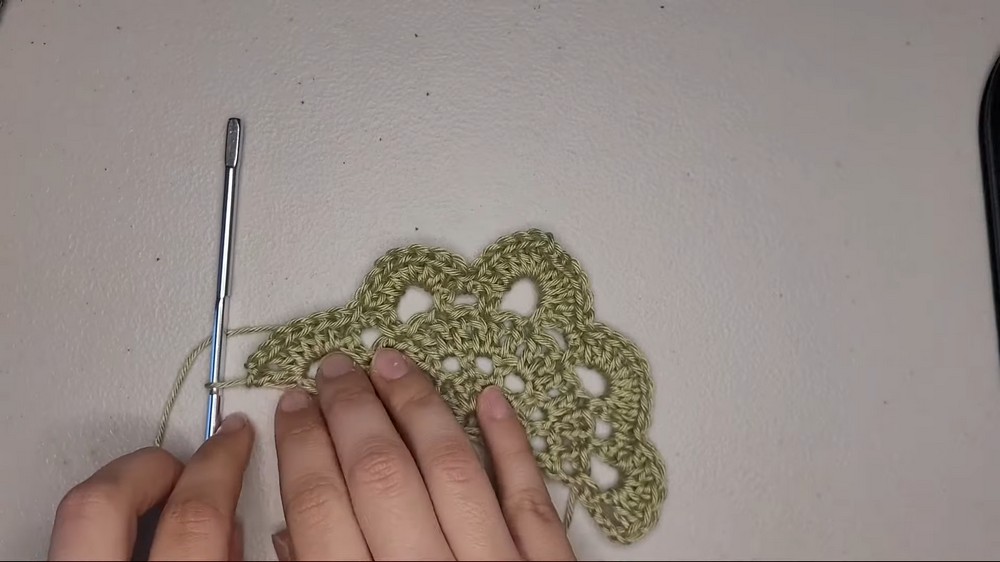
Row 6 (Final Corners & Spaces):
- Begin at the corner. Chain 3, then chain 2 more (2 chains for the corner).
- Work 3 double crochets into the corner space.
- Follow normal layout from previous rows: work 5 double crochets into chain-5 spaces, 3 double crochets in chain-3 spaces, and continue until reaching the end.
- End the row with 3 double crochets, chain 2, and 1 final double crochet at the corner space.
Row 7 (Single Crochet Border):
- Chain 1, flip your work, and chain 1 again.
- Work 2 single crochets into the corner space.
- Continue working single crochets evenly across chain spaces and double crochet sections.
- In the corner spaces, work 2 single crochets, chain 1, and 2 single crochets.
- For the flat edge, evenly work single crochets to form a smooth border. No exact stitch count is required—add or reduce where needed for uniformity.
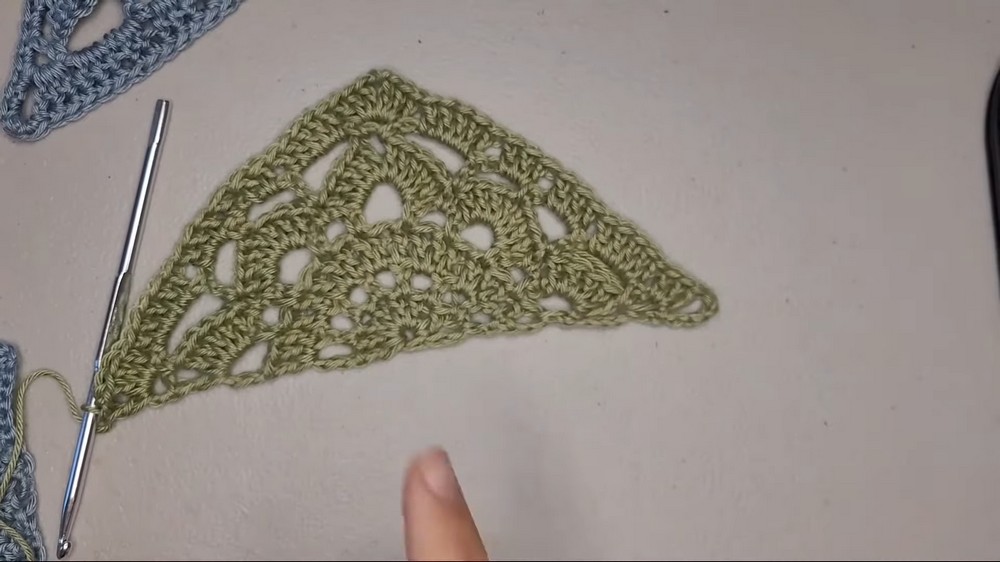

Conclusion
Your Half Willow Granny Square is complete! The pattern serves as a versatile, visually appealing pattern to enhance the edges of your larger projects. Whether you’re crocheting a dress, a blanket, or accessory trims, this square adds a polished and professional touch to any item.
Tutor’s Suggestions
- Blocking is essential: Spray and block your completed squares for straight edges and sharper corners.
- Practice the corner technique carefully, as it ensures smooth transitions in your design.
Uses
- Perfect for garments that require symmetrical edgework.
- Ideal for borders or frames in blankets, bags, or table runners.
- Can be combined with full squares to create unique layouts.
Tip
To ensure consistency, measure your half squares with previously completed full squares before assembly. This guarantees even sizing in your final project.