How to Crochet the Lucy Bag Pattern for Functional Accessories
Add Style to Your Wardrobe with This Free Crochet Lucy Bag Pattern
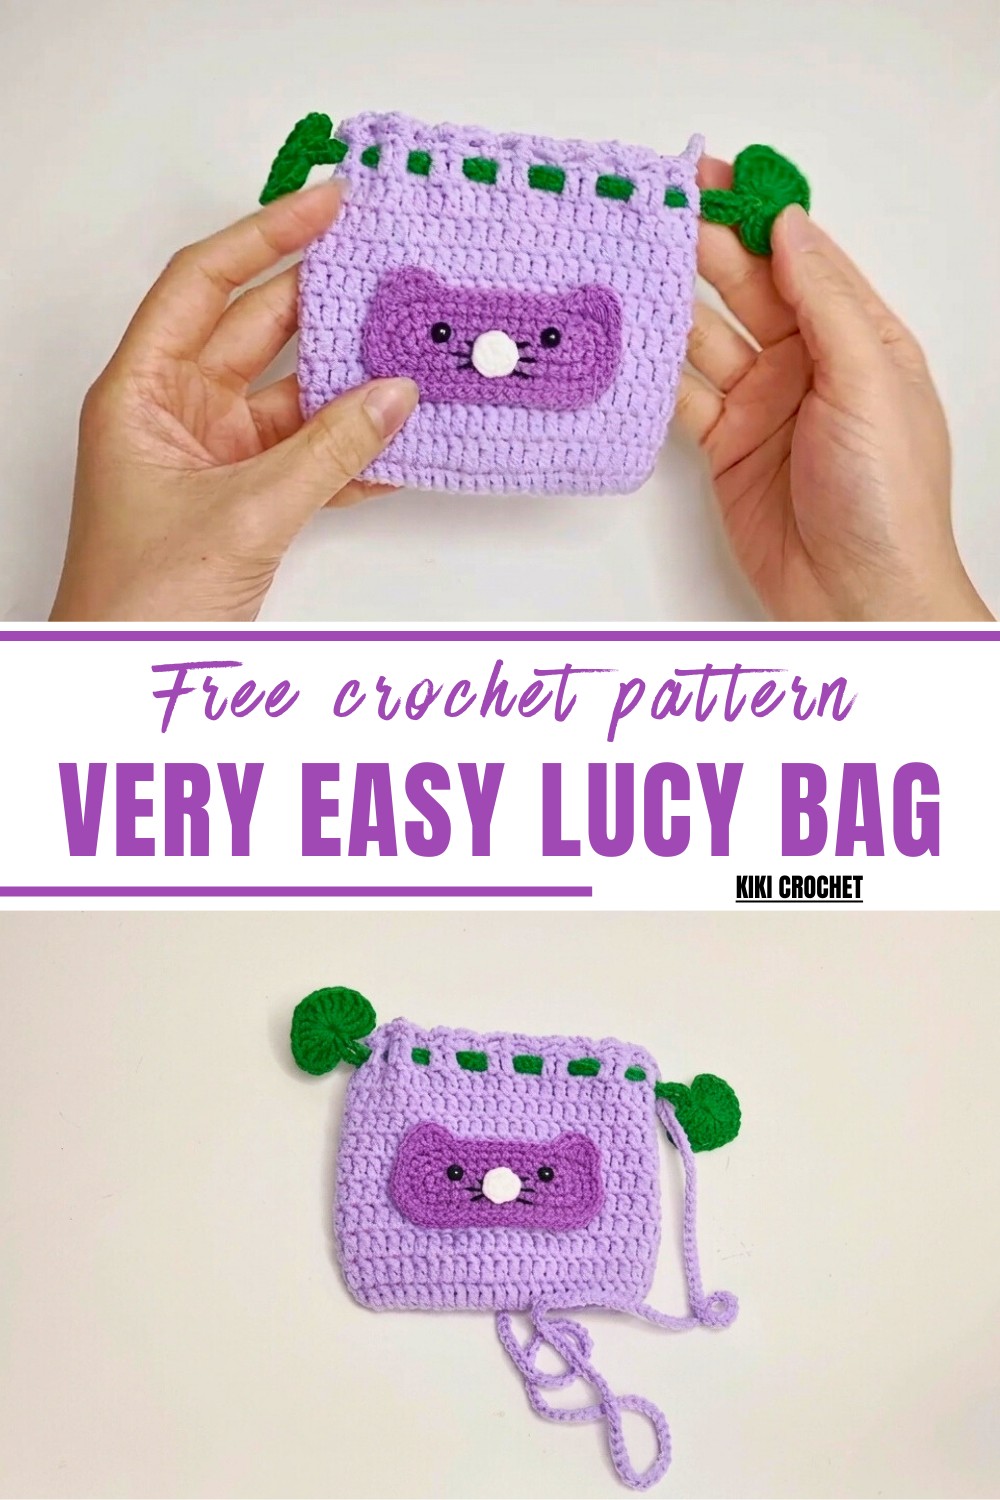
This pattern is not just a pretty decoration; it is also quite practical. You can use it to carry small items, store accessories, or show off your cute handmade work. Its soft texture and bright colors make it stand out and feel special. You can crochet it in your favorite colors or even surprise someone with it as a thoughtful gift.
The pattern is compact, lightweight, and very handy. Overall, the Free Crochet Lucy Bag Pattern is stylish, fun to crochet, and very easy to follow. Whether for personal use or as a gift, this bag will add charm to your day.
Materials Needed:
- Yarn:
- Light purple (for the pouch body).
- Dark purple (for the mouse decoration).
- Green yarn (for drawstring).
- Optional: black, white yarn for facial features.
- Crochet Hook: 2.5 mm.
- Scissors: To cut yarn.
- Yarn Needle: For sewing details or weaving in ends.
- Glue Gun: For attaching facial decorations (optional).
- Safety Eyes or small black beads for the eyes.
Special Features
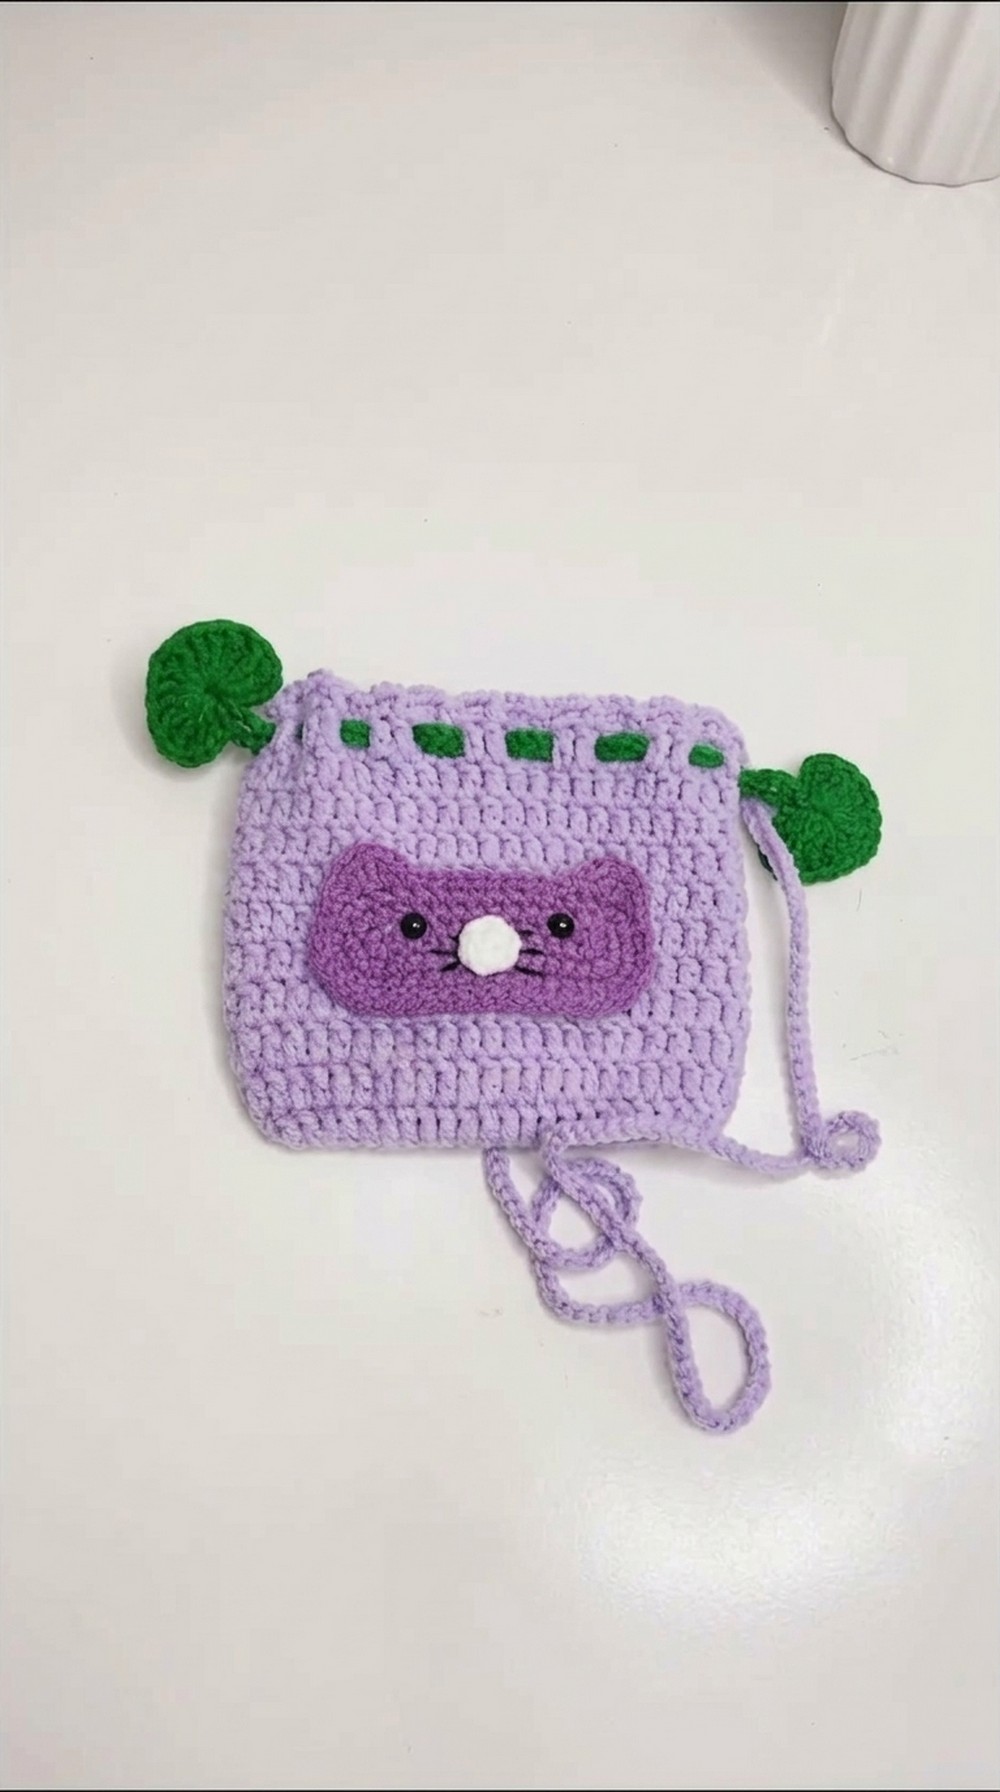
- Festive Design: Adorned with an adorable mouse decoration, ideal for Lunar New Year celebrations.
- Beginner-Friendly: Simplified stitches and easy pattern for all skill levels.
- Multi-functional: Use it as a pouch for lì xì, a small gift bag, a garlic pouch, or a decorative piece.
- Size Customization: Easily adjust the size to suit your needs.
Skill Level:
Beginner. Basic stitches like single crochet (SC), double crochet (DC), slip stitch (SL ST), and magic circle techniques are required.
Uses:
- Red Envelope Holder: Perfect for gifting during Lunar New Year.
- Gift Bag: Use it to share small goodies or carry items.
- Decorative Pouch: Add charm to your kitchen or workspace.
Step-by-Step Pattern
1. Pouch Body (Light Purple Yarn)
Step 1: Start with a slip-knot and chain 25.
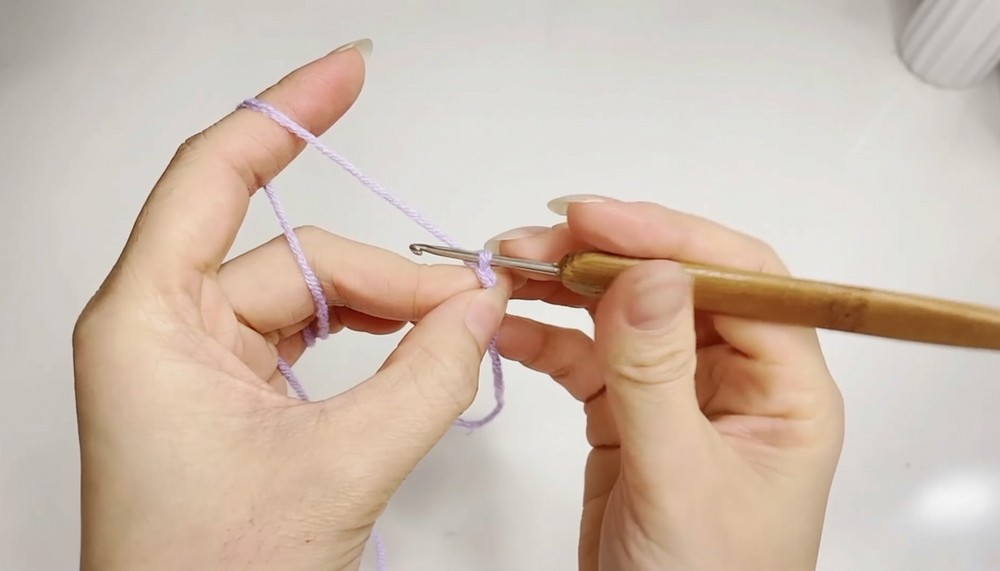
- Adjust the chain length for a wider pouch if desired.
2: Skip the first two chains and start crocheting from the third chain:
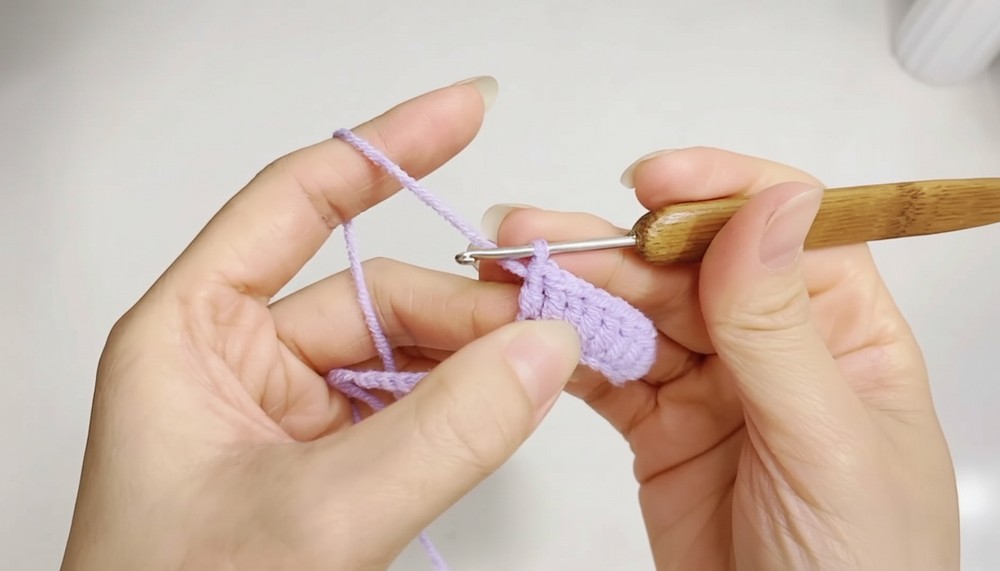
- Double crochet (DC) in the third chain. Work 1 DC in each chain across the row (you’ll have 22 DC).
3: At the last chain, make 3 DC into the same stitch to create a curve for the base.
4: Work along the other side of the foundation chain:
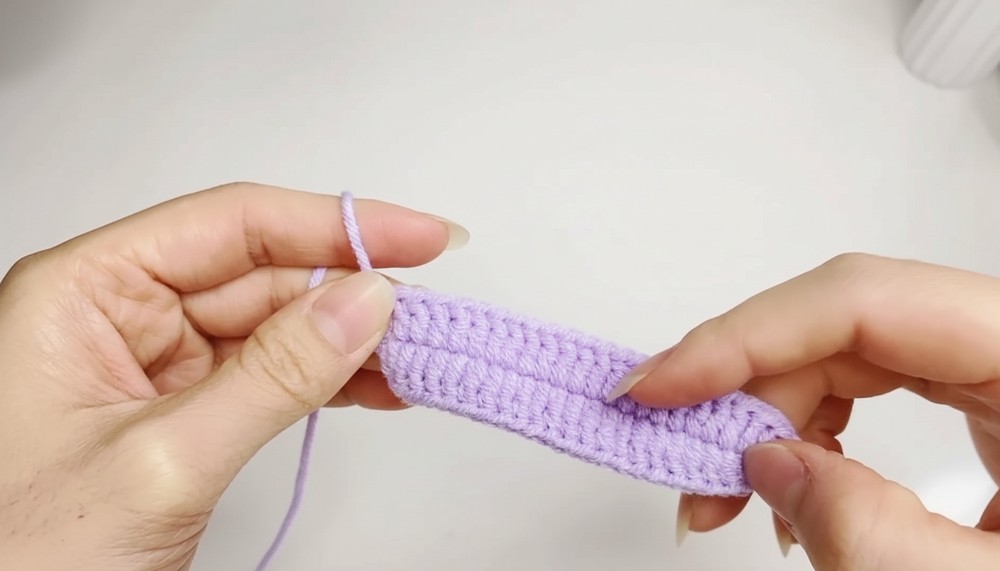
- Crochet 21 DC into each stitch on this side. On the final chain, make 2 DC into the same stitch.
5: Slip Stitch (SL ST) into the first stitch to close the round.
Step 6: For Rounds 2 to 11:
- Begin by CH 2 at the start of each round. Work 48 DC continuously in each round.
- End each round by SL ST into the first DC to secure.
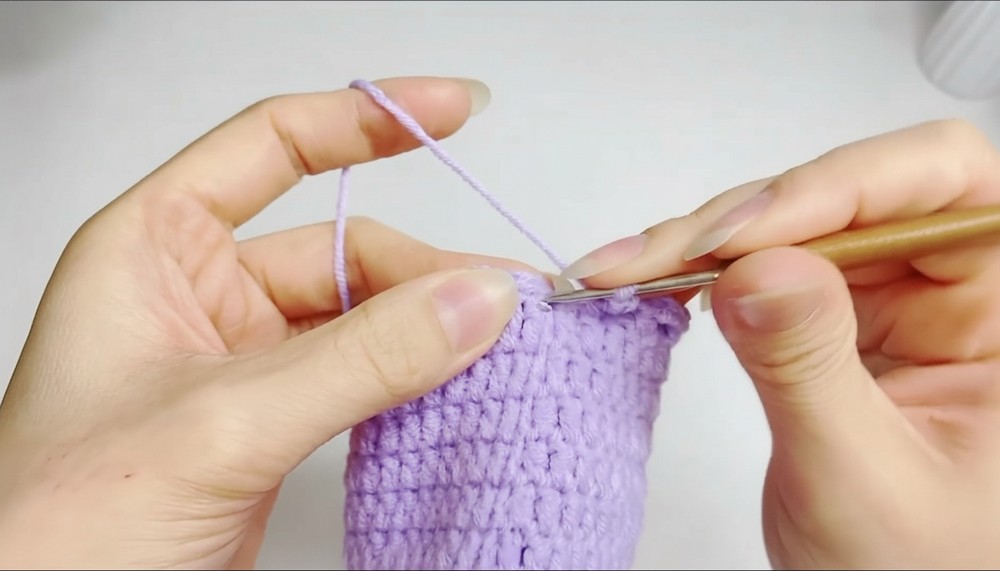
2. Edging and Loop Holes
Step 1: For Round 12, start with CH 3 and skip the next stitch.
- Single crochet (SC) into the following stitch.
Step 2: Repeat the sequence of CH 3, skip 1, SC into the next stitch around the pouch edge.
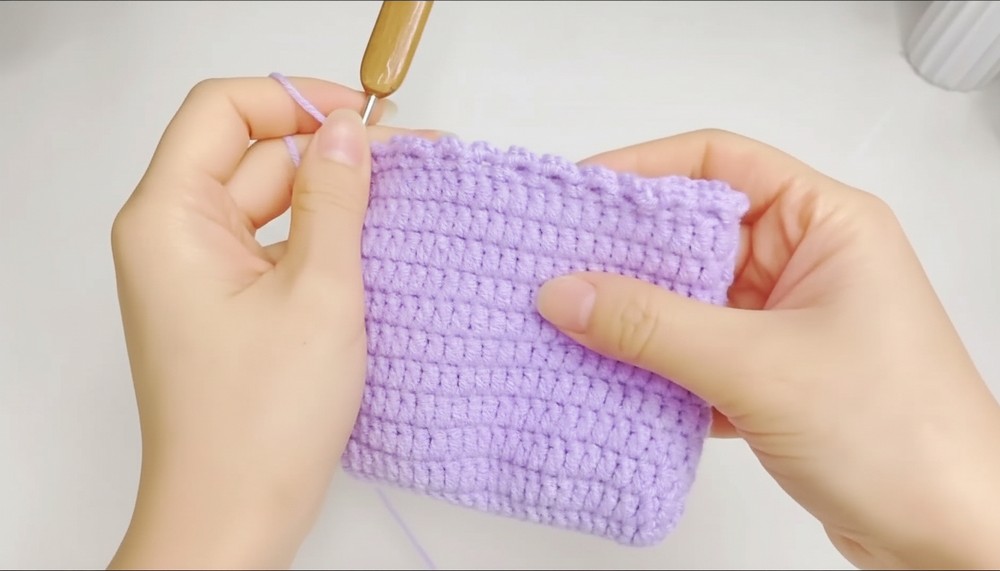
- These chains will create loop holes for the drawstring.
3. Drawstring (Green Yarn)
Step 1: Start with a slipknot and CH a long string (approx. 70+ chains depending on pouch size).
- For larger pouches, increase the number of chains.
Step 2: Weave the drawstring through the edging loops. Alternate it over and under the loops to create a drawstring effect.
4. Mouse Decoration (Dark Purple Yarn)
Mouse Face:
Step 1: Start with a magic circle.
- Into the circle: CH 1, then crochet 6 SC into the magic circle.

2: Pull the yarn tail to tighten the circle. SL ST into the first SC to close the round.
3: For Round 2, increase in each stitch (2 SC in 1 stitch) around the circle. Adjust the increases to make a wider oval shape for the mouse face as desired.
Mouse Ears:
Step 1: Start with a magic circle. Into the circle:
- CH 1, crochet SC, HDC, DC, HDC, SC and pull tightly to make a semi-circle.
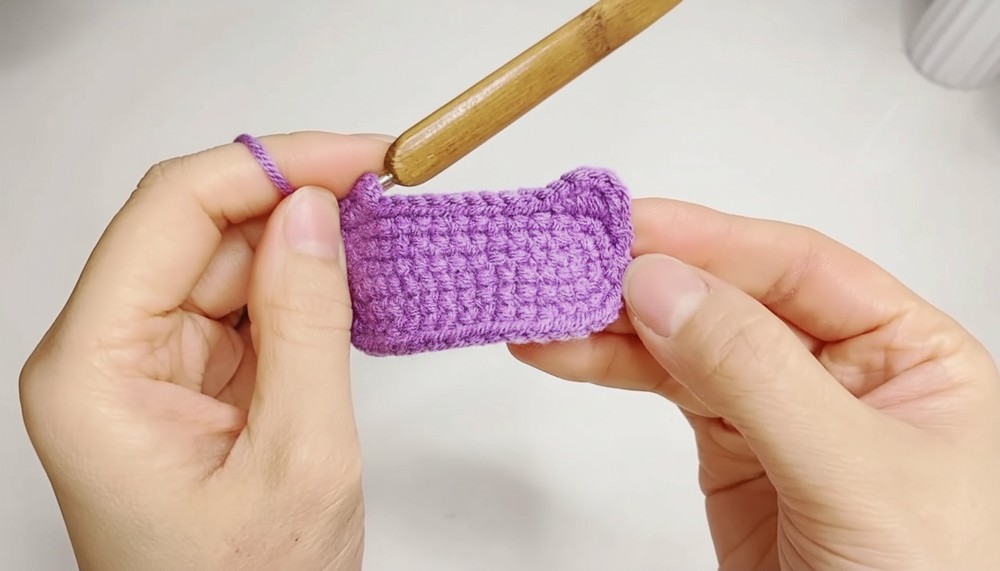
2: Make two ears and attach them symmetrically to the mouse face using a yarn needle or glue.
Facial Decorations:
Step 1: Use safety eyes or black beads to create the eyes. Attach them securely.
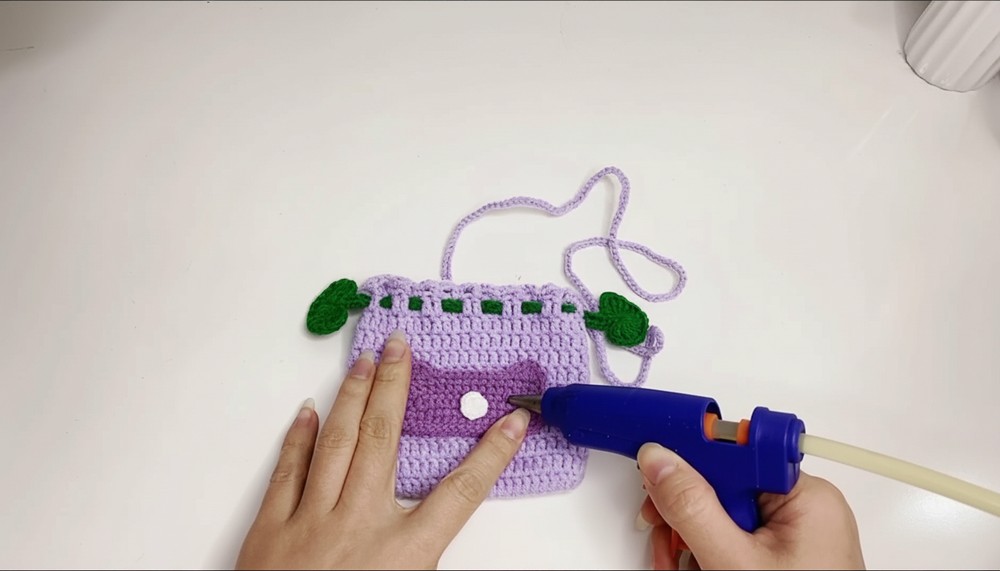
2: Embroider the whiskers using black yarn, and create the nose using white yarn.
5. Attach Decoration
Step 1: Use a glue gun or yarn needle to attach the mouse face to the center of the pouch. Ensure it’s secure.
6. Drawstring Decoration (Optional)
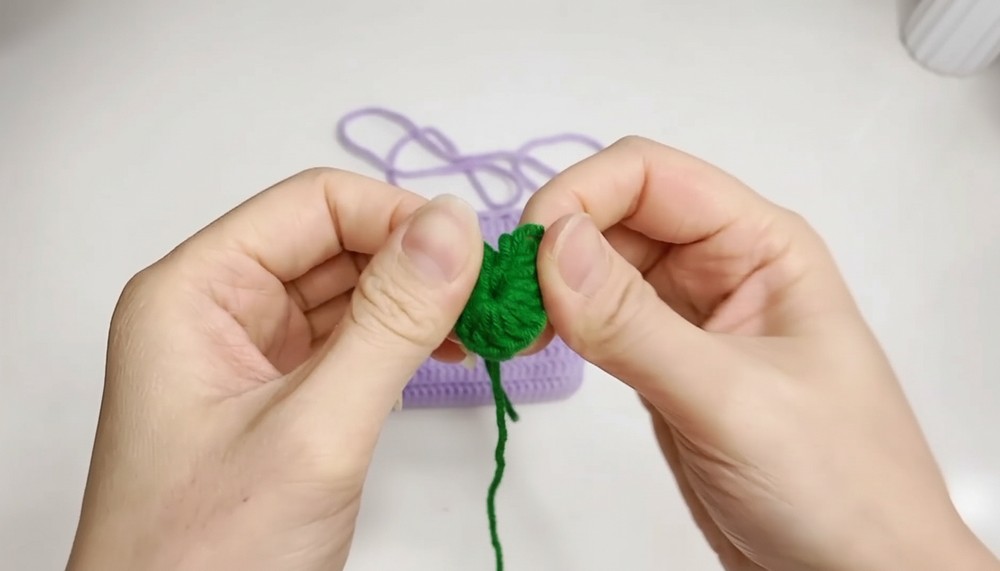
Step 1: Crochet small hearts or other shapes (like a star) to attach to the ends of the drawstring.
For a heart:
- Magic Circle: Into the circle: CH 4 → crochet 3E, 3F, 1CH, 3F, 3E, 3CH, slst. Tighten the circle and attach the heart to the drawstring ends.
Level of Difficulty:
Beginner-friendly with a few intermediate decoration techniques (e.g., magic circle and mouse details).
Tutor’s Suggestions for Success:
- Be creative! Change the color combinations to suit your preferences or make different character decorations.
- Work carefully at the edges and decorations for a neat finish.
- For a sturdier pouch, use tightly-spun yarn.
Final Tip:
Before attaching your decorations, test their placement and make adjustments for symmetry. This ensures your finished pouch looks balanced and polished.
Conclusion:
This fun and simple mouse-themed pouch pattern is perfect for Lunar New Year celebrations or small gifts. Its easy stitches and customizable design make it approachable for beginners. With its adorable appeal, you’re sure to impress family and friends with your crochet skills.