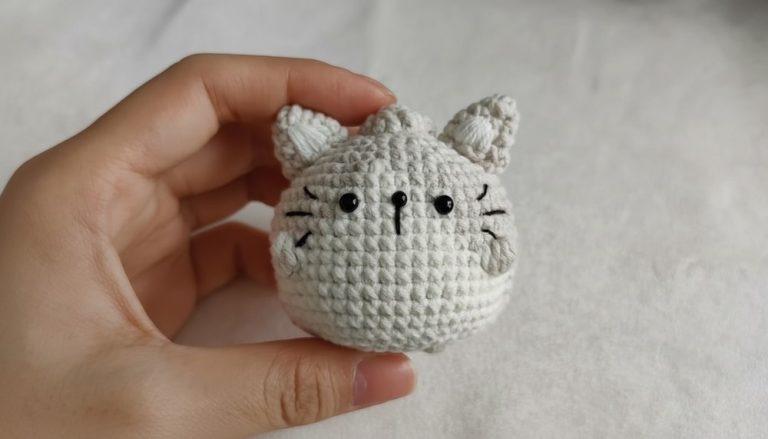
Free Crochet 3D Flower Pattern for Beginners and Experts
Guidance on Crochet 3D Flower Pattern for a Vibrant Touch

One major benefit is its versatility: use a single flower as a delicate accent or cluster several together for a bold statement piece. It’s also a fantastic stash-buster, helping you use leftover yarn scraps in creative combinations. Beginners gain confidence by practicing stitches and shaping on a small, manageable project, while more experienced crocheters enjoy turning these flowers into brooches, hair clips, or detailed appliqués.
A free crochet 3D flower pattern not only enhances your accessories and décor but also offers a relaxing, portable project you can work on anytime. In the end, you’re left with eye-catching flowers that look intricate yet are surprisingly simple and satisfying to make.

Special Features
- 3D Puff Design: Full-bodied and textured petals for added depth.
- Versatile Usage: Perfect for sewing onto bags, hats, headbands, or crafting ornaments.
- Beginner-Friendly Pattern: Simple stitches like single crochets, slip stitches, and Afghan puff petals make this approachable for even less experienced crocheters.
- Customizable Size: Adjust yarn thickness and hook size to create larger or smaller flowers.
Level of Difficulty
Intermediate. While relatively simple, the puff stitch technique requires some experience with tension control and working loops effectively.
Materials Needed
- Yarn: No.3 Lace Yarn (or any fine yarn).
- Crochet Hook: 2.0mm (adjust hook size for thicker yarn).
- Sewing Needle.
- Scissors.
- Stuffing material (cotton, fiberfill).
Stitches and Abbreviations (US Terminology)
- Magic Ring: Create a circular foundation of stitches.
- Ch: Chain Stitch.
- Sc: Single Crochet.
- Sl St: Slip Stitch.
- Afghan Puff Petal Stitch: A textured stitch explained in the steps below.
Step-by-Step Pattern
Center of the Flower
- Magic Ring: Begin with a magic ring.
- Round 1: Crochet 5 single crochets (Sc) into the ring.
- Pull the ring tight to close the circle.
- Connect with a slip stitch (Sl St) into the first Sc.
- Round 2:
- Start with 1 chain stitch (Ch).
- Crochet 2 Sc into each stitch from the previous round.
- You will have a total of 12 single crochets.
- Finish the round by connecting with a Sl St to the first stitch.
- Round 3:
- Ch 1, then crochet as follows:
- In the first stitch, crochet 1 Sc.
- In the second stitch, crochet 2 Sc (increase).
- Repeat this sequence (1 Sc, 2 Sc) five more times.
- You will have 15 Sc in total.
- Finish by connecting with a Sl St, then cut the yarn.
- Ch 1, then crochet as follows:

Crocheting the 3D Puff Petals
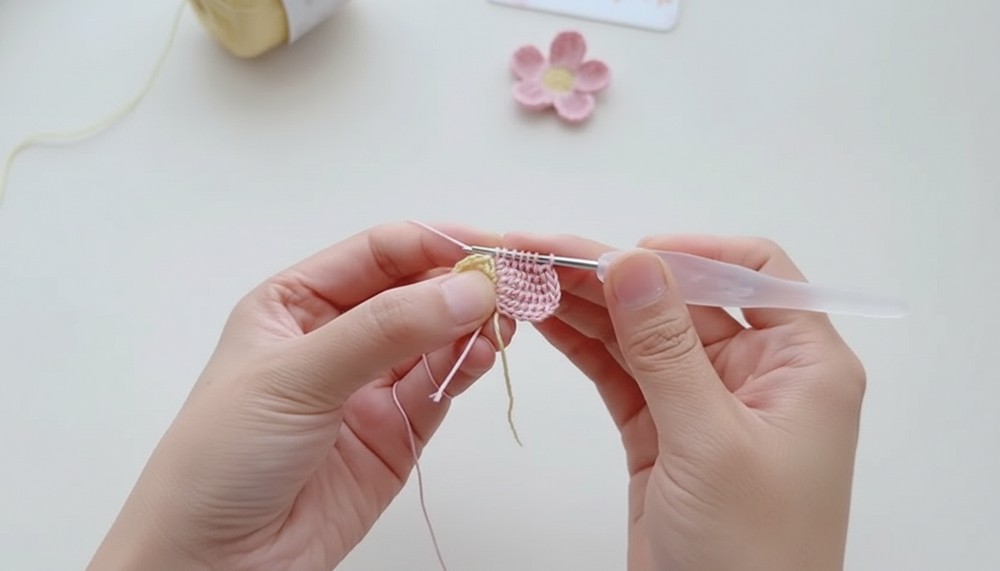
- Attach New Yarn: Change to the second yarn color for the petals. Attach to the first stitch of the flower center.
- Petal Base:
- Crochet 5 chain stitches (Ch).
- Turn your work and insert your hook into the back ridge of the chains (the smaller bump on the reverse side).
- Crochet 5 stitches in the back ridge, pulling the yarn through one ridge at a time.
- Forming Puff Petal:
- Return to the first stitch of the center circle. Insert the hook and pull the yarn through.
- You will have 7 loops on the hook.
- Yarn over and pull through 2 loops at a time (repeat this 6 times).
- Second Row of the Petal:
- Ch 1, then crochet into the back ridges again.
- Pull the yarn through 6 times, creating loops on the hook.
- Return to the center stitch, insert your hook, and pull the yarn through.
- This time, you will have 8 loops.
- Yarn over and pull through 2 loops at a time (repeat this 7 times).
- Third Row: Repeat the process:
- Crochet 6 stitches in the back ridge.
- Insert the hook into the center stitch and pull through.
- You will have 8 loops.
- Yarn over and pull through 2 loops at a time.
- Repeat Rows: Continue working puff petals using the method until the desired petal depth is achieved.
- Finish Petal Edges:
- In the final row, skip the first back ridge and work 5 slip stitches across the back ridges.
- Connect to the center flower using Sl St.
- First Set of Petals Finished: Each set of petals occupies 3 stitches from the center circle.

Complete the Flower
- Repeat the petal pattern for the remaining center stitches.
- Crochet 5 sets of petals in total.
- Connect each set with a Sl St into the center stitches.
- Second Layer:
- Repeat the petal process to crochet a second flower piece for the back layer.

Assembly
- Place the two flower pieces back-to-back so the wrong sides face each other.
- Sew together:
- Use a sewing needle and align the petals by stitching through both layers.
- Use a winding stitch for secure attachment.
- Add stuffing between the layers before finishing the stitches for volume.


Tutor’s Suggestions
- Customization: Experiment with yarn weights for varying flower sizes or try gradients for a vibrant effect.
- Practice: Take time to practice the puff petal technique if you are unfamiliar with it—it’s rewarding once mastered.
- Usage Ideas: Attach the flower to bags, home décor, or create garlands with multiple flowers.
Tip
For added durability and structure, block the flower pieces before sewing them together. This will help the petals maintain their puffed shape beautifully.
Conclusion
The Crochet Puff 3D Flower Pattern is a fantastic and cheerful addition to any crochet project. Its textured petals and charming puff design make it a standout feature for countless accessories and decorations. Whether you’re new to puff stitches or looking for a quick, creative crochet piece, this tutorial offers a step-by-step solution for making something both adorable and highly versatile.