How to Beautiful Crochet Flower Pattern to Refresh Old Items
Step-by-Step Free Crochet Flower Pattern for Home and Apparel
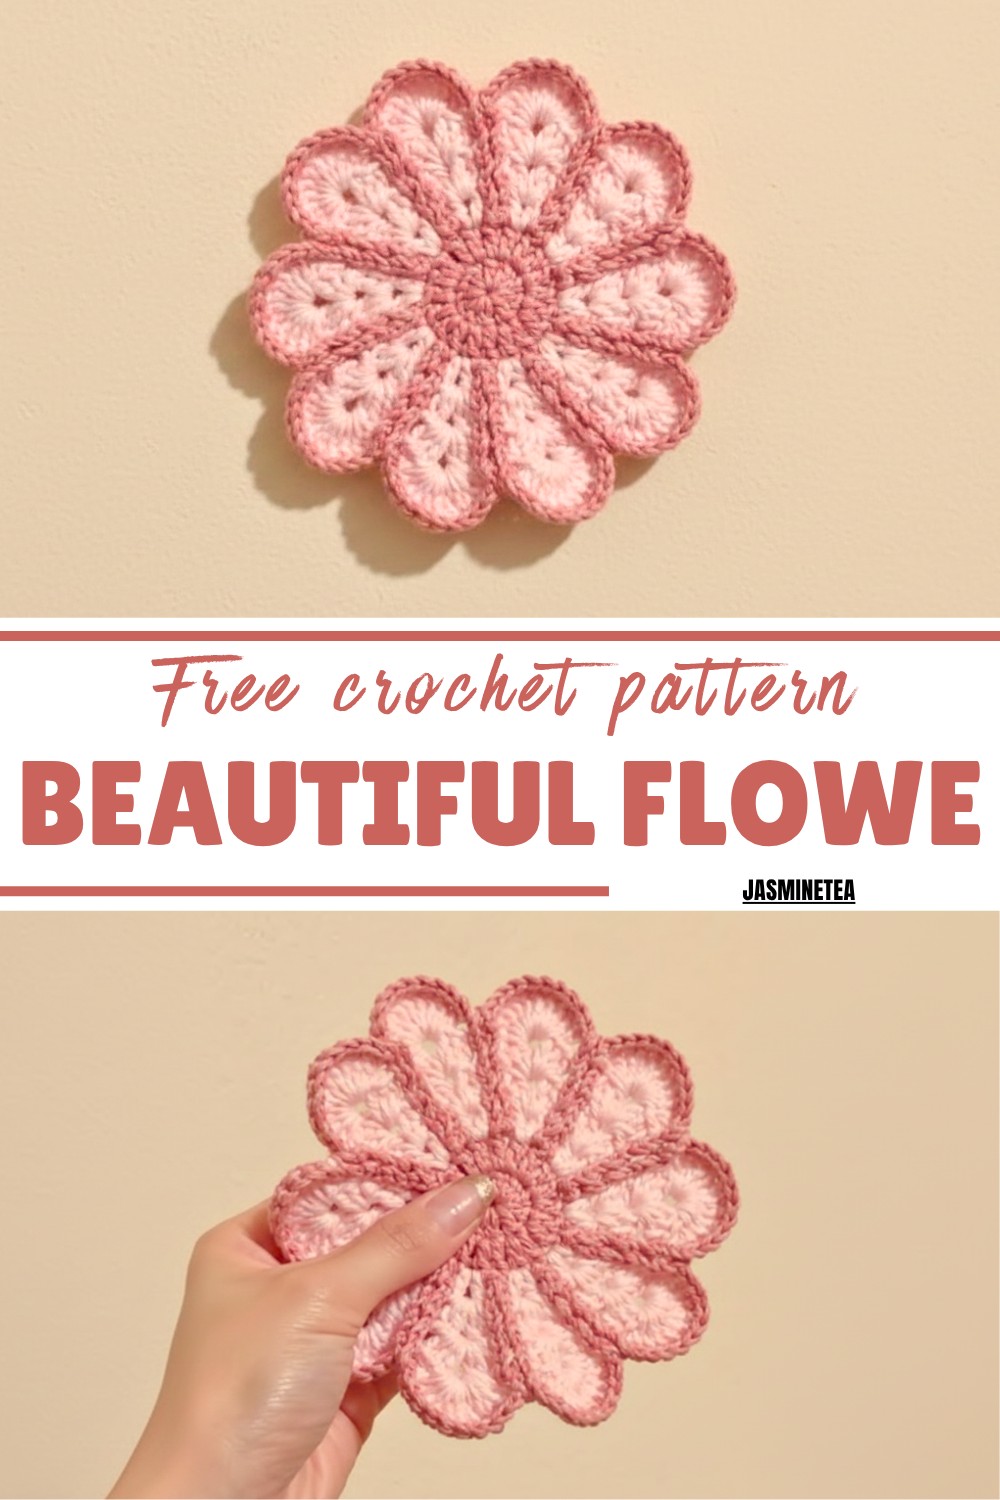
One of the biggest benefits is flexibility—adjust the hook size, yarn weight, or number of rounds to get tiny delicate blossoms or large statement flowers. They’re also a great way to practice new stitches and color changes without committing to a big project. Beginners gain confidence through repetition, while experienced crocheters enjoy experimenting with textures and layers.
Another advantage is how budget-friendly these projects are, often using scraps that might otherwise go to waste. Attach a flower to a hair clip, sew it onto a baby blanket, or build a whole garland for parties and seasonal decor. With accessible instructions and endless variations, a free crochet flower pattern becomes a small but powerful tool for adding color, charm, and personality anywhere you like.
Special Features
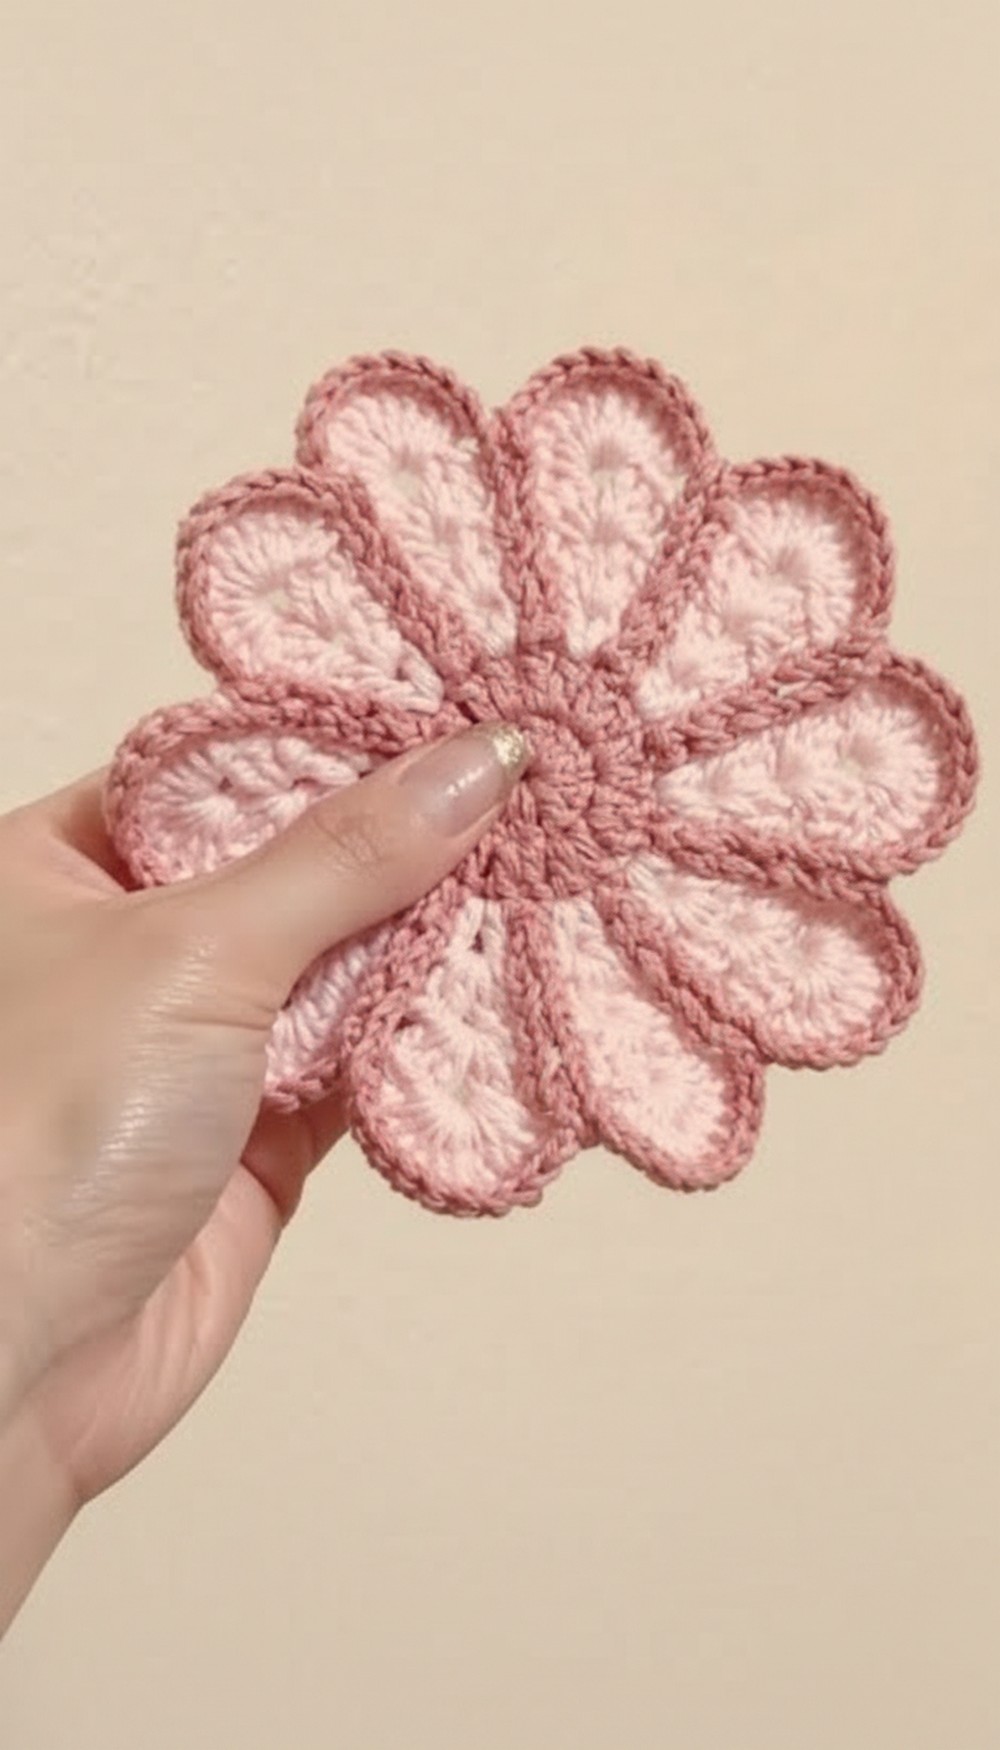
- Layered petal design: Adds depth and texture.
- Simple color-changing techniques for dimension.
- Detailed edging work: Offers a polished, decorative look.
- Perfect for coasters, appliques, or adding flair to craft projects.
Level of Difficulty
Beginner to Intermediate. Suitable for beginners comfortable with basic stitches, including double crochet, slip stitch, chain spaces, and single crochet, while also learning edging techniques.
Step-by-Step Instructions
Materials Needed
- Lion Brand’s Kobu Yarn in two colors (e.g., Mauve and Pale Pink). Lightweight 3 yarn recommended.
- 3mm Crochet Hook.
- Scissors, yarn needle for weaving ends.
Steps to Make the Crochet Flower
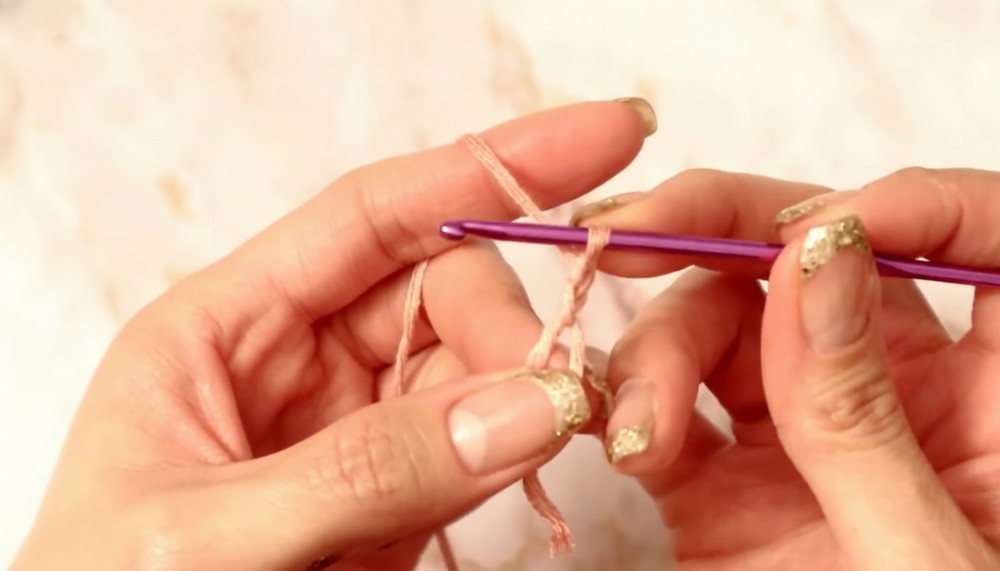
Round 1: Foundation
- Create a magic circle.
- Chain 2 (not a double crochet; simply to bring up the yarn).
- Inside the magic circle, place 10 double crochets (DC). Count as you go:
- DC 1, DC 2, DC 3… until you complete 10 DCs.
- Pull the tail to close the magic circle (not too tightly).
- Slip stitch into the first stitch of the round (into the third chain from the beginning).
R- 2: Increasing Petal Base
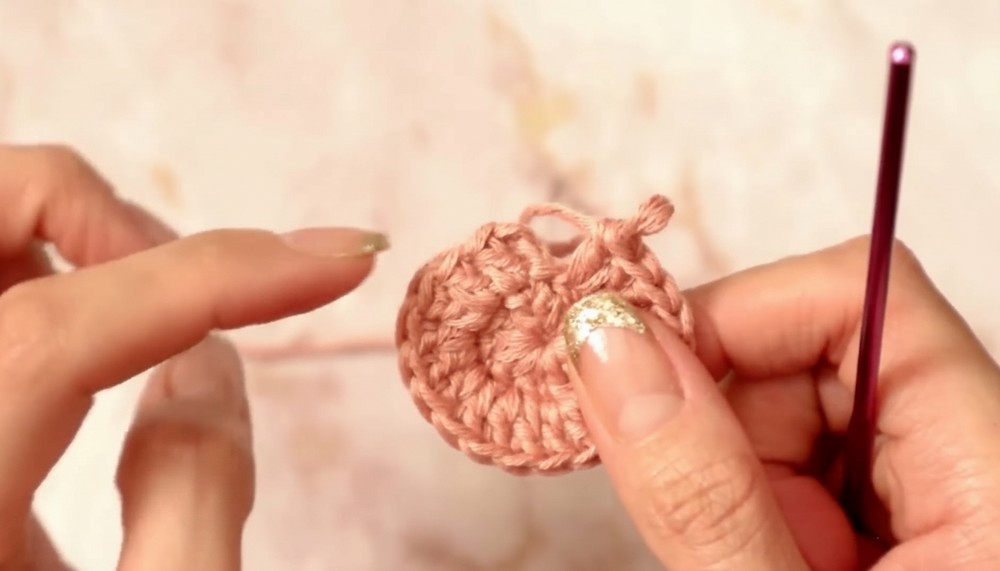
- Chain 2, which counts as a double crochet.
- Into the same stitch (where you slip-stitched), place 1 double crochet, creating an increase:
- Now, there are 2 DCs in the first stitch.
- In every stitch, place 2 double crochets (increase for the entire round).
- Repeat until you complete 20 DCs total.
- Join the round by slip stitching into the second chain from the starting chain.
- For color-changing: Complete the slip stitch with your new yarn color after crocheting a slipknot on the new yarn.
Round 3: First Layer of Petal Chains
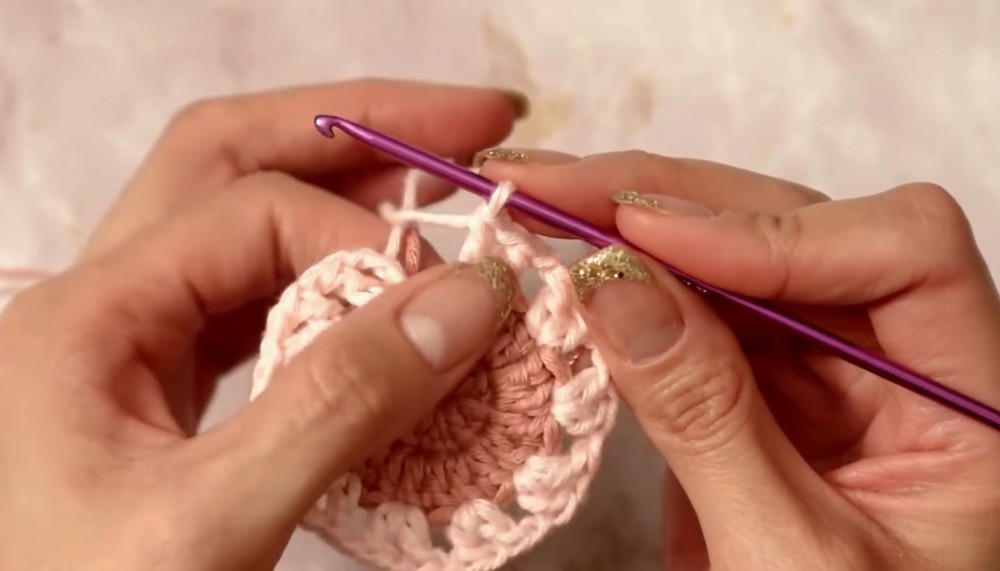
- Chain 3 (counts as a double crochet + chain space).
- Into the same stitch, place 1 double crochet.
- So you have: 1 DC, Chain 1, DC in the same stitch.
- Chain 1, skip the next stitch, and into the second stitch, create:
- 1 DC, Chain 1, DC (all in the same stitch).
- Repeat this pattern: Chain 1, skip 1 stitch, (DC, Chain 1, DC) in the next stitch*.
- Continue around until the end of the round.
- Slip stitch into the chain space at the start to close the round.
R- 4: Growing Petal Layers
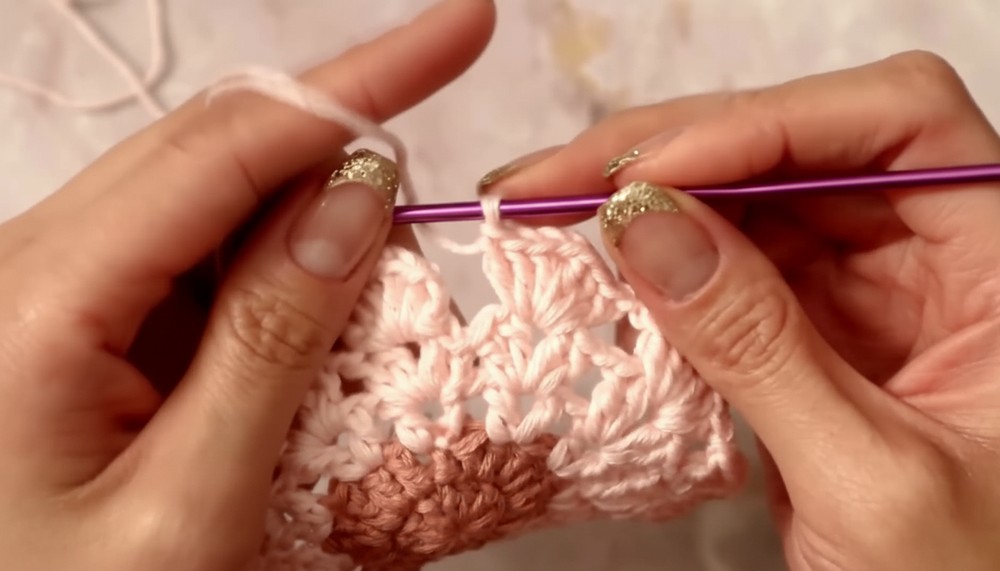
- Chain 2 (counts as your first double crochet).
- Into the same chain space, place:
- 1 double crochet, Chain 1, 2 double crochets.
- This creates: 2 DC, Chain 1, 2 DC in the chain space.
- Chain 1, move to the next chain space from the previous round and place:
- 2 DC, Chain 1, 2 DC.
- Continue this pattern in every chain space until the end of the round.
- Slip stitch into the second chain from the start to close.
Round 5: Middle Petal Formation
- Slip stitch into the nearest chain space to reach the middle of the design.
- Chain 2 (counts as your first DC).
- Into the same chain space, place:
- 2 DC, Chain 1, 3 DC (total of 5 DC inside this chain space).
- Chain 1, move to the next chain space and create the same pattern:
- 3 DC, Chain 1, 3 DC (forming layered petals).
- Repeat this pattern around the design, slip stitch into the starting chain, and move to the next round.
R- 6: Final Layer of Petals
- Move to the chain-one space of any petal (from Round 5).
- Chain 2, and in the same chain space, place:
- 10 double crochets.
- Due to the tight fit, the petal naturally curls upward.
- Chain 1, move to the next chain space and place 10 double crochets.
- Repeat this pattern around the flower.
- Slip stitch into the second chain of the round to close.
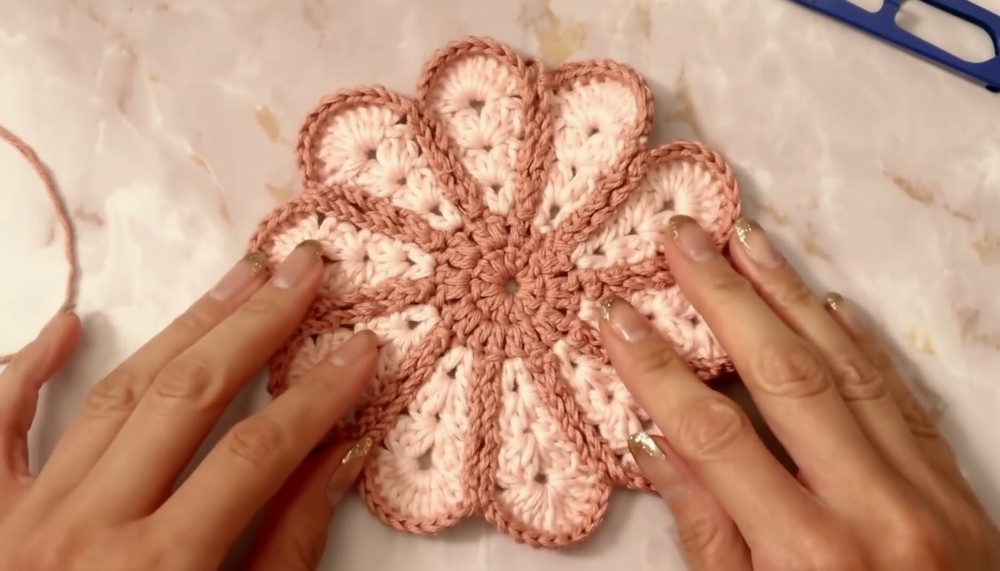
Optional Edging and Details
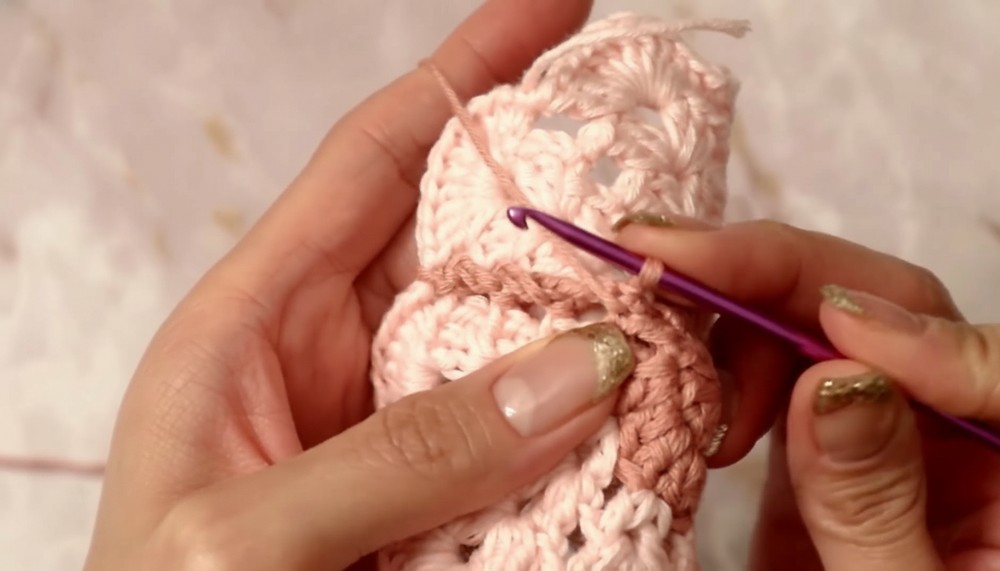
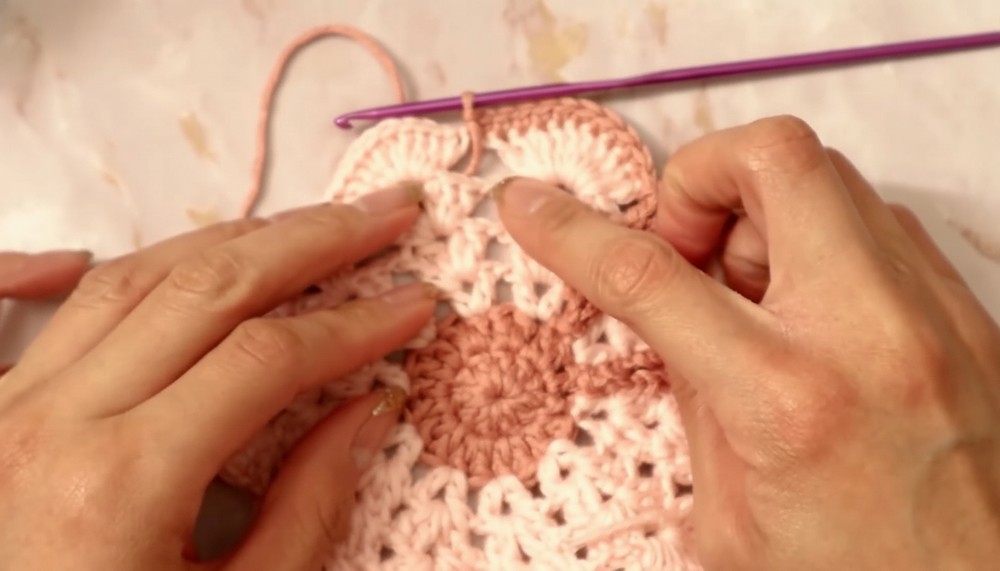
- Switch back to the first color for borders. Create a slip knot, and attach yarn to any space between petals.
- Chain 2, and slip stitch into chain spaces heading toward the center of the flower.
- Once you reach the center, begin working upwards with chain-2 and slip stitch into the chain spaces.
- Add single crochets along the top of each petal to create a polished border (1 SC in each double crochet on the petal).
Tutor’s Suggestions
- Work your stitches loosely; tight tension can make petals lose their curl.
- Choose complementary yarn hues for a striking two-tone flower.
- Use as appliques for hats, bags, or blankets.
Uses
- Great as coasters or decorative table pieces.
- Perfect for embellishing scarves, purses, or apparel.
- Ideal for gift wrapping or floral-themed crochet projects.
Tip
To achieve smoother edges and petal symmetry, keep your tension even and always count stitches at the end of each round. This prevents accidental gaps or uneven layering in the petals!
Conclusion
Crochet flowers combine beauty and practicality, bringing bursts of color and creativity to everyday items. With simple techniques and stunning layers, this pattern ensures eye-catching results suitable for all occasions.