
Affordable Crochet Bunny Nurse Amigurumi Pattern You’ll Love
Find inspiration with this Free Crochet Bunny Nurse Amigurumi Pattern, featuring easy steps to crochet adorable keepsakes & thoughtful gifts.
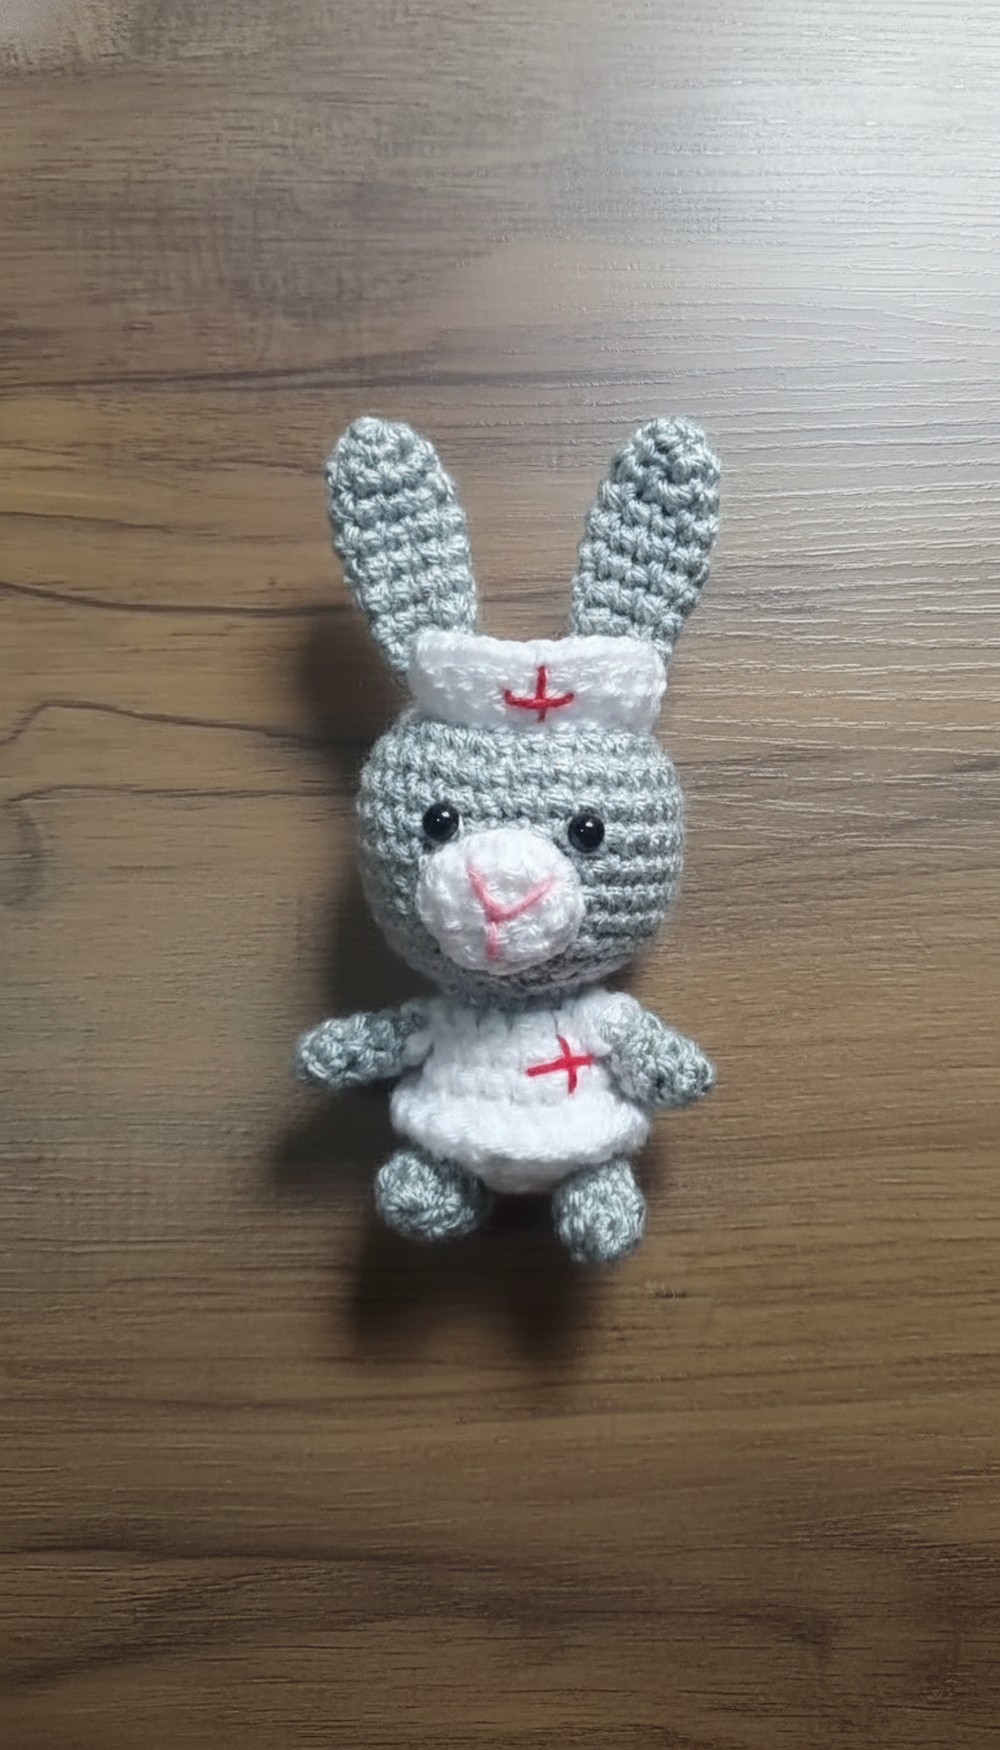
Looking for the perfect handmade gift or an adorable keepsake to brighten your day? This charming Bunny Nurse Amigurumi pattern is here to add a touch of heartwarming creativity to your crochet projects. Whether you’re honoring healthcare heroes or simply delighting in the joy of small, thoughtful details, this crocheted pattern doubles as both a meaningful gesture and a versatile accessory. From its petite nurse hat to the embroidered red cross, every element is thoughtfully designed to combine style and charm.
How to Crochet a Bunny Nurse Amigurumi – Free Pattern for Beginners

Crocheted with love and precision, this pattern can serve as a cute keychain, a decorative charm for backpacks, or a sweet token of appreciation for someone special. The pattern’s beginner-friendly approach ensures that even newcomers to crochet can enjoy the satisfaction of bringing this bunny nurse to life.
With endless uses and a heartwarming design, this pattern converts your yarn into a thoughtful handmade treasure. It’s not just a crochet project; it’s a way to spread smiles, one stitch at a time.
Special Features
- Customizable Size: The pattern stays consistent whether using a 2mm or 3mm hook, offering flexibility in size (9cm for smaller sizes, 13cm for larger ones).
- Detailed Assembly: Each piece perfectly complements the other to create a cohesive amigurumi.
- Versatile Yarn Usage: Acrylic yarn in double strand for sturdiness; lighter weights can be used for smaller versions.
- Beginner-Friendly: While suitable for beginners, attention to detail is essential, especially for embroidery and assembling.
Materials Needed
- Acrylic yarn in grey, white, pink, and red (double strand suggested).
- Crochet hook (either 2mm or 3mm, depending on size preference).
- Small black safety eyes (or alternative materials).
- Fiberfill stuffing for firmness.
- Yarn needles for sewing and embroidery.
Difficulty Level
Beginner to Intermediate
This pattern requires basic crochet knowledge, including stitches like single crochet, magic ring, and increases/decreases.
Step-by-Step Bunny Nurse Amigurumi Pattern
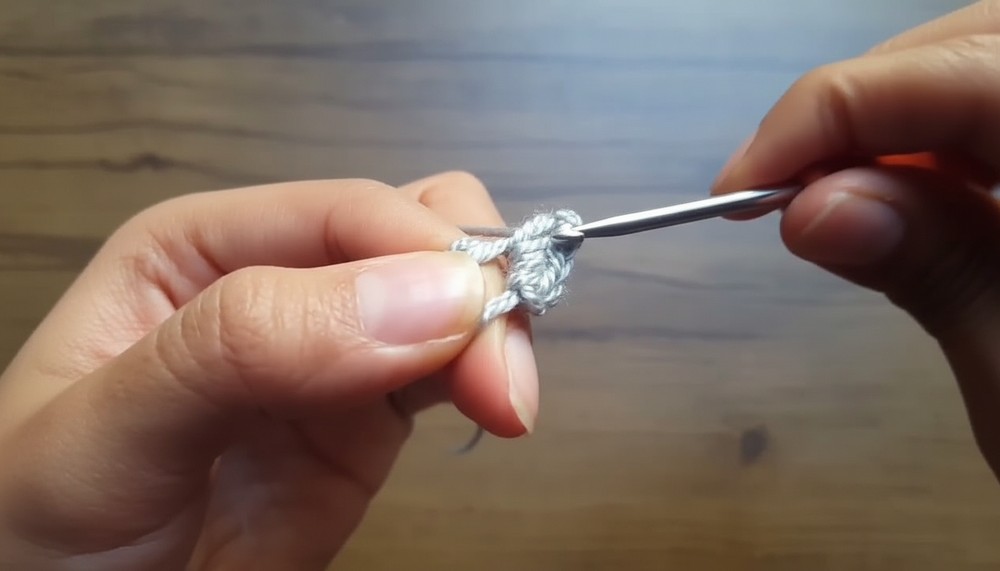
1. Ears
Stitches: Magic ring, single crochet (sc), increase.
- Work a magic ring and crochet 6 single crochets into the ring. Pull tight to close.
- Row 2: Crochet 6 single crochets (1 sc in each stitch).
- Row 3: Alternate 1 sc and 1 increase (2 sc in the same stitch) around. You’ll end with 9 sc.
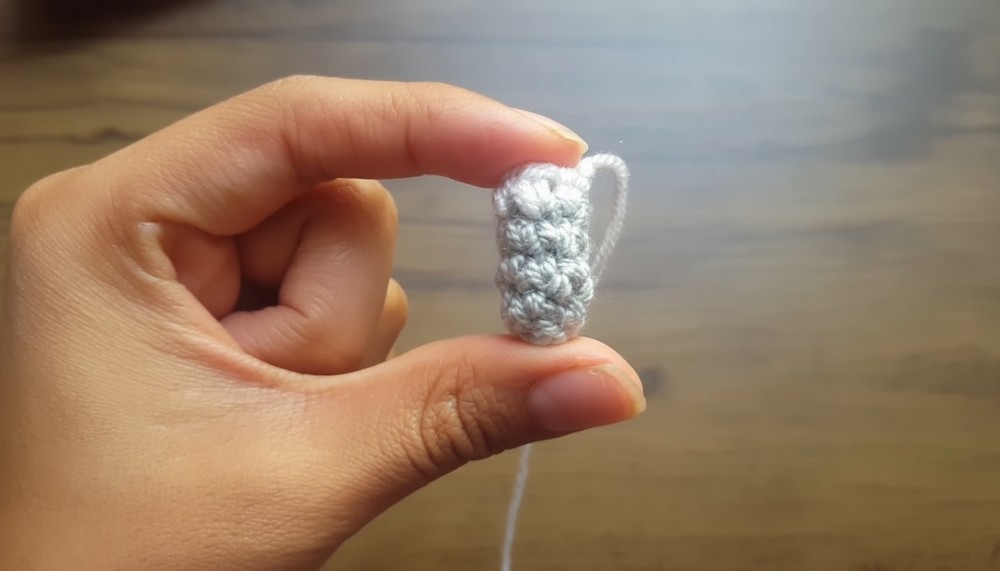
- Row 4 to Row 9: Crochet 1 sc in each stitch for these 6 rows (repeat 9 sc per row).
- Fasten off with a slip stitch and leave a long tail for sewing.
- Make 2 pieces for both ears.
2. Legs
Stitches: Magic ring, single crochet (sc).
- Start with a magic ring and crochet 6 single crochets into the ring.
- Row 2 to Row 5: Work 1 sc in each stitch for 6 rows (repeat 6 sc per row).
- Fasten off with a slip stitch and leave a long tail for sewing.
- Repeat to create 2 pieces for the legs.
3. Arms
Stitches: Magic ring, single crochet (sc).
- Form a magic ring with 6 single crochets. Work Rows 2–4: 6 sc in each stitch.
- For Row 5: Transition to white yarn before the last pull-through.
- Work one row of white yarn sc (6 sc).
- Slip stitch to finish. Hide loose ends inside using a pencil or yarn needle.
- Create 2 pieces for the arms.
4. Head
Stitches: Magic ring, single crochet (sc), increases, and decreases.
Steps:
- Begin with a magic ring: crochet 6 sc.
- Row 2: Work 1 increase in every stitch to total 12 sc.
- Row 3: Alternate 1 sc and 1 increase (total 18 sc).
- Row 4: Work 2 sc and 1 increase (total 24 sc).
- Row 5: Crochet 3 sc and 1 increase (total 30 sc).
- Row 6-12: Crochet 30 sc per row, working evenly to shape the head.
- Row 13: Start decreasing: 3 sc and 1 decrease (24 sc).
- Row 14: 2 sc and 1 decrease (18 sc).
- Row 15: 1 sc and 1 decrease (12 sc). Stuff the head firmly at this point.
- Row 16: Work 12 sc evenly. Slip stitch to end and pull the yarn through.

5. Body
Steps:
- Change to white yarn at the end of Row 16.
- Row 17: Work 1 sc and 1 increase (total 18 sc).
- Rows 18–22: Crochet 18 sc per row evenly.
- Row 23: 1 sc and 1 decrease (total 12 sc).
- Close the body using a yarn needle, sewing through the front loops and pulling tight. Stuff firmly before finishing.

6. Dress
Stitches: Half-double crochet (hdc).
- Work onto the body by joining white yarn on the 4th row of the head.
- Crochet 1 hdc in 2 stitches, followed by 2 hdc in 1 stitch (increases).
- Repeat this pattern and adjust for flow (ensure the dress flares slightly).
- Work 3 rows of this pattern and fasten off.
7. Hat and Cross Embroidery
- Create the hat with 9 stitches across rows. Continue for 3 rows, and stitch into place on top of the head.
- Embroider a red cross on the hat and torso using red yarn. Secure each embroidered detail carefully.

Assembly
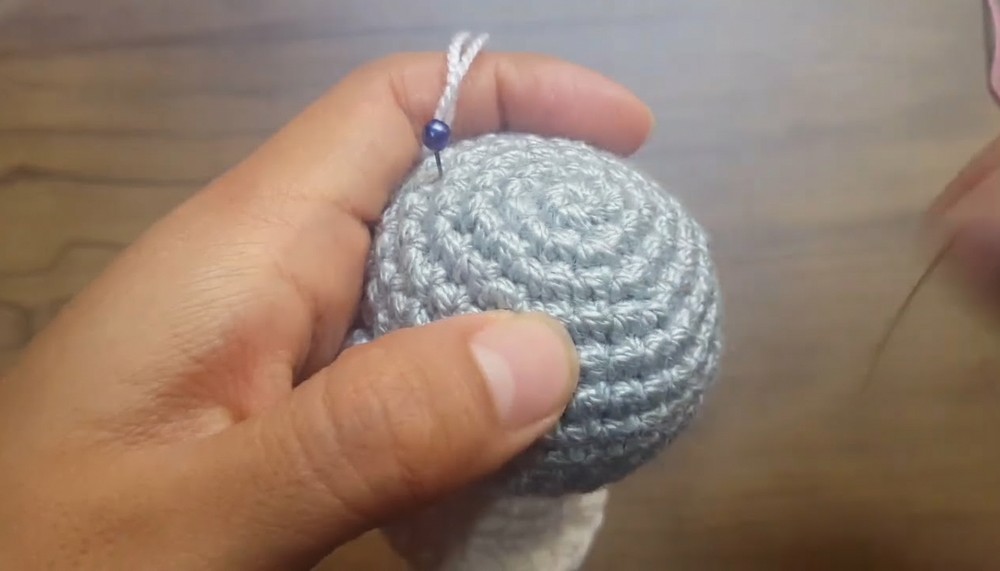
- Sew the ears onto the head, folding slightly to create dimension.
- Attach the arms at the sides of the dress.
- Position the legs at the bottom, slightly bent for a sitting pose.
- Glue or sew the eyes onto the face.
- Embroider additional details like the face (nose and whiskers). Hide all ends securely.
Tutor’s Suggestions
- Use crochet hooks of different sizes depending on your preference for larger or smaller amigurumi.
- Work with double strands of yarn for a sturdier build.
- Keep tension consistent for an even result.
Uses
- Makes an excellent gift for healthcare workers or anyone who loves handmade crafts.
- Perfect as a charm or keychain for bags or backpacks.
- Display as a fun decoration or collectible amigurumi!
Conclusion
This Bunny Nurse Amigurumi pattern offers endless creativity and charm, making it a delightful craft project for beginners and experienced crocheters alike. Its practical assembly techniques and detailed guidance ensure you can create an impressive, heartwarming piece.
Tip
Before embroidering details, lightly mark your placement with a washable fabric marker to ensure symmetry.


