
Free Step-by-Step Crochet Baby Booties Pattern You’ll Love to Try
Treat your little one or gift a loved one with this free crochet baby booties pattern, featuring easy steps for adorable and comfy results.
Tiny toes deserve the softest and coziest footwear, and nothing says thoughtful like a pair of homemade baby booties. Perfect for keeping little feet snug and stylish, a crochet baby booties pattern is a go-to for both new parents and thoughtful gift-givers. Lightweight and designed with comfort in mind, this pattern is gentle on a baby’s delicate skin while being sturdy enough to stay in place. The pattern caters to various sizes, ranging from newborn to 12 months, ensuring a versatile fit as the baby grows.
Easy Crochet Baby Booties Pattern for Gifting or Keepsakes
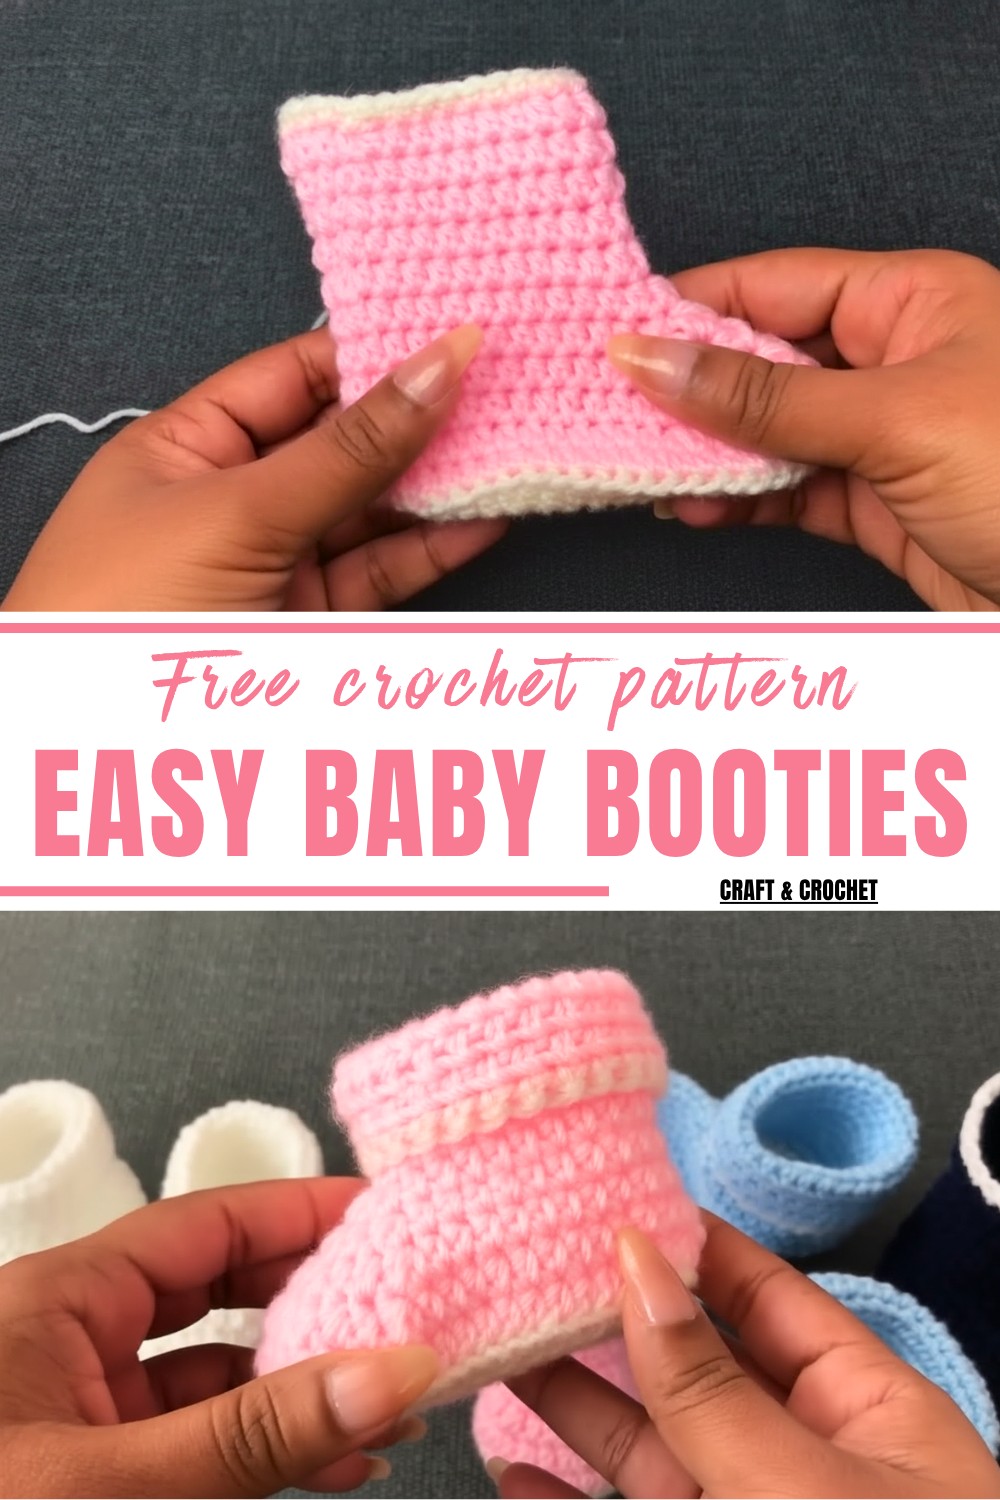
With simple stitches and straightforward instructions, this project is accessible even for beginners, offering a satisfying way to build crochet skills. The ability to customize colors and embellishments makes it easy to match the booties with a baby’s outfit or nursery theme. From pastel combinations to vibrant hues, the styling possibilities are endless.
Whether you’re preparing a handmade gift for a baby shower or adding a personal touch to your little one’s wardrobe, this pattern is both practical and adorable. The finished baby booties don’t just keep a baby’s feet warm they also hold the sentimental value of something made with care. This project turns yarn into a heartfelt treasure, stitched with love in every loop.

Special Features
- Sizes Available: Newborn, 0–3 months, 3–6 months, and 6–12 months.
- Quick Project: Can be completed in 30 minutes depending on the size.
- Easy Level: Beginner-friendly; uses HDC stitches, increases, and simple decreases.
- Versatile: Perfect for baby showers, gifting, or personal use.
- Customization: Works with different colors, yarn types, and hook sizes.
Materials Needed
- Yarn: Double knitting yarn (330 meters, 100 g; you’ll need ~20 meters per pair).
- Crochet Hook:
- 3.5mm for newborn sizes.
- 4mm for 0–3 and 3–6 months.
- 4.5mm for 6–12 months.
- Extras: Scissors, yarn needle, stitch markers (optional).
Sizing Options and Foundation Chains
- Newborn (Early Born): 9 chains (3.5mm hook).
- 0–3 Months: 9 chains (4mm hook).
- 3–6 Months: 10 chains (4mm hook).
- 6–12 Months: 10 chains (4.5mm hook).
Step-by-Step Instructions
Round 1: Foundation Structure
- Start with Slip Knot & Chain: For 0–3 Months: Chain 9.
- Use 3.5mm, 4mm, or 4.5mm hook based on size.
- Work HDC into 2nd Chain: Skip the first chain; insert into the 2nd chain from the hook and work 3 Half Double Crochet (HDC).
- Next 6 Chains: Work 1 HDC per chain for six chains.
- Last Chain: Work 6 HDC into the last chain to turn.
- Back Side of Chain: Work 6 HDC evenly across the first six chains.
- First Chain from Beginning: Work 3 HDC into the original first chain for symmetry; slip stitch to join the round.


Rnd 2: Increase Round
- Chain 1 & Start HDC: Work 2 HDC together into the first 3 stitches (increase).
- Next 6 Stitches: Work 1 HDC per stitch evenly.
- Increase for Corners: Work 6 sets of 2 HDC together into the next six stitches on the curve.
- Next 6 Stitches: Work 1 HDC per stitch evenly.
- Final Increase: Work 3 sets of 2 HDC together into the last stitches.
- Slip Stitch: Join the round. Total stitches: 36 for newborn, 38 for 3–6 months.
Rnd 3: Larger Base Development
- Chain 1: Work 2 HDC together, then 1 HDC into the next stitch (repeat three times for one side).
- Side Stitches: Work 6 HDC evenly for the straight portion.
- Increase Again for the Curve: Work alternating sets of 2 HDC together and 1 HDC per stitch six times.
- Next Side Stitches: Work 6 HDC evenly on the opposite side.
- Final Adjustment: Work 3 sets of 2 HDC together on the last stitches and slip stitch to join.
- Total stitches: 48 (50 for larger sizes).

Rounds 4–10: Shaping the Boot
- Switch to Main Color Yarn: Introduce the second yarn color for the main boot body.
- Work Back Loops Only: For Round 4, work 1 HDC into the back loop of each stitch to create a decorative edge.
- Rounds 5–10:
- Work HDC into both loops for each stitch.
- Gradually shape the bootie using simple decreases in rounds 6 and 7: Work 2 HDC together as needed (follow pattern for stitch counts).


Last (Round 15): Finishing Edge
- Switch to Original Yarn (Optional): Use the starting yarn for neat contrast in the final round.
- Single Crochet (SC): Work SC evenly into each stitch around, creating clean, smooth edgesSlip Stitch: Join with the first SC and fasten off.
- Weaving Ends: Use the yarn needle to hide loose ends neatly for a baby-safe finish.

Tutor’s Suggestions
- Tight Stitches: Work tightly for better structure and polished finishing.
- Color Coordination: Mix neutral and bright hues for adorable designs.
- Consistency: Count stitches at the end of each round to ensure error-free work.
Uses
- Perfect for gifting at baby showers, holidays, or as newborn keepsakes.
- Comfortable footwear for infants with soft material ideal for sensitive skin.
Final Tip
For larger sizes, add extra chains or rounds as needed, but increase evenly to maintain proportions. Prioritize stitch tightness for durability and comfort.
Conclusion
This crochet baby booties pattern combines simplicity and charm, making it a delightful project for crafters of any level. Whether you’re crocheting for precious little feet or adding to your handmade portfolio, these booties are an excellent fit. Try experimenting with colors and sizes for unique results.


