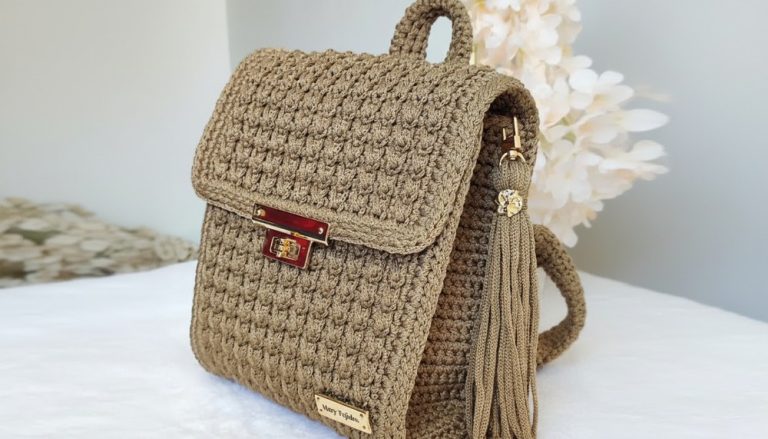
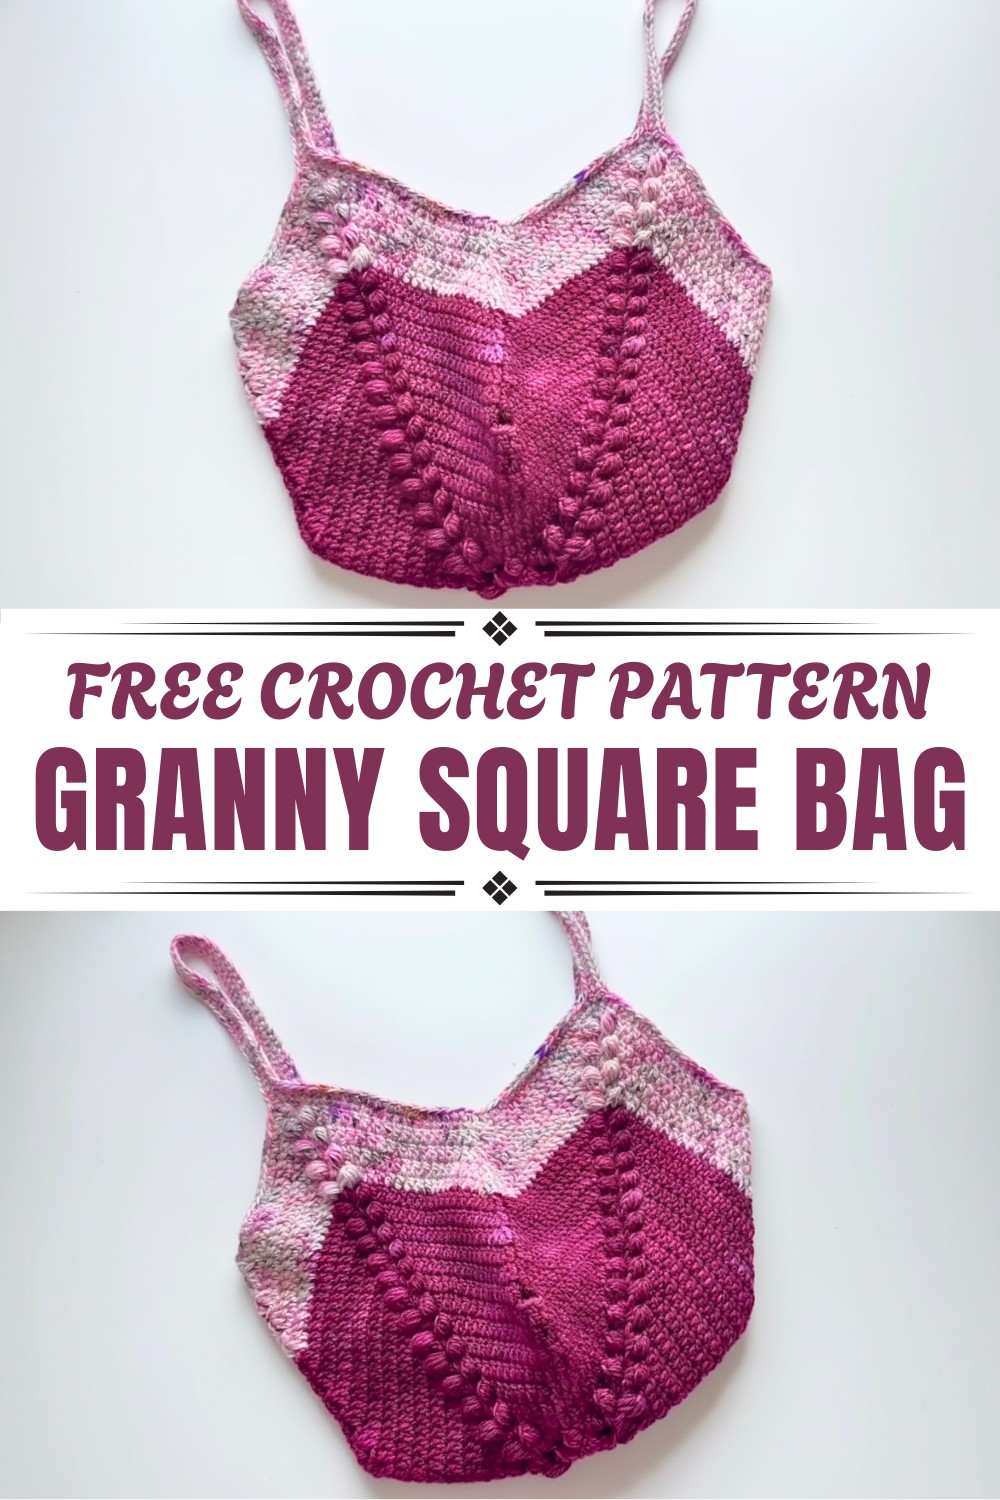
Elegant Crochet Granny Square Bag Pattern for Chic Accessory
Invent irresistible charm and creativity with this Free Crochet Granny Square Bag Pattern, perfect for trendy, eco-friendly accessories.
Why settle for ordinary bags when you can carry a unique statement piece? The crochet granny square bag pattern is a perfect mix of style, function, and creativity. Featuring classic squares with endless color and pattern possibilities, this pattern adds a touch of personality to your wardrobe while being surprisingly practical. It’s great for everything from quick shopping trips to casual outings, or even as a thoughtful, handmade gift for loved ones.
Free Crochet Granny Square Bag Pattern with Modern Style for Every Occasion
This eye-catching pattern isn’t just about look it’s lightweight, durable, and spacious enough to hold your essentials like books, snacks, or daily must-haves without losing its shape. Whether you’re a beginner exploring new crochet projects or a seasoned pro looking for a fun challenge, granny squares offer a rewarding way to bring your ideas to life.
Plus, it promotes an eco-friendly lifestyle by reducing the need for disposable bags. With its bold pattern, practicality, and handmade charm, the crochet pattern feels like the perfect combination of fashion and function, designed to brighten your day and add flair to e

Level of Difficulty: Intermediate
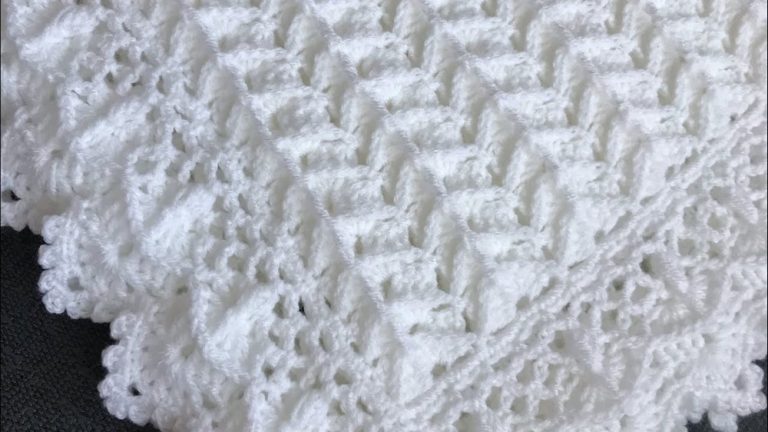
Special Features: A textured twist on the classic granny square, incorporating playful bobble stitches for added charm and dimension.
Uses: Perfect for grocery shopping, running errands, or a cute casual accessory for day-to-day activities. It’s small, sturdy, and stylish.
Materials Needed:
- Worsted yarn (recommended brand: Malabrigo) in two colors or as desired.
- Hook size: 3 mm (for a sturdy bag base, though the recommended hook size for this yarn is 4.5–5.5 mm).
- Scissors
- Tapestry needle
- Stitch markers
Step 1: Crochet the Foundation – Magic Ring and First Round
Round 1 — Starting the Base:
- Magic Ring: Wrap the yarn around your index and middle fingers to form an “X.” Insert your hook under the first loop, pull up the second loop, and create a loose starting chain.
- Chain 3: This acts as the first double crochet (DC).
- Create 11 double crochets (DCs) into the ring (including the chain 3, you’ll have a total of 12 stitches).
- Slip Stitch: Close the round by slip stitching into the top of the initial chain 3.
- Tighten the Magic Circle: Pull the yarn tail to close the center tightly.

Tip: Count your stitches to ensure accuracy—there should be 12.
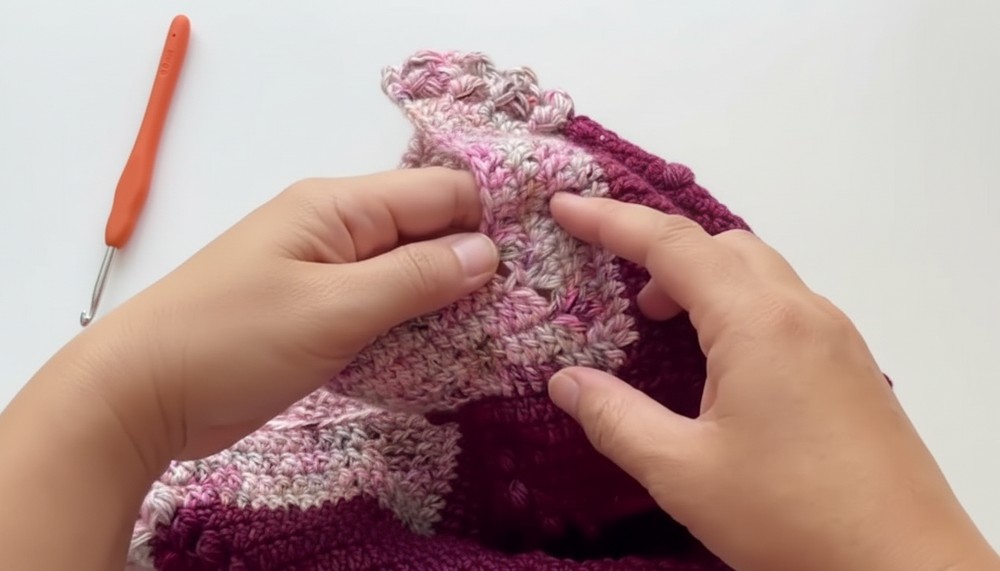
Step 2: Adding Texture with Bobble Stitches
Round 2 — Bobble Stitch & Double Crochet Clusters:
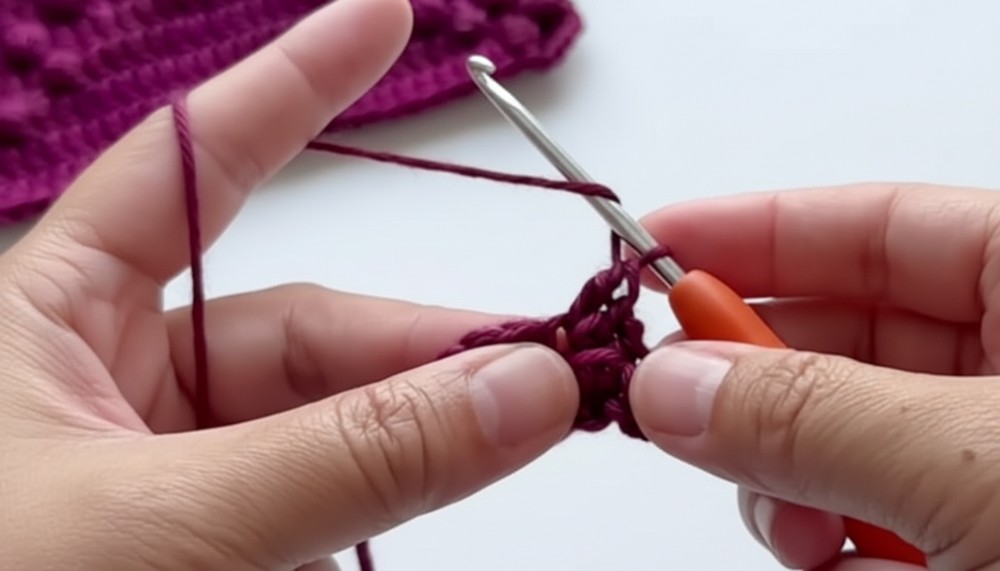
- Bobble Stitch (BO):
- Pull up your chain slightly.
- Yarn over (YO), insert the hook into the chain 3 space, and pull up a loop. Do this 4 times. You should have 9 loops on your hook.
- Yarn over, pull through all loops except the last one. YO again, and pull through the remaining 2 loops on your hook.
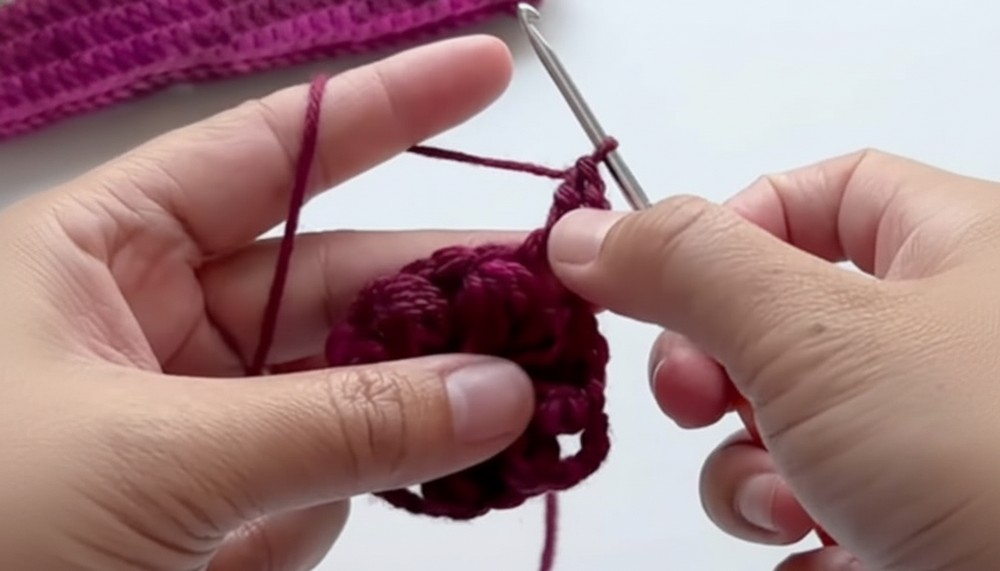
- This creates a “puffy” textured bump.
- 3 Double Crochets into Next Stitch: Skip to the next stitch and work 3 DCs into the same space.
- Repeat the pattern: Bobble Stitch → 3 Double Crochets until you complete the round.
- End the round with Chain 3 after the last bobble, and slip stitch into the top of the chain 3 from the previous round.
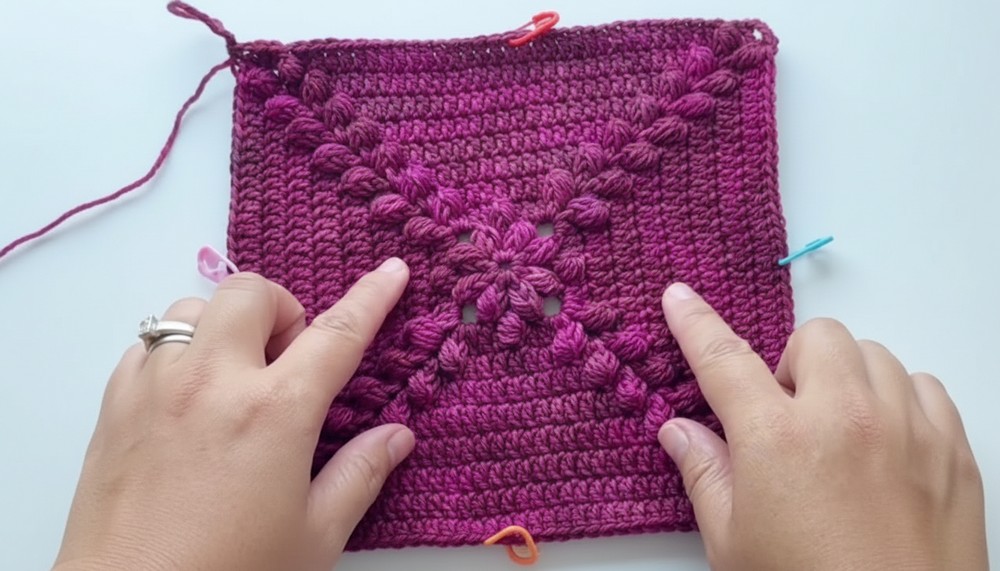
Step 3: Expanding the Granny Square Base
Round 3 – Working in Corners:
- Start with a Chain 3 (counts as 1 DC).
- Into each corner space:
- Work 2 DCs, Chain 3, 2 DCs.
- Along the edges:
- Work 1 DC per stitch and place 1 bobble stitch in the middle of every edge (between the three DC clusters).
- Repeat this pattern for all four corners and edges and join the round with a Slip Stitch.
Repeat the Rounds:
Progress outward by continuing the granny square pattern. For example:
- Each round’s edges will grow by 4 new DCs per side (2 from each corner).
- Each corner will always maintain the 2 DCs, Chain 3, 2 DCs setup.
Repeat this until your base has reached the desired width. For this tutorial bag, the width was approximately 7 ¾ inches (19.5 cm) with seven rounds after the initial bobble pattern.
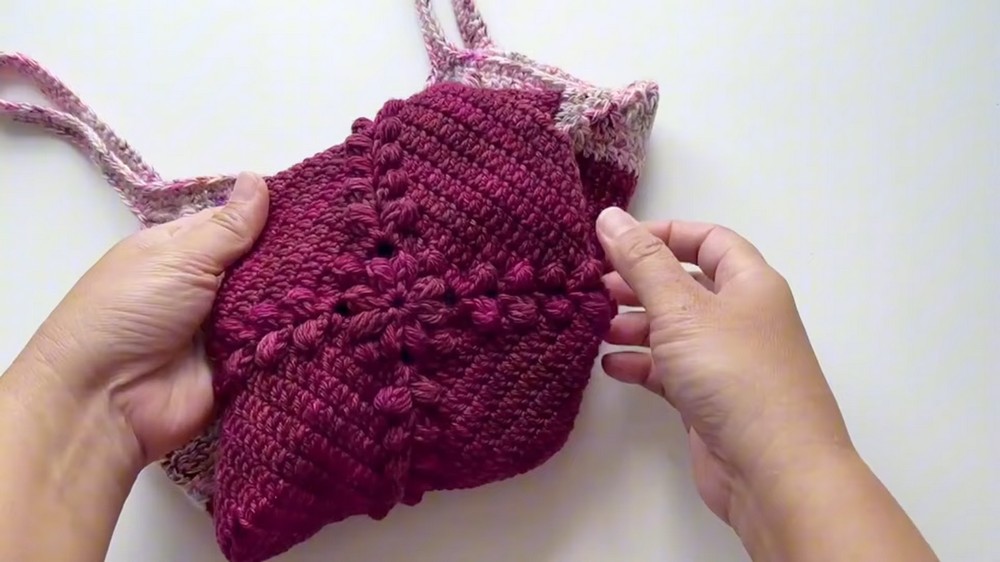
4: Shaping the Bag Body – Starting Decreases
- Mark the Centers: Use stitch markers on each side to find the exact center point.
- Decrease Row 1:
- Stop 2 stitches before the marked center. Skip 3 stitches, then resume working double crochets.
- This will take out 4 stitches in total per row (1 from each side).
- Decrease Row 2 Onward:
- Stop 3 stitches before the skipped section from the previous row. Double Crochet 2 Together (DC2Tog) over the next 2 stitches.
- Skip 2 stitches as before and repeat.
Continue staggering decreases this way until the sides of the bag have built up to your desired height.
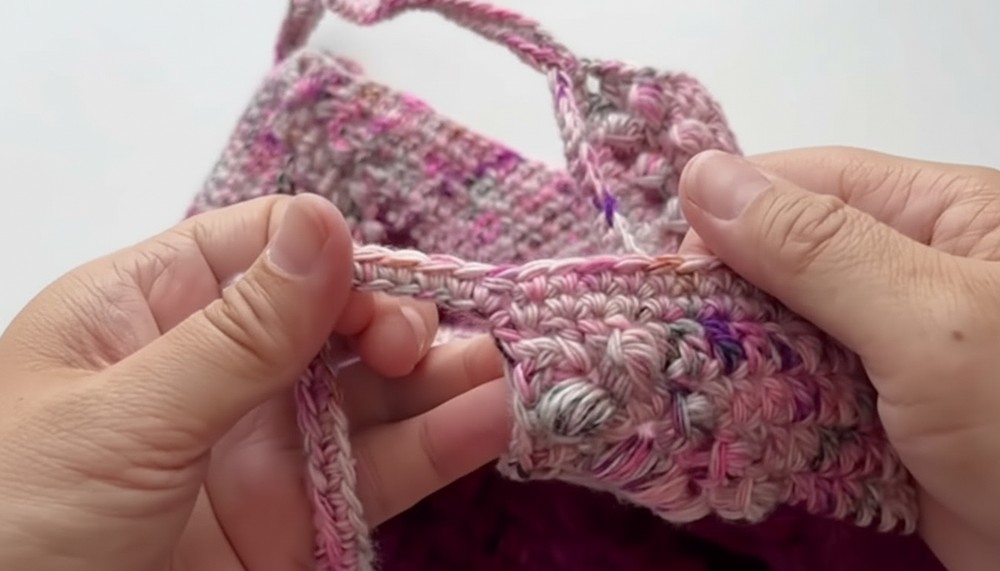
5: Adding the Straps
- Chain for Strap Length: Begin at a corner and chain 50 stitches (or approximately 10 inches).
- Attach the Strap: Slip stitch the chain to the opposite corner of the bag.
- Reinforce Straps:
- Single Crochet (SC) back across the strap for durability.
- Add a row of SC along the back of the chain for a more finished look.
- Repeat steps 1–3 to create the second strap.
6: Finishing Touches
- On the final round, add a single crochet edging around the entire top of the bag, including both straps for additional reinforcement.
- Use an invisible join technique to finish off neatly.
Tutor’s Suggestions:
- Yarn Choice: Use a durable cotton or cotton blend for sturdiness. Experiment with colors for a bold or subtle look.
- Hook Size: If you want a slightly softer and more flexible finish, you can go up a hook size.
- Customizations: Adjust the width, height, or length of the straps to suit your taste.
Conclusion
This crochet granny square bag with bobble stitches is the perfect combination of function and flair. Its sturdy base and fun texture make it an ideal project for accessorizing your wardrobe or preparing an eco-friendly shopping tote. Whether as a personal project or a thoughtful handmade gift, this pattern is sure to turn heads!
Pro Tip
When changing colors or adding a new yarn, pull the yarn tail through the final stitch seamlessly for a professional finish. Always weave in ends securely to prevent unraveling over time.