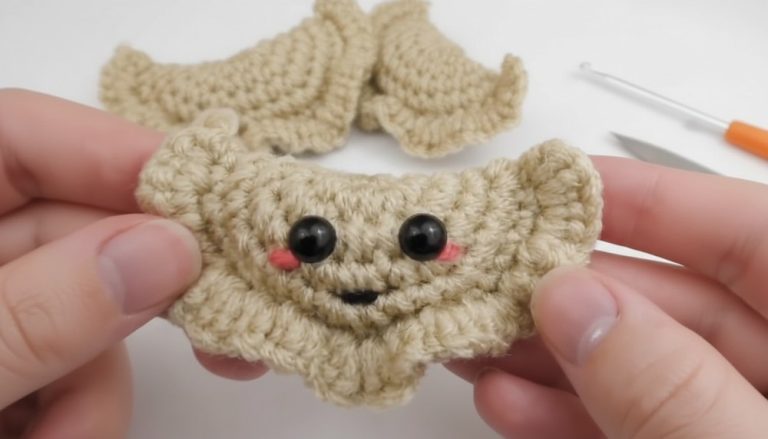
Easy-to-Follow Crochet Frog Amigurumi Pattern You’ll Love
A crochet frog amigurumi is more than just an adorable toy; it’s a delightful blend of creativity and purpose. Whether you’re an experienced crocheter or just beginning to learn the possibilities of yarn, this project is both beginner-friendly and satisfying. These tiny frogs make the perfect gifts for kids, quirky desk companions, or cheerful decorations to brighten up your space.
Beginner-Friendly Crochet Frog Amigurumi That’ll Melt Your Heart
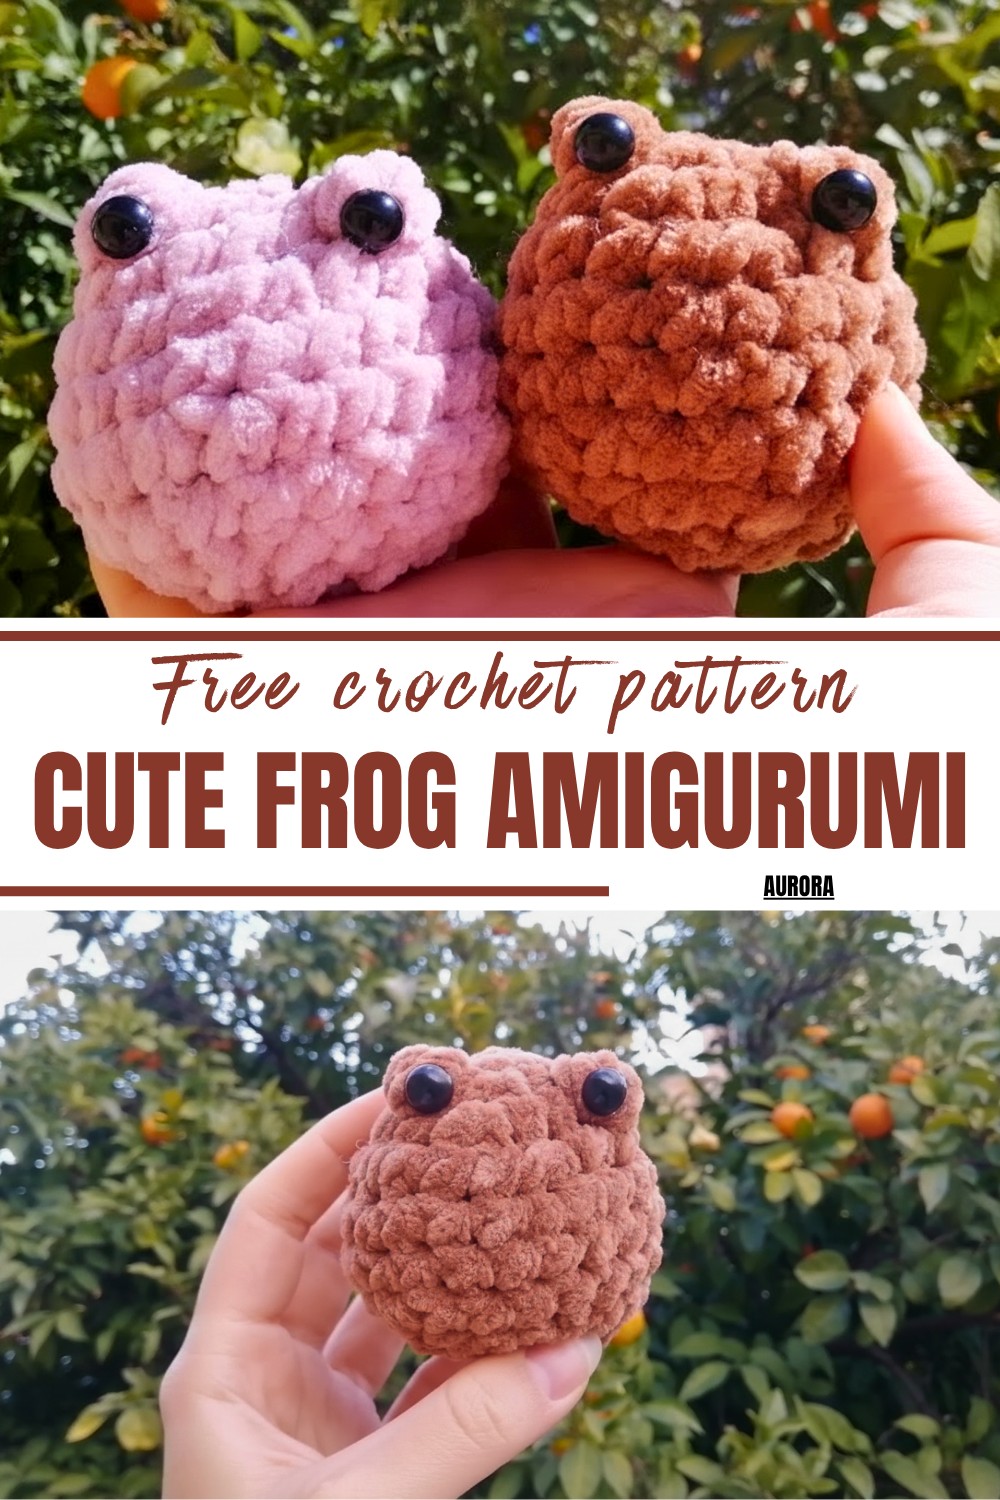
This pattern allows you to bring a whimsical character to life with just a few simple stitches, minimal supplies, and some creative flair. It’s a stress-free way to practice techniques like shaping and stitching in the round while working toward a tangible, lovable result.
Beyond being a fun project, it carries the joy of gifting something handmade and unique, sparking smiles wherever it goes. With this quick and satisfying pattern, you can build your crochet confidence and add a touch of handmade happiness to the lives of others—or your own!
Supplies You’ll Need:
- Yarn: Preferred color for the frog (recommend using a smooth, worsted-weight yarn).
- Crochet Hook: Size suitable for the yarn used (usually 3.0mm – 4.0mm for amigurumi).
- Plastic Eyes: To glue on later for detailing.
- Stuffing/Filling: To give the frog its 3D shape.
- Yarn Needle: For weaving in ends and sewing parts.
- Stitch Marker: To mark the beginning of rounds.
Introduction to the Methods:
- The pattern includes two starting options:
- Magic Ring: A great method for a tight, seamless start.
- Chain Method: Ideal if the yarn sheds or if you’re still practicing the magic ring.
Step 1: Head/Body
Option A – Magic Ring Start
- Create a magic ring:
- Wrap yarn around your fingers to create an “X.”
- Insert your hook under the first loop, grab the second loop, pull through, and twist up.
- Secure with a chain. You now have your magic ring.
- Round 1: Make 6 single crochets (sc) into the magic ring. Pull the tail to close the ring.
- Tip: Keep the tail nearby the loop for stability.
- Proceed to the next round.
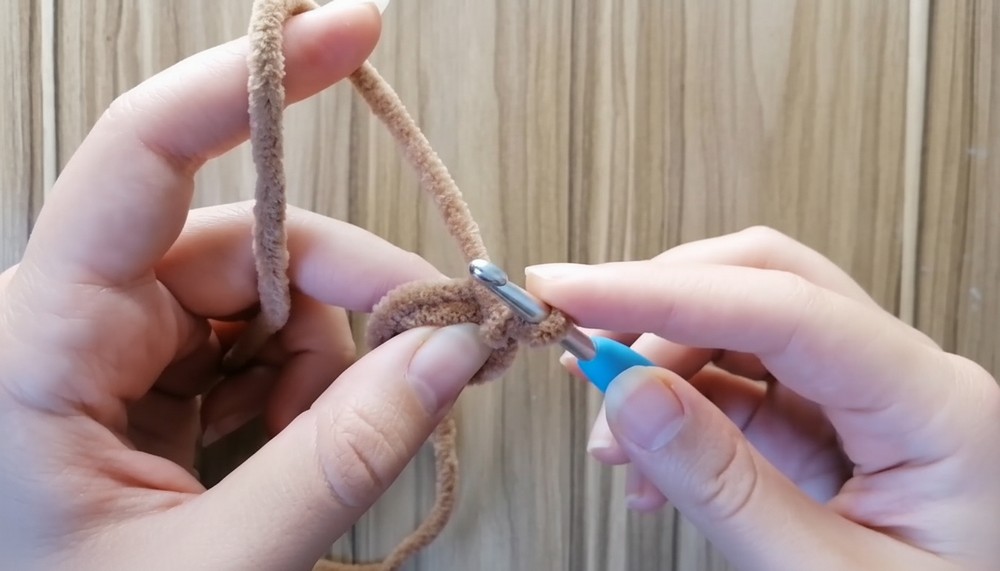
Option B – Chain Method Start
- Make a slip knot and chain 2.
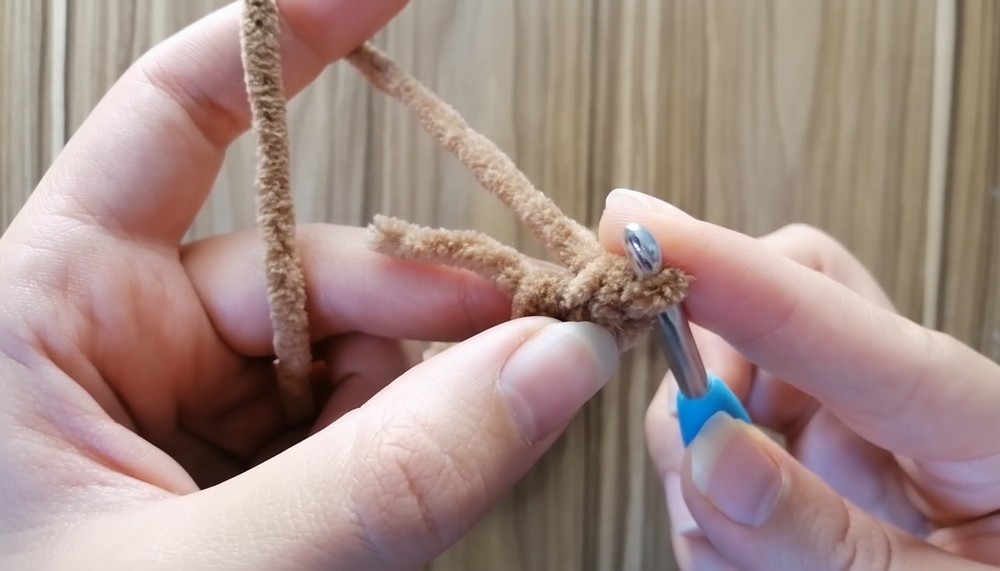
- Insert your hook into the first chain and make 6 sc into it to form a round.
- Insert the hook, yarn over, and pull up a loop, then yarn over again and pull through 2 loops.
- Mark your first stitch for easier tracking. Then, move to round 2.
2: Expanding the Body
- Round 2: Add 6 increases (2 sc per stitch) in every stitch around. You’ll now have 12 stitches.
- Example: Insert your hook in one stitch, make 2 sc. Repeat for all stitches.
- Round 3: Alternate 1 sc and 1 increase around. By the end, you’ll have 18 stitches.
- Stitch pattern: 1 sc, 2 sc in next stitch.
- Round 4: Alternate 2 sc and 1 increase around, giving you 24 stitches.
- Stitch pattern: 2 sc in consecutive stitches, then 2 sc in next stitch.
- Rounds 5-7: Work 24 sc in each round. Simply do 1 sc in every stitch to build height.
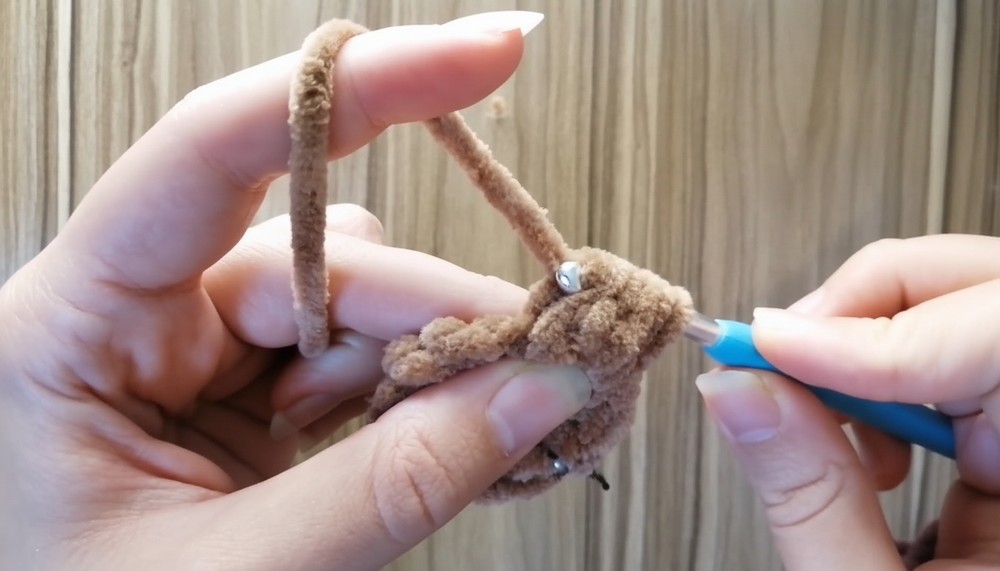
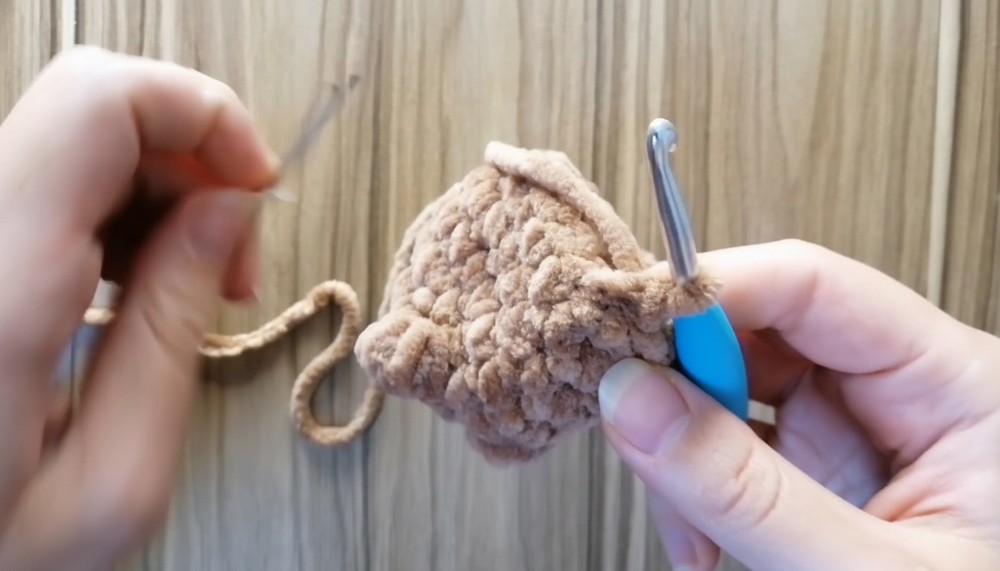
3: Shaping and Decreasing the Body
- Round 8: Alternate 2 sc and 1 decrease, leaving you with 18 stitches.
- Decrease Technique (Invisible Decrease):
- Insert your hook into the front loops only of the next 2 stitches.
- Yarn over, pull through 2 loops, yarn over, and pull through the remaining loops.
- Decrease Technique (Invisible Decrease):
- Round 9: Alternate 1 sc and 1 decrease, reducing to 12 stitches.
- Round 10: Work 6 decreases to close off the body. You’ll be left with 6 stitches.
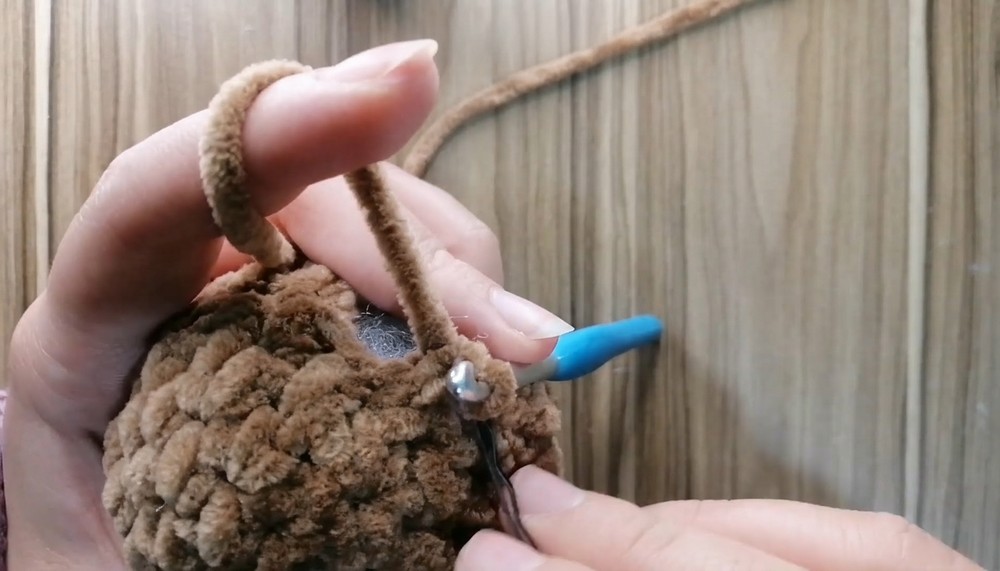
4: Closing the Frog
- Cut your yarn, leaving a long tail.
- Using a plastic needle, weave it through each stitch in the last row and pull tightly to cinch it closed.
5: Creating the Eyes (Special Feature!)
- Bobbles for Eyes:
- Work bobble stitches directly onto the head as follows:
- Yarn over, insert your hook into the specific stitch for the bobble.
- Pull up a loop, yarn over, and pull through the first two loops. Repeat this process 3-4 times until you have 6 loops on the hook. Yarn over and pull through all 6 loops.
- Repeat for the second eye.
- Work bobble stitches directly onto the head as follows:
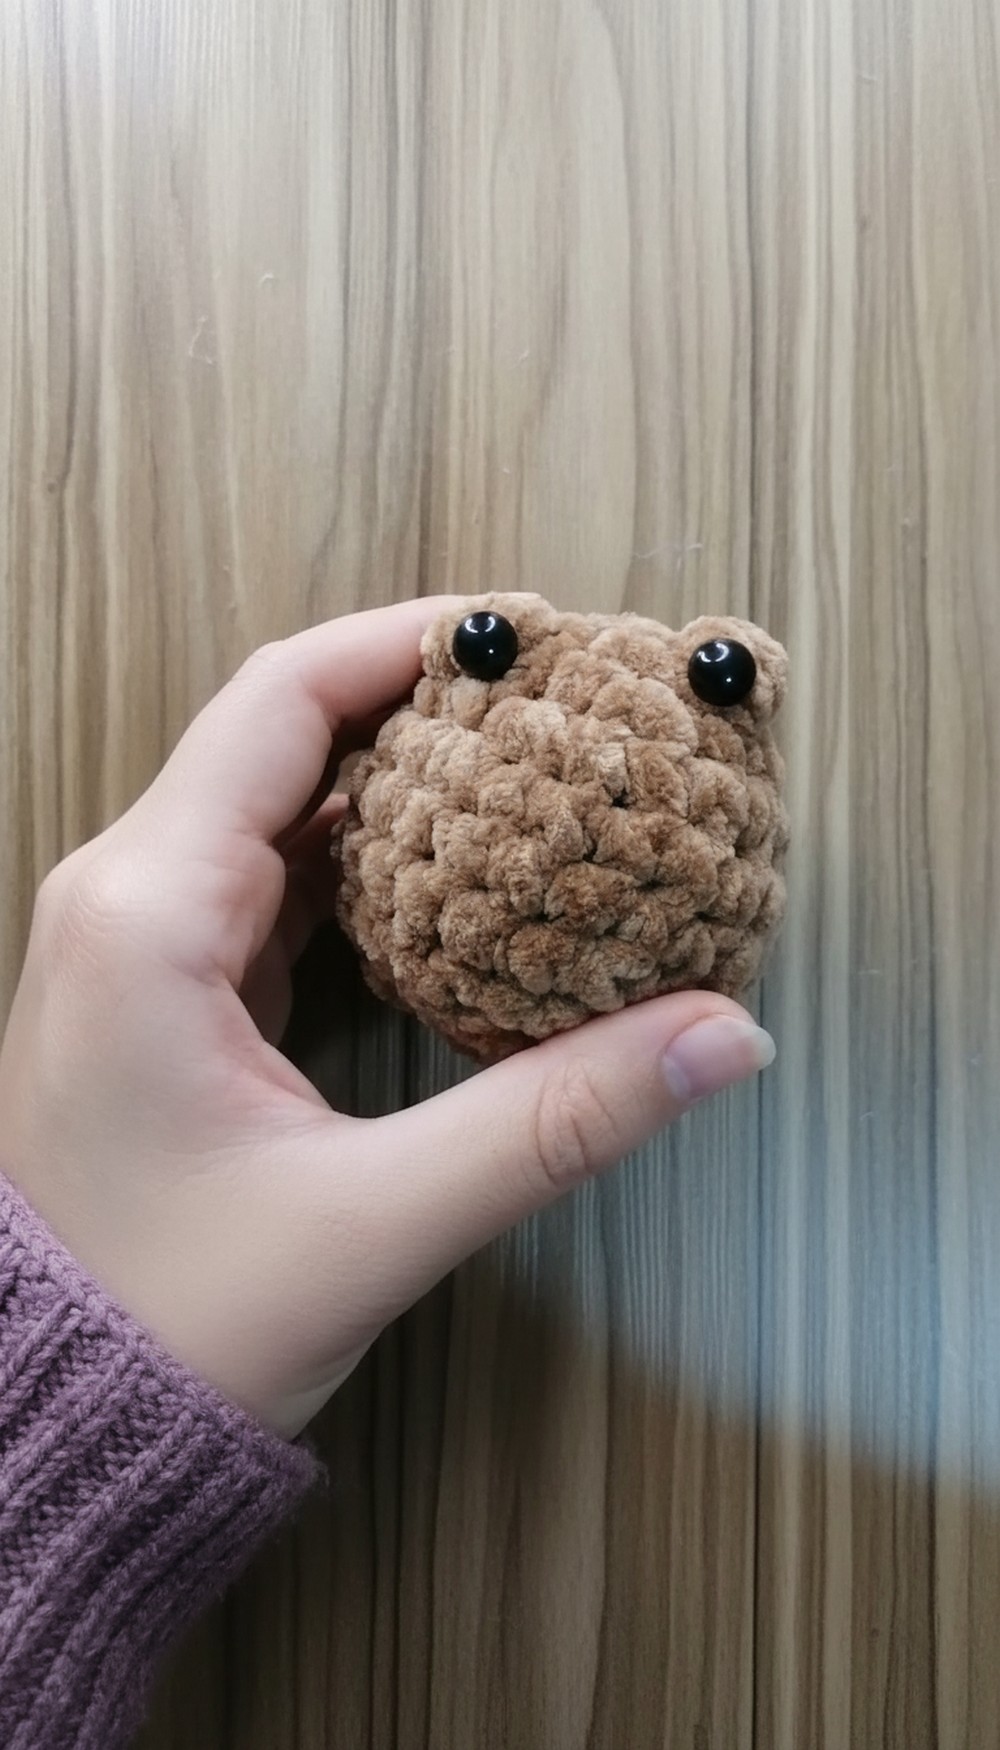
- Attach plastic eyes using glue on the bobble stitches.
Tutor’s Suggestions
- Difficulty Level: Beginner-friendly, but requires attention to detail, especially during decreases.
- Special Features: The bobble-stitched eyes give the frog a playful and 3D look.
- Uses: Perfect as a toy, a keychain when downsized, or as part of a whimsical collection of handmade gifts.
- Tutor Tip: Mark the first stitch of every round to avoid losing track.
Final Touches
- Hide any extra yarn tail by weaving it back into the stitches.
- Adjust the shape by fluffing up the stuffing evenly.
- Your cute little crochet frog is ready to hop into your life!
Conclusion
This adorable crochet frog amigurumi pattern is an easy and fun way to dive into crocheting! Its unique bobble stitch eyes make it extra special, and the versatility of its use ensures it’ll always be cherished. This project is enjoyable for beginners yet satisfying even for seasoned crocheters.
Bonus Tip:
If you’re a beginner and struggle with consistent tensions, try using a slightly bigger hook size to practice getting even stitches. Don’t stress if it’s not perfect—each project improves your skills!