Step-by-Step Free Crochet Lucky Four-Leaf Clover Pattern
Curious About Four-Leaf Clover Crochet Pattern? Try This Simple Guide
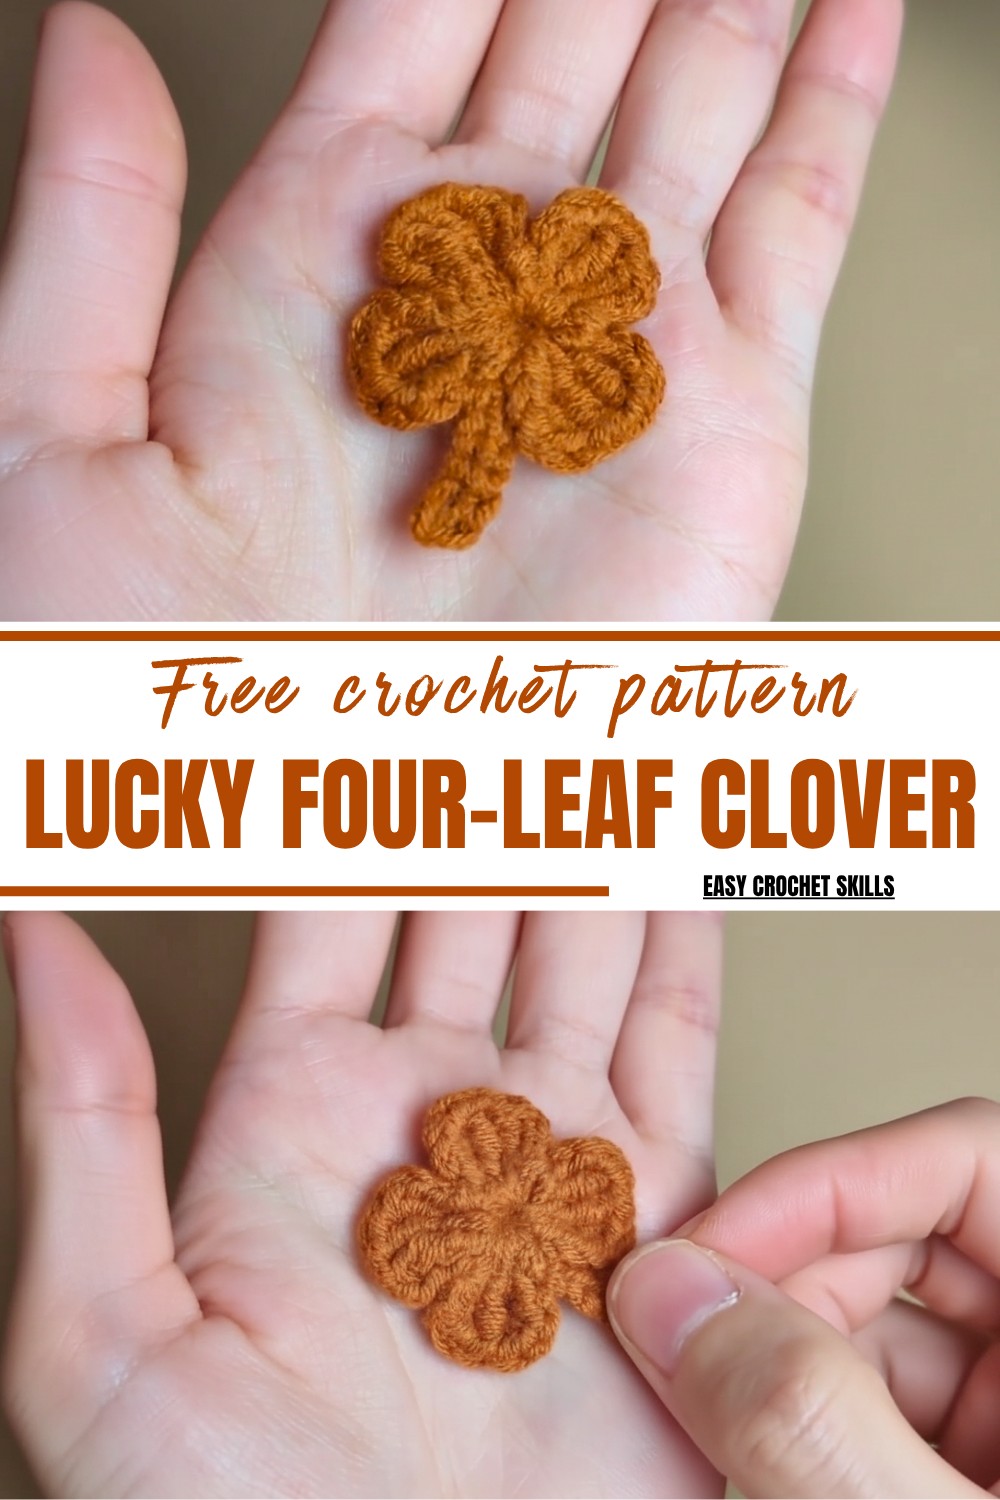
Whether you are an experienced crocheter or just starting in the yarn world, this free crochet lucky four-leaf clover pattern is easy to follow, making it accessible to any skill level. Its versatility shines as you can work it in green for a traditional look or switch to a colorful yarn for a playful style. Lightweight and quick to finish, it is excellent for using up leftover yarn from another project while still producing something meaningful.
What sets this pattern apart is its simplicity combined with charm. Each stitch brings a sense of accomplishment as the clover takes shape, leaf by leaf. It is not just a crochet piece but also a symbol of luck and positivity, making it a special addition to any crochet collection.
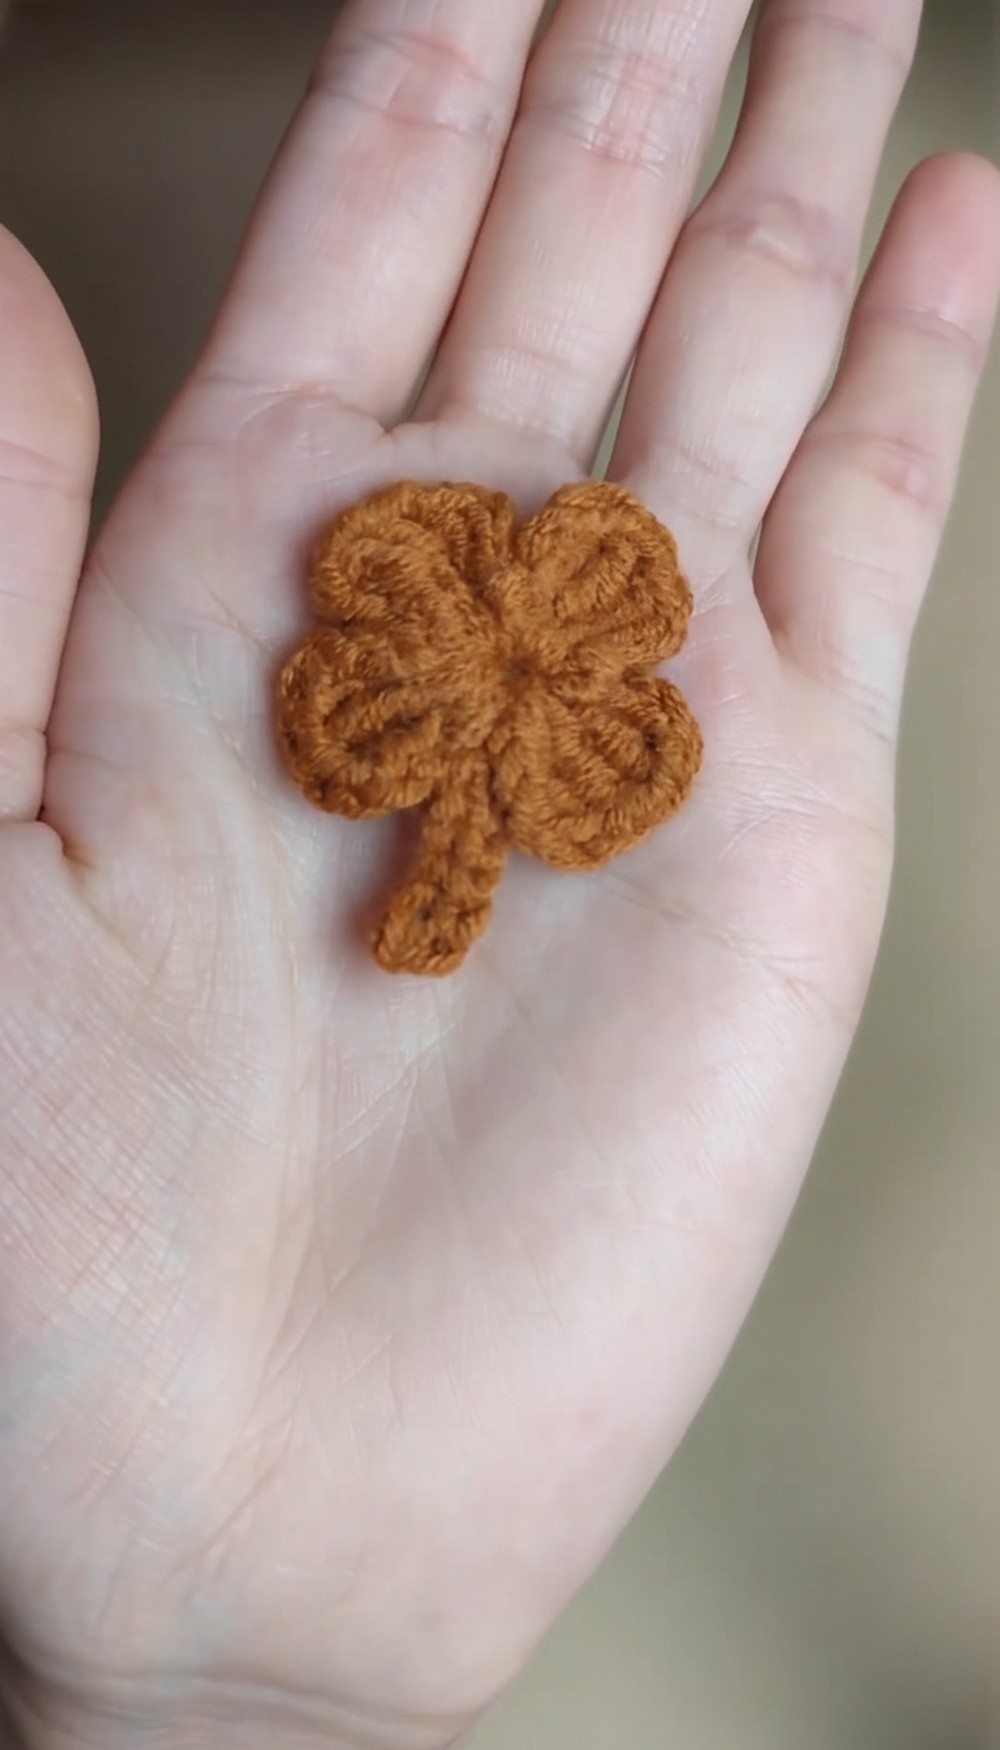
Supplies Needed:
- Yarn: 5 strands of cotton yarn
- Crochet Hook: 2.5 mm
- Scissors
- Tapestry Needle (optional, for finishing touches)
Special Features of This Pattern:
- Works in a circular motif to create the clover shape.
- Beginner-friendly but introduces you to the treble crochet (TR) stitch for more versatility in your crochet repertoire.
- Completely customizable — choose different yarn colors for a fun twist!
Skill Level:
Beginner to Intermediate — This pattern requires you to know how to:
- Make basic stitches like slip stitches, single crochet, chain, and treble crochet.
- Crochet in the round.
Step-by-Step Pattern
Step 1: Starting the Foundation Loop
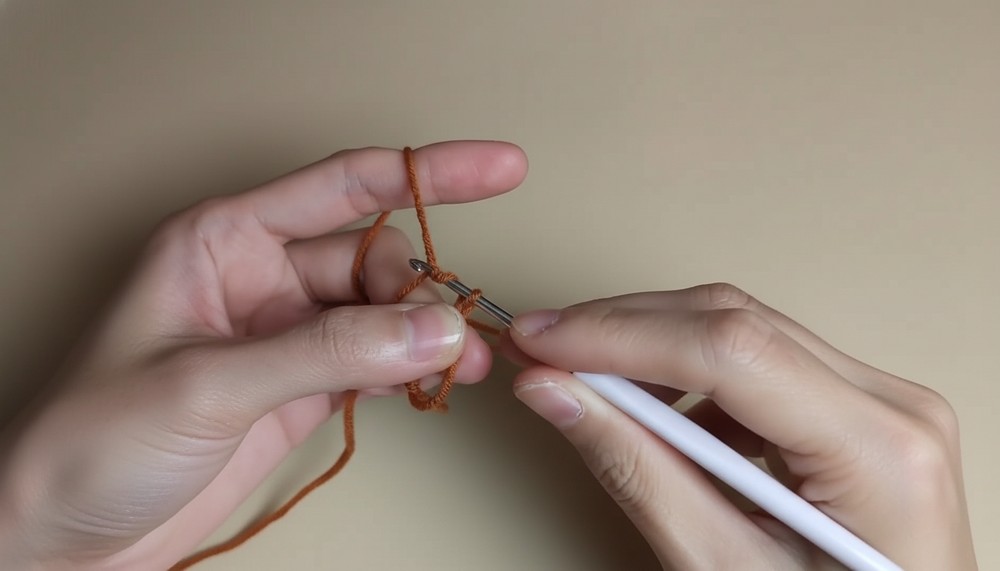
- Begin by making a slip knot and leaving a short tail of yarn.
- Chain 5 chains (CH 5) to form a foundation loop. Connect the first and last stitch with a slip stitch (SL ST) to create a circle.
2: First Leaf of the Clover
- Chain 3 (CH 3) — this will count as the first treble crochet.
- Work 3 treble crochet stitches (TR) into the circle while keeping the loop pushed to one side to allow space for the next leaves.
- Chain 3 (CH 3) again and then secure this petal by making a slip stitch (SL ST) back into the circle.
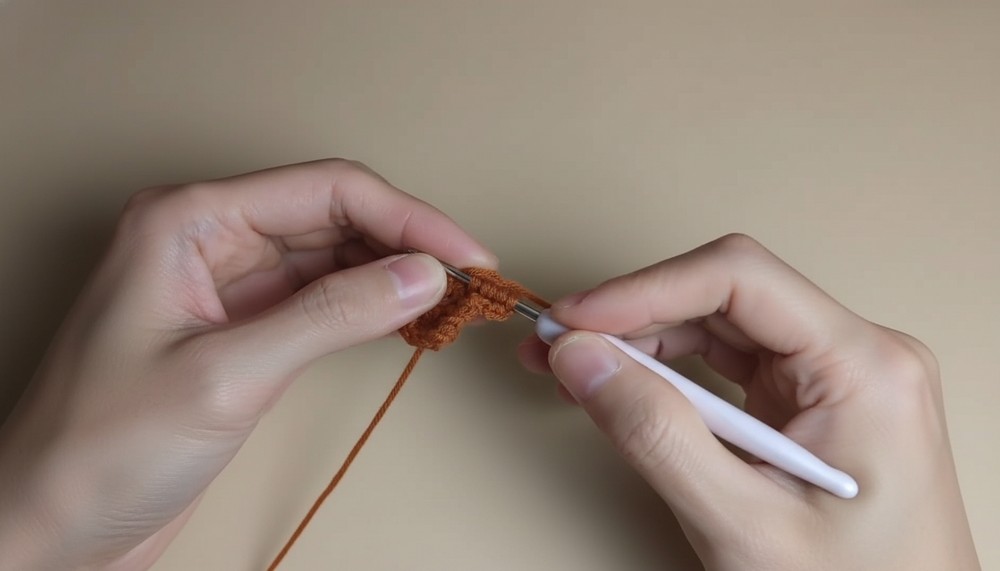
One quarter of the clover leaf is now complete!
3: Repeat to Create the Remaining Leaves
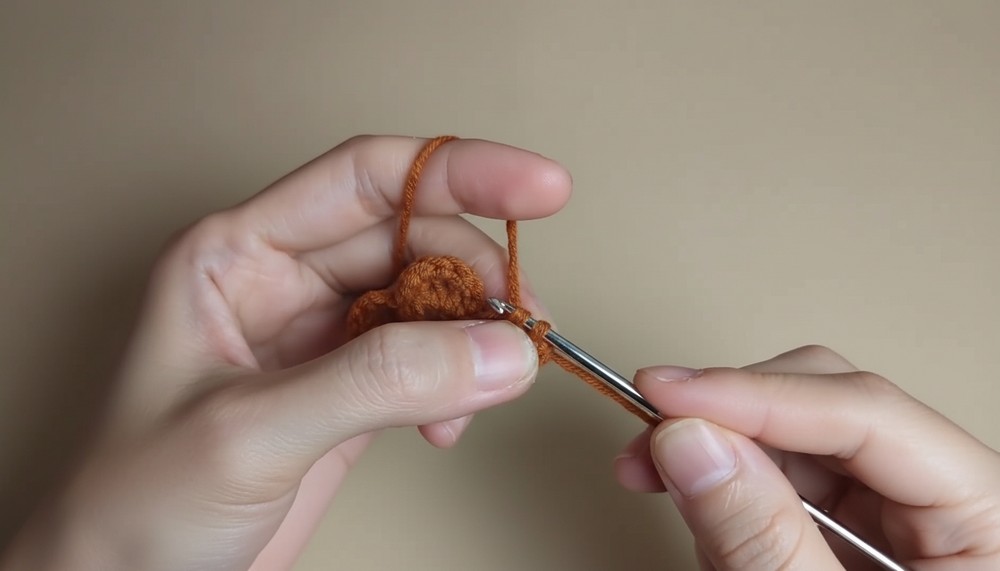
- For the second petal, chain 3 (CH 3) again, followed by 3 treble crochet stitches (TR) into the circle just like before.
- Chain 3 (CH 3) to complete the petal and connect with a slip stitch (SL ST) back to the foundation circle.
- Repeat this process two more times to create the remaining two petals of the clover.
4: Adding the Stem
- Once all four leaves are complete, chain 7 (CH 7) from the base of the circle to create the stem.
- Go back into the second-to-last chain and work a single crochet (SC) stitch.
- Continue crocheting single crochet (SC) stitches along the chain until you get back to the base of the circle.
Finishing the Clover
- Make a slip stitch (SL ST) in the center of the foundation circle to secure the stem.
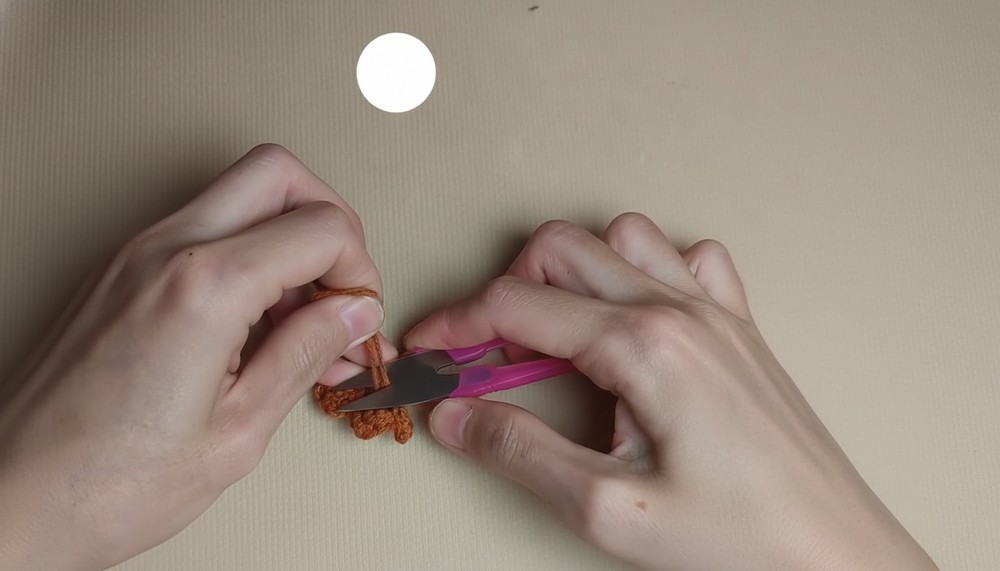
- Cut your yarn, leaving a small tail, and pull the yarn through the loop to fasten it securely.
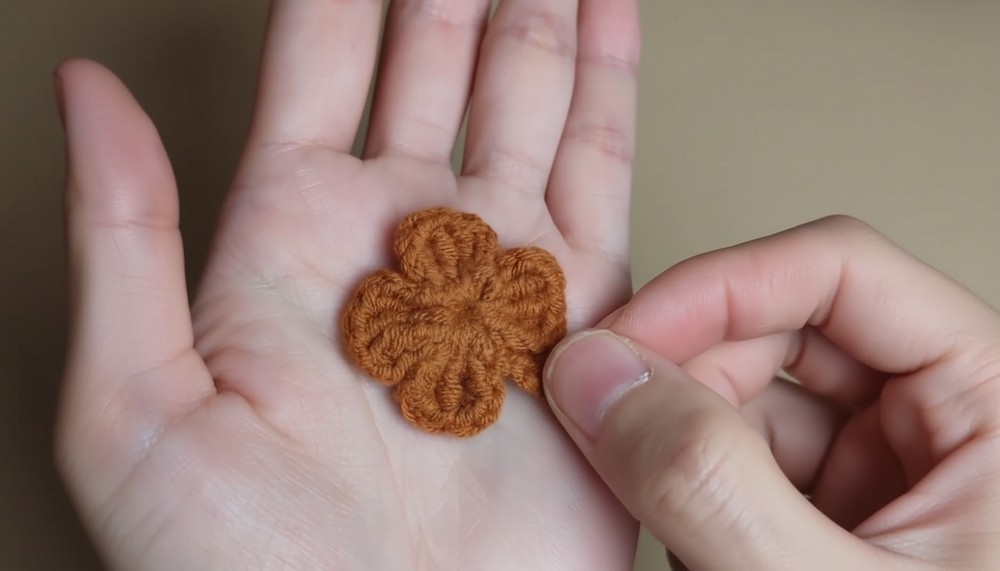
- Weave in the loose ends with a tapestry needle for a neat and tidy finish.
Suggestions and Use Cases
- Difficulty Level: Easy enough for beginners but a great step up for those looking to practice treble crochet stitches.
- Uses:
- Gift it as a lucky charm to friends and family.
- Turn it into a keychain or a brooch.
- Use it as a festive decoration for St. Patrick’s Day.
- Try out a variegated yarn for a textured or multicolored effect!
Pro Tip
To make your clover more durable, consider blocking your finished piece by lightly misting it with water and shaping it to lie flat for a polished look!
Conclusion
This Four-Leaf Clover Crochet Pattern is an absolute delight to create! Whether you’re crocheting for luck, charm, or festive décor, this straightforward pattern is achievable for crocheters of all skill levels.